Natural Gas vs. Liquid Propane: What You Should Know
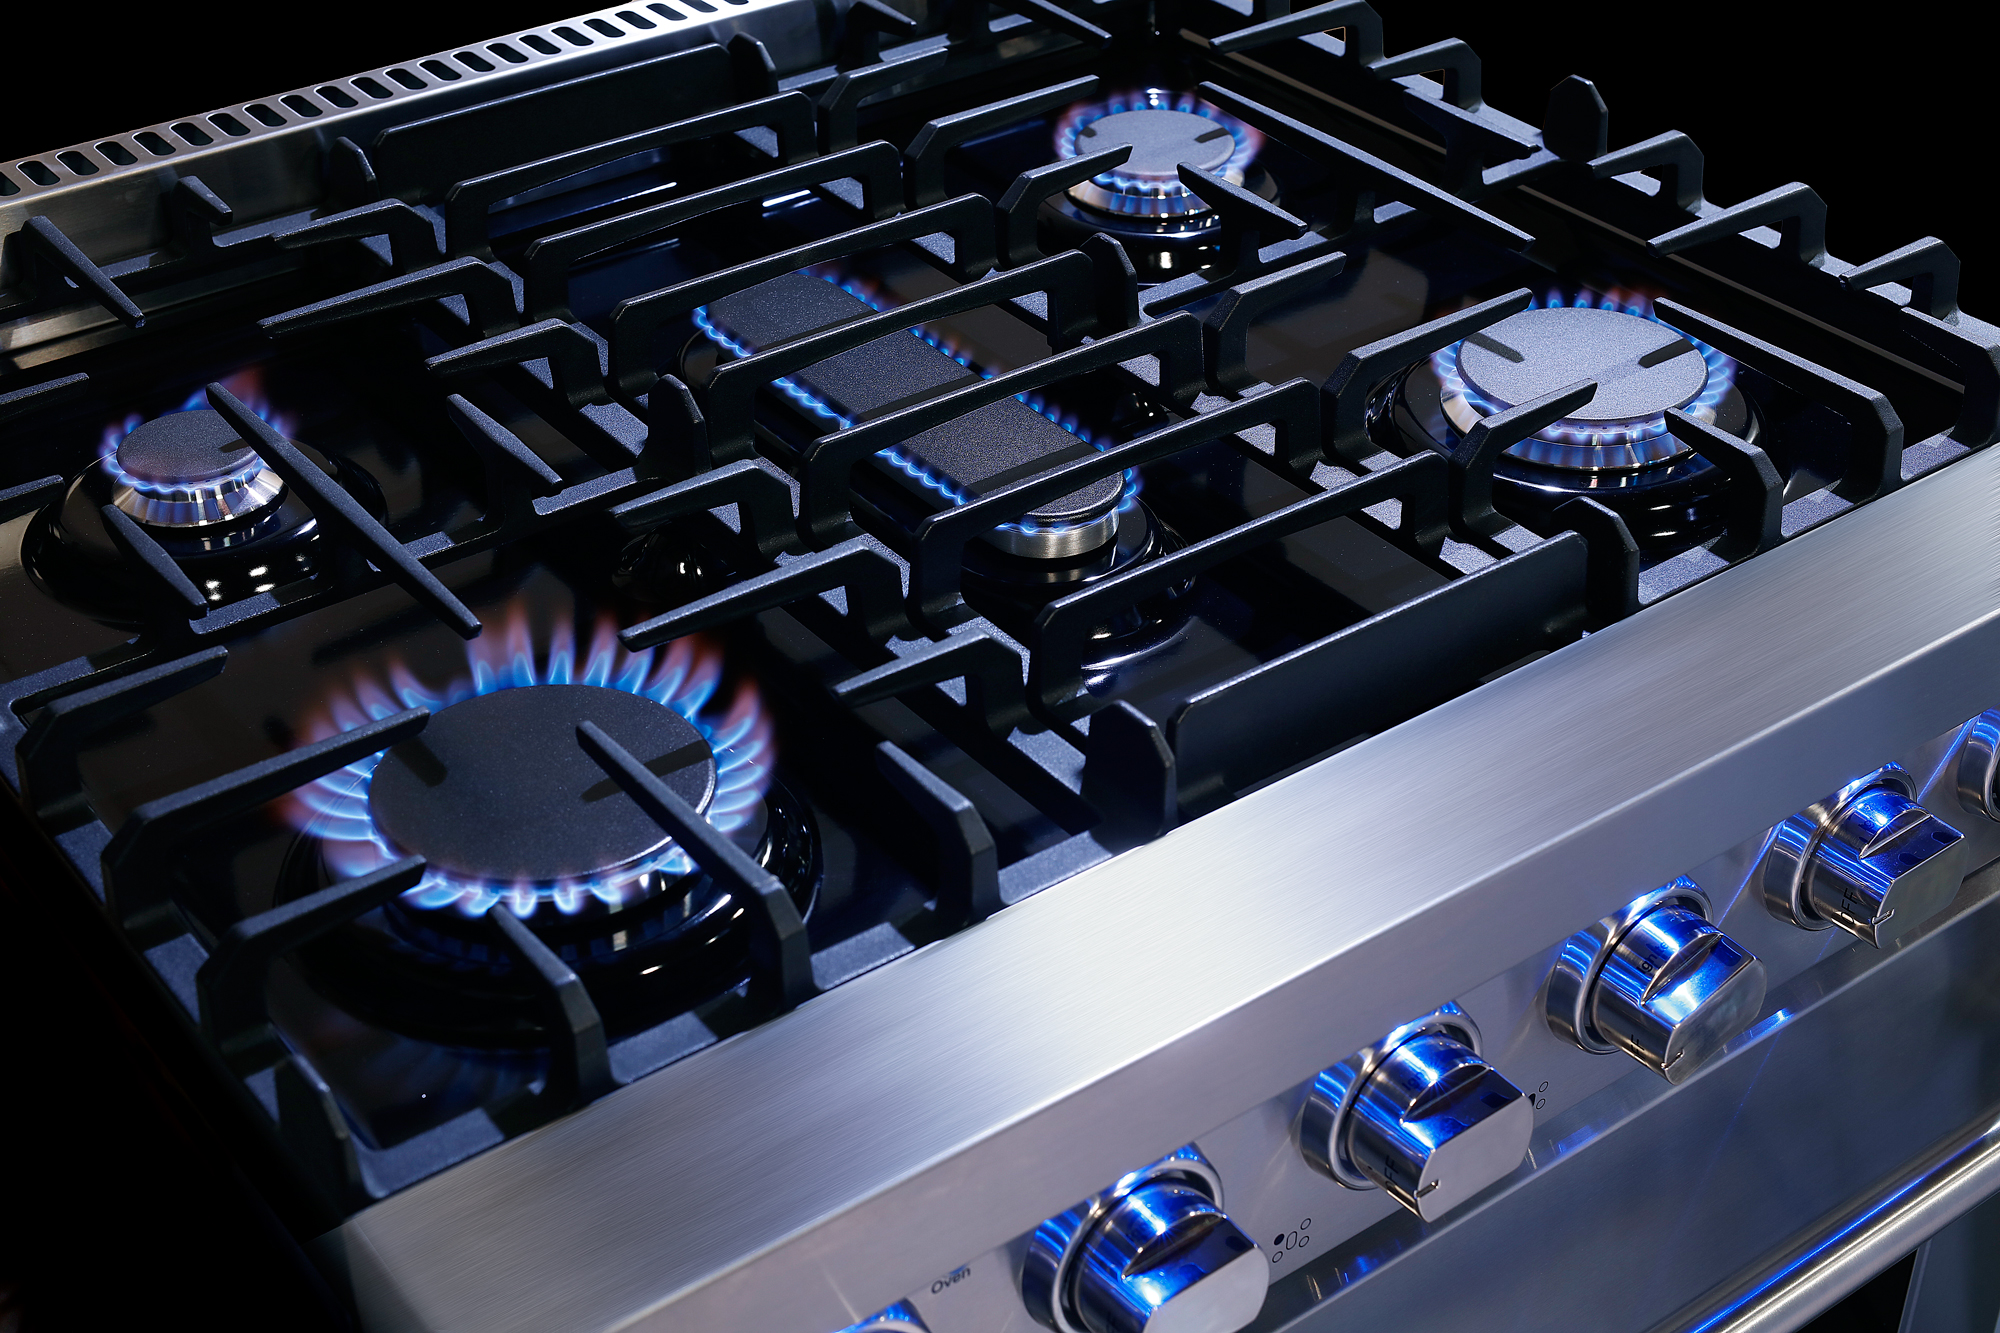
If you’re in the market for a new range or cooktop you may come across some different fuel types. A gas range can often work with natural gas or liquid propane after a conversion process. You may wonder what the differences are between the two fuels and if one is better than the other. See our guide below on some of the differences you should know. Natural Gas. This gas fuel is distributed through a centralized pipeline network. Underground utility pipelines deliver it in a gaseous state all the way to a cooktop. This can be a cheaper fuel depending on the location as well as the state of the fuel market. Natural gas differs from liquid propane in that it is delivered at a much lower pressure and heats at a slower rate. Liquid Propane. One of the most distinct characteristics of propane is that it is in a liquid state rather than a gas. Unlike natural gas, propane can be stored at room temperature so long as it is kept under pressure. This makes it easily transportable and available in many differing tank sizes. Liquid propane would have to be delivered regularly to a home for propane fueled appliances. Propane can have a higher upfront cost than gas, but offers almost twice as much heat. Cost can differ by area and the fuel market, similarly to natural gas. In order for an appliance to work with another fuel type it’s important that a proper conversion kit is installed. Since propane and natural gas work in differing pressure, certain orifices must be installed to accommodate this. It’s critical that these kits are installed properly to prevent any damage or possible danger when operating the appliance. Here at Cosmo, select gas appliances can be converted to liquid propane with a unique conversion kit which is sold separately. Kits are available at our parts and accessories page here. Guides for conversion are also available at our Customer Support Hub.