Appliances 101

Cleaning Your Single Serve Coffee Makers

Our single serve coffee makers are often the key to success for an easy morning with immediate coffee. Although these convenient and quick machines may seem straightforward, they require maintenance just like any other appliance. Regular cleaning will ensure your coffee maker will provide optimal performance for years to come. Many single serve coffee makers utilize water reservoirs which can be a hotspot for mold and mineral deposits over time. Regardless of the brand you use, there are some signs to look out for when it’s time to clean your appliance. Longer than usual time to brew Filling less than a full cup of coffee Extra grounds or granules in your coffee Unexpected moldy or mildew-y smells Mineral buildup on visible parts of the machine Most of the time a mineral buildup, visible or not, will be responsible for these problems. Here are the steps you can take to get that coffee maker in pristine condition. Empty any water from inside the reservoir. Remove the parts you can, and clean with warm, soapy water in the sink. Some coffee maker brands have dishwasher-safe components. If your coffee maker has any espresso or milk steamer attachments be sure to disassemble and clean those too. Next, take a small cleaning brush and dip it into vinegar. Go around and clean the base of the machine where the reservoir is as well as where the cup pods go. You’ll usually have some grounds trapped here. Reusable filters often have grounds congested in the mesh. Although these filters are usually dishwasher-safe, try soaking them in a cup of vinegar and use a small brush to loosen any granules in the mesh. Next comes the inside of the coffee maker. Reassemble all the parts and components, then fill the dry reservoir with 4 cups of white vinegar and 2 cups of water. Run the machine several times with no filter in place. Once you run a few cups of vinegar, let the machine set for a few hours and then run the rest of the cycles until the solution has run through the machine. Clean out the reservoir and fill with regular water. Run the machine with just the plain water to ensure the reservoir is clean and no vinegar is left behind. Your single serve coffee maker is now clean! Sources: HGTV

Everything You Need to Know About Self-Cleaning Ovens

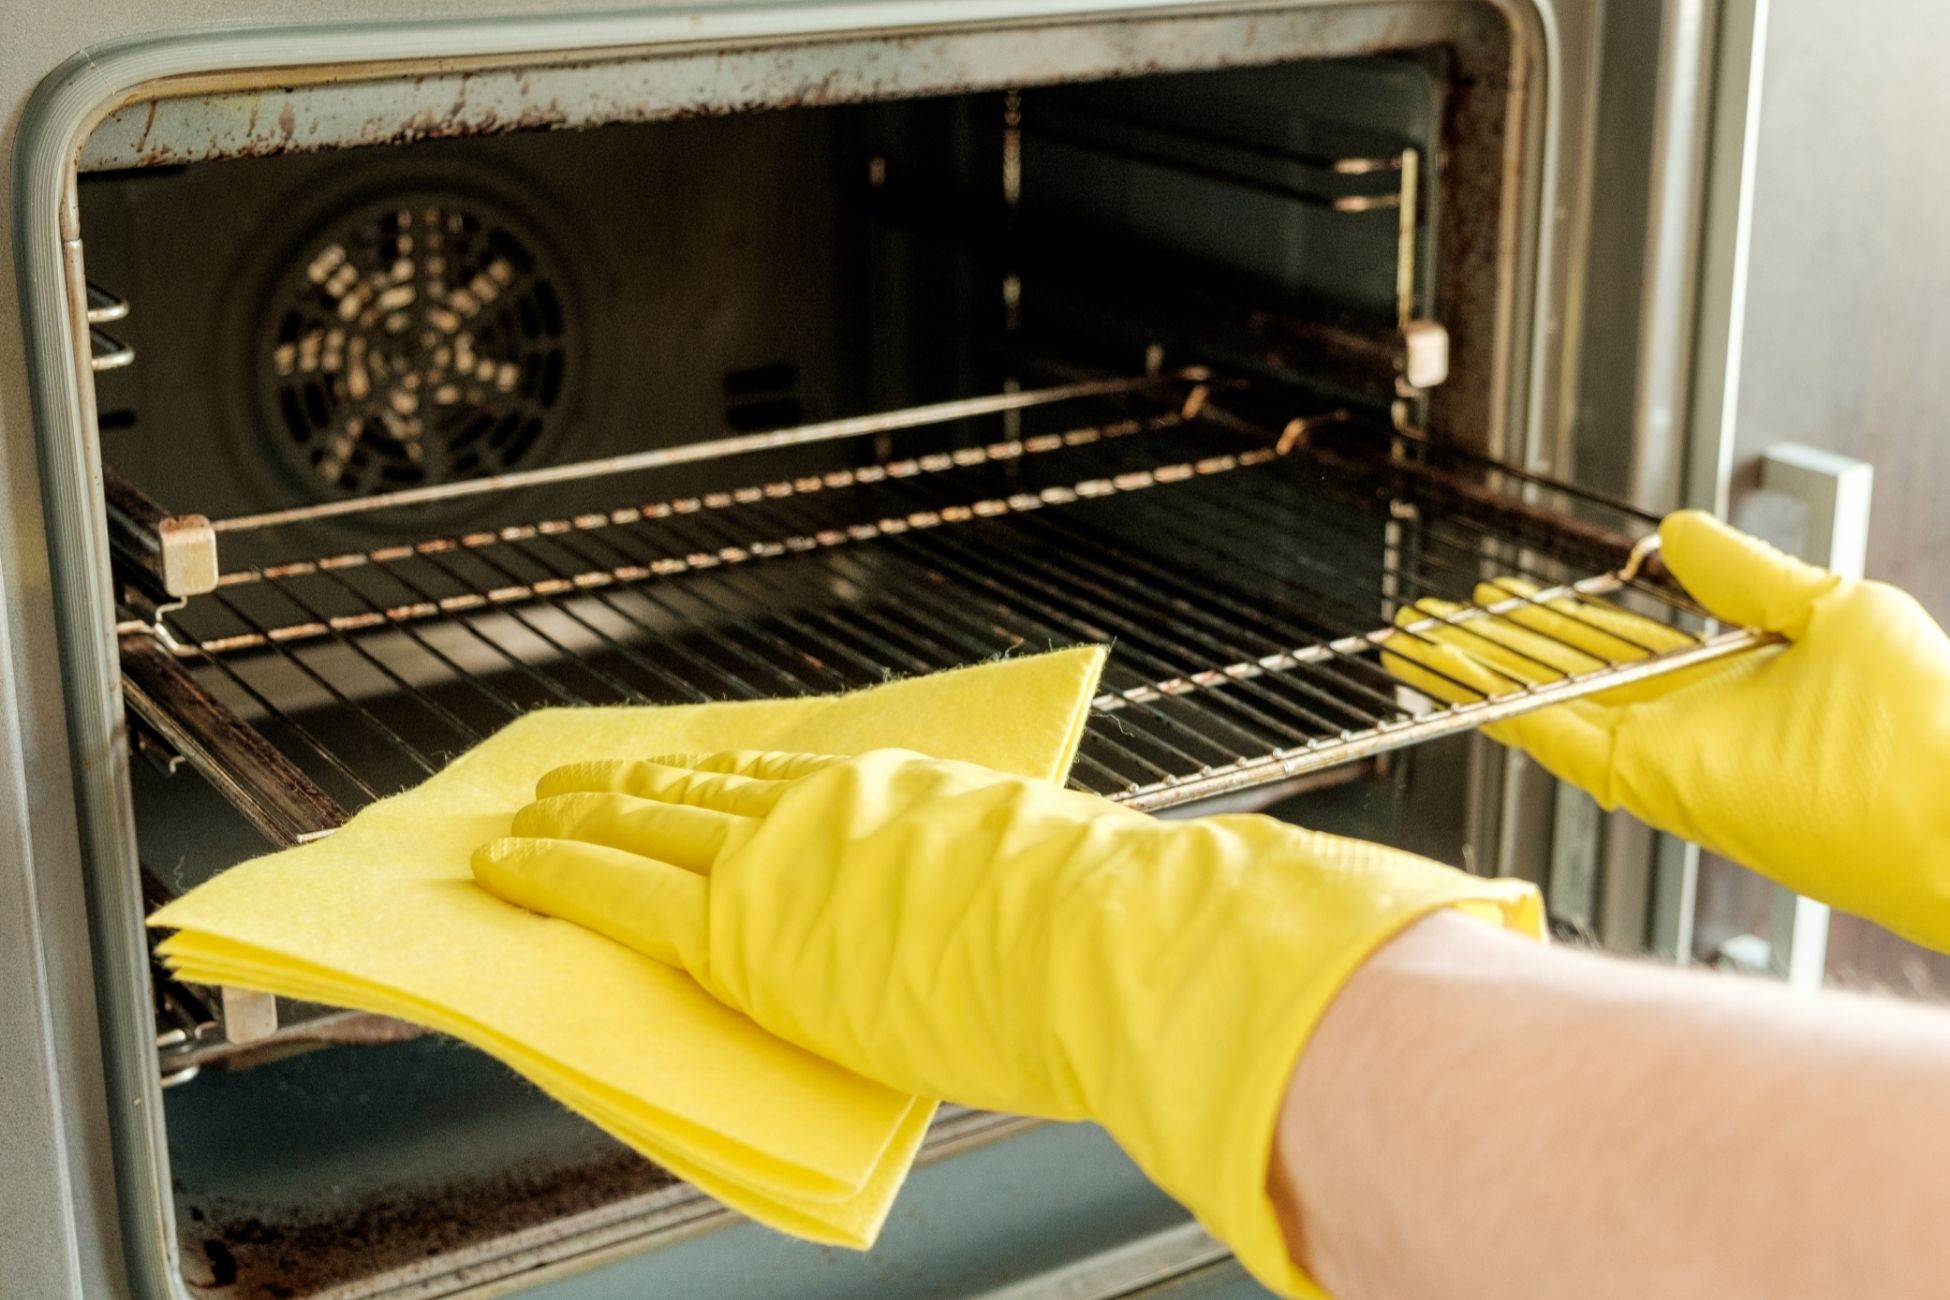
No need to strain yourself scrubbing away at these ovens. Self-cleaning ovens are an easy alternative to get a shiny interior all from the press of a button. Mistakes happen in the kitchen, learn everything you need to know about this function to save yourself from extra work next time. These ovens come in two types, high heat or steam cleaning. A high heat cleaning oven will greatly increase its temperature to burn away any residue inside. It essentially turns any bits to ash. On the other hand, steam cleaning works with heat and water to loosen soils. However it usually requires a manual clean afterwards. A steam clean may require more work than high heat, but it offers no burn off, lower temperatures and no odors. Each oven varies, but usually a self-clean should be performed every four to six months. This will fluctuate depending how often the oven is used and the frequency of spills. A self-clean cycle will take a few hours depending on the brand and type of oven you own. Before starting a self-clean cycle, here are the steps you should follow: Make sure any major spills are cleaned up. Unless otherwise noted in an owner’s manual, remove the racks to prevent discoloration and potential warping. Double check that the oven door is locked. Most ovens will lock themselves. The oven will cause odors while it’s cleaning. Ensure there is proper ventilation throughout your home. A hood or fan is ideal to remove any heat and odors caused by the burning. Perform the self-clean. Once everything is done and completely cool, take a damp towel and wipe down everything inside to clean up any remaining residue. If you’d like to stay on top of things and reduce the need for a self-clean, follow these steps to keep your oven in working condition. Clean up spills immediately. Use a damp sponge or a brush to get rid of any loose food bits. Always wait until everything is completely cool to work on an oven to prevent accidentally shattering any untempered glass. Remove racks for a more effective and comfortable cleaning. Use warm sudsy water or a quality oven cleaner. Rinse and dry before sliding back into place. The exterior oven door can be cleaned with warm, sudsy water and a sponge. You can also use a multi-purpose glass cleaner with a scrub to achieve a spotless finish. Rinse and dry afterwards. Sources: Good House Keeping

What to Keep and Throw Out in Your Fridge After a Power Outage

You may live in an area that could have power outages from natural disasters such as thunderstorms, hurricanes or earthquakes. It’s important to understand the foods in your refrigerator or freezer, and how long you should keep them if you lose power. Follow this guide to stay prepared in case you find yourself without electricity. First, look to see the temperature in your refrigerator. This will be critical to monitor in case of a power outage. It’s worth investing in a refrigerator thermometer. The temperature should be set to 35 to 38°F. If the power goes out keep track of how long it’s out. Keep the door to your refrigerator closed as much as possible to keep it colder longer. Once you pass four hours without power and the temperature inside your refrigerator increases past 40°F, your perishable foods will only be good for two more hours. Foods you should toss: Soups, stews, and casseroles Meat, poultry, and seafood Dairy: milk, cream yogurt, sour cream Eggs Sweets: Cheesecake, cream or custard pies, cream-filled pastries Vegetables: pre-washed greens, cooked vegetables, vegetable juice Pasta: Fresh pasta, salads Tofu Food you can keep: Cheese: hard, processed, grated hard cheeses Dairy: butter, margarine Fruit: fruit juice, canned fruit, fresh whole fruits Vegetables: raw Herbs Breads: Bread, rolls, cakes, muffins, tortillas Sweets: Fruit pies Your freezer also has a recommended temperature you’ll want to keep track of. This is a bit easier as you just want to be sure the food inside stays frozen. A full freezer will keep its temperature for about 48 hours, while a half-full freezer will keep its temperature for about 24 hours. Once the power comes back on check foods to see if they have ice crystals. If they do, you’re safe to refreeze it again. Sources: Apartment Therapy

The Different Types of Ovens You Should Know About Before Buying

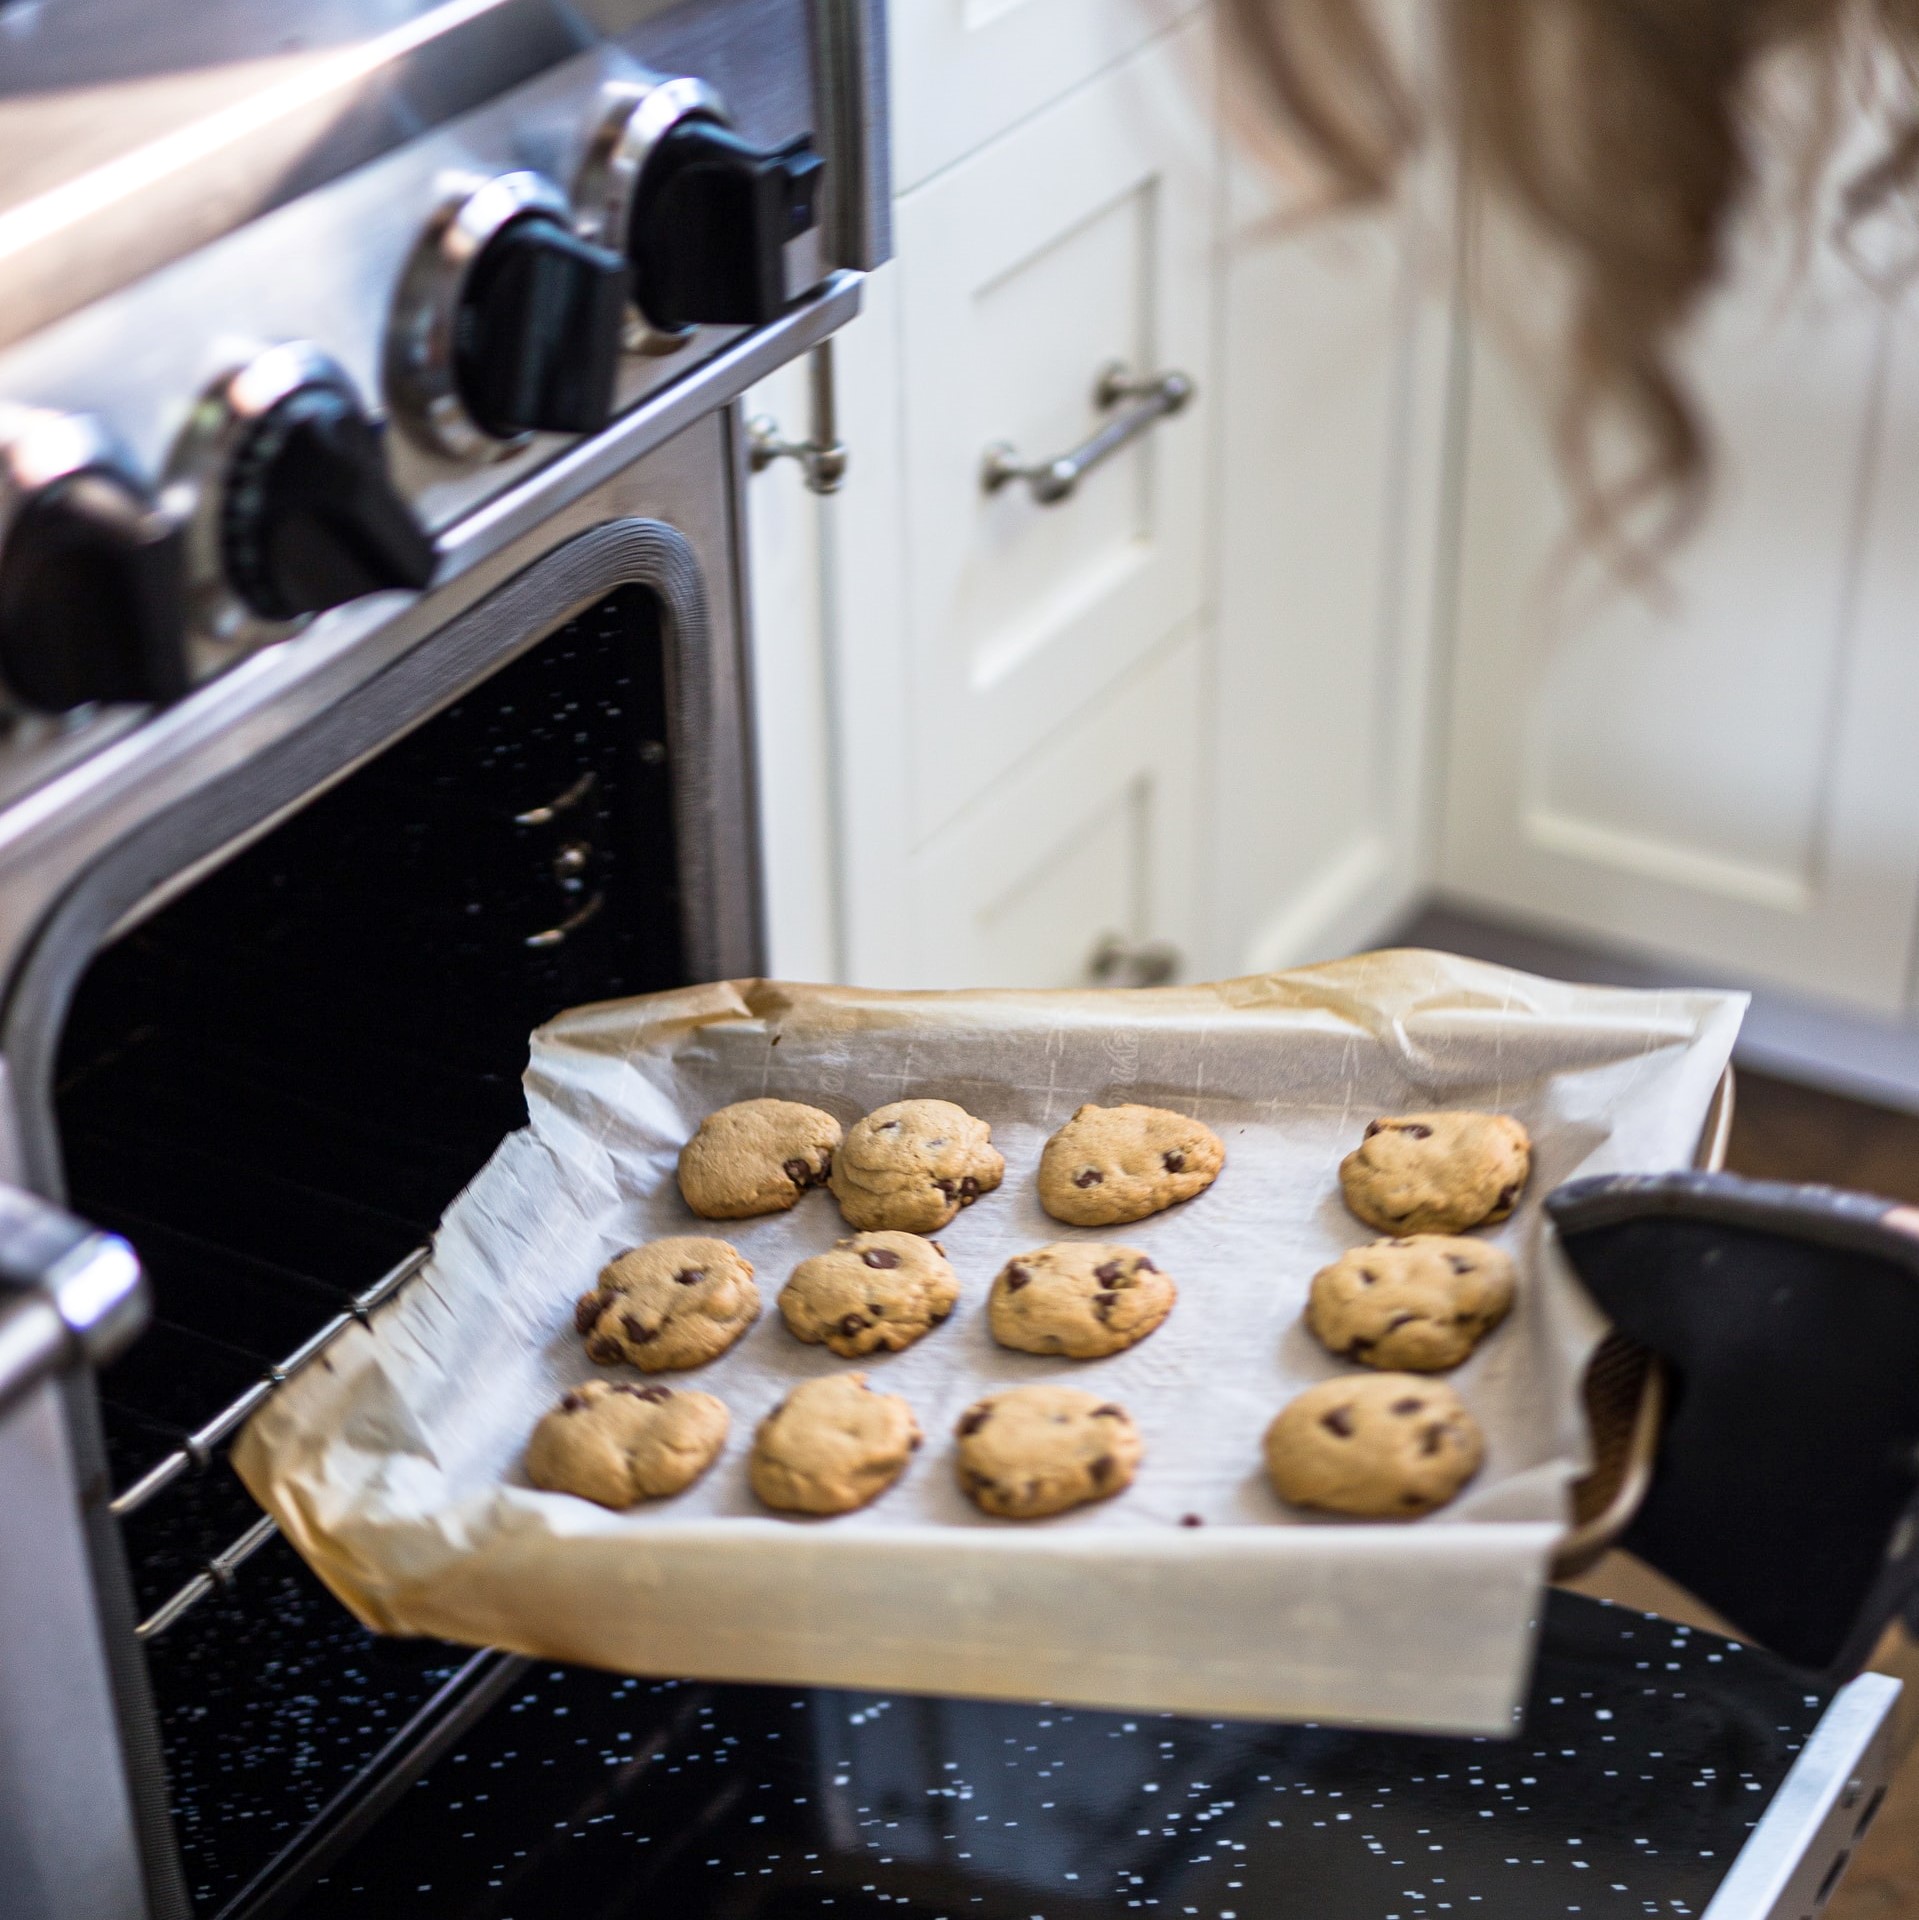
There are many terms regarding ovens you may be unfamiliar with, such as convection, conventional, or True European convection. These are the different ways an oven heats food as it bakes. Looking for all the info you need before making your next purchase? We’ve got you covered. Conventional. A conventional oven typically has two heating elements inside–one at the bottom and one at the top. The bottom element usually is the main source of heat, while the top element is reserved for broiling. The heat inside a conventional oven rises to the top as it bakes. This results in uneven cooking. For instance, cookies you bake in a conventional oven can come out half-burnt and half-blonde due to the various hot and cold spots inside. Convection. A convection oven includes an extra element to provide a solution to the conventional oven. A fan system located at the back of the oven creates a flow of air inside the oven to get rid of any uneven hot spots. This provides more even cooking while removing any excess moisture in foods. A convection oven will bake foods faster which is important to note in recipe instructions. While convection ovens may seem like an easy pick, it’s not suited for foods that are naturally light or airy, since they can be disturbed by the fan. True European Convection. The third oven type are True European Convection ovens. These ovens differ from standard convection in that the fan has an additional third heating element. Instead of just moving air inside the oven, the fan will provide heated air. This will distribute heat more efficiently and evenly than standard convection. A True European oven fan won’t just push around cold air inside since it’s also providing heat. This will in turn reduce the need for cooking time and temperature furthermore than standard convection. This is important to note in your recipes to prevent overcooking. Are you looking to upgrade your oven? Check out our product line here. Sources: Reviewed

How to Get the Most Out of Your Broiler

Broilers are like upside-down grills inside your oven. You can expose your foods to very high heat to effectively cook, like on a grill. Broilers are best used for thin cuts of meat, vegetables or foods that are fairly tender. Here’s everything you need to know for the best results from your broiler. First, it’s important to understand where the broiler is located inside your oven. Usually it’s the same element inside that is used for baking and roasting. Often the broiler is located at the top, meaning you’ll have to place your oven rack at the highest position possible, typically three to four inches away from the broiler. The broiler can also be located at the bottom of the oven or in another compartment underneath. You would need to place your food closer to this side, but there may be more limitations on how you broil with it. Preheat. You’ll need to test your broiler a few times to see what settings would be ideal. Treat it similar to a grill in that you should turn it on for about five minutes before cooking to give it time to heat up. Take a look to see how the broiler behaves, your broiler may have a rod with flames coming out either side. In this scenario placing food directly underneath the line would cook food evenly. Time. Broiling is meant to be done fairly quickly, usually in five or ten minutes. Anything longer can take your nice sear to a burn. You’ll only be really cooking the outer surfaces, so pick foods that are quick to cook like vegetables or thin cuts of meat. If your food isn’t cooked enough at the end, you can put it in the oven to finish. On the other hand, you can cook with the oven first and then broil at the end to give a nice crust or sear to the surface. Pans. Grated broiling pans may allow greater airflow, but aren’t always necessary when using a broiler. You can achieve a similar effect by periodically flipping your food as it cooks. Try using a preheated cast iron skillet or even heavy duty sheet pans as an alternative. Sources: The Kitchnn

The Quick and Easy Way to Clean Your Microwave

Your microwave goes through a lot, and we usually toss food in it hoping for a quick meal above all else. Naturally, over time your microwave will need to be cleaned. Luckily you can follow some easy steps to get rid of any mess. A general rule to follow when cleaning is if it’s toxic to consume it’s probably not a good idea to use on the inside. Cleaning the Inside Take a microwave-safe bowl and fill it up with about 1 cup of water and add a few squirts of citrus, this can be lemon, lime or even orange. Add a few tablespoons of vinegar, either white or apple cider, and heat it on high inside the microwave for a few minutes. It should come to a boil. You really want the steam to build up inside the microwave, so leave it inside after it’s come to a boil for another three to five minutes. Once that’s done, remove the bowl and scrub away. If your tray is dirty take it out and wash by hand or in your dishwasher. Cleaning the Door Take some water and baking soda and apply to the door with a sponge. Be sure to use a damp cloth or paper towel afterwards to remove any remaining residue. You can also use vinegar and water to clean the door if it’s extra greasy. Cleaning the Outside Use water and soap on a sponge to tackle the exterior of your microwave. Although you may want to use something stronger like an astringent cleaner, your microwave shouldn’t need this. There’s some chance this cleaner can get inside your microwave, which is dangerous the next time you heat up some food. Wipe everything down with a damp sponge or towel and dry. You’re done! Are you looking to upgrade your microwave with Cosmo? Check out our complete line here.  Sources: Country Living

The Different Types of Cooktops

Cooktops are the key to delicious meals. There are three main types of cooktops–gas, electric and induction. Each of these cooktops have their own strengths and weaknesses. Just like any other product, it’s best to establish what you need and what would work best for you in the kitchen when deciding on your next purchase. COS-DIC304 Drop-In Gas Cooktop Gas Cooktops The closest to traditional cooking methods, gas powered cooktops heat food with a flame. They offer rapid heat and precise control. When you adjust the knob on a gas cooktop, the level of heat changes immediately with no wait time for an element to heat up. This gives you the most versatility for recipes that call for quick changes in temperature. Gas cooktops also cut heat off instantly, with none being left behind as soon as you turn it off. Some also can include sealed burners which prevent food from getting trapped underneath. These cooktops also offer visual cues as you can visibly see the strength of a flame. COS-304ECC Electric Ceramic Glass Cooktop Electric Cooktops Probably the most common among the cooktops models, electric cooktops heat without the need for a flame. There are two types of electric cooktops, coil or smooth. Coil cooktops have coils that sit on the surface or in a cavity. They typically have the lowest price point. Smooth electric cooktops have radiant elements built underneath the surface which offers a smooth surface, making for an easy clean up afterwards. Radiant elements are similar to coil burners that are housed underneath and radiate heat upwards. They heat more evenly and quickly. Electric cooktops can have dual zone elements which accommodate for different sized cookware. COS-YLIC1 Portable Induction Cooktop Induction Cooktops These cooktops are a type of electric cooktop that use electromagnetic coils to heat a ceramic glass surface. They transfer the heat directly to metal objects. Since the heat goes directly to the metal, it requires less time to heat up and makes the cooktop cooler to the touch. However, only specific induction ready cookware can be used for these cooktops because of the magnetic nature of the coils beneath the cooktop surface. This may be a more attractive choice for an added level of safety to busy kitchens. At Cosmo we have a large variety of cooktops including all three options! Check out our available models here. Sources: The Home Depot

Cleaning a Gas Stovetop

Your range is bound to get messy with the meals you prepare on it. No matter how far gone you think your cooktop might be, here’s some steps you can take to get it looking as good as new. Tools You’ll Need: Non-toxic degreaser Medium-stiffness scrub brush Toothbrush Soft scouring pad Paper towels Glass cleaner Razor blade Magic eraser Before cleaning, make sure your cooktop is properly cool and safe to touch. Check that all knobs are switched to the off position. Remove knobs if possible to prevent bumping into them as you clean. Take all the necessary precautions to ensure the gas does not come one while you’re working on it. Check in with your product manual. Your product manufacturer may recommend specific cleaning procedures best fit for your cooktop. This guide does not apply to cooktops with stainless steel surfaces. Step 1: Disassembly Start by removing the grates on your stove and take some time to clean any food particles that may have been left behind. Pull off the small caps protecting your burners, then remove the burners themselves if possible. Set these aside as we will get back to them later. Step 2: Degrease Grates Place the grates you removed into your sink and give them a thorough soaking with some non-toxic degreaser. You can also use a dish detergent if you prefer, this just may take more time to scrub. Leave everything to soak for about 15-20 minutes. Step 3: Degrease Cooktop Use the same degreaser and spray down the exposed cooktop. Let this soak in for a few minutes to penetrate any buildup. Take a soft scouring pad to break any bits that have been burned or stuck to the surface. As you work through cleaning, take a paper towel and wipe down the cooktop to clean the grease and grime. Depending how much buildup there is on your stove, you may have to repeat this process. Step 4: Persistent Buildup There may be bits that have burned on to the cooktop that may seem impossible to get rid of with a sponge, or some that are trapped in corners you can’t easily get to. Take a medium-stiff nylon scrub brush or an old toothbrush with some degreaser for these areas. It’s a good idea to test the brushes on a part of the surface before, to make sure you won’t accidentally scratch it. For bits that seem stuck no matter what you try, take a razor blade to peel off the grime. Be extremely careful with this as you don’t want to scratch or peel off the paint. You just want to break the surface so the degreaser can get through and break up the grime. Give everything a final polish with paper towels and wipe away any excess degreaser. You can also take a Magic Eraser and Glass Cleaner to lift any residue remaining. Step 5: Clean Removed Parts By now, everything else that has been soaking in degreaser should be ready for a cleaning. Rinse off the grates with hot water, then take a nylon brush with some soap or degreaser to clean further if necessary. Repeat the process for your burner caps. Then, take the burners themselves and rinse with hot water and scrub gently with the brush again. Don’t use any aggressive cleaners or solvents as this may clog the burners and cause ignition problems. Let everything dry completely. Step 6: Reassembly Put everything back together and you’re done! If you’re looking for the best ways to clean your Cosmo product, check into our Customer Support Hub for specific cleaning instructions. Sources: HGTV 

The Best Dishwasher Hacks

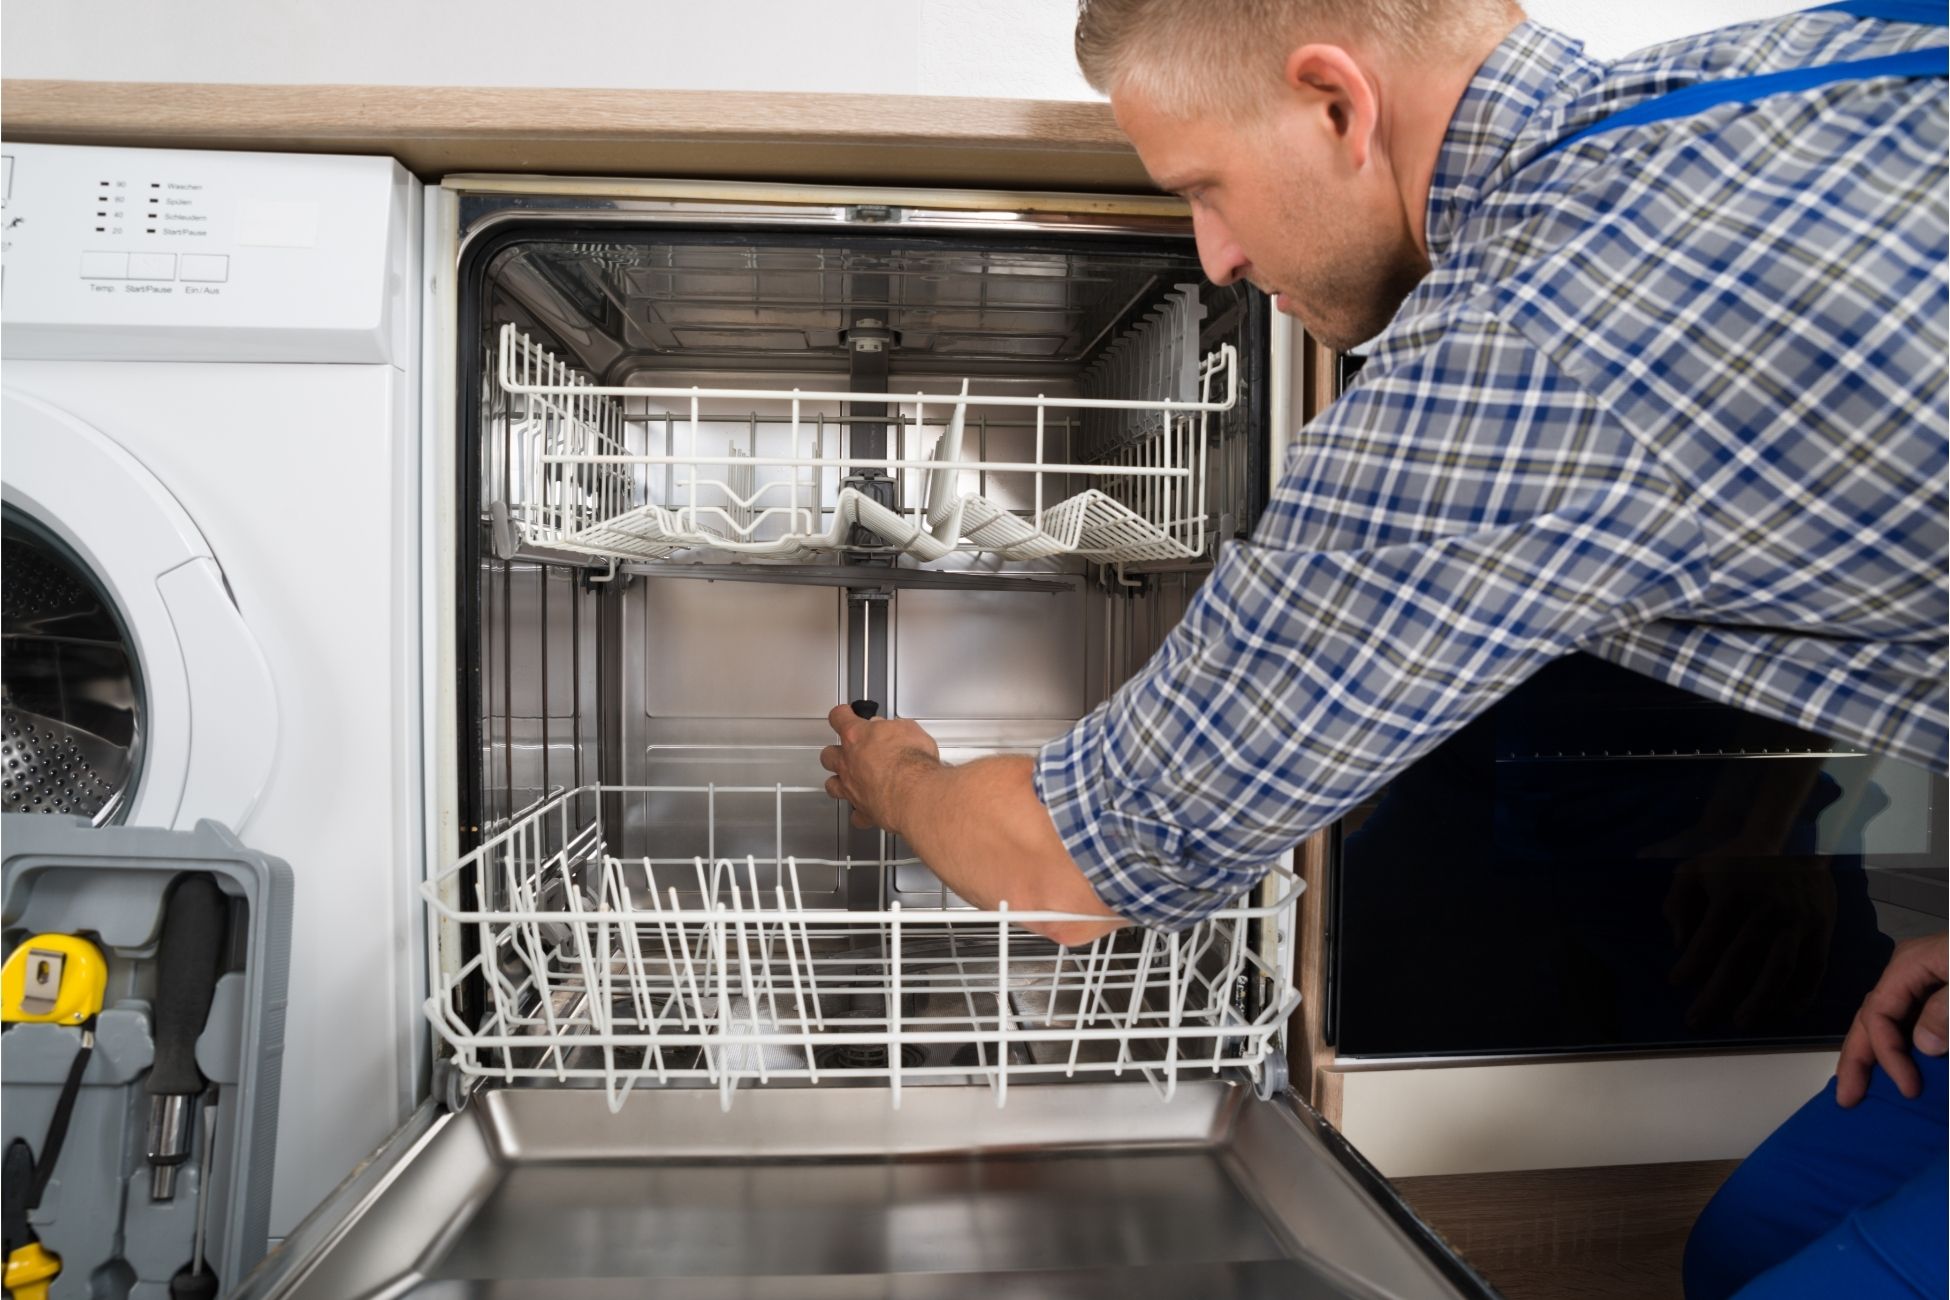
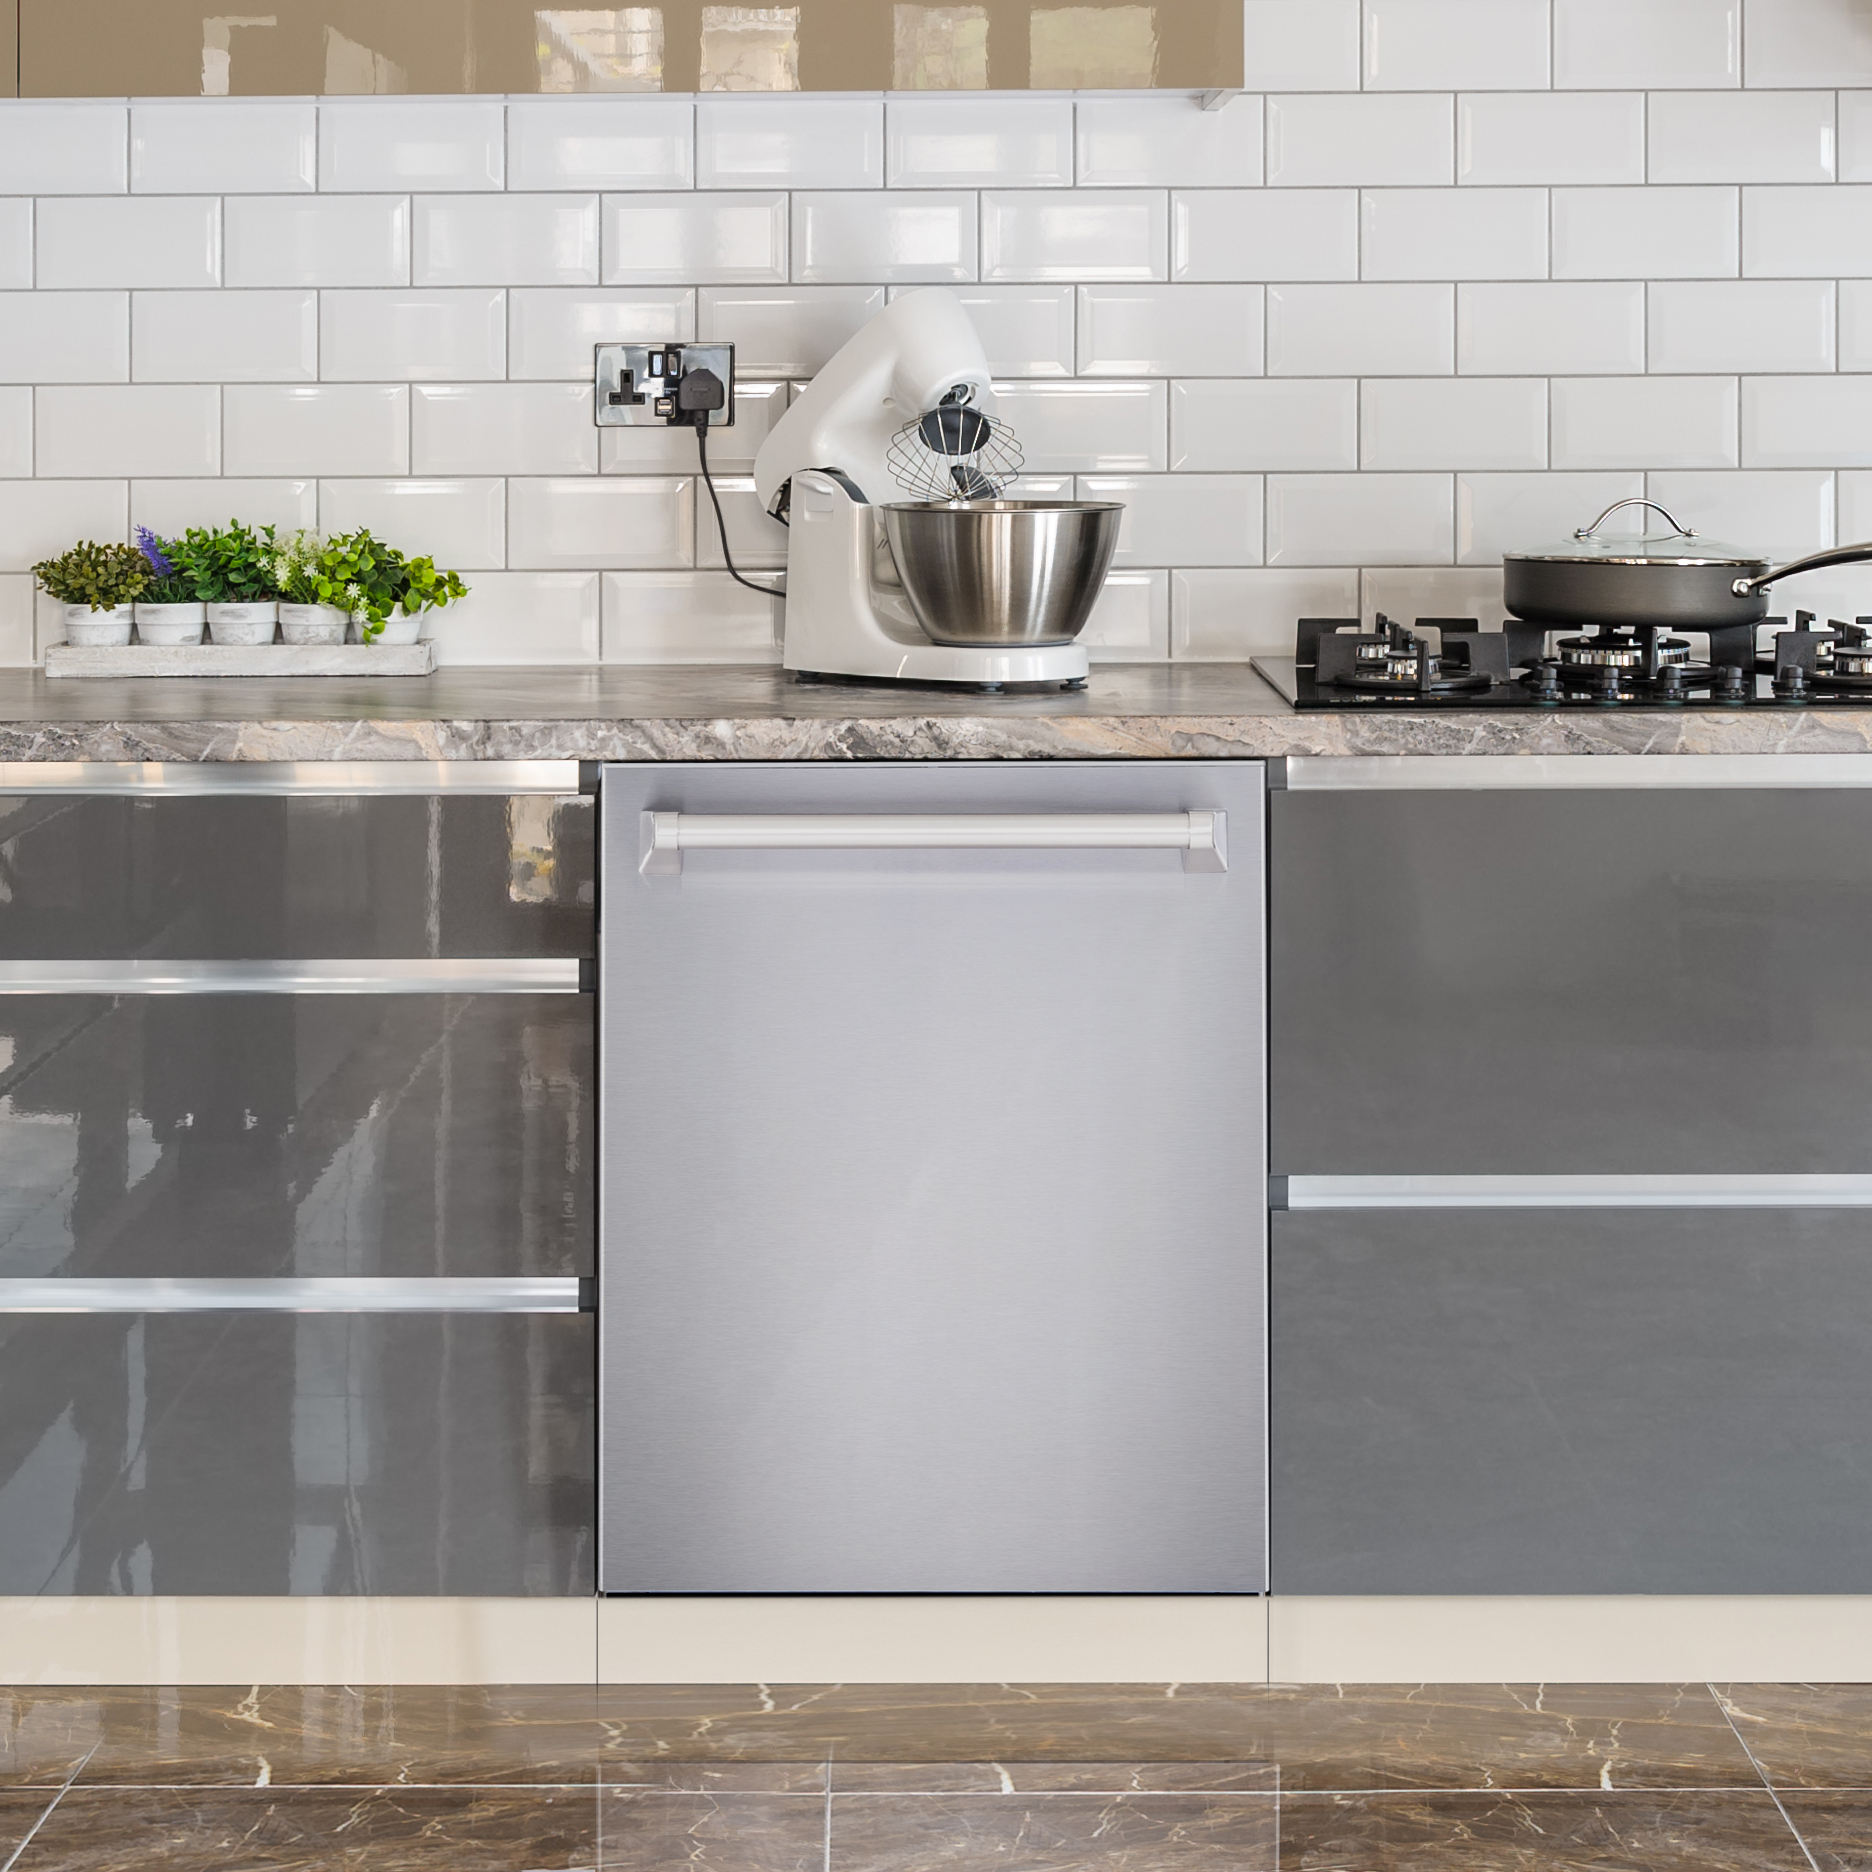
Dishwashers can save you valuable time in the kitchen. Who doesn’t want to skip out on the extra work after cooking a meal? While it may be tempting to just throw your dishes in, there are some key tricks you should implement to get the most out of your dishwasher. The last thing you want is to have to clean those dishes again after. Rinse Before Washing Modern dishwashers on the market are powerful enough to de-grime your dishes, but it’s best to give your dishes a rinse before loading them in. This will prevent any larger bits to remain stuck on your dishes. Take some time to scrape off any residue from your meals in the trash beforehand. Overloading Your Dishwasher Filling your dishwasher to max capacity will diminish its performance. It may seem easier to load everything at once for one wash, but this can lead to more work if the dishes are half clean after. Packed bowls or plates at the bottom of a washer can block the sprayers, preventing your other dishes from getting clean. The Right Detergent Powder detergents usually contain bleach which prevents build up in your washer over time, but it’s best to pay attention to the recommended amount of detergent. An excess can result in a film like residue on your dishes. Clean Your Dishwasher If your dishwasher is giving off a smell or there’s visible buildup, it’s time to clean it. Remove the dishwasher trap if you can and wash it in your sink. Clean the seals regularly throughout the dishwasher with a microfiber cloth. You can also place a cup of white vinegar at the bottom of the dishwasher and run a normal cycle to clean out food bits. Sources: Apartment Therapy

Single Door vs. French Door Refrigerators

Refrigerators often hold the most important ingredients in your kitchen. French door or single door models may seem like a superficial detail but can actually make a big difference in how you use it. French Door Refrigerators Having two doors swinging out instead of one allows for better clearance in tighter kitchen areas. Since the freezer on French door refrigerators are located below, you have immediate access to your necessities–no more leaning down to see if you have any milk. They also tend to be more energy efficient than their single door counterparts, since you can open one door instead of the whole fridge, preventing cold air from escaping. French door refrigerators take advantage of the entire fridge width. You can easily store a full pizza in one of the tiers or drawers. However, French Door refrigerators often come with a more expensive price tag than a single door would. All the extra space means the door shelves tend to be more narrow, which may make it more difficult to store large pitchers or bottles on the doors. Single Door Refrigerators Single door refrigerators are favorable for their cheaper price. It may not have the fanciest features but if you need a fridge within a budget, the single door may be the way to go. They also are easier to clean, less handles means less work for you! Single door refrigerators are easier to close compared to French doors. French doors have to be closed with a good push, which can be a risk if you’re used to letting the door swing back closed on its own. If you’re looking for a statement piece in your kitchen, a single door wouldn’t have much to offer. Due to its larger door width these refrigerators need a lot of room to open. This can be an issue in smaller kitchen areas or apartments. Looking for a French Door Refrigerator? Check out the Cosmo COS-FDR225RHSS EXPLORE Source: Kitchn