3 Ways to Stay on Top of Cleaning
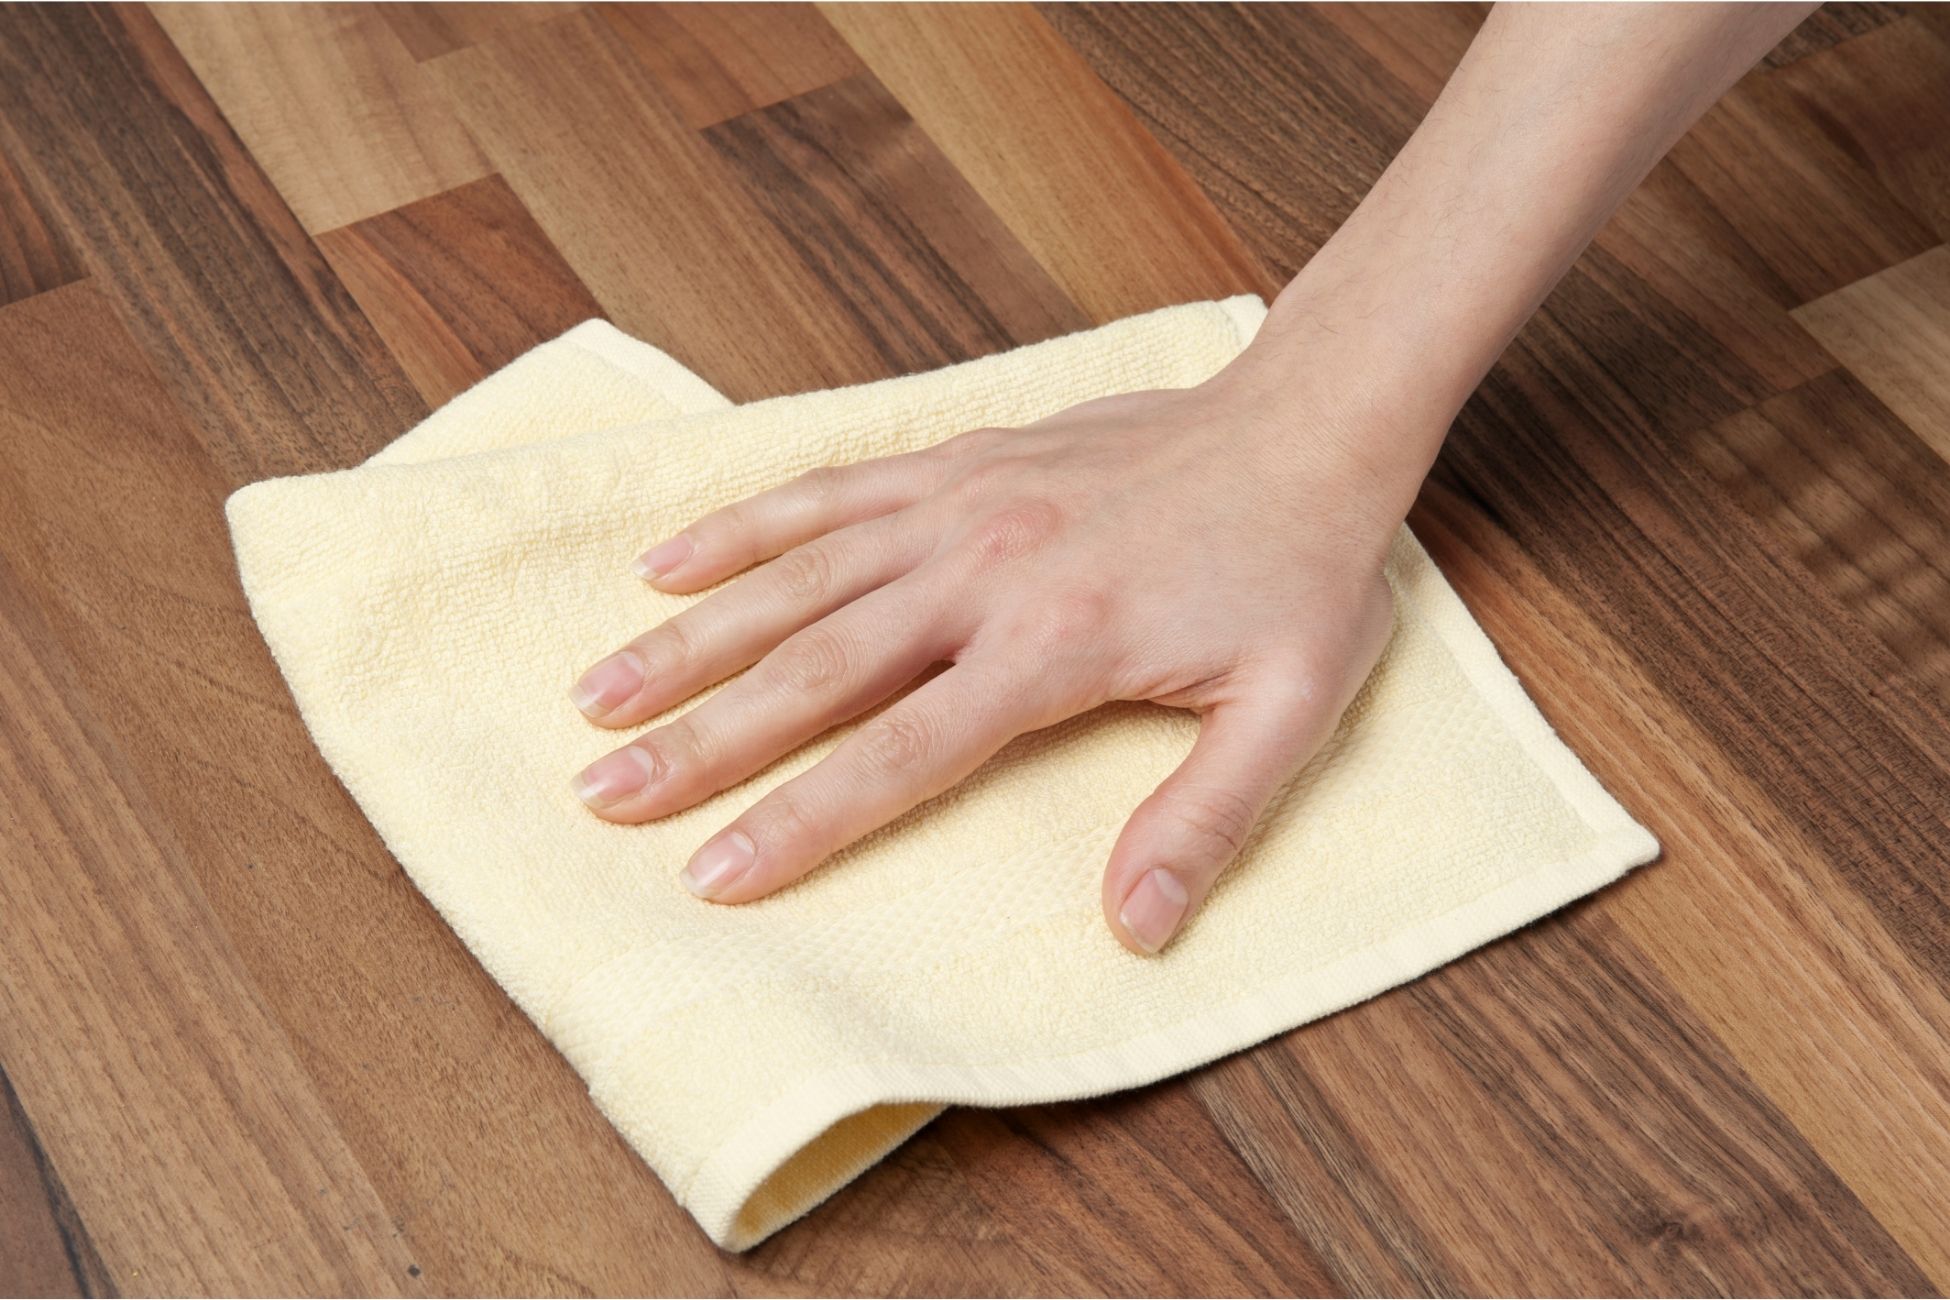
Whether it’s tackling your laundry chair or cleaning the dishes in your sink, staying on top of cleaning can be a daunting task. It’s important to not let the clutter ruin your day while still enjoying life and hitting major milestones. When you’re ready to organize and clean, here are a few habits to keep your space clean and your mind clear. Start Small. Often the thought of tackling major tasks that need to get done like clearing out the garage or deep cleaning the kitchen can cause apprehension. Instead, start with something small. Completing a single task is a good way to start appreciating tidiness. It can be something as simple as making a bed or clearing a desk. You’ll learn what you can do immediately and what can wait. Be Intentional. Starting with little tasks could potentially snowball into an endless day of work. To avoid this, be intentional with your cleaning. If you set out to do one thing, do that and nothing else. It’s about setting boundaries and clear goals. Another helpful method is setting a timer. For example, clean a specific area for 10 minutes or half an hour and then stop. Create a Routine. Setting a routine with the help of the two previous methods help you organize your day. Consider a morning routine where you make the bed, pack lunch and then on a Friday you set up for the weekend. If you’re working from home, consider tidying up your desk everyday after work. Source: the Kitchn