Homemade Nutella Recipe
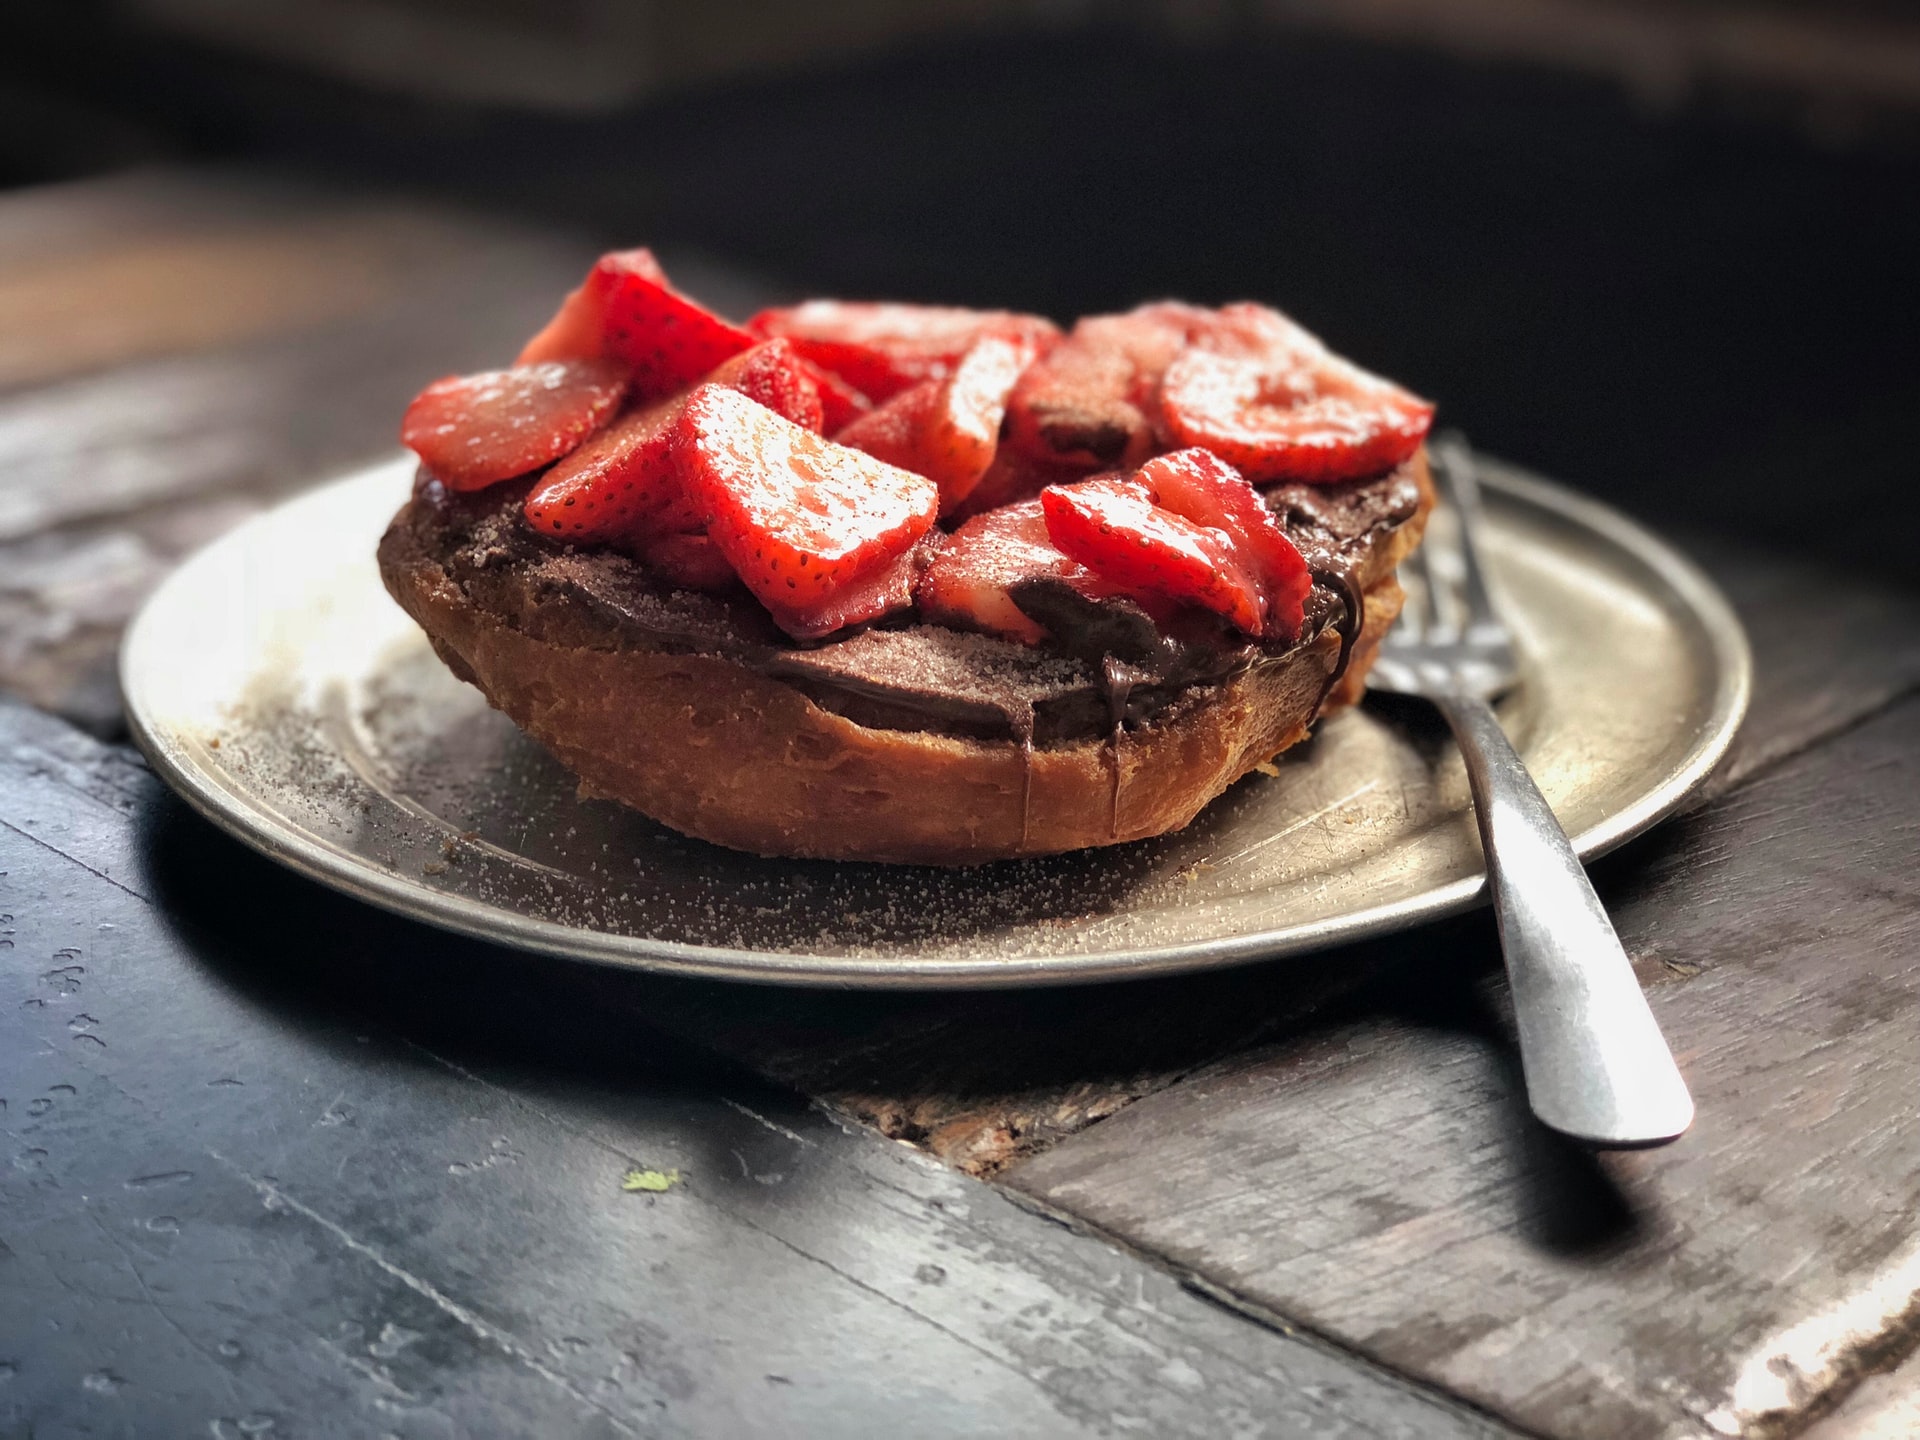
You don’t need to run the store next time you’re out of Nutella. All you need is five ingredients, a food processor and about half an hour. Nutella is the perfect spread for toast or wrapped into a warm crepe. This recipe will make 2 cups that last for 2 weeks. Learn how below. Total time: 25 minsYield: 2 cups Ingredients: 1 c. hazelnuts Kosher salt 3 1/2 oz. dark chocolate, chopped 1 c. sweetened condensed milk 2 tbsp. light corn syrup Directions: Heat oven to 375°F. Place hazelnuts on a rimmed baking sheet and roast 10 minutes, shaking once or twice. Wrap hot hazelnuts in kitchen towel and roll vigorously to remove most of peel; cool completely. In a food processor, process hazelnuts and 1/2 teaspoon salt until mostly smooth and runny, about 8 minutes, stopping and scraping the side of the bowl occasionally. In a medium bowl, microwave chocolate in 20-second intervals, stirring after each until melted, then stir in condensed milk and corn syrup. Add chocolate mixture to pureed hazelnuts; pulse until just combined. Store in airtight container at room temp up to 2 weeks. Source: Good Housekeeping