
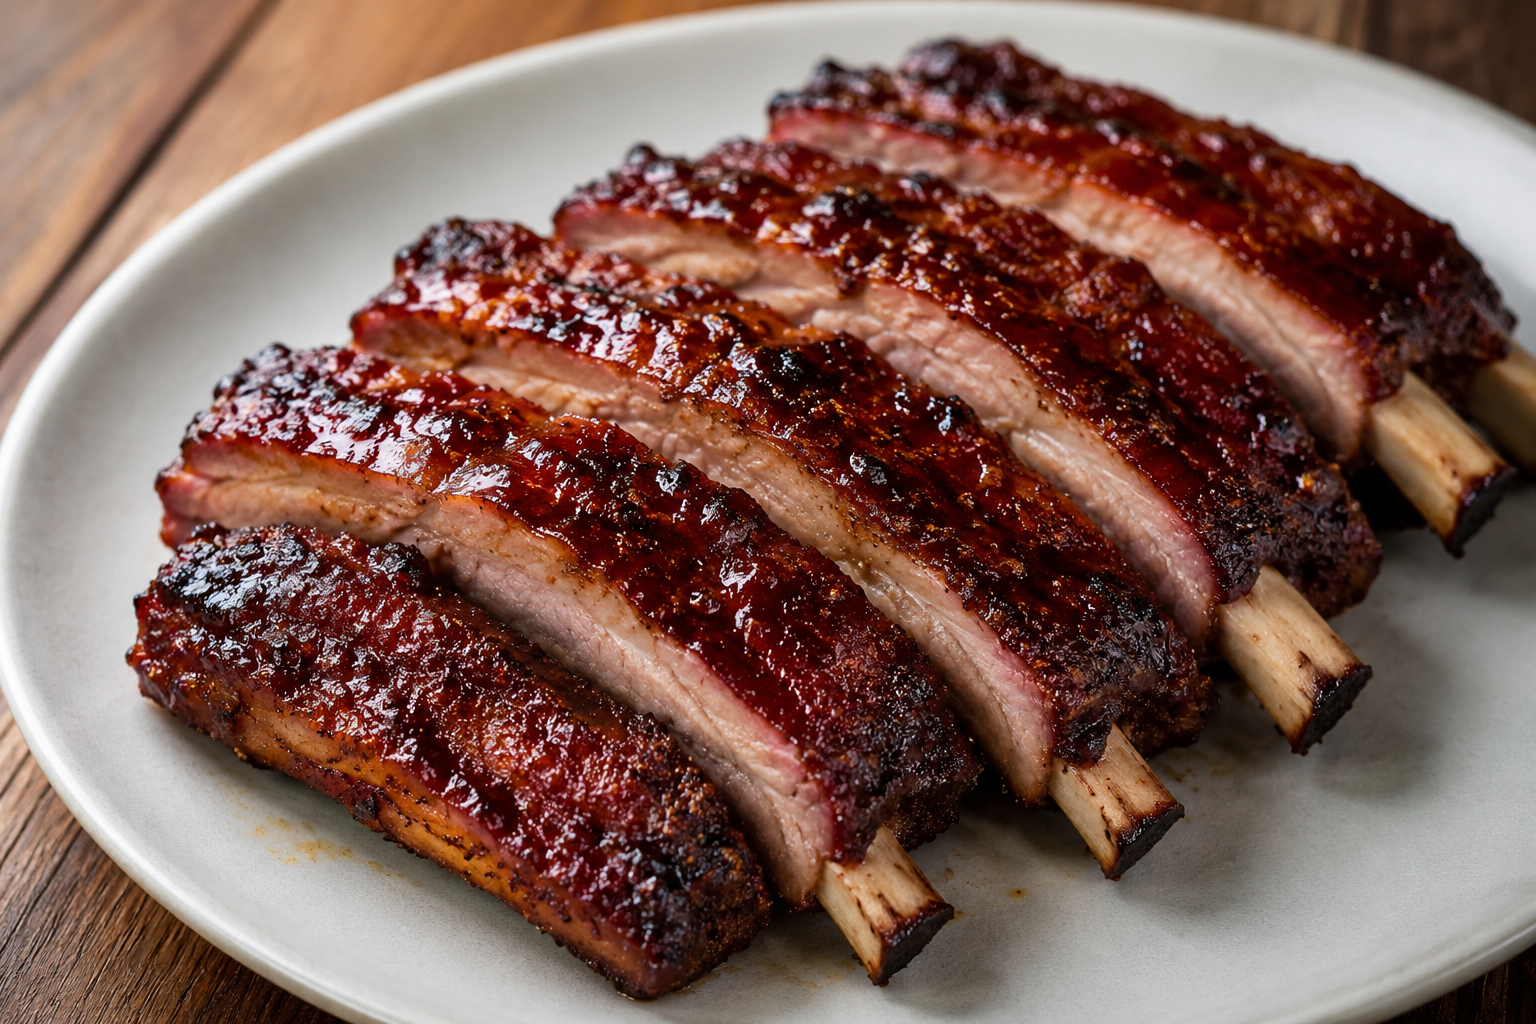
Baby Back Ribs Recipe | Low and Slow Oven Method with Grill Finish
Baby back ribs made at home have a reputation for being complicated or time-consuming in a way that puts people off attempting them. The reality is that the active work involved is minimal — a thorough seasoning session before they go in the oven, and a few minutes of grill attention at the end. The hours in between require almost nothing from you. The oven does the work, the foil seal keeps the moisture in, and the grill finish at the end delivers the char and caramelization that separates genuinely great ribs from the ones that are merely tender. This recipe uses a technique that serious rib cooks have relied on for years: a low oven braise sealed in foil followed by a hot grill finish. The oven phase at 300°F for three hours breaks down the collagen in the ribs, converting it to gelatin that keeps the meat moist and produces the tender, pull-from-the-bone texture that defines a properly cooked baby back. The grill finish — just 3-5 minutes per side on high heat — develops the exterior char, firms the crust, and adds the smoky, caramelized character that oven cooking alone can’t produce. Together, the two methods create ribs that are deeply tender from the inside out with a charred, seasoned exterior that makes them look and taste like they came from somewhere serious. The Blue Hog dry rub is the seasoning foundation here — a competition BBQ rub with a balanced profile that eliminates much of the guesswork from building a complex dry rub from scratch. The mustard binder holds everything in place during the long cook. The additional seasonings — oregano, thyme, cayenne, garlic powder, onion powder, paprika, salt, and pepper — build on the Blue Hog base to create a more layered, herbaceous profile that makes these ribs distinctly more interesting than a single-rub application produces. Why This Technique Works So Well The oven-then-grill method is one of the most reliable approaches to excellent home ribs, and understanding why it works helps you execute it with confidence. The foil seal during oven cooking creates a steam environment around the ribs that accelerates collagen breakdown. Collagen — the connective tissue that makes ribs tough when undercooked — converts to gelatin over time and heat, and the moist heat inside the foil packet accelerates this conversion more effectively than dry oven heat alone. The result after three hours is ribs where the meat is genuinely yielding throughout, not just on the surface. The low oven temperature — 300°F — is important. Higher oven temperatures would cook the ribs faster but produce dried, tight meat as the moisture evaporates before the collagen has time to properly convert. 300°F is slow enough to let the conversion happen thoroughly while the foil packet retains moisture that would escape in an open roasting environment. The mustard binder deserves more attention than it gets in rib recipes. Yellow mustard’s acidity helps break down the surface proteins slightly during the early cooking phase, improving seasoning penetration, and the mustard itself largely disappears flavor-wise during the long cook — guests who are told there’s mustard on the ribs often can’t detect it at all. What they taste is the seasoning, not the mustard. It’s a technique borrowed from competition BBQ where binders are used specifically to make dry rubs adhere and penetrate more effectively. The grill finish introduces something the oven fundamentally cannot produce — direct high heat contact with the rib surface that caramelizes the rendered fat and seasoning crust into the charred, textured exterior that separates barbecue from roasted pork. Even 3-5 minutes per side on a hot grill creates a meaningfully different exterior character than straight oven cooking produces. Membrane Removal: Why It Matters The membrane — technically called the peritoneum — is a thin, papery silverskin on the bone side of the rack. Whether to remove it is technically optional in this recipe, but it’s worth doing. The membrane stays tough through cooking, creating a somewhat chewy barrier between the bone and the meat that affects both texture and seasoning penetration. Removing it allows the dry rub to contact the meat directly on both sides rather than sitting on top of a layer that won’t absorb flavor. Removing it takes about 60 seconds once you know the technique. Slide a butter knife under the membrane at one end of the rack — typically where the first bone meets the membrane. Lift slightly to separate it from the bone, then grip it firmly with a paper towel (dry hands on slippery membrane tend to slide) and pull with steady pressure toward the other end of the rack. It usually comes off in one clean piece. If it tears, use the butter knife to lift the remaining sections and pull each piece individually. Choosing the Right Ingredients The ingredient choices here are specific enough to be worth discussing. Ribs: Baby back ribs — the smaller, leaner rib cut from the upper portion of the rib cage — suit this oven method well. Their lighter collagen content responds to three hours at 300°F appropriately, producing tender ribs without the risk of them becoming overcooked and mushy that spare ribs’ longer required cook time would demand in the same time window. Choose racks with good meat coverage across the bones — thin racks with visible bone through the meat won’t reward the technique the same way a meaty rack will. Blue Hog Dry Rub: Blue Hog Tennessee Red and their original competition rubs have a strong following in BBQ competition circles for good reason — they’re well-balanced, not dominated by any single flavor note, and work across different cooking methods. Using it as the base of the seasoning stack here means you’re building on a proven foundation rather than starting from scratch. If Blue Hog isn’t available in your area, any quality competition-style BBQ dry rub serves the same purpose. Additional Seasonings: The additional herbs and spices applied alongside the Blue Hog rub