Month: January 2022

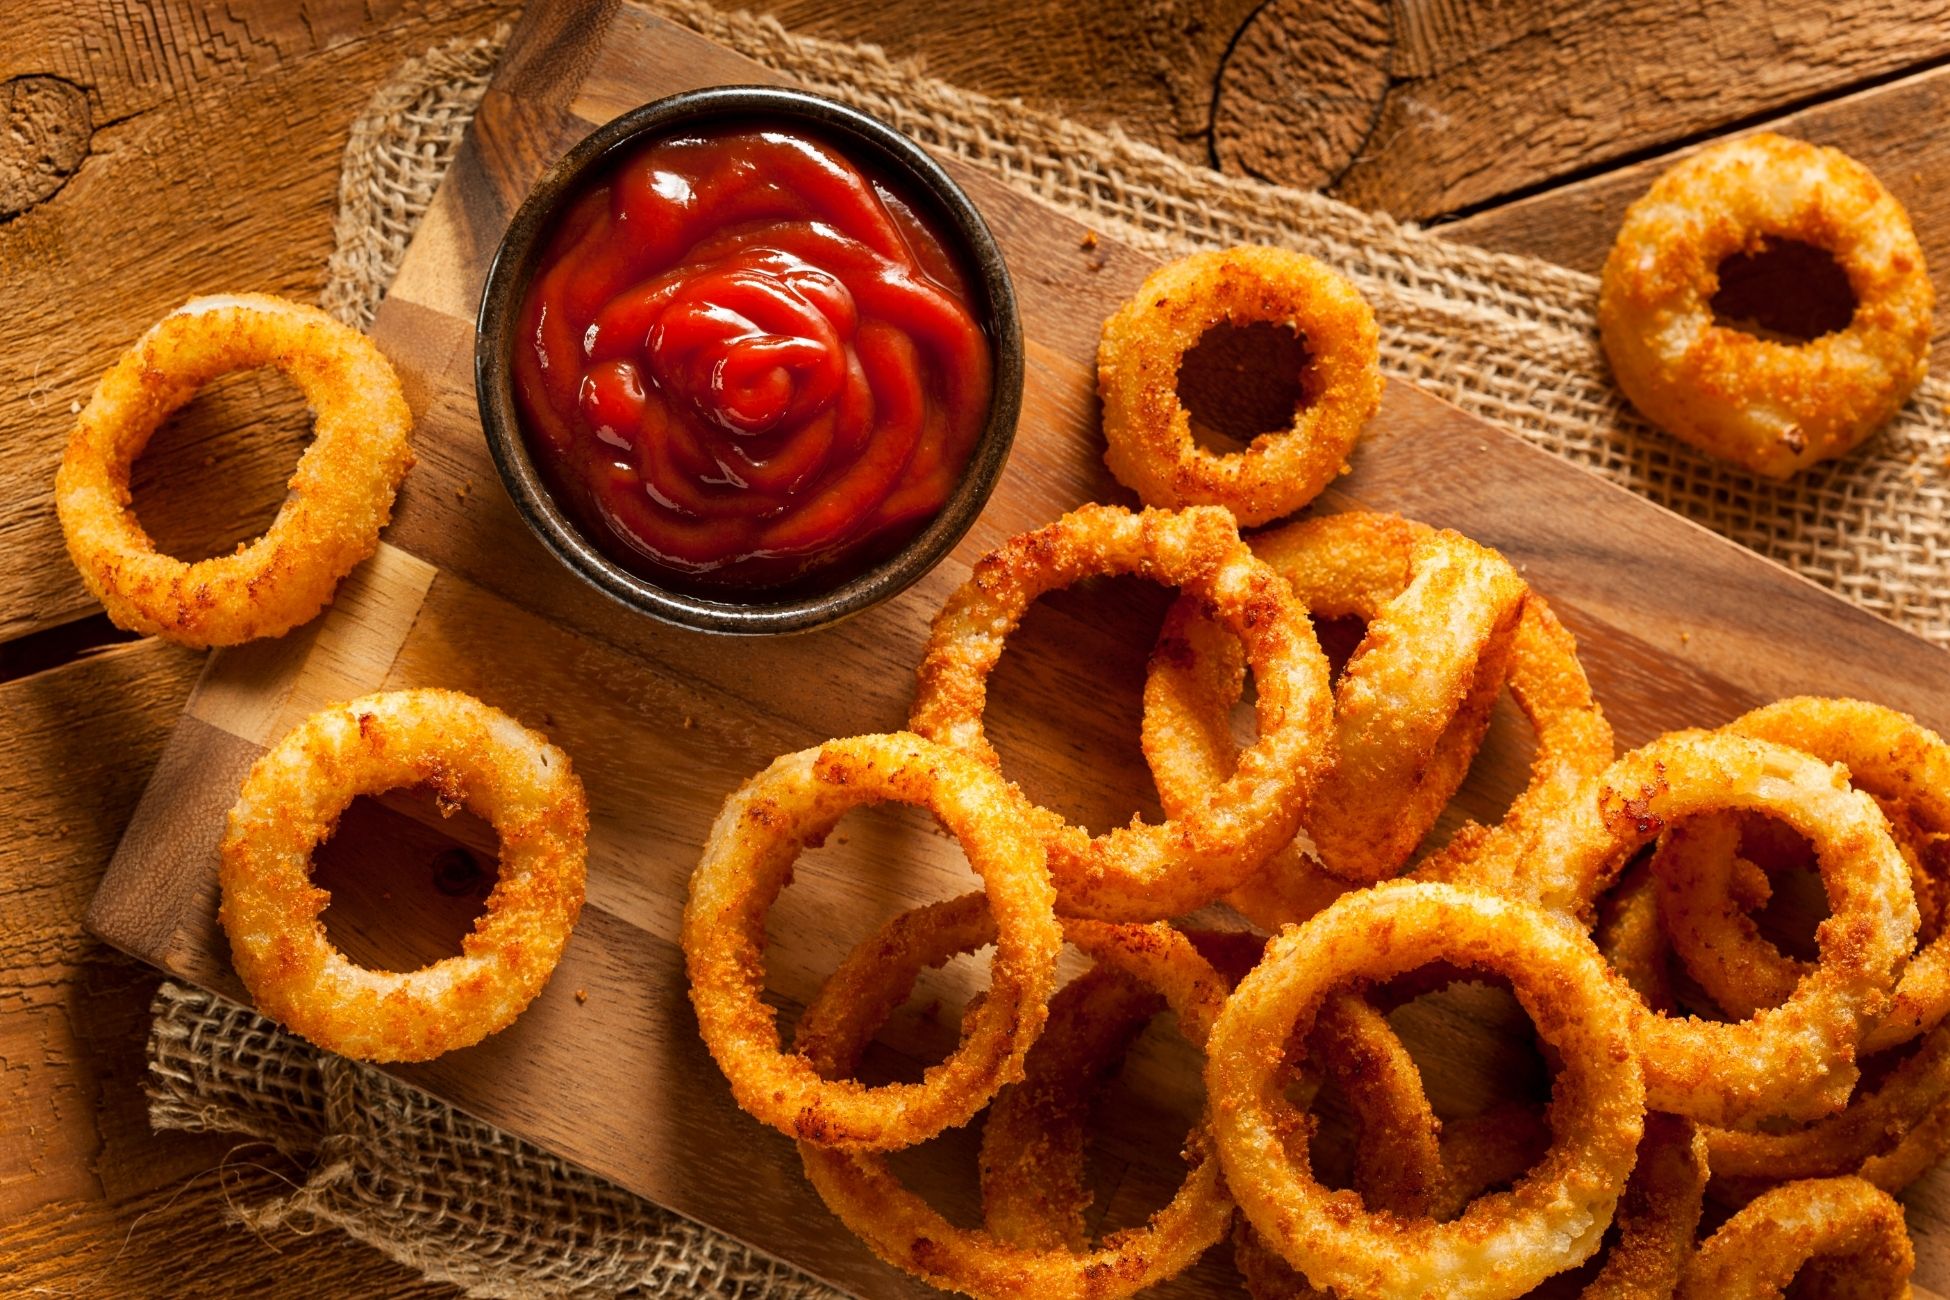
Air Fryer Onions Rings Recipe

Perfect for a quick side dish or snack. The secret to this recipe is the combination of powdered buttermilk, onion powder, garlic powder and other spices, boosting the overall flavor. Try using vidalia onions as they are sweeter and milder than white or yellow onions. Look for onions that are as fresh and young as possible. Older onions will have a more potent flavor. These keep for up to five days. Yield: Serves 4 to 6Prep time: 30 minutesCook time: 36 minutes to 48 minutes Ingredients For the onion rings: 1 cup all-purpose flour 1 (1-ounce) packet ranch dressing and seasoning powder (2 tablespoons) 2 tablespoons kosher salt, divided, plus more for seasoning 2 teaspoons freshly ground black pepper, divided 4 large eggs 1/4 cup water 4 cups panko breadcrumbs 5 tablespoons olive oil 3 large Vidalia onions (12 to 16 ounces each) For the dip (optional): 1 cup sour cream 1 tablespoon ranch powder 1/4 bunch fresh dill 1 tablespoon water 1 tablespoon olive oil Pinch kosher salt Freshly ground black pepper Instructions Arrange a rack in the middle of the oven and heat the oven to 250ºF. Fit a wire rack in a rimmed baking sheet. Place 1 cup all-purpose flour, 1 (1-ounce) packet ranch powder (2 tablespoons), 1 tablespoon of the kosher salt, and 1 teaspoon of the black pepper in a shallow bowl or small rimmed baking sheet and stir with a fork to combine. Place 4 large eggs and 1/4 cup water in a second shallow bowl or rimmed baking sheet and whisk until well combined. Place 4 cups panko breadcrumbs in a third shallow bowl or rimmed baking sheet. Using your hands, crush up the breadcrumbs slightly to create a slightly finer crumb, which will adhere to the onion rings more easily. Add the remaining 1 tablespoon kosher salt and remaining 1 teaspoon black pepper and stir to combine. Drizzle with 5 tablespoons olive oil. Again, using your hands, rub the oil into the breadcrumbs, breaking up any lumps with your fingers and making sure all breadcrumbs are coated evenly. (You might be tempted to use a fork for this step, but it won’t be as effective as using your hands.) Peel and slice 3 large Vidalia onions crosswise into 1/2-inch-thick slices. Carefully separate the rings, setting aside only the large and medium rings. Use the small inner pieces for another recipe or caramelized onions! Heat an air fryer to 375ºF. Dredge and fry the onion rings in batches (enough to form two layers in the air fryer basket): Dredge the onion rings in the seasoned flour, shaking off the excess. Dip into egg mixture, thoroughly moistening the insides and outsides of the rings with your fingers. Return to the flour mixture, dredge again, and then back to the egg mixture. Transfer to the seasoned panko, and dredge, pressing the crumbs to the rings to properly adhere. Place the dredged rings in two layers in the air fryer basket, making sure the rings are not sitting within one another. Air fry until browned and crisp, 12 to 16 minutes, ignoring any potential prompts from your air fryer to shake its contents, which would only knock off breadcrumbs. Meanwhile, dredge the next batch of rings, stacking them on a plate so that they don’t stick together. Transfer the cooked onion rings to the wire rack, lightly sprinkle with more kosher salt, and keep in the oven to stay warm. In between batches, brush any loose crumbs out of the air fryer basket so they don’t burn. Repeat breading and air frying the remaining rings, being careful when placing the rings in the basket — the basket will be hot! Finely chop 1/4 bunch fresh dill until you have 2 tablespoons. Place the dill, 1 cup sour cream, 1 tablespoon ranch powder, 1 tablespoon water, 1 tablespoon olive oil, a pinch of kosher salt and a few grinds of black pepper in a small bowl and stir to combine. Serve the onion rings warm with the dip. Source: the Kitchn

Lemon Icebox Pie Recipe

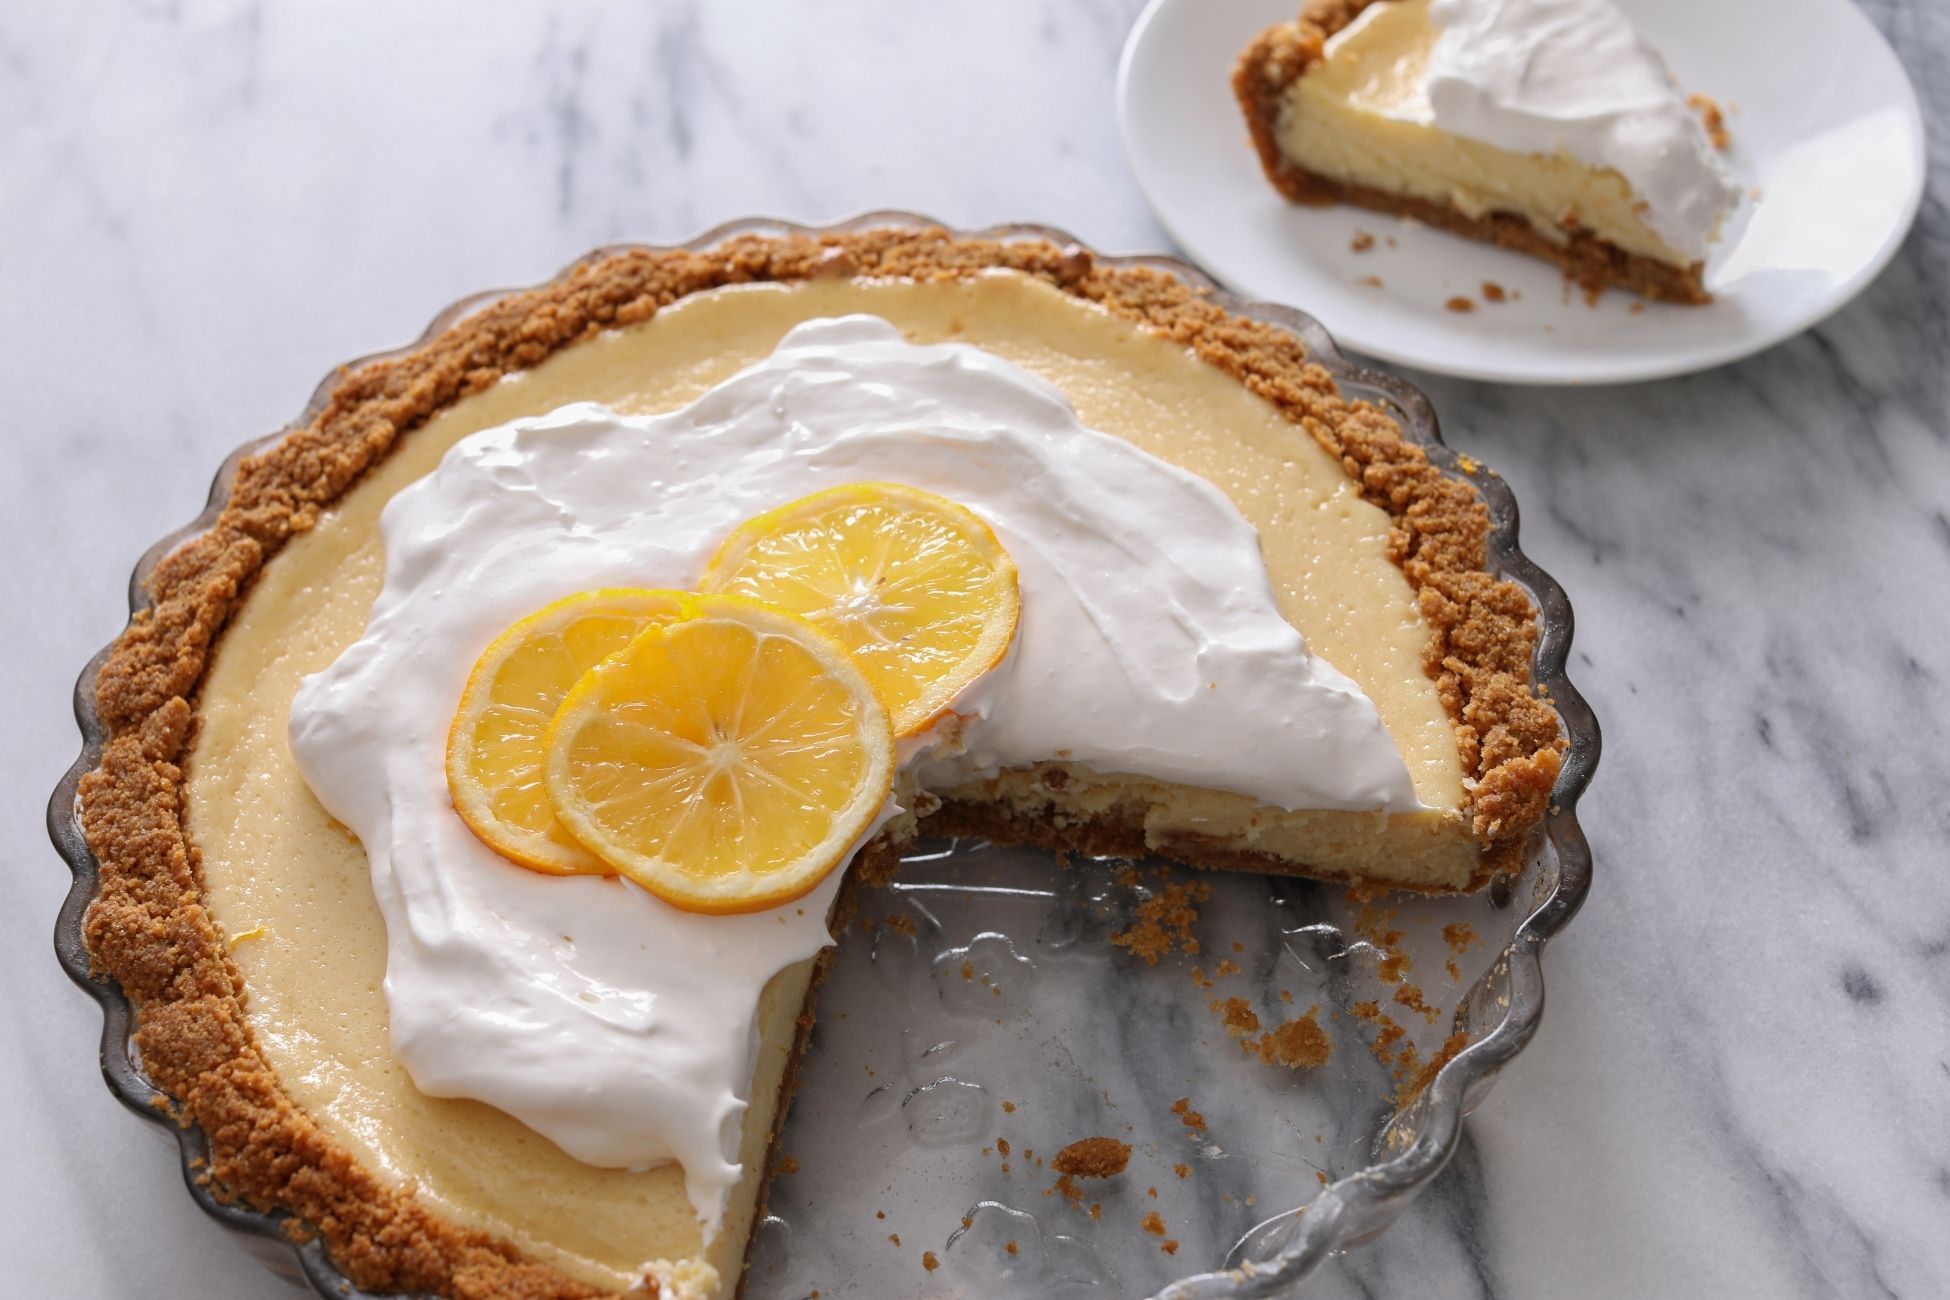
A classic old-fashioned treat. This creamy, dense lemon filling on top of a graham cracker crust brings back the nostalgia. It takes about 25 minutes to put together this quintessential traditional pie. Baking and chilling take longer so you’ll want to prepare this pie a day early you anticipate serving it. Prep time: 10 minsCook time: 35 minsChill: 6 hrs 45 minsTotal time: 7 hrs 30 minsServings: 6 to 8 servingsYield: 1 pie Ingredients For the pie 2 egg yolks 1 large egg 2 (14-ounce) cans sweetened condensed milk 1 cup freshly squeezed lemon juice 1 prepared graham cracker crust, store-bought or homemade (cooled for at least 10 minutes if homemade) For the topping 1 1/2 cups sour cream 2 tablespoons sugar 1 teaspoon vanilla extract Directions Preheat the oven to 350ºF: Set a rack in the middle position. Make the filling: In a bowl, whisk the egg yolks and whole egg until thoroughly combined. Stir in the sweetened condensed milk until blended. Add the lemon juice and stir to blend. Pour into the baked pie shell. Bake the pie: Set the pie in the middle of the oven and bake for 25 minutes, or until the outside edges look set and the center still jiggles slightly. Set the pie on a rack to cool to room temperature, then chill in the refrigerator for at least 6 hours, or overnight. Make the topping: In a bowl, stir together the sour cream, sugar and vanilla until blended. Bake the pie with the topping: One to two hours before serving, preheat the oven to 350oF. Set a rack in the middle position.Spread the topping over the pie and bake the pie for 10 minutes to set the sour cream.Remove the pie from the oven, cool briefly, and return to the refrigerator to chill until cold, at least 45 minutes. Slice and enjoy: This pie will keep for up to 24 hours before serving. Source: Simply Recipes

COS-EPGR244, The Ultimate Compact Gas Range

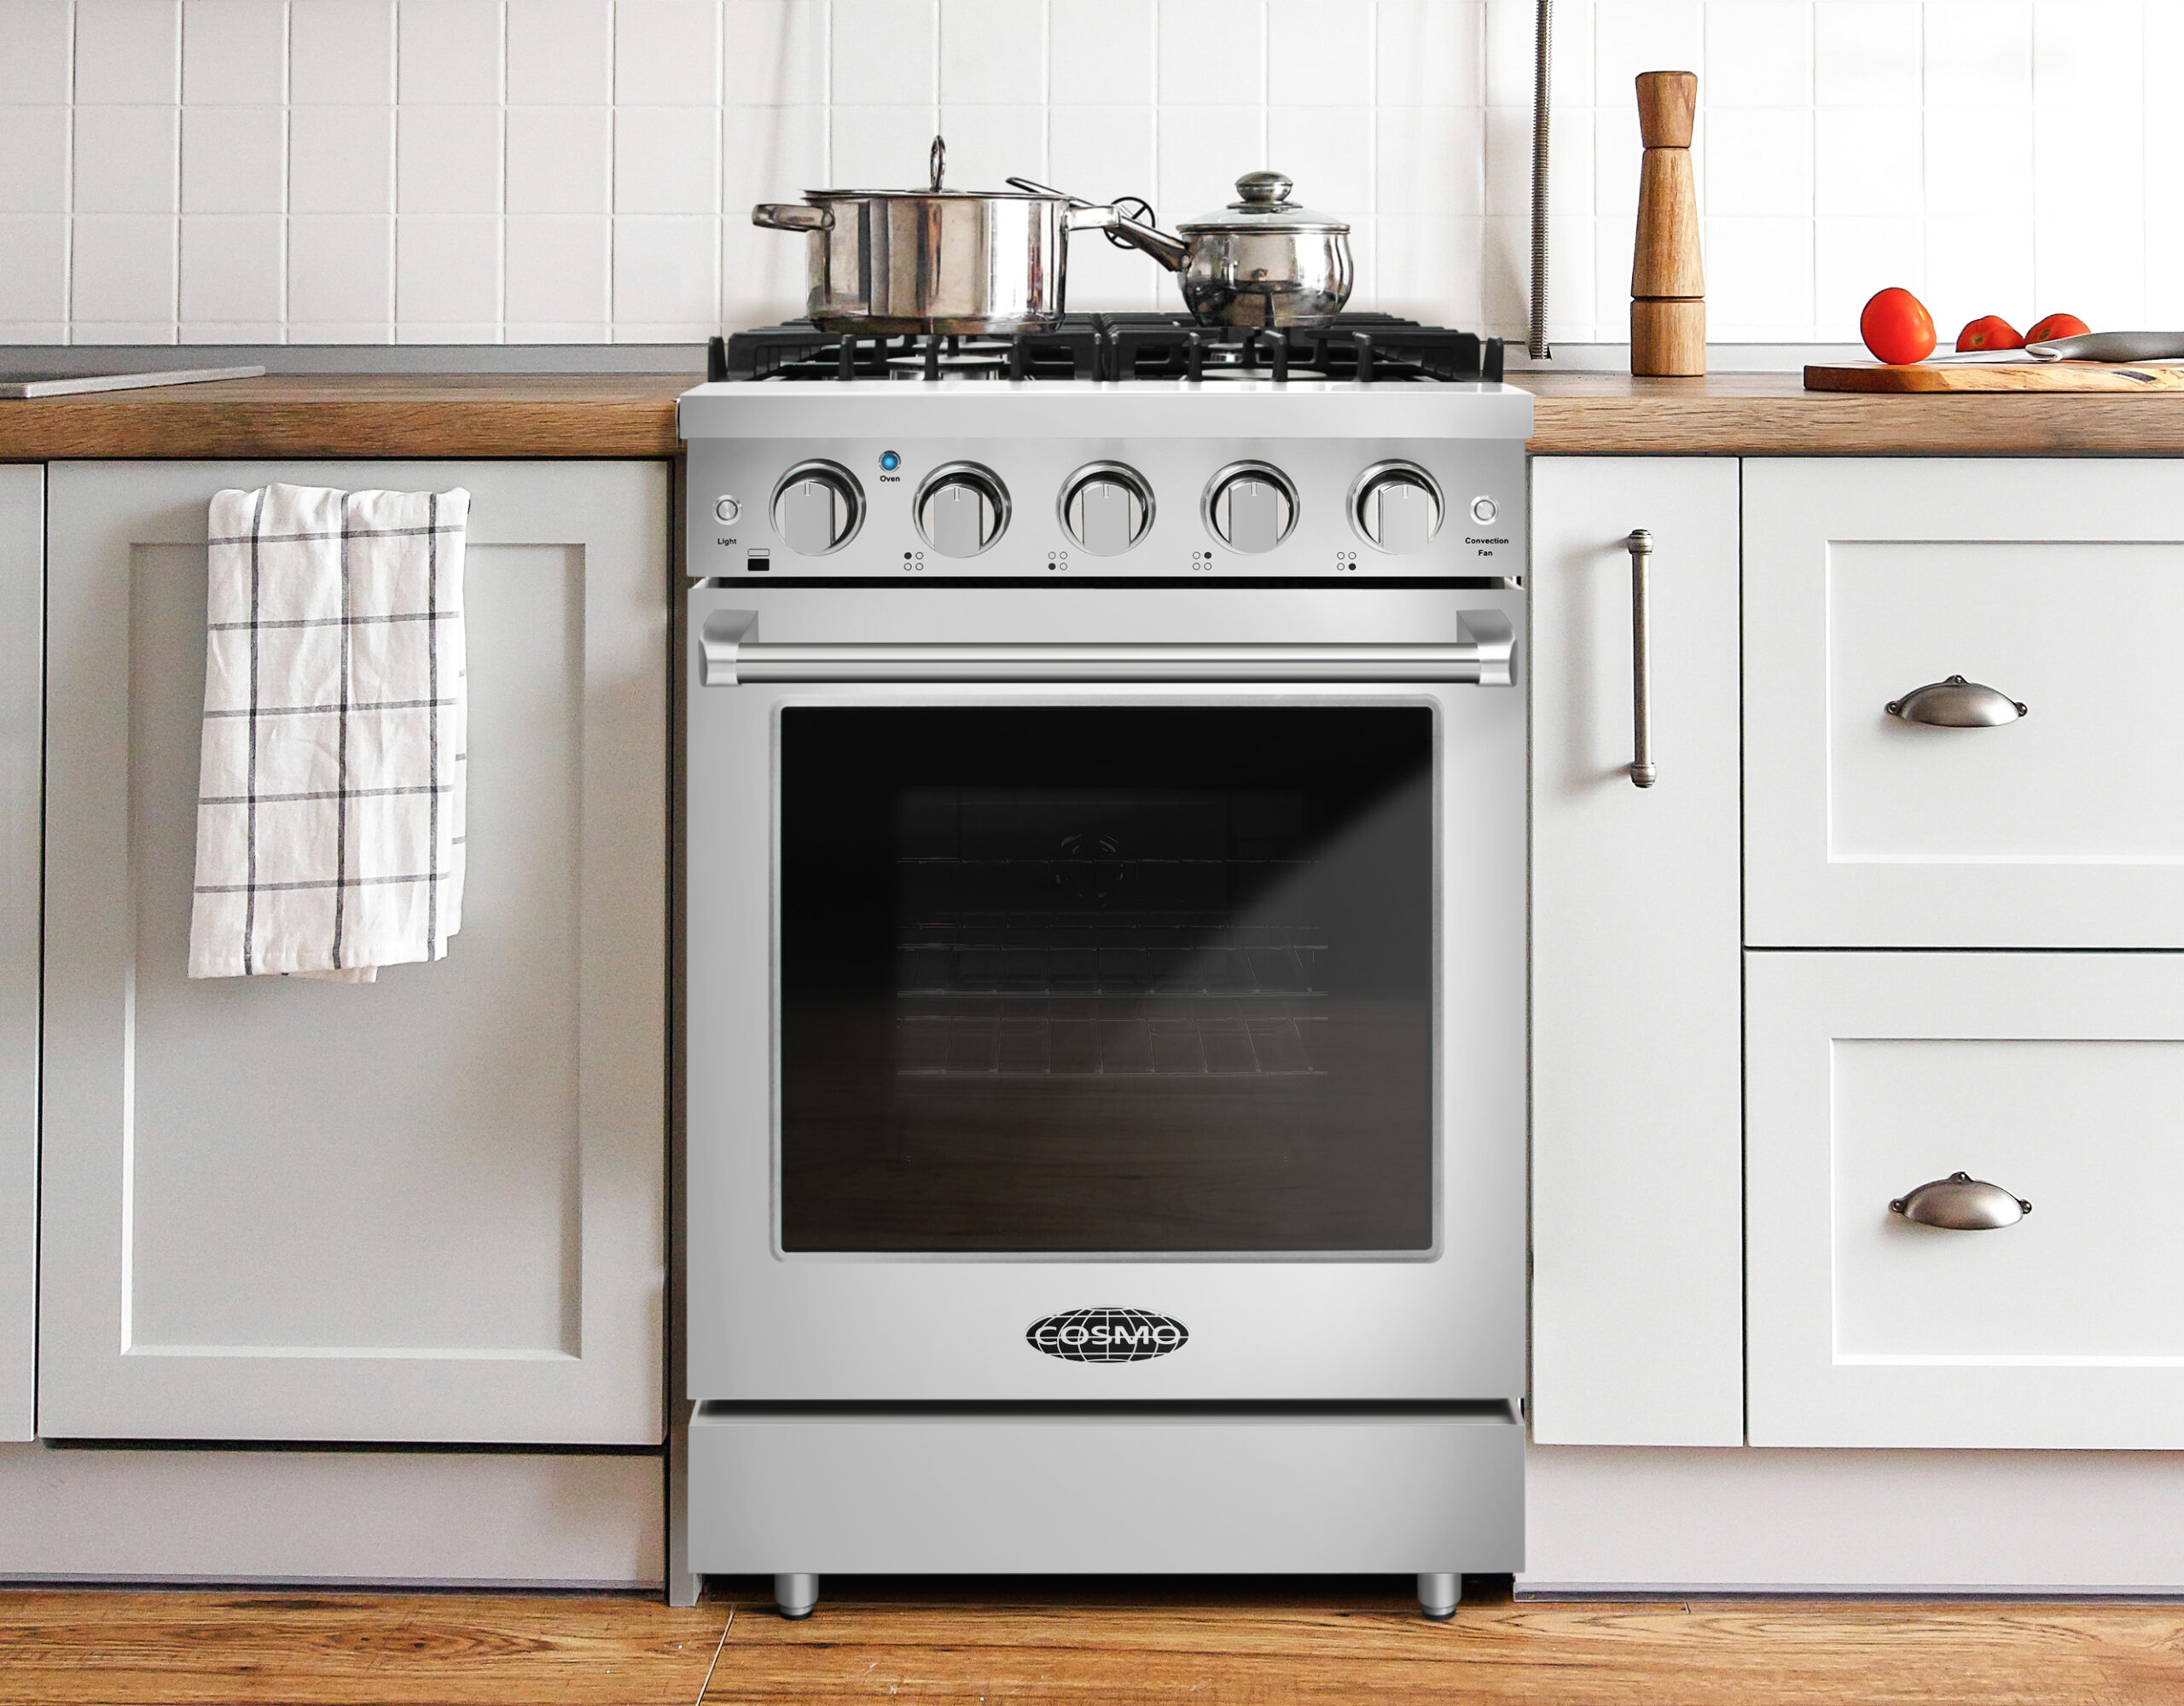
Limited on kitchen space? The COS-EPGR244 24 in. Gas Range can deliver all the performance you’d expect from a Cosmo appliance but in a compact size. Enjoy a spacious 3.7 cu. ft. capacity oven to bake and cook all your dishes with ease. The 4 sealed gas burner cooktop handles a variety of pots and pans for a variety of recipes. Cleanup is a breeze thanks to the industrial, corrosion-resistant stainless steel. Ready to upgrade your kitchen? Read more below! Previous Next Features Professionally styled gas range constructed of corrosion-resistant stainless steel, with bright mirror-finished knobs and a matching stainless steel oven door handle add a professional touch Black porcelain gas cooktop comes equipped with 4 sealed burners that give you the precision and control to cook from a low simmer for sauces, to high heat for boiling and frying Equipped with 4 Burners: 18,000 BTU, 12,000 BTU, 9,000 BTU and 3,500 BTU Spacious 3.7 cu. ft. oven features a convection fan designed to distribute heat evenly around the food and eliminate cold spots in the oven cavity, food cooks more evenly in less time and at a lower temperature than a standard oven Our ranges are designed with safety in mind, featuring an oven cavity cooling ventilation system for safe heat dissipation, overheating protection, triple-thick oven glass and a cool-to-touch oven handle to prevent burns Large oven window and oven light for easy monitoring of food and better overall visibility Includes black porcelain drip pan for added convenience Freestanding gas range stove with oven comes configured standard for natural gas; an optional liquid propane conversion kit can be purchased from the manufacturer A 1-year limited parts and labor warranty means you can trust our single oven gas range to perform worry-free for years to come Professional construction and quality Buy Yours Here

Easy Peanut Butter Banana Smoothie

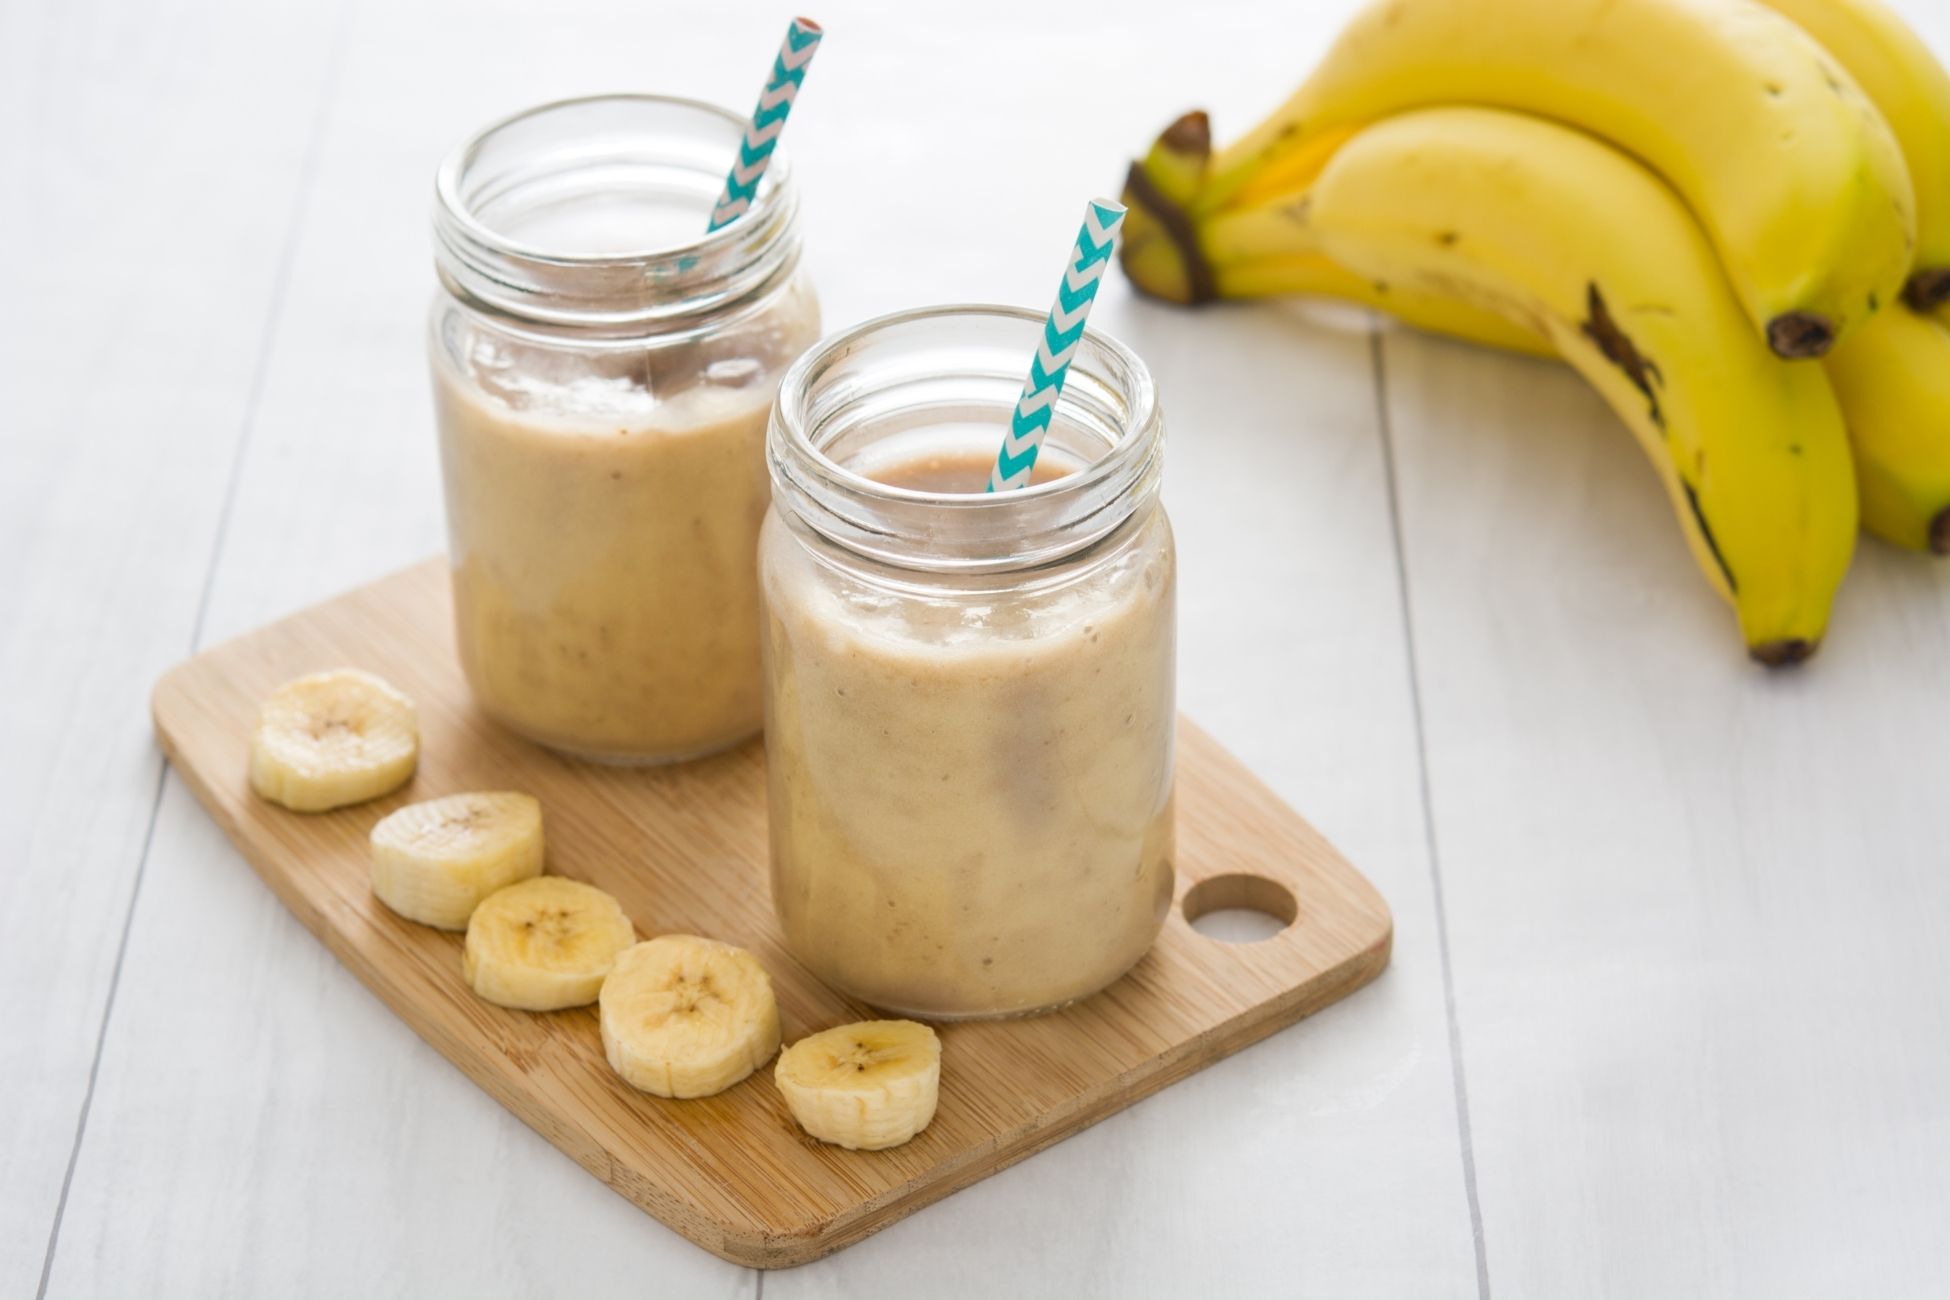
Smoothies are perfect for a quick healthy snack. This recipe calls for only a few ingredients but has plenty of opportunities for customization. It’s naturally sweet with no added sugar. Try freezing your bananas the night before, it’ll make a huge difference for the texture. Serving: 1 servingYield: 1 (13 ounce) smoothiePrep time: 5 minsTotal time: 5 mins Ingredients 1 cup whole milk 1 medium ripe banana, cut into chunks and frozen 2 tablespoons unsweetened peanut butter A few dashes of cinnamon 2 ice cubes Directions Blend smoothie and serve: Add 1 cup whole milk, banana, peanut butter, cinnamon, and ice to a blender carafe. Start the blender on low and gradually increase to high. Stop and scrape down the sides of the blender as needed. If the smoothie is too thick add additional milk, one tablespoon at a time, to reach desired consistency. Blend until the smoothie is frothy and smooth with ice completely blended. Serve. Source: Simply Recipes

Where is Cosmo appliances manufactured?

Cosmo Appliances is headquartered in Southern California and sold throughout the United States and Canada. Ovens, Ranges, Cooktops, Range Hoods and other products are sold through popular retailers such as Home Depot, Amazon, Lowe’s and Wayfair. Our appliances are offered in consideration to budget-conscious consumers, with a focus on refining products by selecting the best components available. A Cosmo kitchen appliance concentrates on contemporary styles by utilizing modern shapes and easy-to clean stainless steel. Our products are backed by US based customer support and manufacturer warranties to ensure years of reliable operation. Our goal has always been to craft a happy home with a happy kitchen. We are driven to produce products that inspire people to come together and create unforgettable moments, while turning dream kitchens into realities. A better home starts with Cosmo. If you’re ready for your next kitchen upgrade, our entire catalog is available! Browse our website to find images, manuals, specifications and diagrams to help you decide on the perfect appliance. When you’re ready to buy head over to our Dealers and Locations page to find where to purchase.

Jicama Fries Recipe

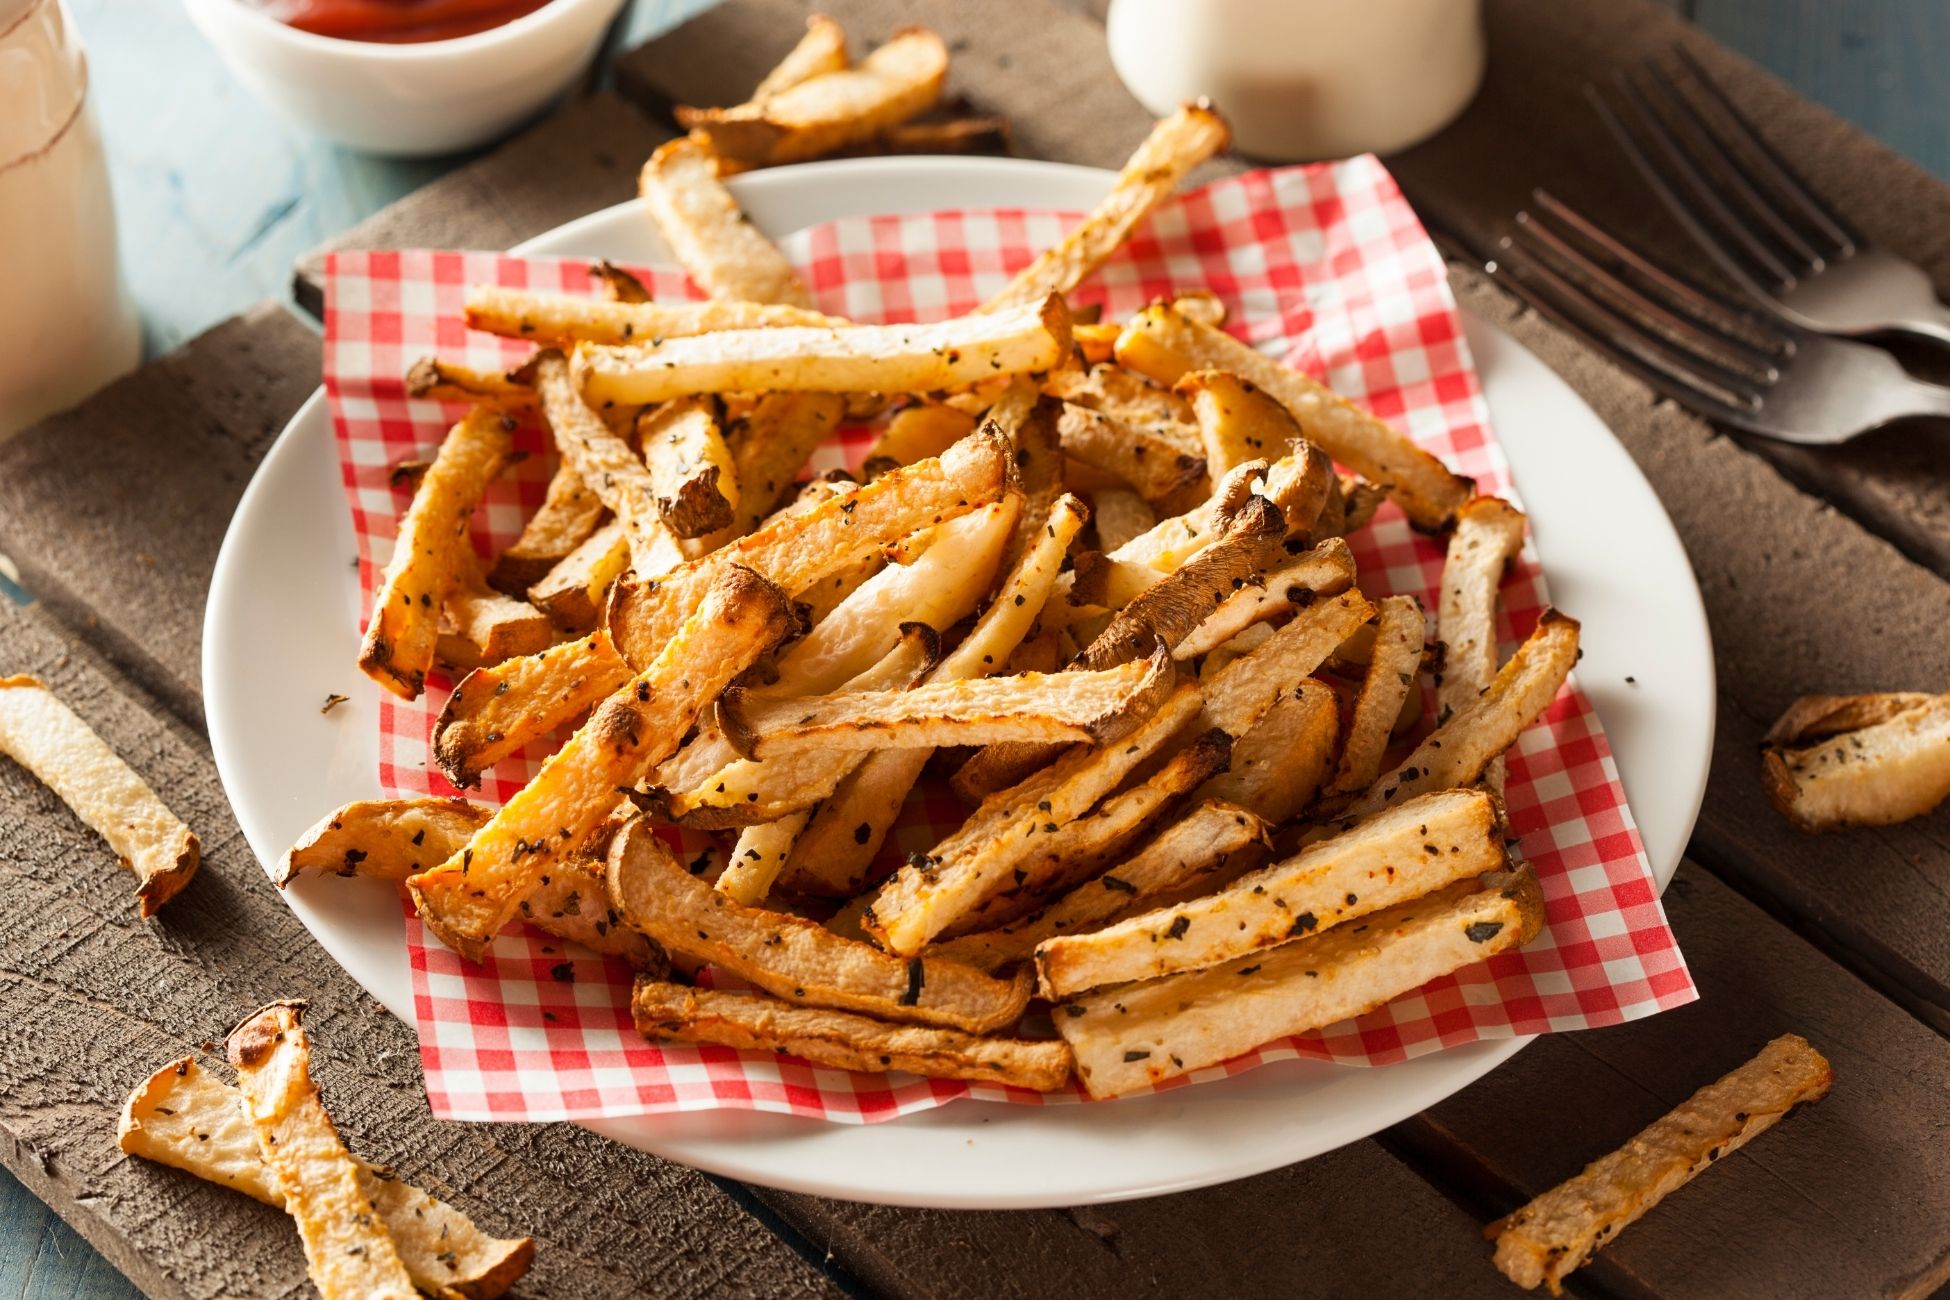
Incorporate more veggies into your diet with this delicious jicama fries recipe. You only need to cut them into thin slices, toss in a couple of spices and bake them until crispy-edged. While jicama doesn’t taste like potatoes, you can still pair them with a fry sauce, garlic aioli or honey mustard. Yield: Serves 2Prep time: 5 minutesCook time: 40 minutes Ingredients 1 medium jicama (about 1 pound) 1 tablespoon olive oil 1/2 teaspoon paprika 1/2 teaspoon garlic powder 1/2 teaspoon onion powder 1/2 teaspoon kosher salt 1/4 teaspoon freshly ground black pepper Directions Arrange a rack in the middle of the oven and heat the oven to 425ºF. Meanwhile, bring a large pot of salted water to a boil. Peel 1 medium jicama, making sure to peel deep enough to get to the white part. Trim off the ends and cut into 1/4-inch-thick slices. Stacking a few slices at a time, cut the slices lengthwise into 1/4-inch-thick matchsticks. Add the jicama to the boiling water and cook until crisp-tender when pierced with a paring knife, about 10 minutes. Drain and pat dry with towels. Place the jicama, 1 tablespoon olive oil, 1/2 teaspoon paprika, 1/2 teaspoon garlic powder, 1/2 teaspoon onion powder, 1/2 teaspoon kosher salt, and 1/4 teaspoon black pepper to a rimmed baking sheet. Toss to coat and spread the jicama into a single layer. Bake until the fries are lightly browned and crisp around the edges, flipping them halfway through, about 30 minutes total. Source: the Kitchn

How to Paint a Small Kitchen to Make it Look Larger

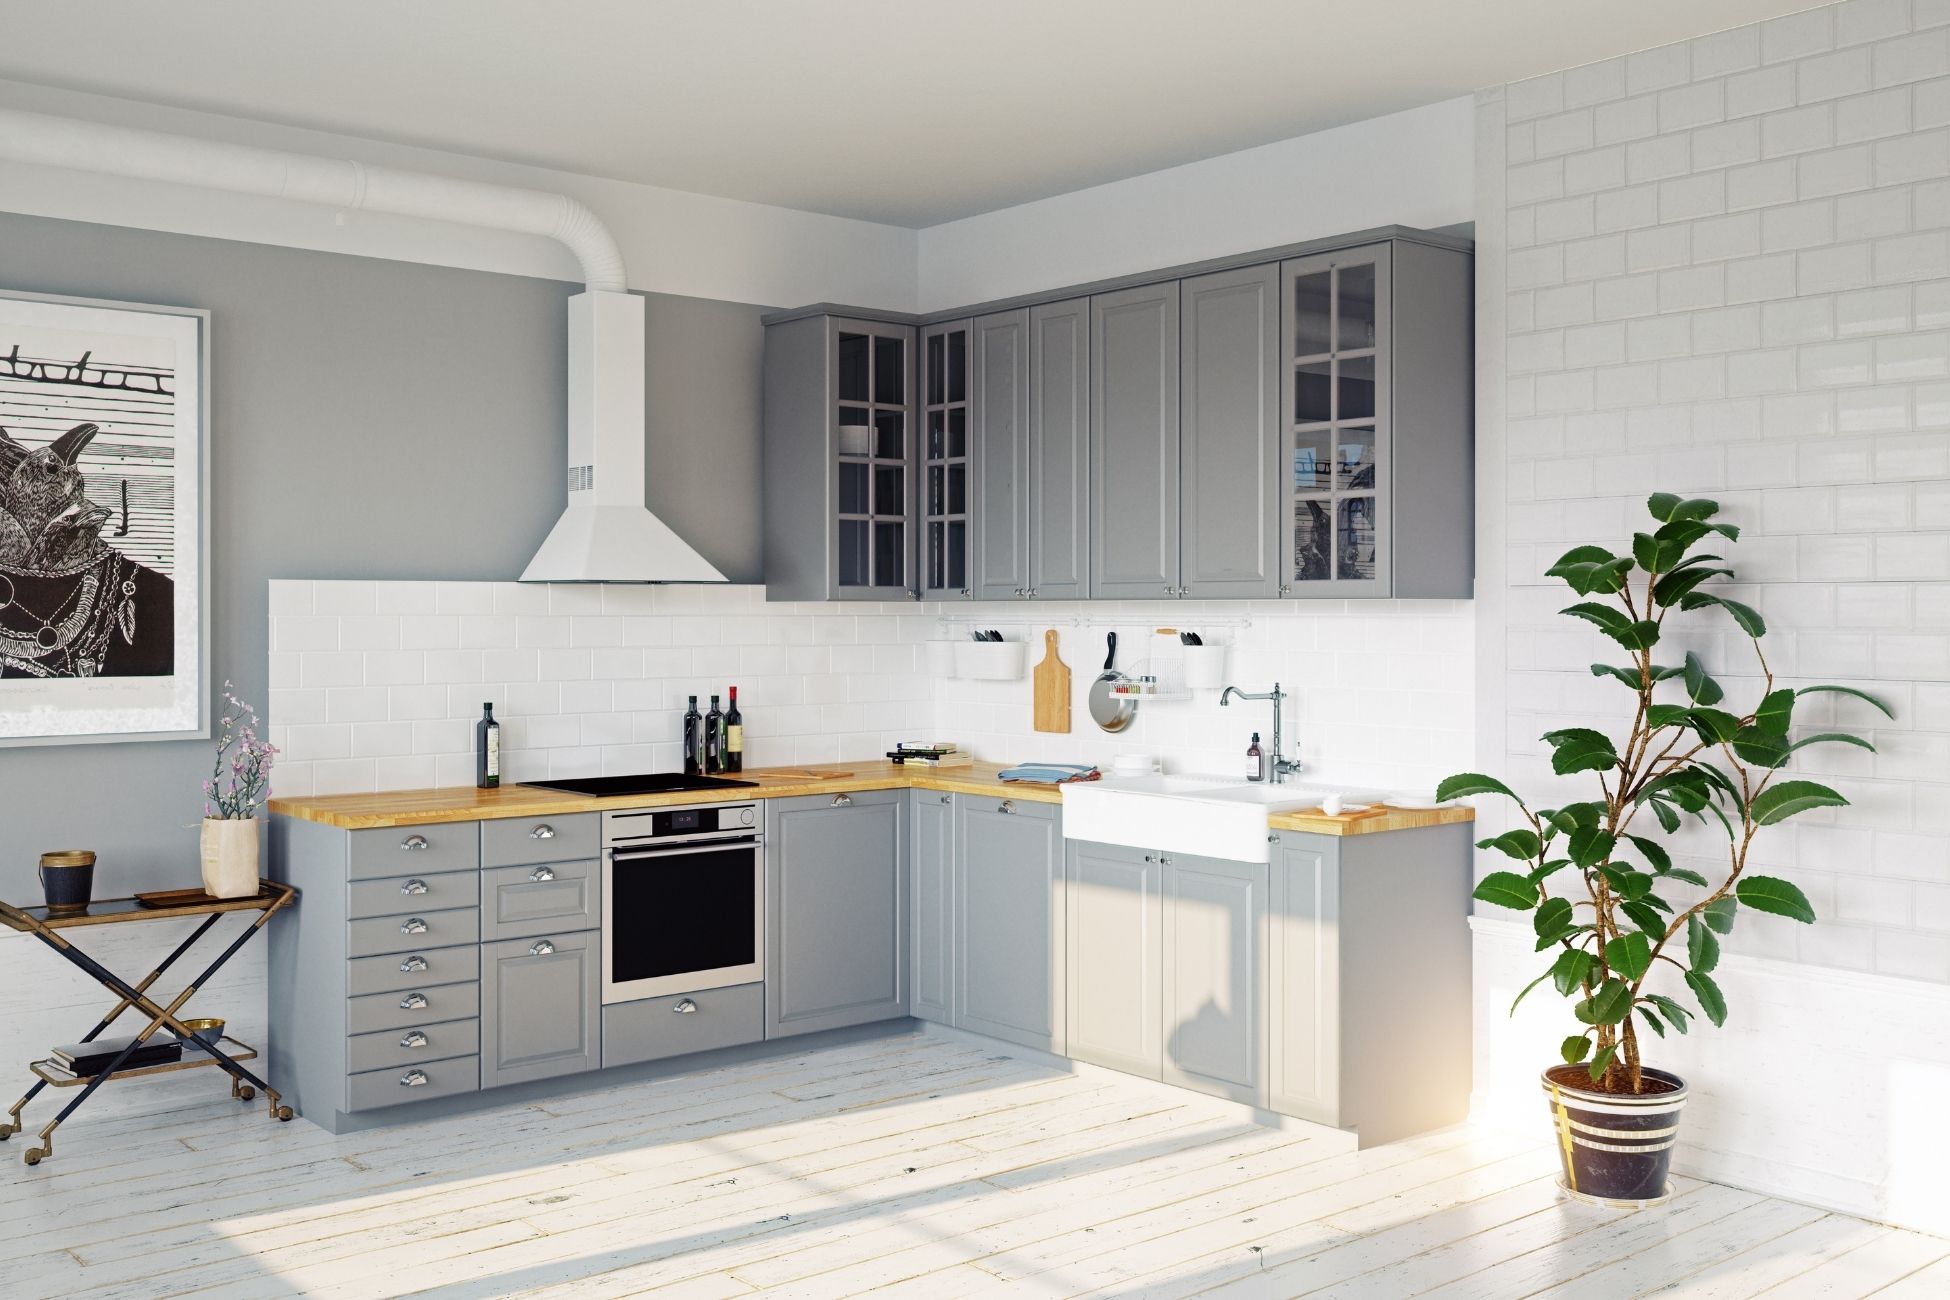
Paint is one of the easiest ways to give a room a makeover. A small kitchen is no exception and with limited remodeling options, a careful manipulation of color and its impact on lighting can visually expand a space. Here’s a few important tips to keep in mind when painting a smaller kitchen. Utilize Neutral Colors. White and neutral colors are a lifesaver for smaller kitchens. White will reflect light, make walls recede and increase the sense of space. Adding white to countertops, walls, cabinetry and ceiling will create a cohesive space with limited boundaries or edges. Use different shades of white or add different textures to create variety in a kitchen. Avoid washing out a space by adding different hue shifts in cabinets or crown molding for points of interest. It’ll also create contrast in your kitchen. Avoid Dark Cabinets. A darker cabinet will absorb light and make a space feel smaller or claustrophobic. Repainting these cabinets to a lighter color will make the kitchen feel like an entirely different space. Stained cabinets take a bit of preparation before painting them a lighter color but will transform their look. If your cabinets are in poor shape, consider refacing them with a lighter veneer and new, lighter doors and drawer fronts. Picking the Right Colors. Designers recommend adding a deeper, accent color on a wall to help it recede into the background, giving the illusion of a larger space. Use the same color for walls and trims to make ceilings appear higher. This trick can also be applied to your countertops and cabinets. You’ll want to pick a color that is in the same color family but not excessively different in contrast. An abrupt shift from light to dark will create a sharp contrast and visual boundaries, making the space feel smaller. Keep ceilings white to maximize the effects of natural daylight. It’ll also make the room feel more spacious. Source: the Spruce