Appliances 101

What Not to Do on a Ceramic or Glass Cooktop

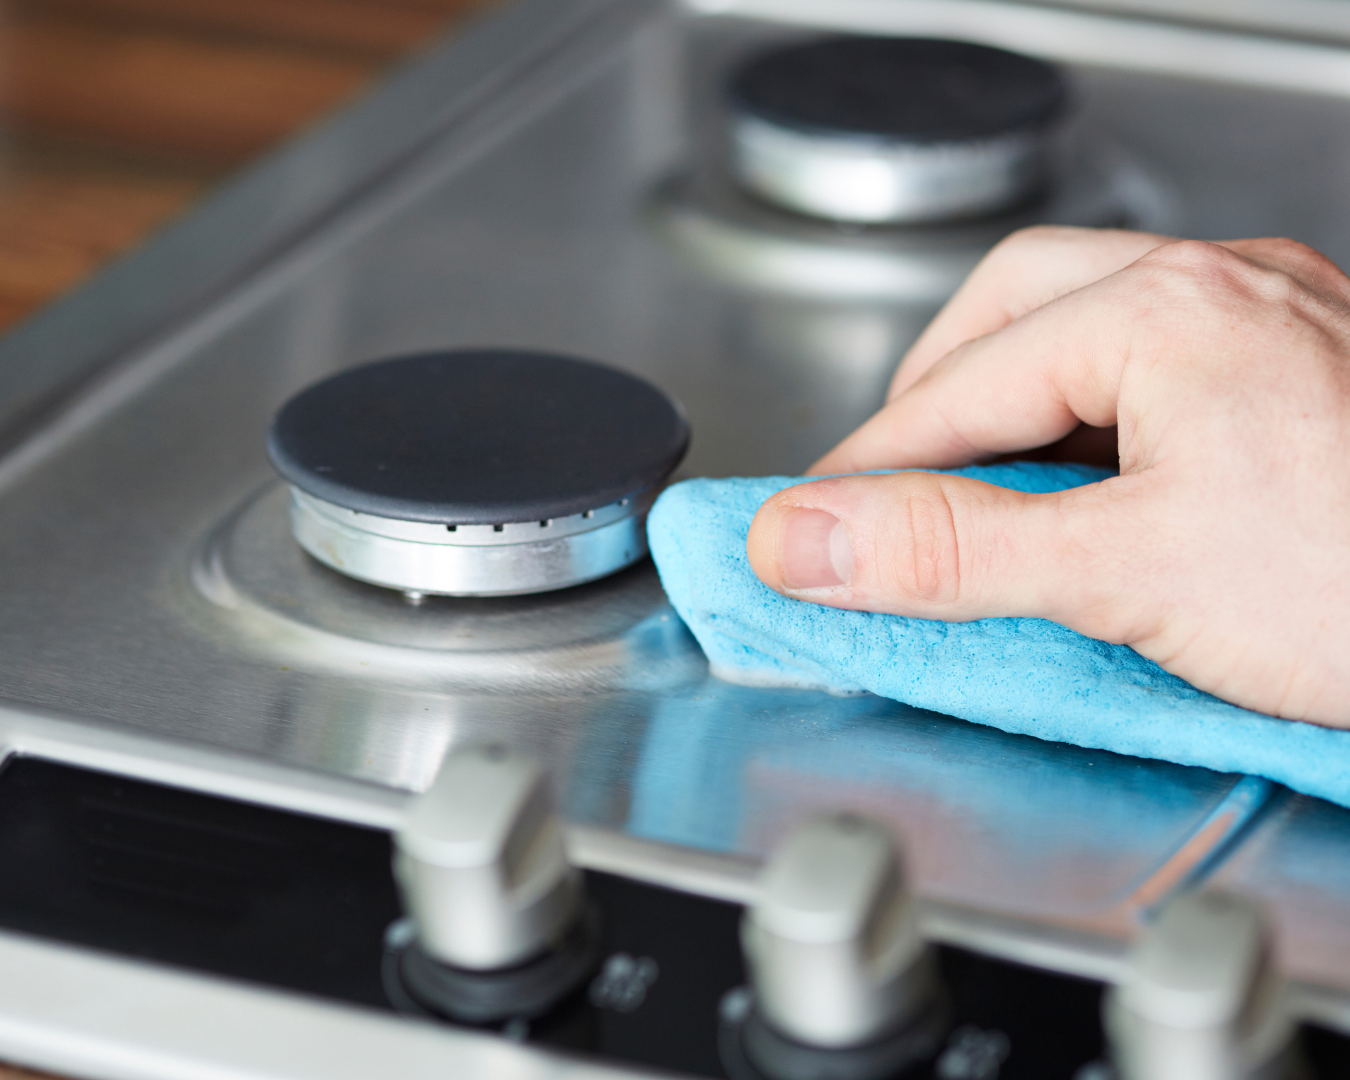
A smooth top electric cooktop is often favored for its stylish appearance versus traditional coil element types. The maintenance for a smooth cooktop differs in that it can discolor or scratch if used incorrectly. Owners should also be proactive in cleaning their smooth cooktops to keep them in pristine shape. Here’s some of the things you should avoid to help your cooktop. Avoid iron cookware. The bottoms of cast iron cookware are usually very rough and any sudden movements can leave scratches behind. Ceramic and stoneware also have unfinished, rough bases. Use these for your oven instead. Skillets or pans with rounded edge bottoms aren’t recommended for smooth cooktops. Pans will perform better if they are flat to evenly distribute heat. A smooth bottom will also offer more stability and prevent any rocking. Never use abrasive cleaners or metal pads which can scratch the surface. Opt for a soft sponge or cloth and cream cleaning solution made specifically for ceramic or glass cooktops. Avoid dragging heavy pots on your cooktop. Always lift and transfer to another area to reduce the risk of scratching. Clean your cookware regularly before placing it on your cooktop. A build-up of grease can leave aluminum-looking rings or marks on a cooktop. These are often very difficult to clean. Avoid spilling when boiling or cooking sugary substances. This can discolor the cooktop leaving yellowish areas. Clean up these spills as quickly as possible. Avoid placing utensils on your cooktop. These may have food which will mark and burn, leaving a mess that will need to be cleaned. Source: The Spruce

How to Get Started with Cosmo Products

You’ve purchased a Cosmo Appliance, and you’ll soon be on your way to upgrading your kitchen with the design and durability it needs. If you’re stuck on the basics, we’ll be rolling out quick start guides to help you along. These videos give an easy visual reference for all the essentials you should know about your product. Our Range Hood series will be the first out. Subscribe to our YouTube Channel for all of our guides and hit the notification bell to be alerted as soon as we post. Subscribe Here YouTube For more from Cosmo, follow us on our Facebook and Instagram to connect with our community. Installed your appliance? Tag us with #cosmokitchenproducts for a chance to be featured on our page!

How Does an Air Fryer Work?

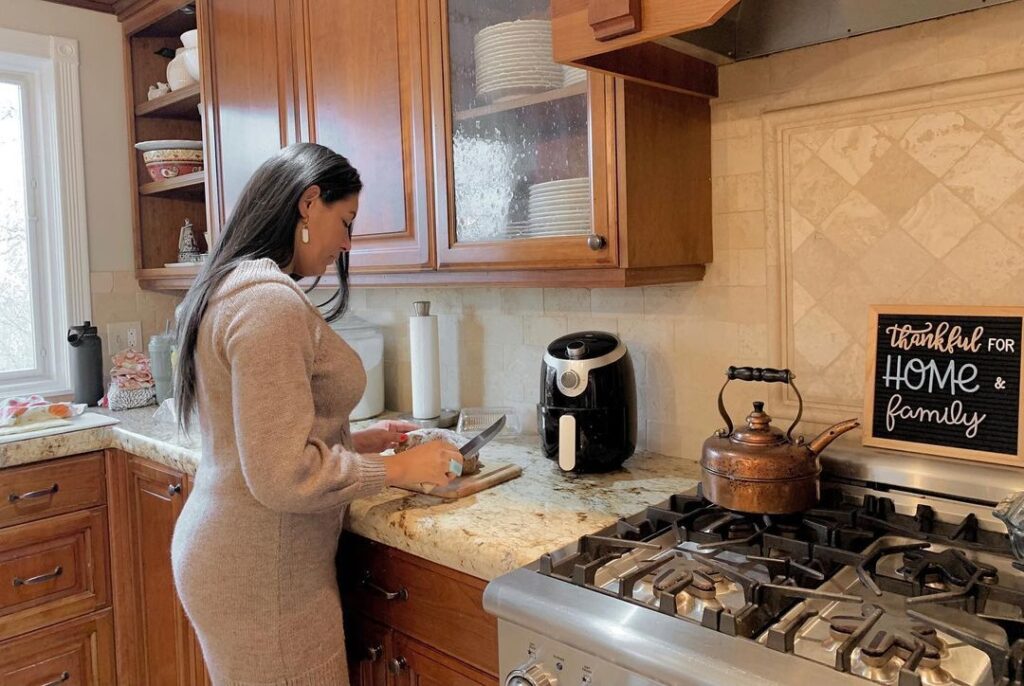
Although you’re not technically frying, since that involves submerging something in oil, air frying is a great alternative to reducing fat. An air fryer actually works very similarly to a countertop convection oven in that it has a heating element with a fan to blow air around a cooking chamber. The difference is an air fryer swirls the air around very quickly in a circular fashion to reach all of the surfaces of the food to create a crisp crust. An air fryer also takes advantage of a perforated basket which increases the food’s contact with the hot moving air. You won’t need to toss or shake fries during cooking for the perfect crisp. Conveniently sized to sit on a countertop, air fryers can help save valuable space in a kitchen as opposed to full sized ovens. Oil Content Many air fryers will need far less oil than typical frying would. However, a small amount of oil or spray can still prove beneficial to help with crisping. It’s best to go by the recipe and the type of air fryer you have. Non-Frying An air fryer can actually be used for many other things besides just creating a delicious crisp. Try roasting and baking in an air fryer for delicious desserts. It’s important to note that pastries won’t rise in the same way it would in a full-size oven. Source: The Kitchn

Natural Gas vs. Liquid Propane: What You Should Know

If you’re in the market for a new range or cooktop you may come across some different fuel types. A gas range can often work with natural gas or liquid propane after a conversion process. You may wonder what the differences are between the two fuels and if one is better than the other. See our guide below on some of the differences you should know. Natural Gas. This gas fuel is distributed through a centralized pipeline network. Underground utility pipelines deliver it in a gaseous state all the way to a cooktop. This can be a cheaper fuel depending on the location as well as the state of the fuel market. Natural gas differs from liquid propane in that it is delivered at a much lower pressure and heats at a slower rate. Liquid Propane. One of the most distinct characteristics of propane is that it is in a liquid state rather than a gas. Unlike natural gas, propane can be stored at room temperature so long as it is kept under pressure. This makes it easily transportable and available in many differing tank sizes. Liquid propane would have to be delivered regularly to a home for propane fueled appliances. Propane can have a higher upfront cost than gas, but offers almost twice as much heat. Cost can differ by area and the fuel market, similarly to natural gas. In order for an appliance to work with another fuel type it’s important that a proper conversion kit is installed. Since propane and natural gas work in differing pressure, certain orifices must be installed to accommodate this. It’s critical that these kits are installed properly to prevent any damage or possible danger when operating the appliance. Here at Cosmo, select gas appliances can be converted to liquid propane with a unique conversion kit which is sold separately. Kits are available at our parts and accessories page here. Guides for conversion are also available at our Customer Support Hub.

How Frequently Should You Use Your Dishwasher

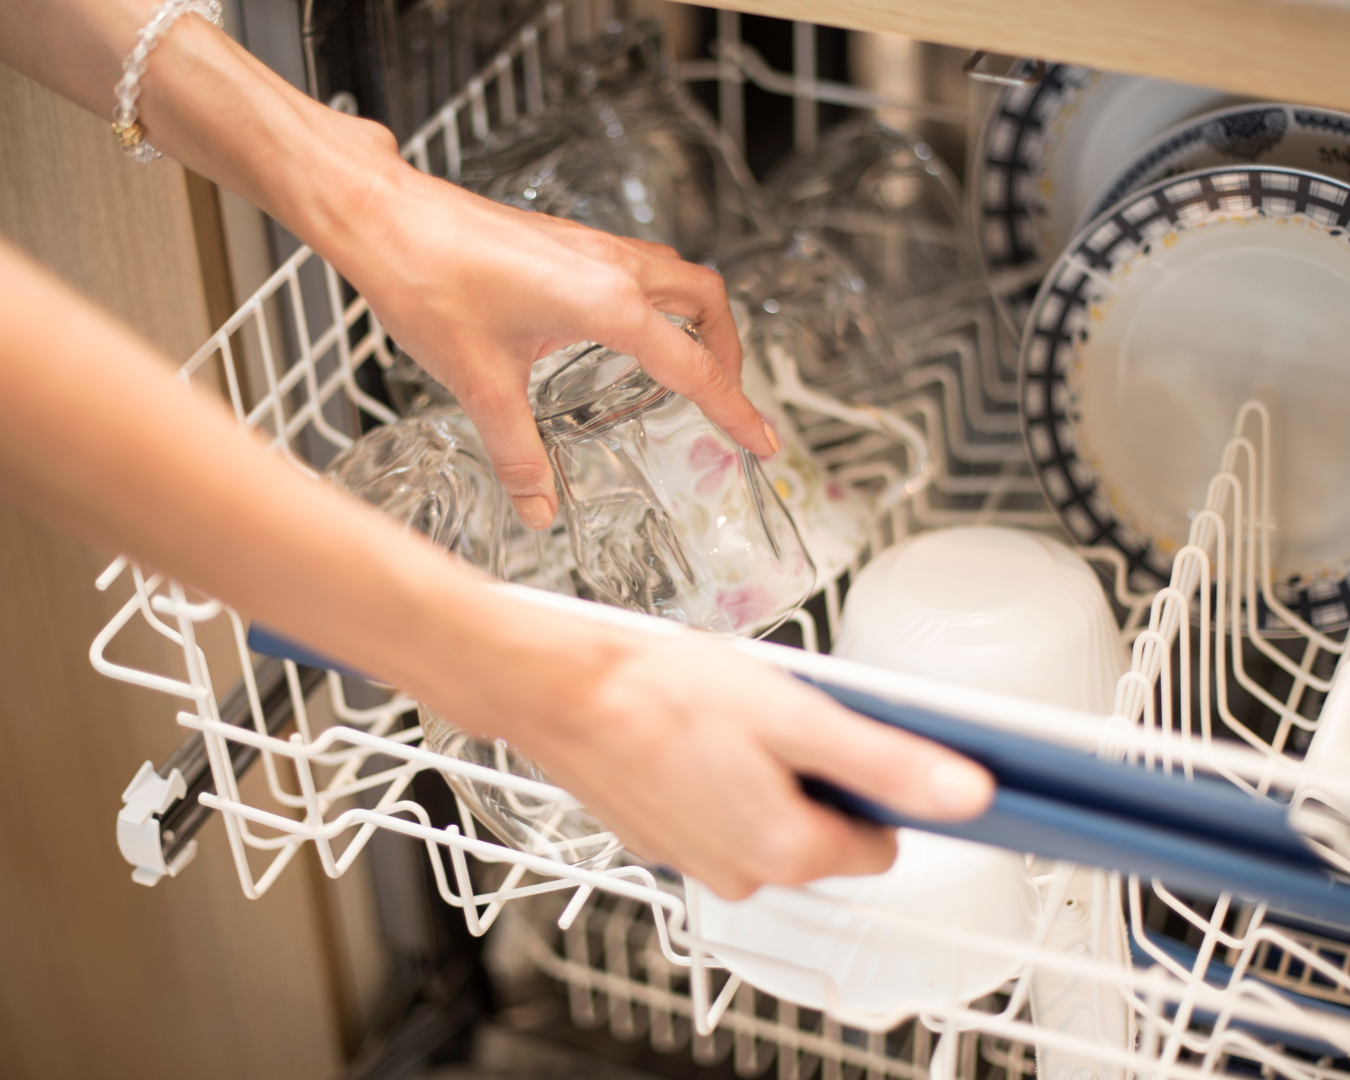
Contrary to popular belief, dishwashers are designed to be more efficient than hand-washing dishes. On average a person uses four gallons of water every two minutes washing at the sink where dishwashers use less than four gallons per cycle. In the long run a dishwasher could be more beneficial not only to your water bill but the environment. But there remains the question of how frequent a dishwasher should be used. On average, the number of dishwasher cycles per week in a household is about five. Surpassing this number could increase the need for repairs or a replacement in the long run. A typical dishwasher will last about 10 years. If you can cut down your cycles fewer than five per week your dishwasher could last 12 years or more. While running a dishwasher everyday of the week may not be best for the longevity of the appliance, it could be more efficient for water use and the environment. Source: Apartment Therapy

The Oven Shopping Guide

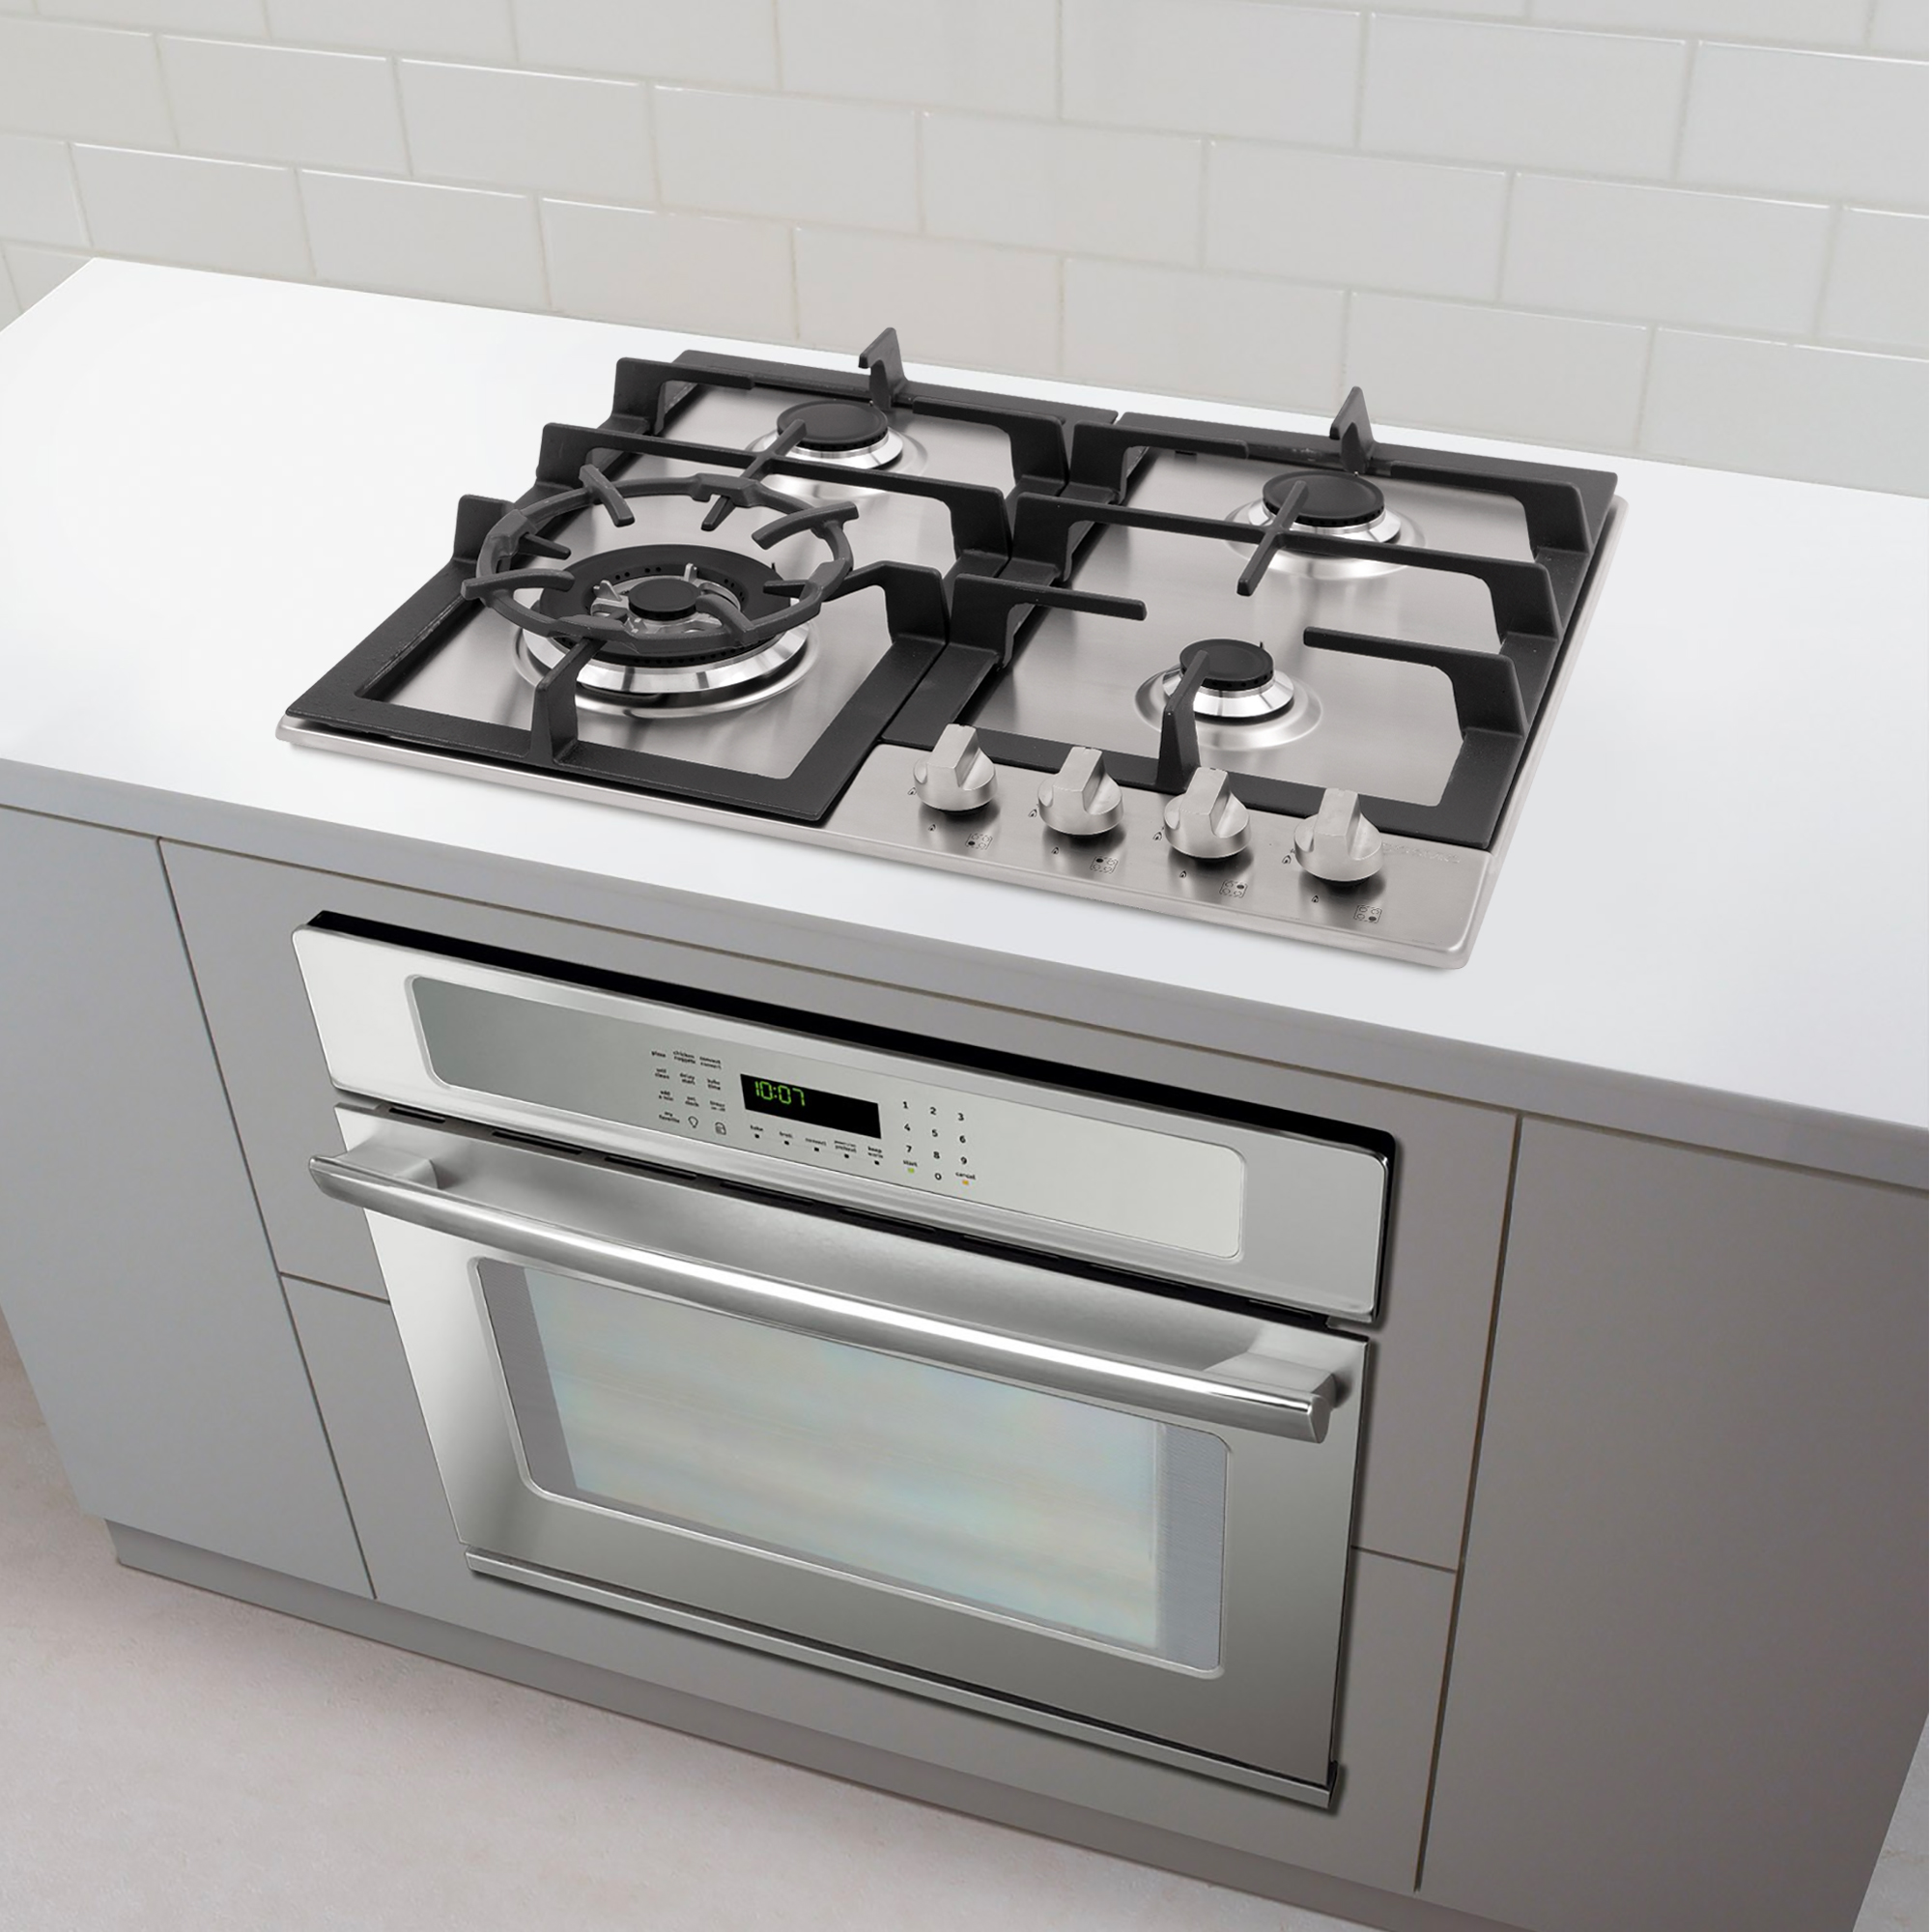
A wall oven is a great alternative to a standard range oven. These ovens make it easier to place and remove heavy food items. Here’s everything you should know if you find yourself in the market for a wall oven. Price. The price of a wall oven can vary anywhere from $700 on an entry-level oven to $3,500 or more for a double wall oven with convection heating. Size. Wall ovens come in a standard width of 24, 27 and 30 inches. On average a wall oven is going to be smaller in capacity compared to a range oven. A double oven helps overcome this limitation at a higher price tag. If you find yourself under a tighter budget needing more space, be sure to look at the oven’s maximum interior space. Convection. Wall ovens will be predominantly electric. One of the deciding factors is if you want your oven to be standard or convection. A convection oven will have an internal fan to circulate hot air throughout the oven. This will reduce cook times and give a more even heat distribution. Higher-end models will have something called true convection. This also has a fan inside but with an additional heating element. Features. Bigger viewing windows and brighter interior lighting will drive up pricing. Some ovens can contain a temperature probe to alert when food has been cooked properly. Full extension racks can aid in moving dishes easily in and out of the oven. Wall ovens can also have cooking features such as delayed bake to start at specified times. Sabbath modes override safety mechanisms that normally shut off ovens after a certain time. These kinds of features will be found in ovens that range from $900 to $1,200. See our complete line of wall ovens here. Sources: HGTV

What to Look for in a Microwave

Look no further for a complete rundown on microwaves and what to look for. Whether you’re shopping around for a new one or looking to replace your old one, here’s all the information you’ll need on making your next purchase. Types Microwaves come in three main types: countertop, over-the-range and built-in. Countertop microwaves are the most common for their affordability. These are great to simply take out of the box and plug in for a no-hassle installation. Over-the-range and built-in microwaves on the other hand require some setup time and most likely a professional installer. These kinds of microwaves have additional benefits however. An over-the-range microwave can vent fumes and odor away from a range below. A built-in model will free up counter space and look more sleek in cabinetry. Countertop microwaves can often utilize a trim kit to get the same built in look. Size Once you decide the kind of microwave you’d like you can turn to the size. Establish how you’ll be using the microwave. If you’re just cooking for yourself then maybe you can opt for a smaller capacity model. Be sure to factor in the counter space you’ll be losing with countertop microwaves. Most models will have a 1-2 cubic feet range. External dimensions can also vary so always measure the desired location to make sure it properly accommodates for the size. Wattage For microwaves, wattage directly translates to power. A 1,000 watt microwave is a great baseline to start from. Anything less may result in slower cooking. In general, the higher the wattage the faster the cooking time. Keep in mind a high wattage microwave will be more expensive. Features Automatic defrost and pre-programmed settings can make your life easier when warming up snacks. Sensors can also calculate cook time based on the steam the food emits. This will help ensure your food heats exactly the way you want it to. Pay attention to safety features like a child lockout if there will be young children present. This feature will prompt for a sequence of numbers to operate the appliance. Check the microwave’s buttons and icons. If they are too small or close together you may accidentally press something you didn’t intend to. Smooth control panels will be easier to clean than buttons or knobs. Are you ready for your next appliance upgrade? Learn more about our microwaves here. Sources: Good House Keeping

Range Hood 101: Your Complete Guide

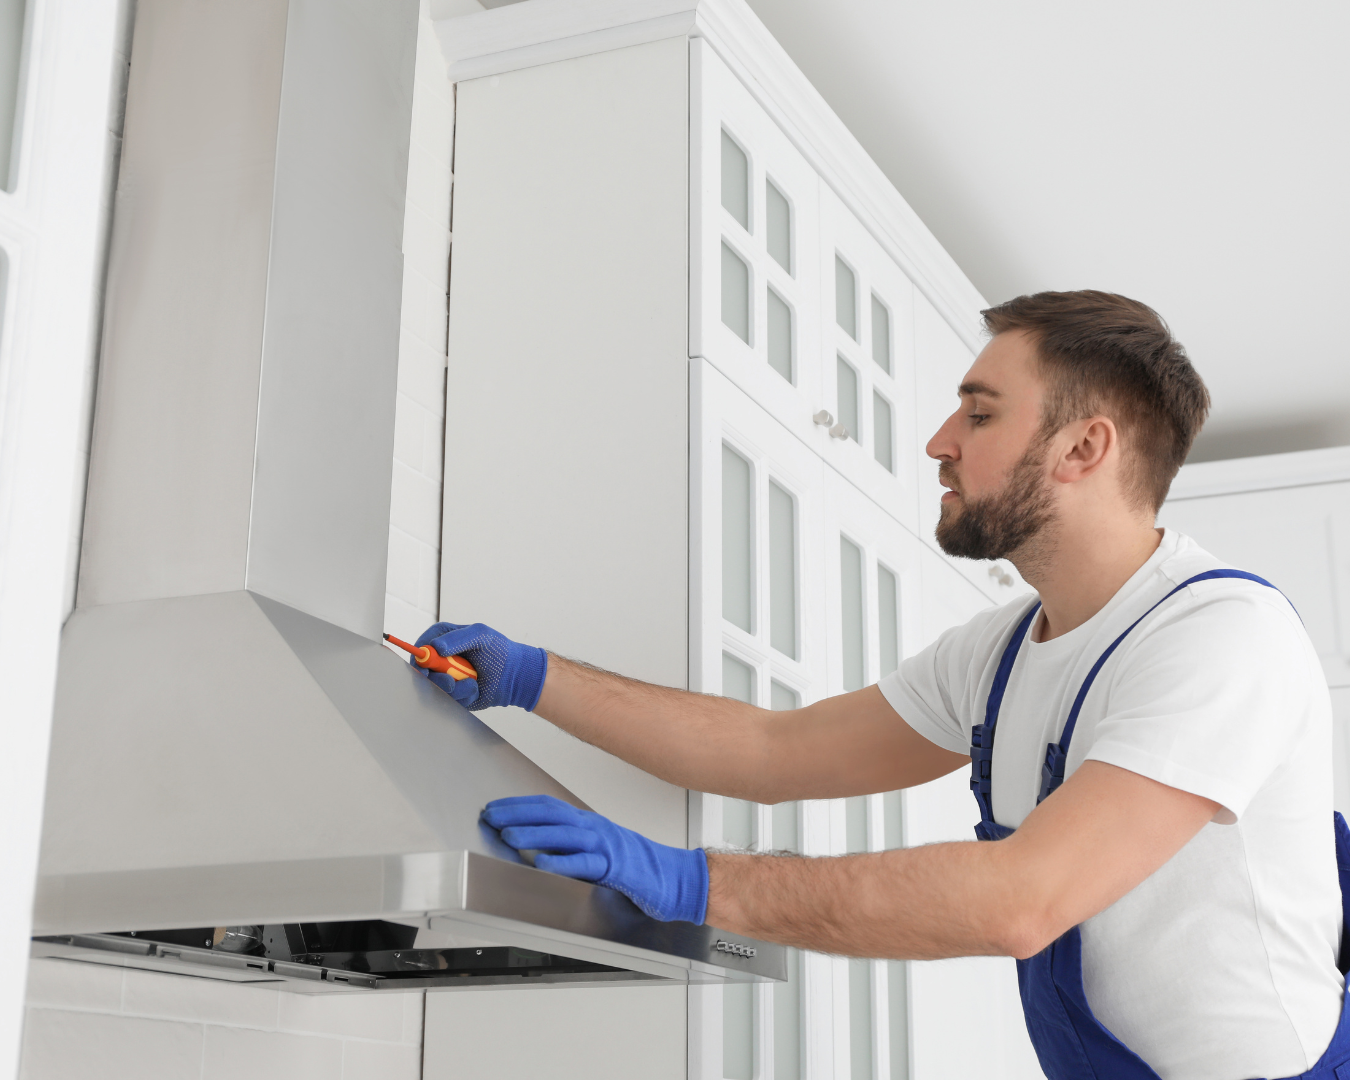
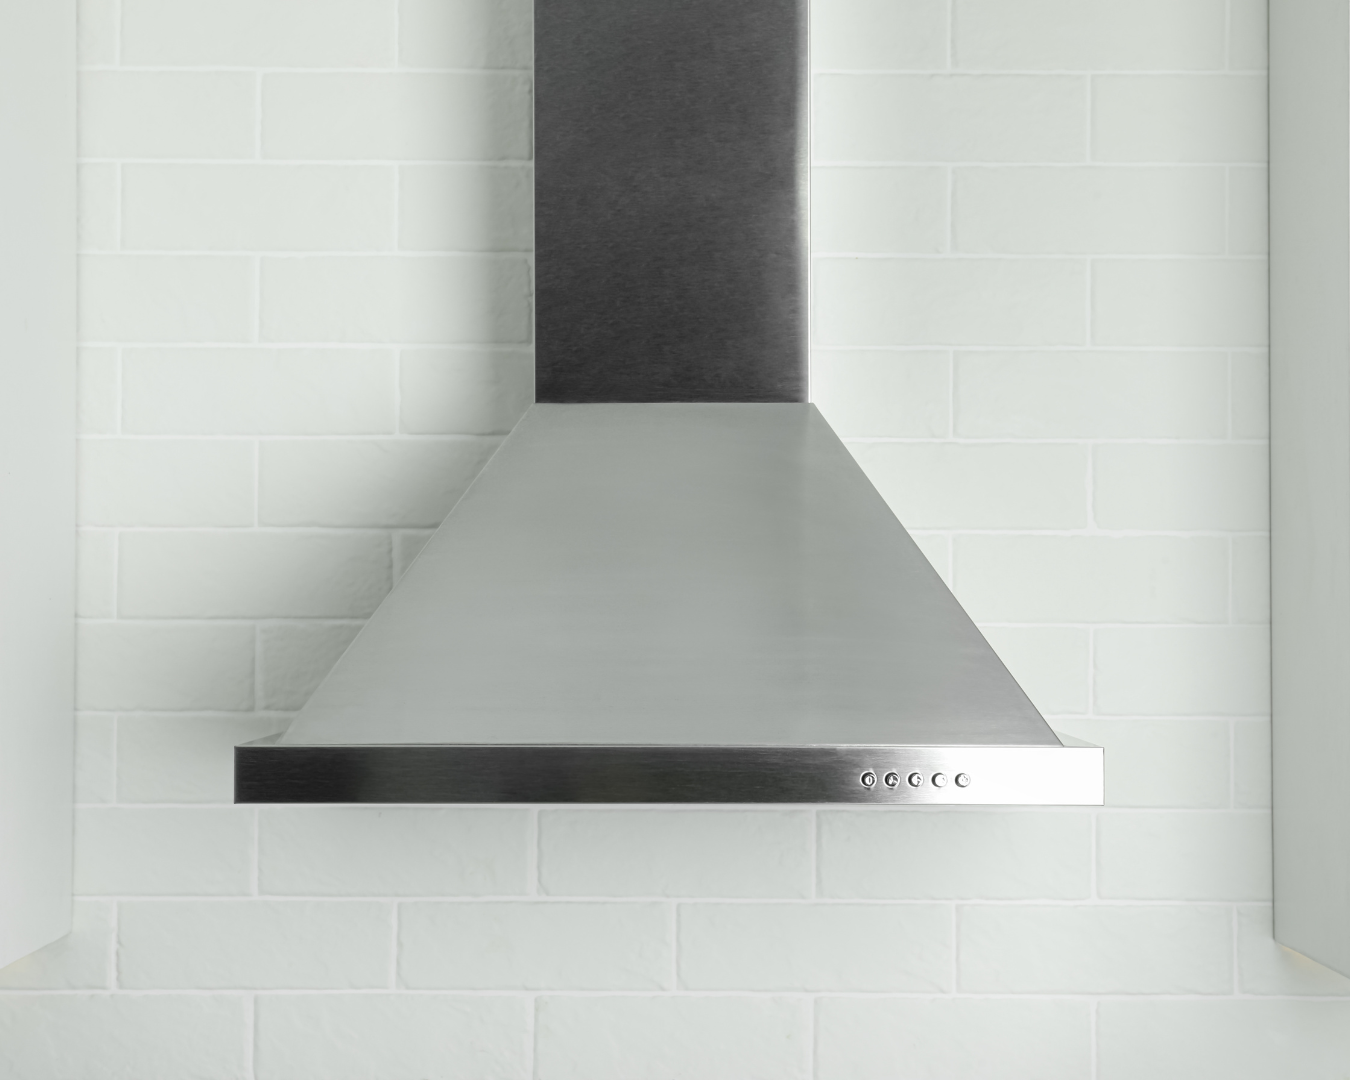
One of our most popular and diverse product lines here at Cosmo are our range hoods. Range hood terms may seem confusing at first, but we’ve compiled a complete guide to master this appliance. These hoods can be a beautiful focal point in your kitchen that provide just as much functionality. Ventilation The main purpose of range hoods is to get odors, smoke and fumes away from your kitchen when cooking. This can be done in one of two ways, ducted or ductless. A ducted range hood should have ductwork from the kitchen all the way to the outside of your home. A non-vented or ductless range hood utilizes a filter and recirculates the air back into the kitchen. Often, the kind of range hood you choose will depend on the kitchen. A ducted range hood completely removes smoke and smells while a ductless build may be less effective in doing so. Installation Types You’ll come across mainly three different kinds of range hoods based on their installation method–under cabinet, wall-mount and island mount. An under cabinet range hood is mounted to the cabinets above a range. The wall mount doesn’t require any cabinetry as they are installed on the wall. Finally, an island mount goes directly to the ceiling and suspends mid-air. All three of these options can be ducted or ductless, depending on the kitchen. Size The standard width of range hoods are 30 or 36 inches wide. There are some pro variations that go wider and can handle larger quantities of smoke and fumes. If your kitchen allows for it you should always have a range hood that is equally as wide as the range underneath. Bigger tends to always be better. Strength & Noise You’ll come across the term CFM when looking at range hood airflow strength. CFM stands for cubic feet per minute and generally the higher the number the more air the hood can vent. A general rule you can follow is you should have 1 CFM per 100 BTU of the gas range underneath. If you do a good amount of cooking try to have a range hood with at least 350 CFM. The downside of a higher CFM would be the noise the hood creates. Features When checking for features, look at fan speeds. You’ll want a range hood with at least 2 speeds for low quieter venting and high but noisier venting. Another useful feature is an exhaust timer which automatically shuts off the hood after a set period of time. Built-in lights come standard in most range hoods, but the type of lights can vary greatly. Look for range hoods with light replacements that are easy to find in the future. At Cosmo, we carry a wide array of range hoods to meet your every need. You can see our complete catalog here. Sources: Apartment Therapy

Everything You Should Know About Replacing Appliances

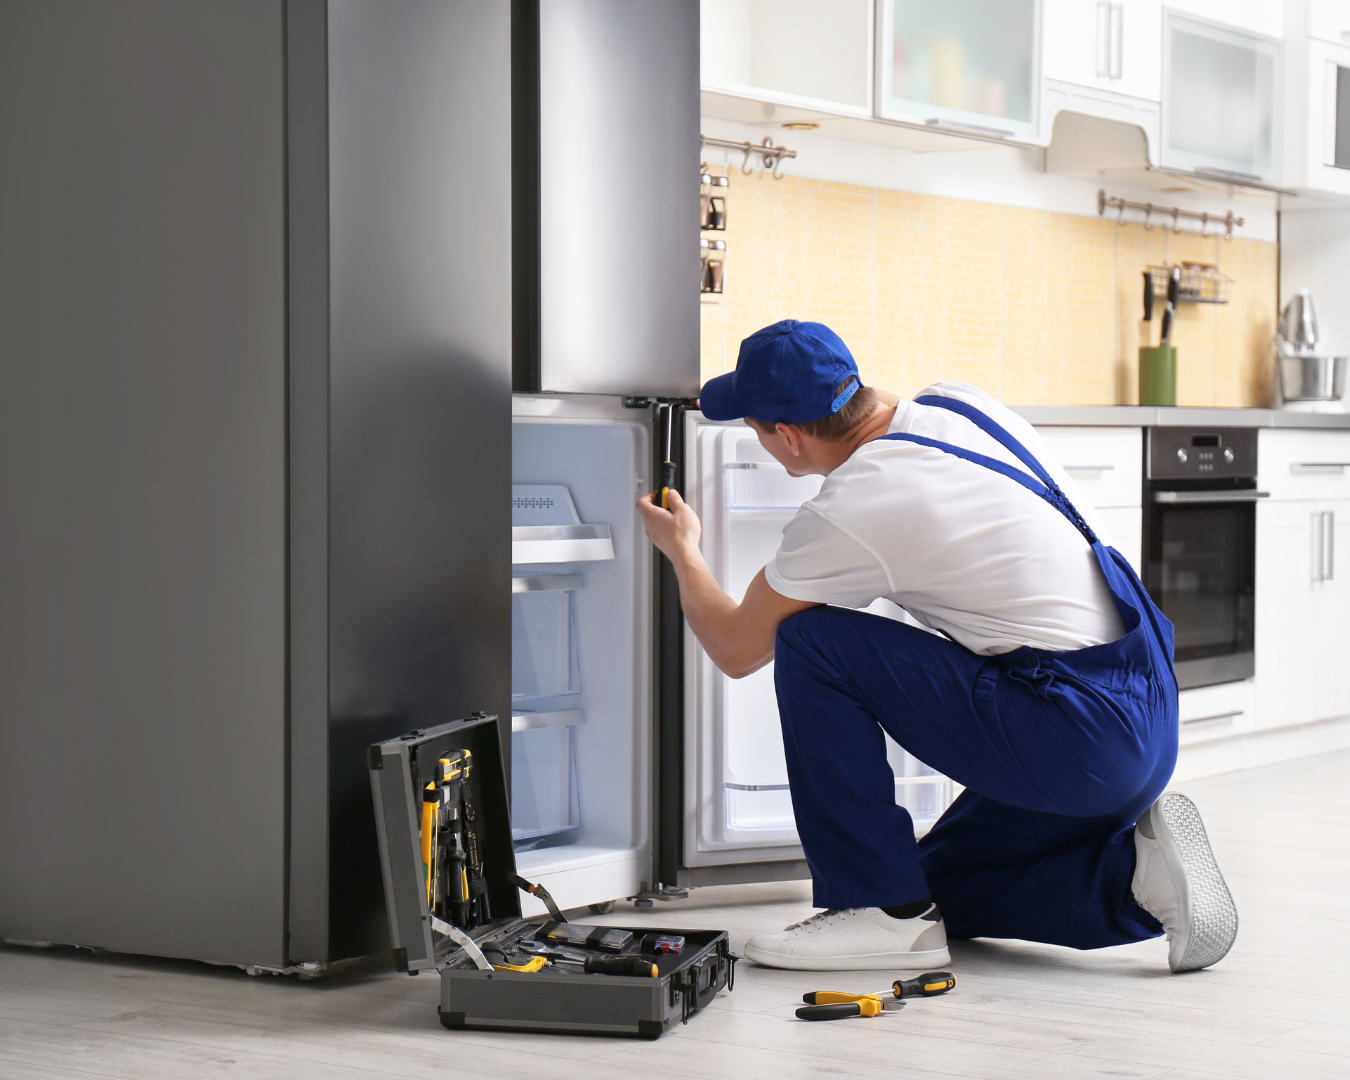
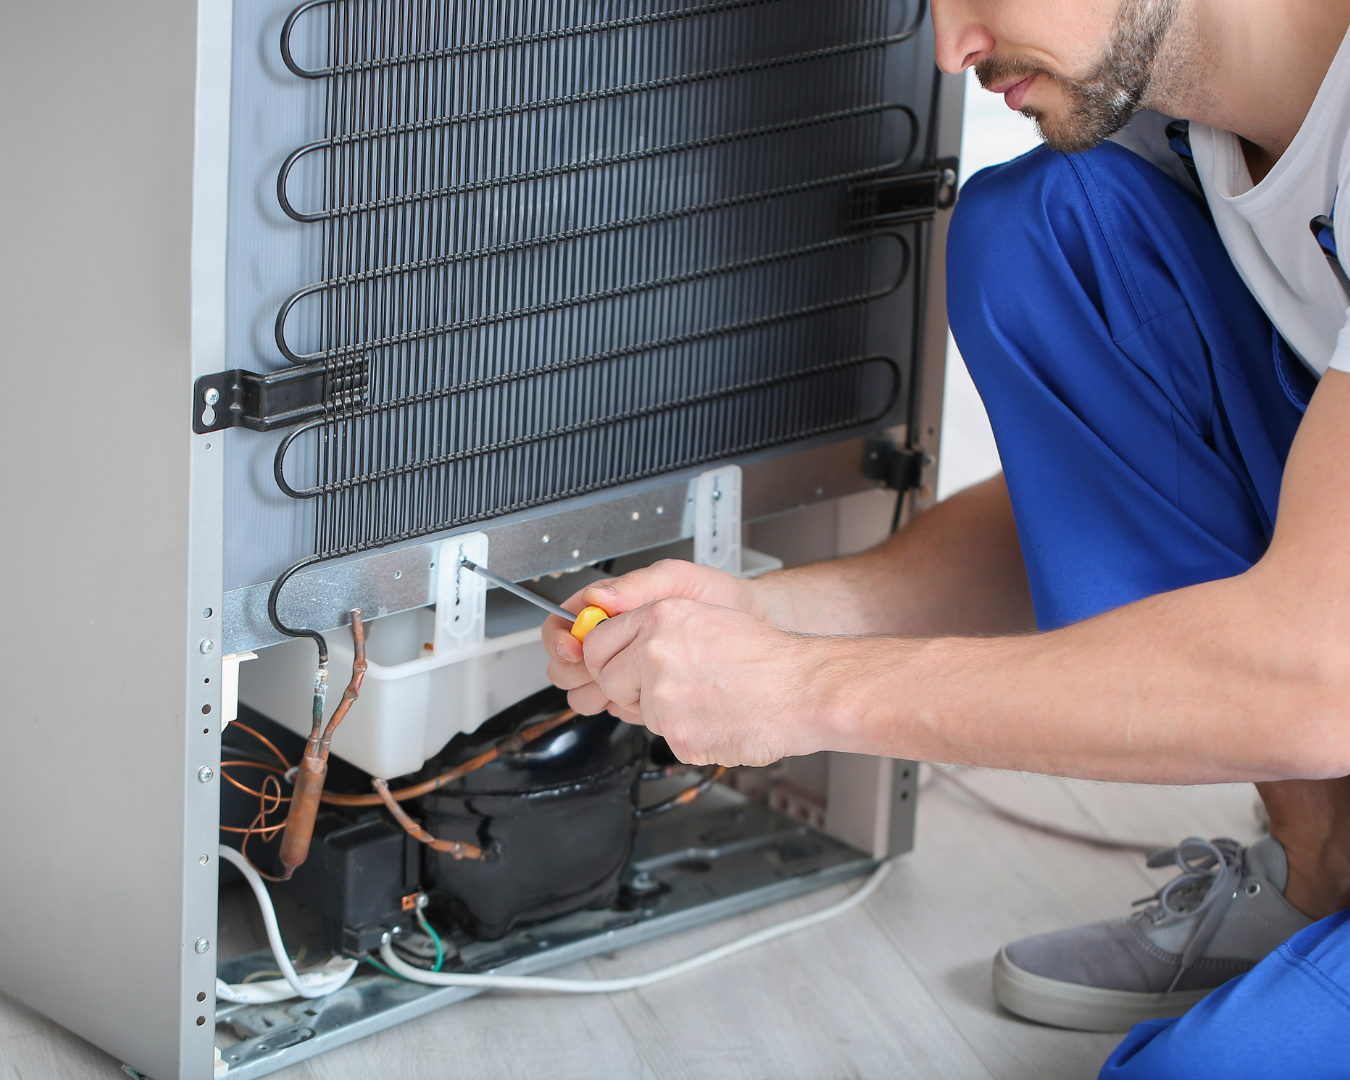
Kitchen appliances will eventually have to be replaced. If you ever find yourself in the market again, we’ve compiled the tips and tricks you should know when replacing your next appliance. When to Buy You may come across some statistics that say appliances have a lifetime of 10 to 15 years, but this is actually based on when people replace their appliances and not how long they last. If your appliances are humming along just fine, there’s no need to replace them. A clear indicator you need a replacement is if the cost to repair your appliance is half or more than the price tag. What to Check If you ever come across a broken appliance, there’s some things you can check before calling on a repairman. Refrigerator. If your fridge isn’t keeping food cold enough, check the control dial to see if it was accidentally set higher. Next, check the door’s gasket by repeatedly closing the door on a dollar bill in several different spots. If the dollar slips out, you may need to reform the gasket by warming and shaping it. If the gasket is not reformable then you can install a new one. Lastly, clean the coils located behind or below your fridge. Unplug it first, pop off the grates and use a vacuum cleaner hose with crevice attachment or an appropriate long-handled coil brush. Oven. If the oven temperature isn’t accurate start by recalibrating the thermostat. This info can be found in the use and care manual of your appliance. Dishwasher. If your dishes aren’t coming out as clean as they should it could be due to a dirty filter. Check with your product manual to see how you can clean or replace it. Scoring a Deal How and where you buy your next appliance is just as important as the kind you get. If you’re not in a rush, shop around or wait for a sale. A good time to shop is around the holidays, like now! You can also look to see when new models come out if the older ones are put on discount. Take some time to compare prices across retailers and check if they offer any price matches. Don’t forget to take hidden costs into consideration such as delivery, installation and removal of your old appliances. Which Appliances to Get Even if saving the planet isn’t at the forefront of your mind, your wallet should be! Selecting appliances with energy saving features are critical to reduce your electric bill. Look for energy labels and energy star rebates to see how well these appliances will perform. Although retailers may offer you extended warranties, they aren’t always necessary. Manufacturers typically provide you with one that’s more than sufficient. Sources: The Kitchnn

Cleaning Your Single Serve Coffee Makers

Our single serve coffee makers are often the key to success for an easy morning with immediate coffee. Although these convenient and quick machines may seem straightforward, they require maintenance just like any other appliance. Regular cleaning will ensure your coffee maker will provide optimal performance for years to come. Many single serve coffee makers utilize water reservoirs which can be a hotspot for mold and mineral deposits over time. Regardless of the brand you use, there are some signs to look out for when it’s time to clean your appliance. Longer than usual time to brew Filling less than a full cup of coffee Extra grounds or granules in your coffee Unexpected moldy or mildew-y smells Mineral buildup on visible parts of the machine Most of the time a mineral buildup, visible or not, will be responsible for these problems. Here are the steps you can take to get that coffee maker in pristine condition. Empty any water from inside the reservoir. Remove the parts you can, and clean with warm, soapy water in the sink. Some coffee maker brands have dishwasher-safe components. If your coffee maker has any espresso or milk steamer attachments be sure to disassemble and clean those too. Next, take a small cleaning brush and dip it into vinegar. Go around and clean the base of the machine where the reservoir is as well as where the cup pods go. You’ll usually have some grounds trapped here. Reusable filters often have grounds congested in the mesh. Although these filters are usually dishwasher-safe, try soaking them in a cup of vinegar and use a small brush to loosen any granules in the mesh. Next comes the inside of the coffee maker. Reassemble all the parts and components, then fill the dry reservoir with 4 cups of white vinegar and 2 cups of water. Run the machine several times with no filter in place. Once you run a few cups of vinegar, let the machine set for a few hours and then run the rest of the cycles until the solution has run through the machine. Clean out the reservoir and fill with regular water. Run the machine with just the plain water to ensure the reservoir is clean and no vinegar is left behind. Your single serve coffee maker is now clean! Sources: HGTV