Ducted vs. Ductless Range Hoods: Which Is Right for Your Kitchen?
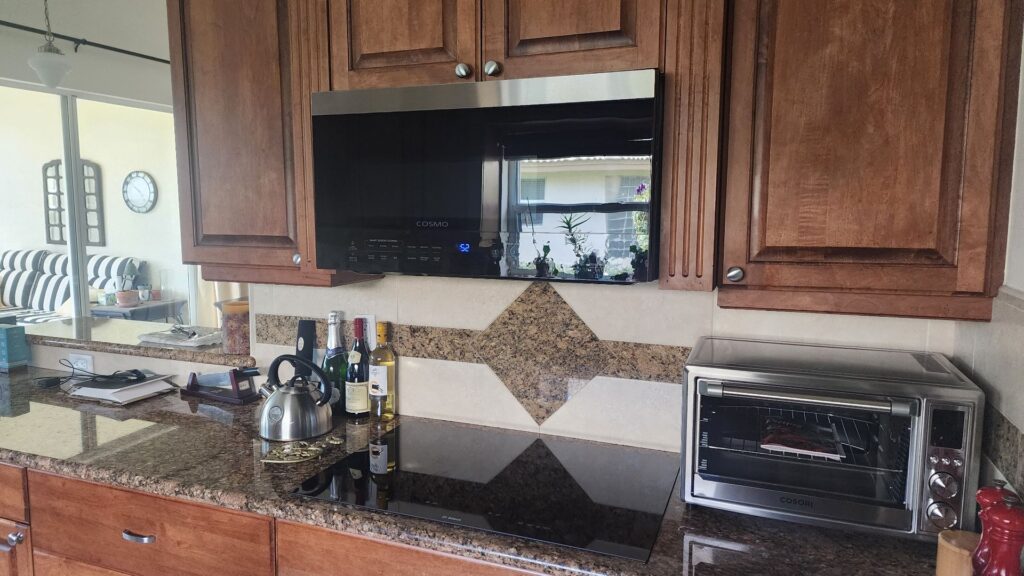
When it comes to maintaining a clean, odor-free kitchen, a range hood is an essential appliance. It helps to remove smoke, grease, and odors produced during cooking. But with the variety of options available, choosing the right type of range hood can be overwhelming. The two primary types are ducted and ductless range hoods, each with its own set of advantages and considerations. This guide will help you decide which is the best fit for your kitchen. A range hood, also known as an exhaust hood, plays a crucial role in kitchen ventilation. It improves air quality by extracting or filtering airborne particles. Understanding the differences between ducted and ductless range hoods will help you make an informed decision based on your kitchen’s layout, your cooking habits, and your specific needs. Ducted Range Hoods How They Work Ducted range hoods, also known as vented range hoods, are connected to ductwork that leads outside your home. They suck up air, smoke, and cooking odors, expelling them through a vent. Pros Cons Ideal For Ductless Range Hoods How They Work Ductless range hoods, also known as recirculating range hoods, filter the air and then recirculate it back into the kitchen. They use charcoal or carbon filters to capture smoke and odors. Pros Cons Ideal For Choosing between a ducted and ductless range hood depends on various factors including your kitchen layout, cooking habits, and budget. If you prioritize the most effective ventilation and have the capability to install ductwork, a ducted range hood is likely the best option. However, if you need flexibility and easier installation, a ductless range hood might be more suitable. Regardless of your choice, a range hood will significantly improve your kitchen environment, making it a more pleasant and healthier place to cook. Evaluate your specific needs and constraints to make the best decision for your home.