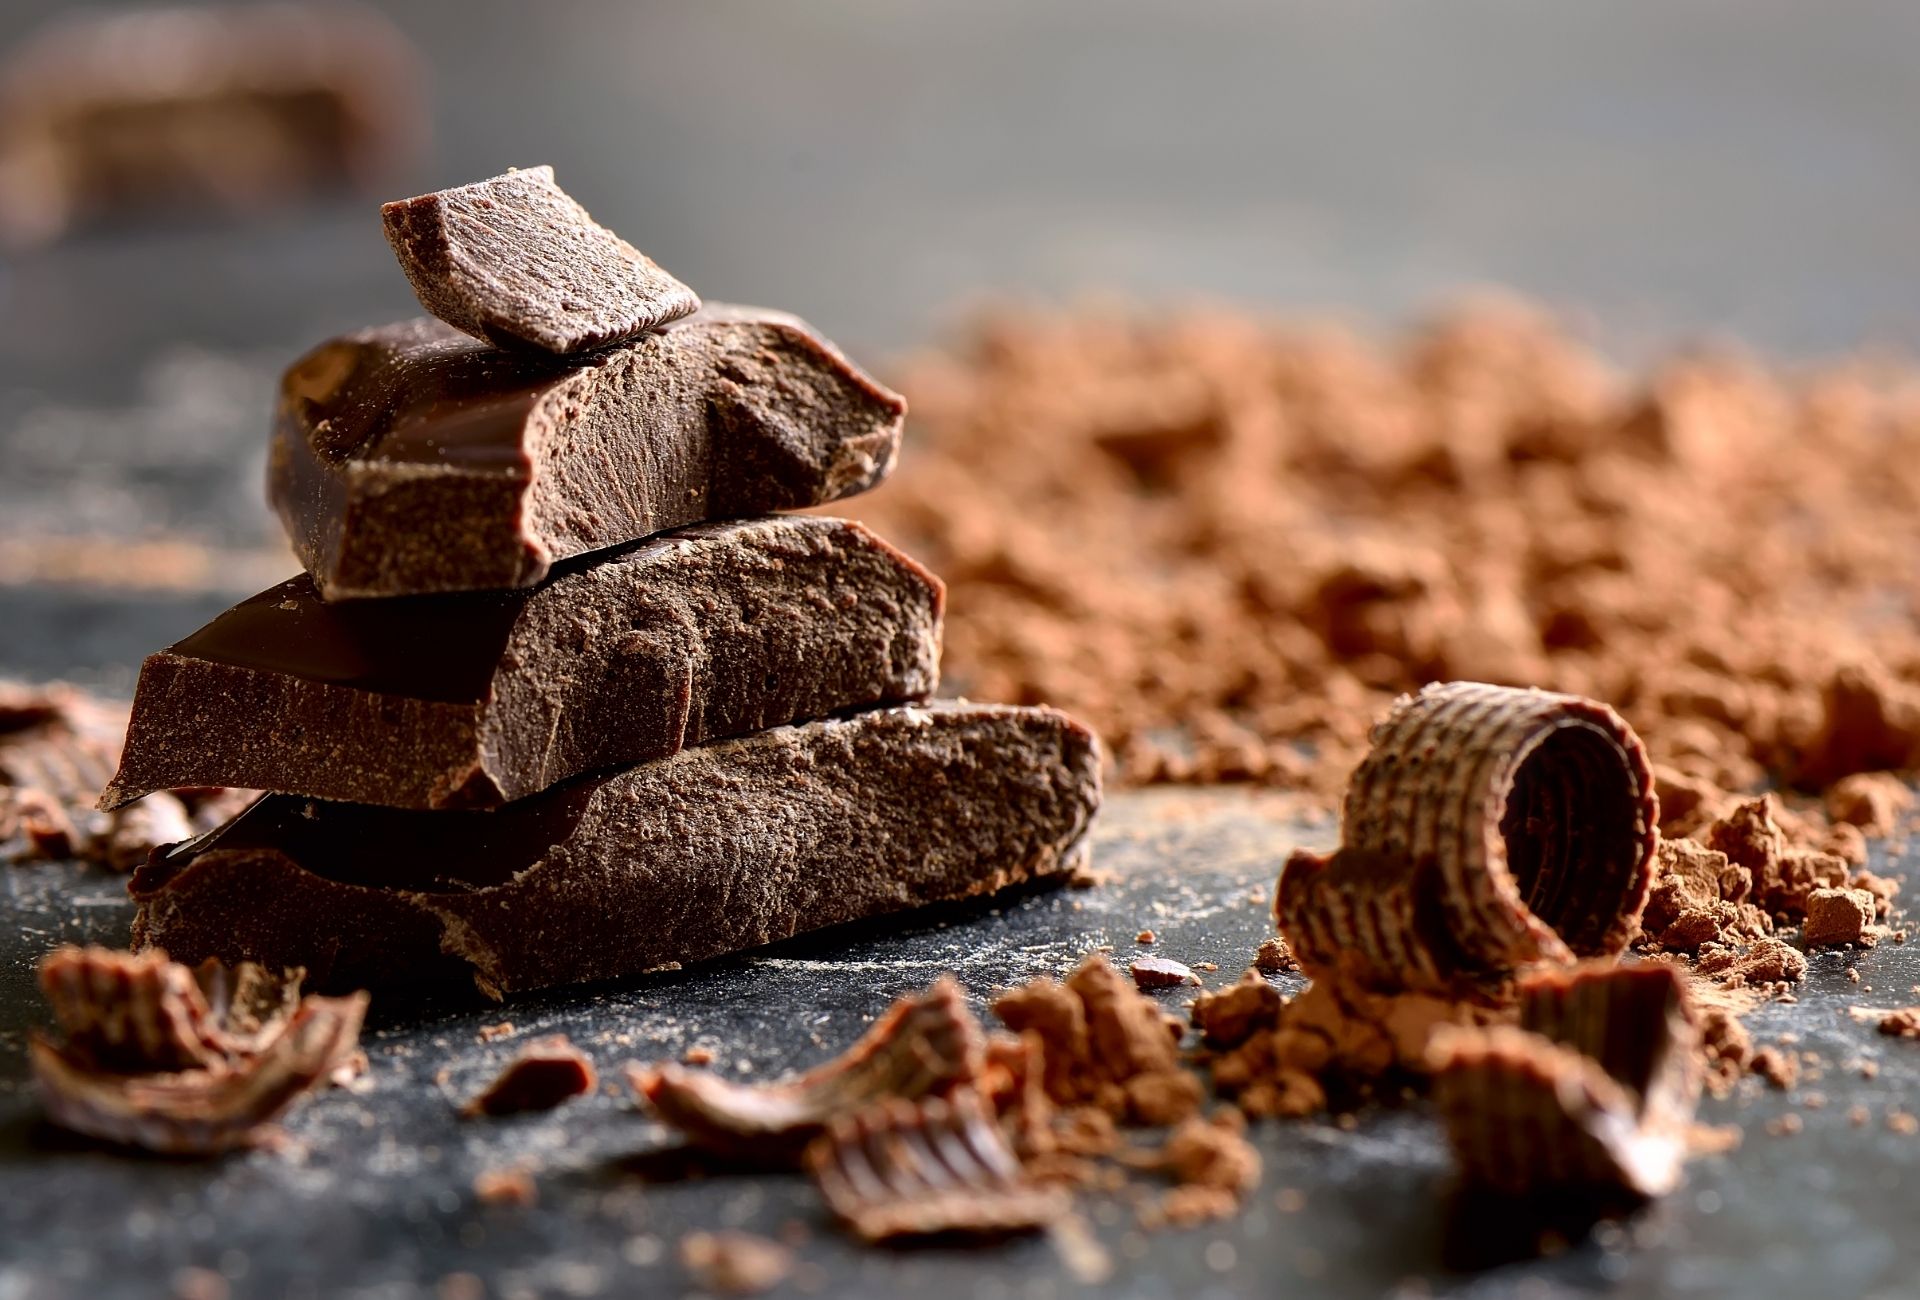
Kitchen

Save Time Peeling Potatoes Like This

Peeling potatoes may not be a hassle when there’s just a few. Add a couple dozen and you may be in a time crunch trying to get through them all. Follow this one trick to speed the entire process along and make life a whole lot easier. You may be boiling your potatoes after washing and peeling, but try boiling them before (or par-boil if you’ll be cooking them later on in a soup) with their skins on. After, drain and let them cool for a few minutes until you’re able to handle them. The potatoes will be more tender and the skin can be peeled easily. Par-boiled potatoes offer some benefits too. They’ll absorb less water ensuring they won’t be gluey when mashed. Potato skins also contain flavor which you will retain with this method. Source: the Kitchn

The Healthiest Low-Sugar Fruits You Should Eat

Skipping fruit may seem like the newest trend to cut out sugar, but some fruits actually contain valuable vitamins, minerals and antioxidants we need. On average only one in 10 adults get enough fruits and veggies needed in a balanced diet. This can increase risk for chronic illnesses like diabetes and heart disease. If you’re looking to cut back on carbs and higher-sugar fruits, look to these fruits instead. Strawberries. A great option for their low sugar. A cup of strawberries only has 7 grams of sugar and provides your daily recommendation of vitamin C. Grapefruit. Another great alternative to sugary snacks. The key here is portions. Half of a grapefruit contains about 8 grams of sugar. Avocados. Although it may not seem like one, avocados are definitely a fruit. They are full of healthy fats that protect your heart and lower LDL or cholesterol, plus phytochemicals that reduce oxidative and inflammatory stress. Raspberries. Berries are low in sugar with just 5 grams of sugar per cup. Also, they have 8 grams of fiber which will leave you feeling full better than other fruits. Blackberries. Rich with 8 grams of fiber and 2 grams of protein, these berries are perfect for nutrients. A cup has only 7 grams of sugar. Oranges. These fruits are better eaten whole rather than in a juice. A single orange has 12 grams of sugar with more than the daily recommended vitamin C. Sources: Good Housekeeping

A Reminder to Throw Out That Sponge

Sponges are a hotspot for bacteria and can make you sick if you’re not careful. You may think if something is dirty then you should clean it right? With sponges, that’s not the case. It’s best to replace your sponge instead of attempting to clean it. Here’s why. You might have heard the cleaning tip to microwave your sponge to kill off bacteria. However, this isn’t as effective as you may think and could actually be a potential safety hazard. Microwaving a sponge can produce sparks which could damage your microwave. Unless you know the exact amount of time, and how wet your sponge has to be, it’s best to skip this idea altogether. Some sponges contain metal for scouring which is a big no-no in a microwave. While you may kill off pathogens with this method, you actually could be increasing the number of bacteria leading to some diseases such as E. coli. Bleach and dishwashers also may not be as effective. The problem is the pathogenic bacteria tend to stay behind even if these methods prove 99.9 percent effective. Our recommendation? Toss it out entirely and replace it with a new one. Researchers recommend replacing your sponge about once a week. Even if sanitizing your sponge may seem more cost-effective, it’s not worth the potential risk to your health and safety. Sources: The Kitchn

The Pros and Cons of Laminate Countertops

Laminate countertops have come a long way from the typical ones we often think of. These countertops are made from layers of plastic that are bonded to particleboard or kraft paper to create a strong solid countertop surface. The end result is a clean and finished surface that can imitate more expensive counters like granite or marble. The Pros Laminate counters are lightweight in nature making them easy to install. Heavier stone countertops made of granite are much more difficult and expensive to place in kitchens. A laminate counter can be installed without the need for professional help. One of the big pros to a laminate counter is of course the price point. Although it may need to be replaced more often than a marble surface, with the right care it can last for many years. The Cons One of the drawbacks of laminate is the durability. These counters can easily scratch so you don’t want to use any sharp knives directly on them. Hot items such as pots can also cause damage. Laminate is more susceptible to chipping and burns unlike a granite counter would be. Another thing to look out for is delamination. Water damage is difficult to repair and in most cases will call for the entire countertop to be replaced. Overall, these counters will have a shorter lifespan compared to stone, stainless steel or concrete. Sources: HGTV Image by Sarah Jane Christy

Appliances You Should Upgrade Before Selling Your Home

While we may not all be moving in the immediate future, it’s always good to know what would increase your home’s resale value. There are three appliances in particular that are worth investing; it also doesn’t hurt that you can enjoy them meanwhile. First, begin researching your home and the current state of the market. There is a point of diminishing returns where upgrades won’t keep increasing your home value. Check in with some licensed real estate professionals to find out what the market looks like and more importantly what upgrades are considered valuable. Refrigerators. When looking into refrigerators aim for French door models with built-in water and ice dispensers for the greatest return on investment. Stainless steel usually has a higher resale value. It may also be smart to look for refrigerators with an Energy Star logo to note its eco-friendliness–be sure to leave the tag on! Stoves. A built-in stove often brings in more money when it’s time to sell. Some other features to consider are flat tops for the minimal mess and self-cleaning functions. Washers. Look for high-efficiency washers and dryers as these appliances are often a part of price negotiations. Common favorable models are top and front-load washers paired with a matching dryer. Are you looking for an appliance upgrade for your home? We have a wide range of appliances to match every one of your needs at budget friendly pricing. See our complete catalog here. Sources: Apartment Therapy

Heat and Oil in the Kitchen

Are you confident when it comes to heating up oil? Do you ask yourself when you should know if it’s hot enough or which kind to use? We have you covered in this complete guide to heat and oil when cooking. You can often find heat and oil at the beginning of many recipes. Here are some of the ways you can make sure your food comes out to a perfect meal instead of a soggy disappointment. The Oil. Each oil has its own unique properties when heated. In general canola and vegetable oil are more versatile while olive oil is great for lower-heat. Avoid cooking with flavored or finishing oils such as walnut or pistachio oils. These are known to be better for dressings and tend to have lower smoke points. Before Cooking. Be sure to check that your ingredients are completely dry. Tossing freshly washed ingredients will result in the water bursting into steam, causing oil to splatter. Take some time to properly heat up your pan. There is some debate whether you should heat up the pan before the oil. Regardless of your method, the oil should be hot enough before placing food as you want it to sizzle and not soak into your food. Checking Your Oil. There are several ways you can check if your oil is at the right temperature. First, when you pick up your pan and swirl around the oil, it should move quickly like water. Look for “fingers” in the oil or places where the oil looks to stretch and shimmer. When placing food in the oil, small bubbles should immediately appear. If they don’t your oil isn’t hot enough and won’t give you the flavor you want. If your oil is smoking it’s too hot. Remove the oil and pour it into a heat-proof container like glass or ceramic, then start the process over again. Are you looking for more from Cosmo? Be sure to follow us on our Facebook and Instagram! Sources: The Kitchn

Planning Kitchen Remodel Budgets

When planning your kitchen remodel it’s important to also plan out your budget. When deciding what is best, every person will have their own priorities on where to prioritize their budget. For example, a chef may spend more money on their appliances while a family may focus on cabinet storage. If your budget doesn’t allow for some materials today, consider placeholders that will be easily replaceable in the future. While values in a kitchen will shift person to person, here’s a general guide on where you can save or splurge. Appliances. Look for energy efficient appliances with warranties when picking appliances. Your appliances will be one of the features in your kitchen you will use often. Strike a balance between the cost of the appliances and cabinets. Keep in mind the kind of appliance you want to spend a larger budget on. For example, a refrigerator may need to be replaced every 15 years while a cooktop will last longer. Consider investing more in the cooktop instead. If you are constantly doing dishes, try investing in a quality dishwasher to adapt to your lifestyle. Countertops. A countertop may be the centerpiece in a kitchen, which could need a larger budget. This can also influence the rest of the decorative decisions in the entire kitchen. If you are looking for a beautiful surface within a budget consider a lower grade granite. Laminate is also a cheaper alternative while still mimicking the design. Cabinetry. The cabinets in a kitchen remodel can easily add cost to your budget. Definitely invest in a waste-recycling center and make sure all the drawers and doors are soft close. Functionality is the key when it comes to cabinets. Investing in cabinets that build up to the ceiling will give you much more storage while drawers in base cabinets offer more ergonomic access. Save on cabinet materials as it is difficult to tell the difference from veneer and solid wood. Invest instead in plywood shelving as these will last longer and keep their value over time. When it comes to installation, do invest in professionals. Cabinet installation is an intense process and isn’t as simple as hanging some boxes. Hardware. Knobs, pulls and handles can easily impact the look of a kitchen. The price on this hardware can range from a few dollars to hundreds. One thing to consider when planning a budget for hardware is to match what’s already existing in the cabinets. For example, replace a pull with a pull rather than drilling new holes into cabinets as these are permanent changes. Tile. Ceramic tile may look great, but porcelain can be a cheaper alternative for flooring. Porcelain tiles resist chipping and cracking while still being a low cost alternative. Consider larger tiles to give an updated look to your kitchen while reducing the amount of work during installation. You can find porcelain tiles that imitate the look of natural stone. Sources: HGTV

How to Install Hardwood Flooring in a Kitchen

Hardwood flooring in a kitchen is not only a great look, but also a smart choice for its durability. Follow these steps on how to install hardwood flooring into your kitchen. Materials and Tools You’ll Need: Laminate flooring Transition fitting Carpet pad Roofing felt Scissors Finish nailer Tape measure Rubber mallet Miter saw Instructions: Use fold and lock laminate floor. Run the hardwood boards perpendicular to floor joists to prevent them from sagging in the future. Be sure to leave a ⅜ inch gap between the walls and the flooring. You can cover this later on with trim. Minimize the amount of natural expanding and contracting from the flooring by allowing it to sit in the home for 10 to 14 days. This will allow it to acclimate to the environment. Check to see if the original floor is level. If it’s not, take self-leveling liquid and pour it in the part of the floor that dips. Once this dries you can begin the installation. Roll out the roofing felt. This will prevent any water damage to pass through to the subfloor. Begin by laying the composite flooring. The planks will easily lock together. It can be helpful to begin laying the flooring along a wall first and take note of any cuts that will be needed. Stagger the boards to give them extra strength and beauty. Take a rubber mallet to tap them into place. Finally, install the transition piece using a finish nailer.

Tips on Organizing Your Pantry

You may have already heard the common pantry organizing tricks such as placing similar ingredients together or using clear containers for dry goods. Here are some more tips you may be missing when it comes to building that well-ordered pantry you’ve always dreamed of. New Methods for Organizing A common way of organizing your pantry is the “like with like” approach. While placing similar ingredients together may be a good starting point, there may be better solutions for your kitchen. First, consider the frequency of use. Are there some spices you use more than others? Place those in an easily accessible spot. Do you have a morning routine that always revolves around coffee? Consider a coffee station with all your essentials. Another organization method you should consider is the “first in, first out” system. This method is similar to most grocery stores. If you have multiples of one item such as beverages or boxes of cereal, place them in a way that the older items will be used first. You will ultimately prevent wasting any food. Storing Foods in Jars A recent trend that is visually pleasing to look as is placing dry goods in matching glass storage jars. This process is known as decanting. Decanting typically involves moving liquid ingredients from one jar to another, but decanting for your pantry involves moving dry foods into another storage container. The process helps reduce clutter in your pantry while also providing a visual on what you have available. When doing this, be sure you are using jars appropriate to the ingredient. Is this something you will have to pour or scoop later on? If so, be sure you have a wide enough mouth on the jar that you can scoop out of if necessary. Take some time to label these ingredients with not only the name of the ingredient but with their expiration date. You will be losing the original container after all. You can use some washi tape and a permanent marker, no need for all the fancy labels. Achieving the perfect pantry takes time and is an ongoing process. A pantry will always differ depending on the needs of the kitchen. Check up with your pantry a few times a year to see what can be improved or thrown out. Sources: Organized Home

The Best Colors to Paint Your Kitchen

The color of your kitchen can be a stressful decision as there’s so many options to choose from. However, there’s some colors that rise above the rest. White gray, blue, red, yellow and green work the best in a kitchen space to create a warm and welcoming space. Red. Warmer colors are believed to stimulate appetite and work great for kitchens. Red is versatile in that there are many shades to pick from and works well on a variety of locations like cabinets or walls. White. Beginning a day in a white kitchen can help energize and stimulate the mind. It feels clean and wakes you up quickly. An all white kitchen also offers a lot of options as you can pair with more decorative countertops and backsplashes. Gray. Gray is a neutral color and has been very popular in recent trends. Although gray can be categorized as being a “cold” color, there are many warmer shades to choose from. It works with a variety of different colors and is the perfect base in a kitchen space. Blue. Lighter shades of blue can create a crisp and clean look for walls, cabinets, or even the ceiling. Blue is a very demanding color and works best when used sparingly, otherwise it can overpower a room. While darker blues also work in a kitchen, it’s better to pair with lighter white or gray accents as you want to prevent the room from feeling dark. Yellow. Yellow has a soothing quality and can instantly bring a feeling of calmness. It’s also associated with bringing a feeling of hunger. It tends to open up spaces to feel bigger and brighter. Pair it with white and gray accents. Green. Associated with bringing a jolt of energy to a kitchen, green has many shades to choose from. This color works great for white and wood accents. Try this color for an added level of character to your kitchen. Stay up-to-date with Cosmo and follow us on our Facebook and Instagram. Sources: HGTV