Common Kitchen Renovation Mistakes and How to Avoid Them: Your Guide to a Successful Kitchen Remodel
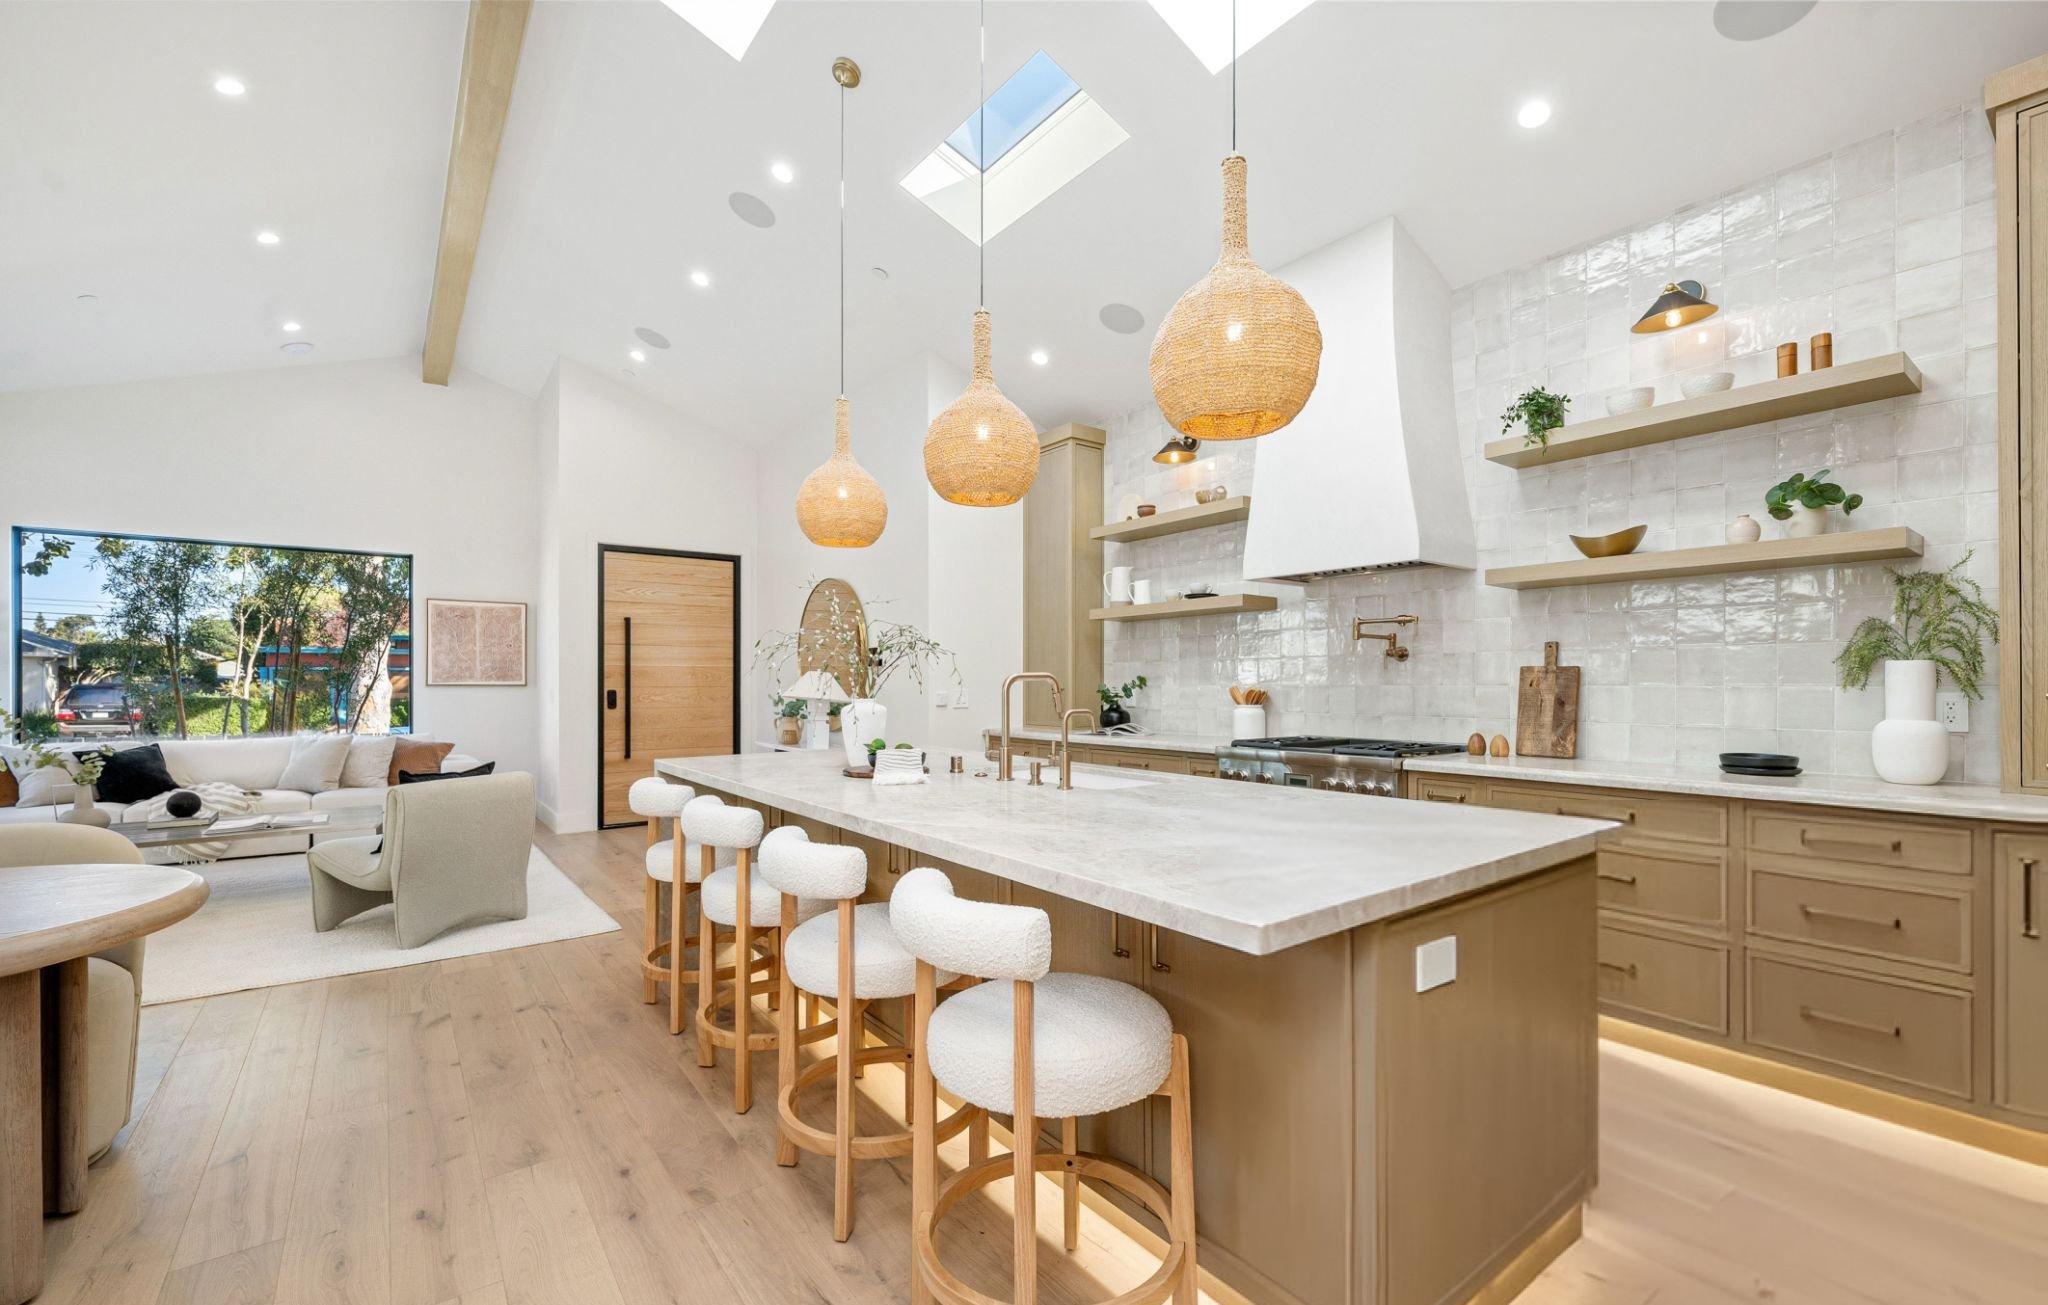
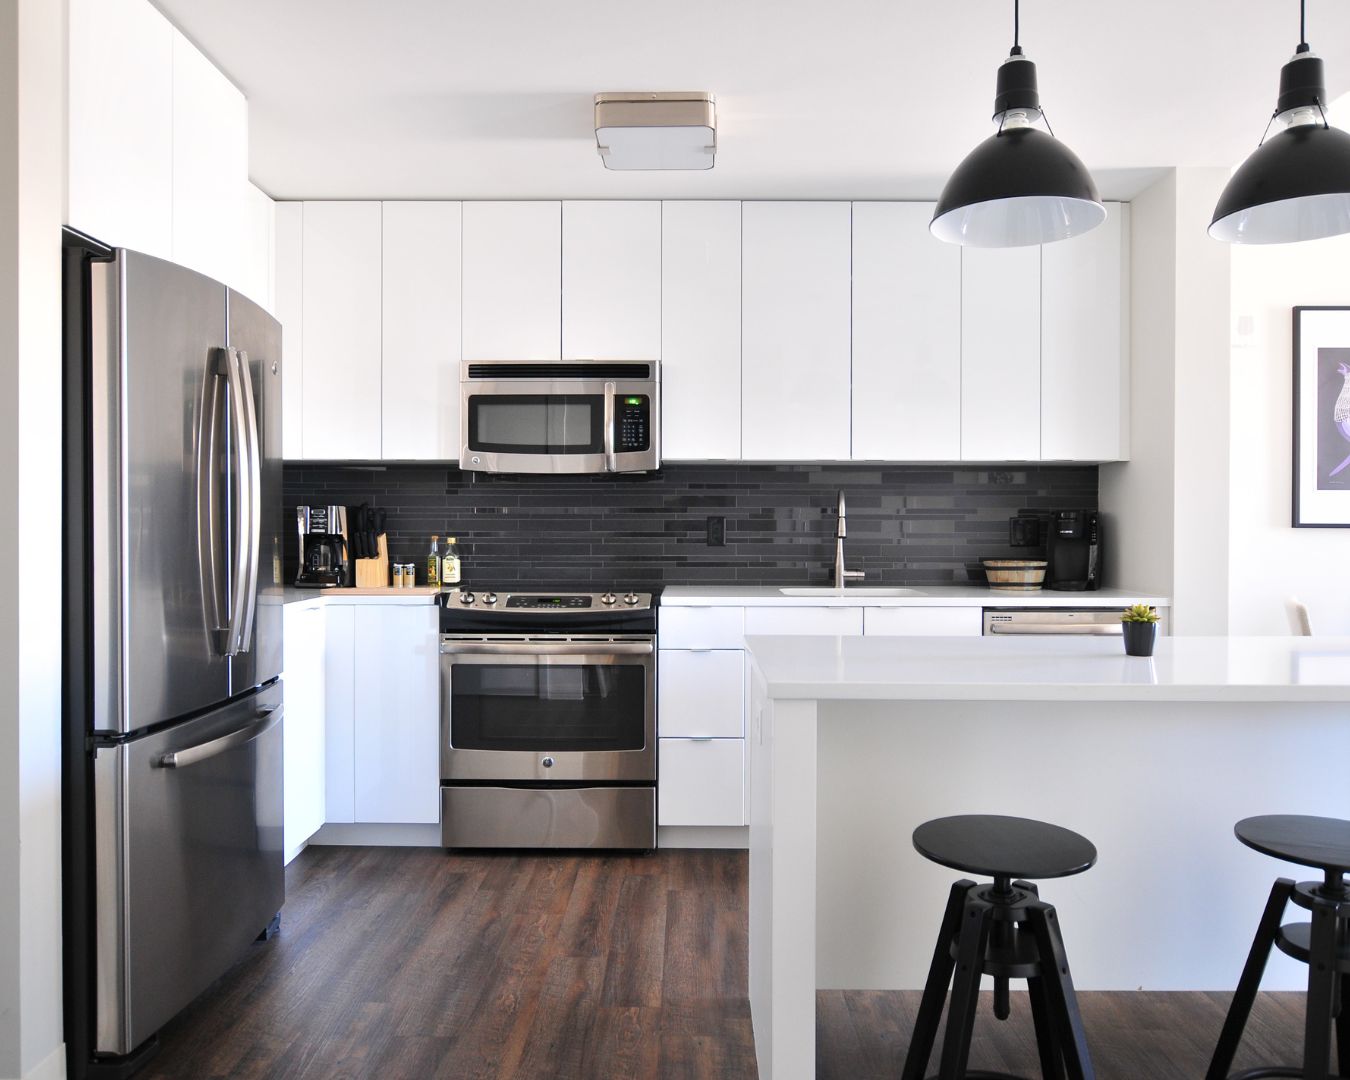
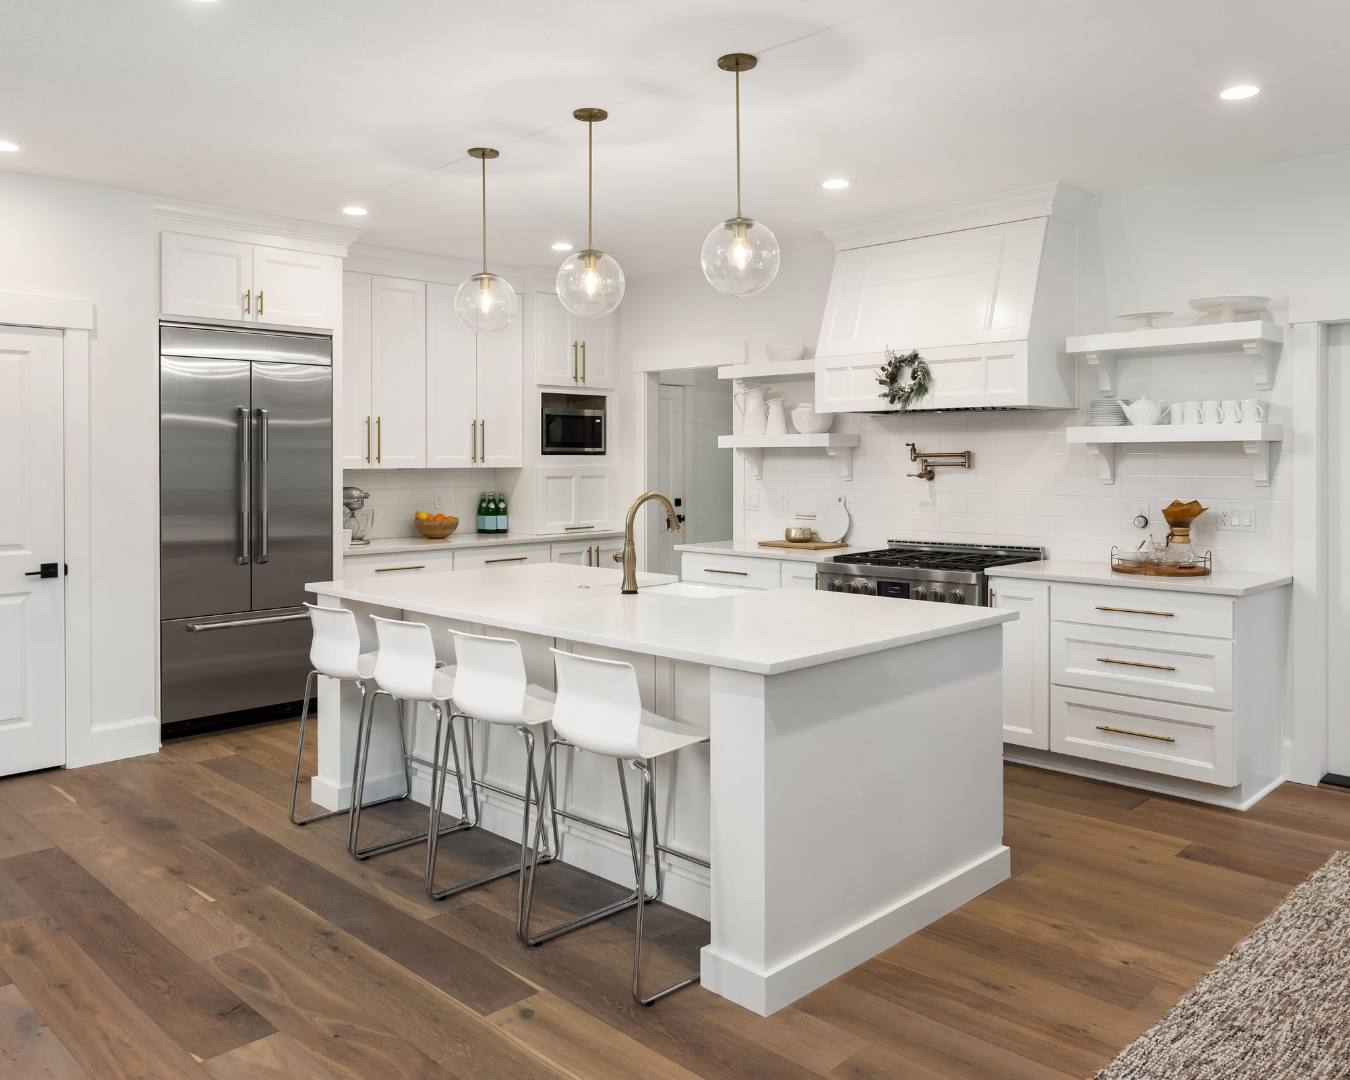
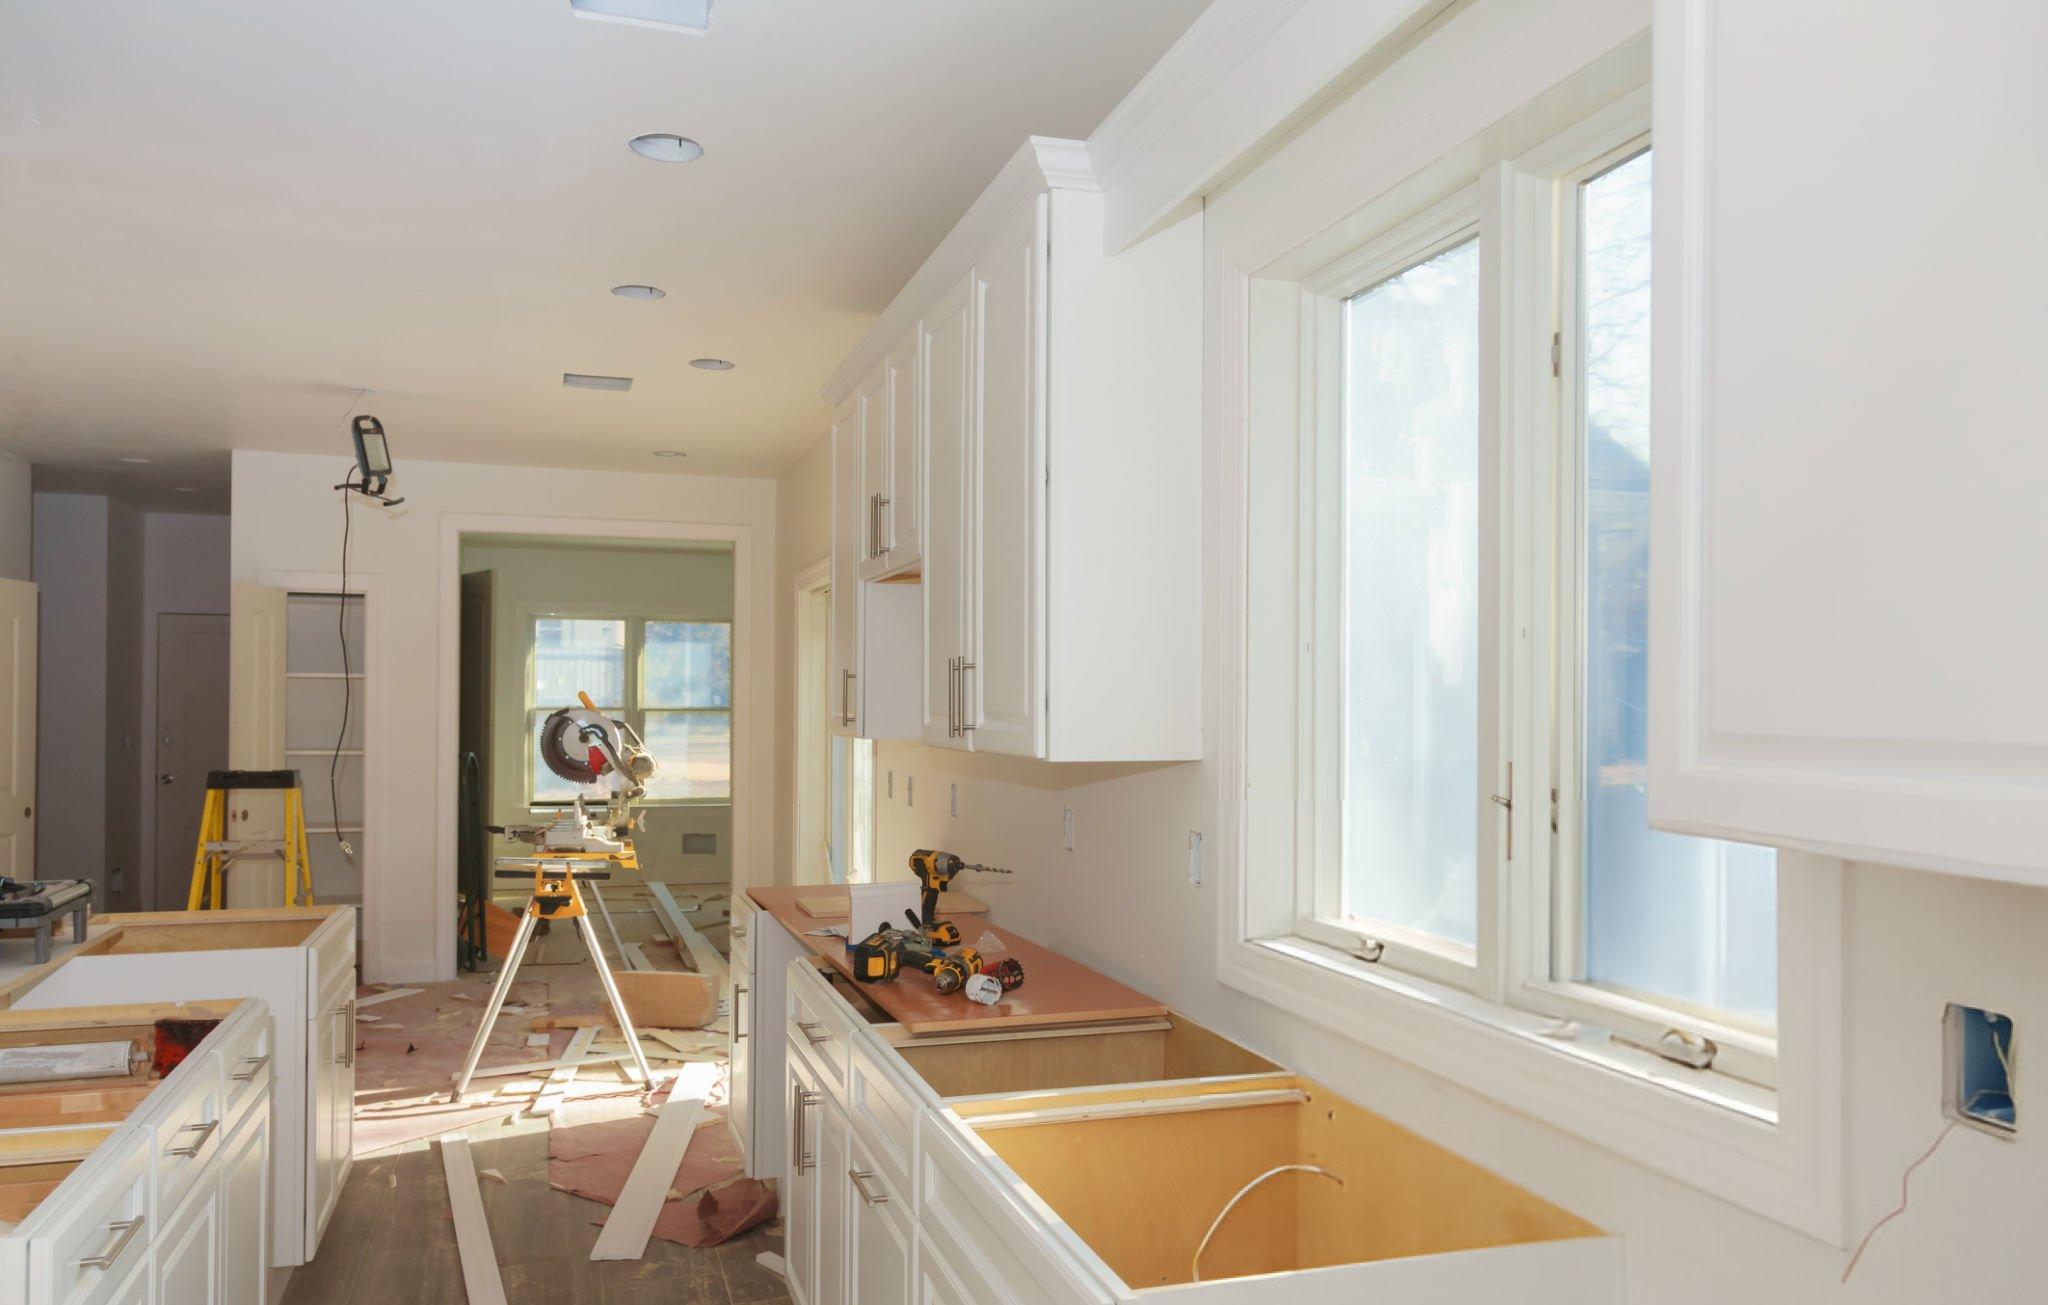
Kitchen renovations represent one of the biggest investments most homeowners make in their homes. With projects often costing tens of thousands of dollars and disrupting daily life for weeks or months, getting it right the first time is crucial. Unfortunately, many well-intentioned homeowners make costly mistakes that could have been easily avoided with proper planning and knowledge. Learning from others’ mistakes can save you significant time, money, and frustration during your kitchen renovation. The most expensive errors often stem from poor planning, unrealistic budgeting, or prioritizing appearance over functionality. Understanding these common pitfalls helps you make better decisions and create a kitchen that works beautifully for your family’s needs. Mistake #1: Inadequate Budget Planning One of the most common and costly mistakes is underestimating renovation costs by 20-50%. Many homeowners focus on major items like cabinets and appliances while forgetting about numerous smaller expenses that add up quickly. Labor costs, permits, electrical upgrades, plumbing modifications, and finishing details can easily double your initial estimates. Create a detailed budget that includes everything from demolition to final cleanup. Research actual costs for materials and labor in your area rather than relying on online estimates that may not reflect local pricing. Include a contingency fund of at least 20% for unexpected discoveries like structural issues or code compliance requirements. Hidden costs often emerge during renovation. Old electrical systems may need upgrading to handle modern appliances. Plumbing might require rerouting when you change the kitchen layout. Structural modifications could be necessary for wall removal or island installation. Budget for these possibilities upfront rather than scrambling for funds mid-project. Consider financing options before starting your renovation. Having approved credit lines or savings in place prevents delays when unexpected costs arise. Running out of money halfway through a renovation leaves you with an unusable kitchen and mounting contractor bills. Mistake #2: Poor Traffic Flow Planning Many homeowners get caught up in aesthetics and forget how they actually use their kitchen daily. Poor traffic flow planning creates bottlenecks, inefficient work patterns, and frustration for years after the renovation is complete. The kitchen work triangle concept exists for good reason – it creates efficient movement between the sink, stove, and refrigerator. Avoid placing the island or peninsula in ways that block natural traffic patterns. People should be able to walk through the kitchen without interfering with cooking activities. Consider how multiple family members use the kitchen simultaneously and plan pathways accordingly. Think about door swings and appliance clearances when planning your layout. Refrigerator doors need adequate opening space, dishwashers require room to load and unload, and oven doors shouldn’t block walkways when open. These practical considerations prevent daily annoyances that perfect-looking plans might miss. Test your proposed layout by marking it out with tape on your current floor. Walk through typical kitchen activities to identify potential problems before construction begins. This simple exercise reveals flow issues that drawings might not show clearly. Mistake #3: Insufficient Storage Planning Underestimating storage needs ranks among the most regretted renovation mistakes. Many homeowners assume new cabinets will automatically provide adequate storage without carefully analyzing their actual needs. Modern kitchens often house more items than previous generations, from small appliances to bulk food purchases. Inventory everything currently stored in your kitchen before planning new storage. Include items stored elsewhere that you’d prefer to keep in the kitchen. Don’t forget about seasonal items, entertaining pieces, and appliances you use occasionally but want to keep accessible. Plan for vertical storage by using cabinets that extend to the ceiling. The space above standard-height cabinets often becomes a dust-collecting void that could provide valuable storage. Tall cabinets create a more custom, built-in appearance while maximizing storage capacity. Consider specialized storage solutions for specific items. Deep drawers work better than shelves for pots and pans. Pull-out organizers make corner cabinets more functional. Appliance garages hide countertop clutter while keeping items accessible. These features cost more initially but provide significant long-term value. Mistake #4: Choosing Form Over Function Pinterest-perfect kitchens can seduce homeowners into choosing beautiful features that don’t work well for their lifestyle. White countertops look stunning in photos but show every stain and require constant maintenance. Open shelving creates an airy feel but demands perfect organization and frequent dusting. Consider your cooking habits and maintenance preferences when making design decisions. If you cook frequently and enthusiastically, choose finishes that hide splashes and fingerprints. If you prefer low-maintenance cleaning, avoid materials that require special care or frequent sealing. Think about how design choices will age over time. Trendy colors and patterns may look dated in a few years, while classic choices remain appealing longer. Since kitchen renovations represent major investments, choose timeless elements for expensive components and add trendy touches through easily changeable accessories. Test materials and finishes in person rather than relying on photos or small samples. Lighting conditions in your kitchen will affect how colors and textures appear. Bring large samples home to see how they look in your actual space throughout different times of day. Mistake #5: Inadequate Lighting Design Poor lighting planning creates kitchens that look great during the day but become frustrating to use in the evening. Many renovations include only general overhead lighting without considering task lighting for work areas or ambient lighting for atmosphere. Layer your lighting design with three types: general lighting for overall illumination, task lighting for work areas, and accent lighting for ambiance. Under-cabinet lighting illuminates countertops for food preparation. Pendant lights over islands provide both task lighting and visual interest. Dimmer switches allow you to adjust lighting based on activities and mood. Plan electrical rough-in carefully during the planning phase. Adding lighting later requires expensive retrofitting and possible damage to new finishes. Include more electrical outlets than you think you need – modern kitchens use many more electrical devices than older ones. Consider natural light when planning artificial lighting. Kitchens with limited windows need more artificial lighting, while those with abundant natural light can use more ambient fixtures for evening use. Mistake #6: Appliance Selection Errors