Recipes

Air Fried Sweet Potato French Fries

Looking for a quick and easy snack for your air fryer? Try these delicious sweet potato french fries. Be sure to mix in cinnamon and brown sugar for an extra level of sweetness. Ingredients: Large sweet potato Brown sugar Cinnamon Non-stick cooking spray Frosting (optional) Directions: Peel and chop up a large sweet potato Place in a bowl and add cooking spray Add brown sugar and mix well. Add cinnamon and repeat. Place fries in air fryer basket in a single layer for even cooking. Bake at 350 degrees F for 20 minutes. Shake every 5 minutes. Optional: drizzle frosting of your choice

Air Fried Cheese Empanadas

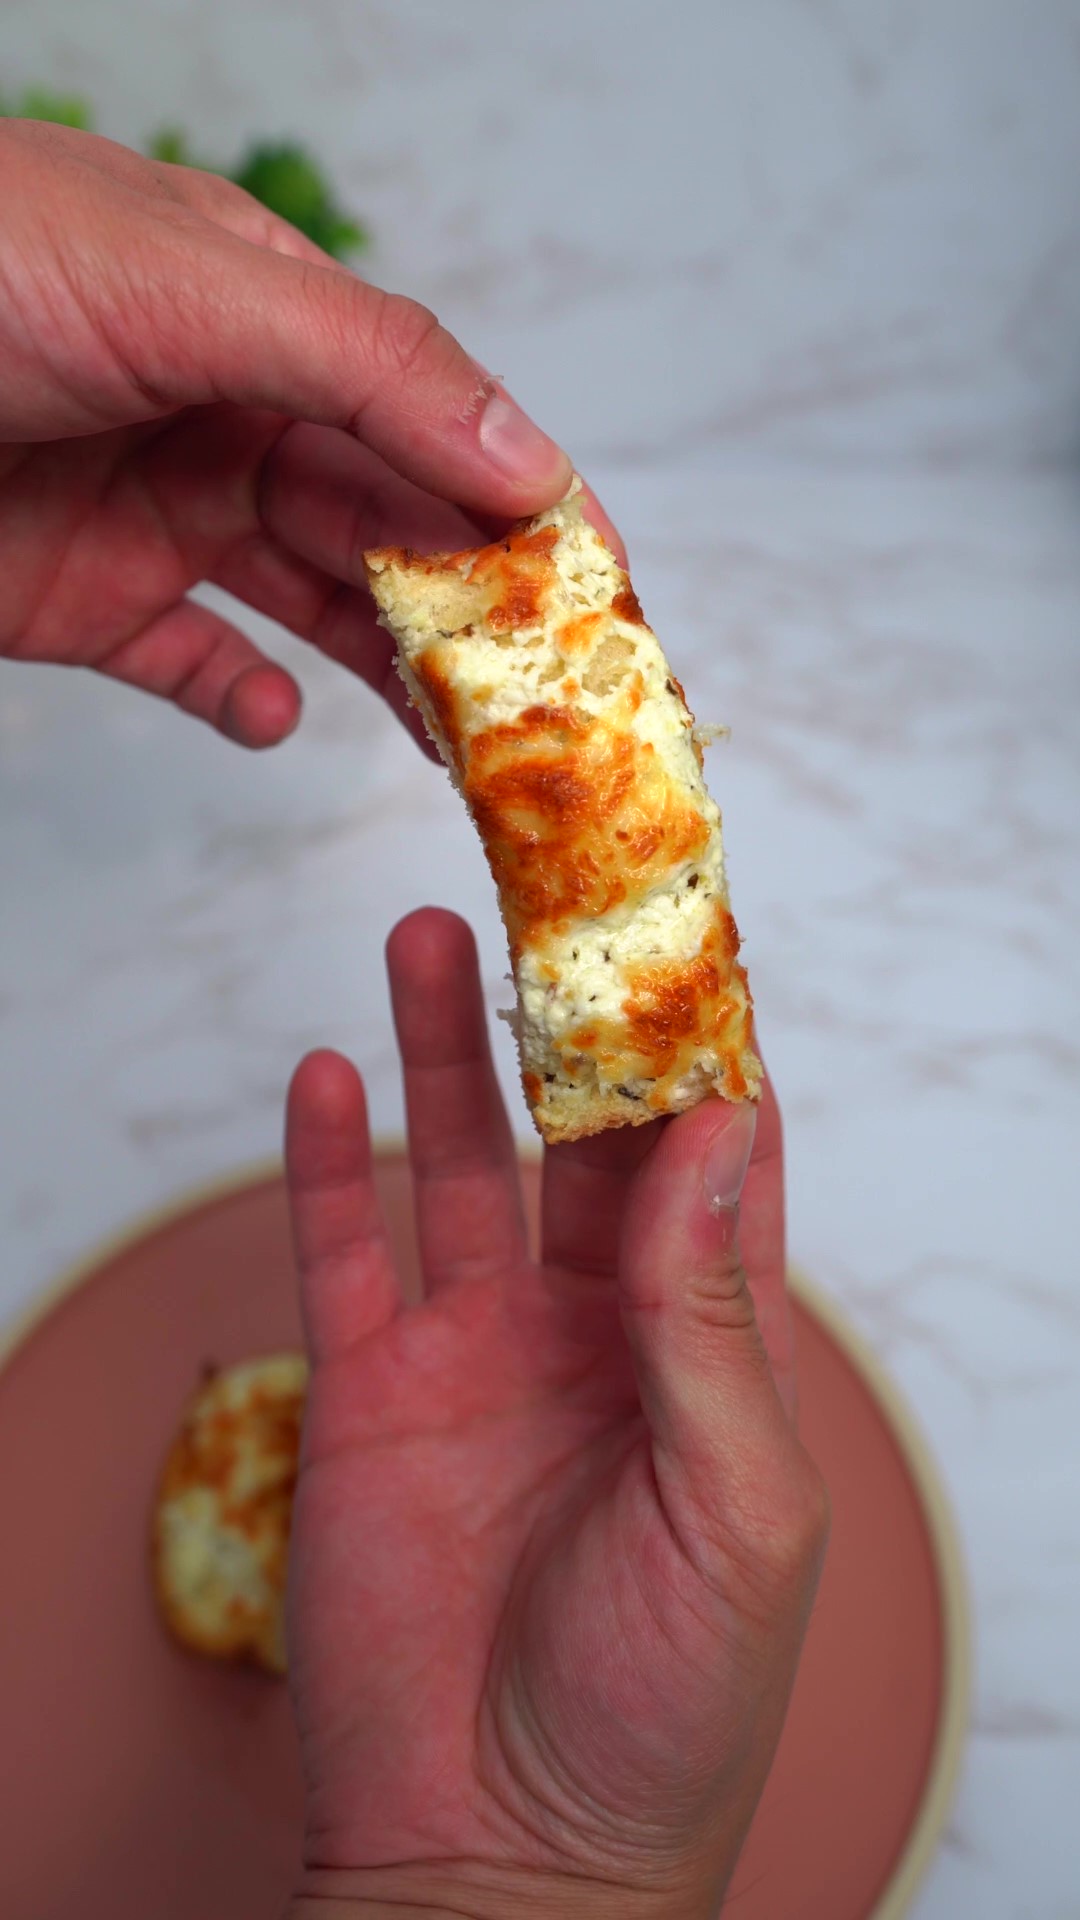
Need a quick and easy snack for your air fryer? Try these delicious cheesy empanadas! Be sure to top them with Italian seasoning for the final touch. Ingredients: Goya empanada discs Mozzarella cheese Italian seasoning Egg wash or cooking oil Non-stick cooking spray Directions: Fill empanada disc with mozzarella cheese and fold over in half. Seal edges with a fork. Use egg wash or lather on some cooking oil to the empanada. Coat air fryer pan with non-stick cooking spray. Cook at 350 degrees F for 8 to 9 minutes.

Caramel Brownies Recipe

If you’re searching for another dessert recipe, look no further than these delicious chocolate caramel brownies. They’re topped with a flaky sea salt and are perfect if you ever need a baked good for a holiday event. The brownies can be frozen for up to three months but will lose the creamy texture over time. Prep time: 20 minsCook time: 35 minsTotal time: 55 minsServings: 12 servingYield: 12 brownies Ingredients: 1/3 cup caramel sauce, plus more for drizzling 1 1/4 cup (168 g) all-purpose flour 1/4 cup (24 g) Dutch process cocoa powder 3/4 cup (168 g) unsalted butter 3 ounces unsweetened chocolate, chopped 1 1/4 cups (260 g) granulated sugar 1/4 cup (46 g) brown sugar 1 teaspoon kosher salt 2 teaspoons vanilla extract 3 large eggs 1/2 to 3/4 teaspoon flake salt, for topping (optional) Directions: Prepare the pan: Preheat the oven to 325°F degrees. Coat an 8 x 8 square metal baking pan with cooking spray.Make a parchment sling by lining the pan with parchment paper and leaving an inch overhang on either side. This will make it easier to remove the brownies from the pan. Spray parchment and set aside. Prep dry ingredients: In a small bowl whisk flour and cocoa to break up any cocoa clumps and set aside. Melt butter and chocolate: In a large pot (4 quart), set over medium low heat, add the butter and chocolate. Stir until both are melted and fully combined. Remove from heat. Add sugar, salt, and vanilla: To the pot with the chocolate and butter add the granulated sugar, brown sugar, salt, and vanilla. The batter will look grainy. Add eggs: Add eggs one at a time and stir vigorously after each addition until fully incorporated. The batter will become smooth and shiny. Finish batter: Add flour and cocoa mixture to the batter. Use a spatula to stir it all together. The batter will be thick, and shiny like frosting. Transfer the batter and add the caramel: Scrape batter into the prepared baking dish. Smooth the top with your spatula, if necessary. Measure out about 1/3 cup of caramel sauce into a dish. Your caramel should be able to drizzle off the end of your spoon in thick ribbons. If it’s too cool and thick to drizzle then zap it in the microwave for a few seconds until it is.Using a spoon create nine dollops of caramel evenly over the top of the brownie. Swirl in caramel: Use a knife to swirl the caramel into “S” shapes throughout the batter. The batter is thick, so you are just swirling the very top layer. Leave some pockets of caramel. Sprinkle with flake salt, if using. Bake: Bake for 35-40 minutes or until the brownies reach an internal temperature of 210°F. A toothpick won’t come out clean because of the caramel that melts into the batter and the fudgy nature of these brownies.When baked, the center stays very soft but shouldn’t be wet to the touch. The caramel will look melted and not very visible, but don’t worry, it will firm up as it cools.If you have a glass baking dish, you may need to add 10 to 15 minute to the cook time. Drizzle with more caramel and enjoy: Let brownies cool in the pan on a wire cooling rack until they reach room temperature. Drizzle with 3 to 4 tablespoons of additional caramel and another light sprinkle of sea salt. Serve and enjoy! Source: Simply Recipes

English Scones Recipe

Pair English scones with a cup of tea for the perfect afternoon. They are light, flakey and mildly sweet. Serve these with clotted cream and strawberry or raspberry jam. Prep time: 10 minsCook time: 20 minsFreezing time: 15 minsTotal time: 45 minsServings: 8 to 10 scones Ingredients: 2 cups (257 grams), all-purpose flour, plus more for dusting surface3 tablespoons (39 grams) granulated sugar1 tablespoon (15 grams) baking powder1/2 teaspoon (2 grams) kosher salt4 tablespoons unsalted butter, frozen2/3 cup plus 1 tablespoon whole milk, dividedClotted cream and jam, for serving (optional) Directions Line a baking sheet: Line a rimmed baking sheet with parchment paper. Combine the dry ingredients: In a large bowl, whisk together the flour, sugar, baking powder, and salt. Grate the butter: Place a box grater over the prepared baking sheet. Grate the butter on the large holes of a box grater. When you get down to a small nub of butter, chop that nub into a few small pieces. Add the butter to the dry ingredients: Use the parchment paper as a sling to transfer the butter to the dry ingredients in the large bowl.Then, return the parchment paper to the baking sheet. Use your fingers to toss the butter in the flour, breaking up any clumps, until evenly coated. Add milk and form rough dough ball: Drizzle about half of the whole milk over the butter-flour mixture. Use a fork or your hands to combine and lightly mix. The mixture will start to look sandy.Add the remaining half of the reserved milk 1 tablespoon at a time, as needed, continuing to combine with a fork or your hands, until a rough and lumpy, but cohesive, dough ball forms. You may not use all the remaining milk. Shape the dough: Turn the dough out onto a floured work surface and pat it into a rough 1-inch-thick circle about eight inches in diameter. Cut dough into scone rounds: Use a 2-inch biscuit cutter to cut the dough into rounds. Cut them as close together as possible. You want to get as many rounds as possible on your first pass through the dough. Gently press the scraps back together and cut out additional rounds.You should have 8 to 10 rounds, depending on how diligent you are with pressing the scrapes together. Transfer scones to prepared baking sheet, refrigerate, and preheat the oven: Transfer the scone rounds to the prepared baking sheet, spacing them about 1 inch apart.Refrigerate the unbaked scones while you arrange a rack in the middle of the oven and preheat the oven to 400°F. Brush scones with milk and bake: Once the oven has preheated, using a pastry brush, brush the scones with the remaining 1 tablespoon of milk and bake until golden brown, 18 to 22 minutes. Cool and serve scones: Let the scones cool for 5 minutes on the baking sheet before enjoying warm or transferring to a cooling rack to cool completely. Serve with clotted cream and jam, if desired. Directions: Simply Recipes

Air Fried Strawberry Cream Cheese Empanadas

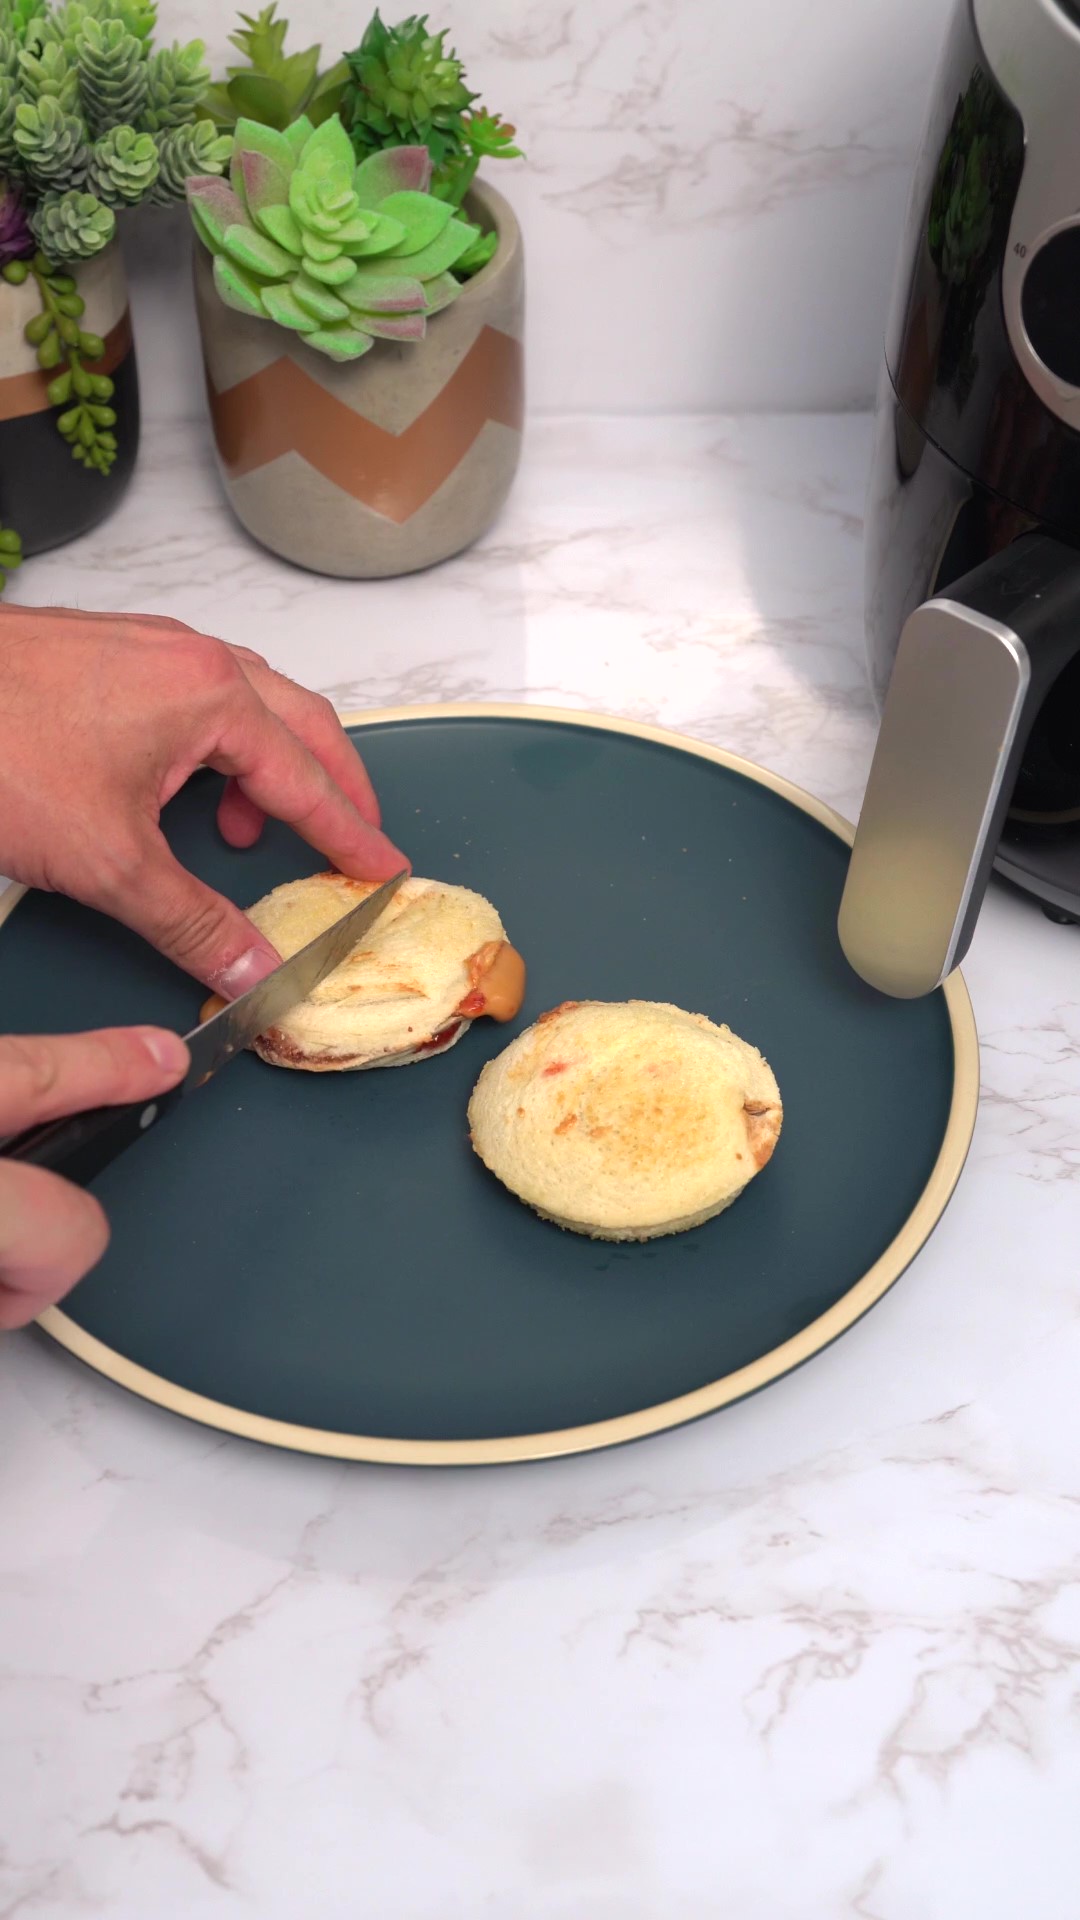
Dessert made easy with the help of an air fryer. Try these delicious and sweet strawberry cream cheese empanadas with little to no mess. Substitute the strawberry with your favorite jam as desired. Ingredients: 1 pack of empanada discs 1 tbsp. strawberry jam (or any jam flavor) 1 tbsp. cream cheese Non-stick cooking spray Directions: Add the cream cheese and jam to half of the empanada disc. Spread evenly. Fold over and seal the edges with a fork. Egg wash the edges (optional). Coat air fryer pan with non-stick cooking spray. Cook at 325 degrees F for 8 minutes.

Mint Julep Recipe

The refreshing Mint Julep cocktail is a pairing of sweet mint, simple syrup or sugar and bourbon. It’s perfect for the warmest summer nights thanks to the fresh ingredients. This recipe requires a traditional method to mint the julep, which combines 6 to 7 mint leaves with either sugar and a splash of water, or a tablespoon of simple syrup. Crushing the mint into the syrup will add to the spirit, resulting in a mint julep. Prep time: 5 minsServing: 1 cocktail Ingredients: 2 1/2 ounces Bourbon 1/2 ounce simple syrup or 1 to 2 sugar cubes 8 mint leaves (plus 2 sprigs for garnish) Crushed ice Directions: Combine the mint, simple syrup, and bourbon: Combine the mint, simple syrup or sugar cubes, and bourbon in your glass or cup. Using a spoon, macerate the mint by crushing it into the sugar and liquid, releasing its essence. Fill glass with crushed ice and pour cocktail: Fill your glass or cup with crushed ice, and gently press a spoon into the ice, moving it around a bit to incorporate the ingredients. Garnish and serve: Garnish with 1-2 mint sprigs, and very much enjoy. Source: Simply Recipes

BBQ Pulled Jackfruit Tacos Recipe

Jackfruit is a great substitute for meat and an obvious choice for tacos, sandwiches, salads and wraps. Jackfruit is a large fruit that can be purchased in its young green, unripe form which has the texture of a stringy, pulled meat. Much like tofu, jackfruit takes on the flavor of whatever sauce, marinade or spaces you’re cooking it with. If you have any leftovers, it’s great in a breakfast burrito! Here’s how to prepare these delicious tacos. Prep time: 15 minsCook time: 10 minsTotal time: 25 minsServings: 4 to 6 servings Ingredients: 2 (14-ounce) cans jackfruit in brine, drained and rinsed 2 tablespoons extra virgin olive oil 1 small yellow onion, finely chopped (about 1 1/2 cups) 2 cloves minced garlic 1 jalapeño, seeded and finely chopped (optional) 3/4 cup barbecue sauce, store-bought or homemade 2 teaspoons ground cumin 1 teaspoon dried oregano 1 teaspoon ground coriander 1/2 teaspoon smoked paprika 1/2 teaspoon kosher salt 1 teaspoon grated orange zest To serve: 10 to 12 (6-inch) corn tortillas 1 ripe avocado, thinly sliced 4 radishes, thinly sliced 1/3 cup cilantro leaves, roughly chopped 1/3 cup shredded red cabbage 1/3 cup corn kernels, canned or fresh from the cob 1/4 cup sour cream (optional) 1 lime, cut into wedges Directions: Shred the jackfruit: Using your fingers or forks, break apart the chunks of jackfruit into shredded pieces. Cook the onions: In a large saucepan over medium heat, warm the olive oil. Add the onion and cook until translucent, about 5 minutes. Add the garlic and jalapeño and cook for an additional 1 minute, until the garlic is fragrant. Cook the jackfruit: Add the shredded jackfruit to the pan with the onions and stir well. Add the barbecue sauce, cumin, oregano, coriander, smoked paprika and salt to the pan.Stir to evenly distribute the spices and cook for another 4 to 5 minutes, or until the jackfruit is browned and slightly crisped around the edges. Fold in the orange zest. Assemble the tacos: Warm the tortillas and add a large spoonful of cooked jackfruit to the center of each. Top with avocado, radishes, cilantro, cabbage, corn, sour cream and a squeeze of lime. Source: Simply Recipes

Loaded Sheet Pan Nachos Recipe

Sheet pans easily prep, serve and clean-up. It’s no wonder why they’re the most popular trick among many recipes. Dinners are cooked faster while all the ingredients are cooked evenly. Nachos work great for a sheet pan since you won’t have to worry about balancing ingredients or having everything topple over. These loaded sheet pan nachos are perfect for a casual movie night or dinner with the family. They come together quickly and easily, and can be served straight from the pan. Prep time: 10 minsCook time: 7 minsTotal time: 17 minsServings: 6 to 8 servings Ingredients: For the nachos: 1 tablespoon olive oil 1 medium onion (about 1 cup), chopped 1 pound ground beef (80-20 mix) 1 teaspoon chili powder 1 teaspoon coriander 1/2 teaspoon dried oregano 3/4 teaspoon Morton kosher salt (maybe more) 1 (16-ounce) bag tortilla chips, preferably thick and sturdy 1 bell pepper, cored, halved and chopped (about 1 cup) 1 (15-ounce) can black beans, rinsed and drained 1 cup frozen corn 1 (2.25-ounce) can sliced black olives, about 1/4 cup 1 to 1 1/2 cups grated cheddar cheese or shredded Mexican cheese blend For garnish, optional: 1 avocado, cubed 2 scallions, green ends sliced thinly 1 plum tomato, diced 1/2 cup cilantro, chopped 1 jalapeño pepper, seeded and thinly sliced 1/3 cup sour cream For the cilantro-lime crème: 1 cup sour cream Juice of one lime 1/3 cup cilantro Pinch of salt Directions: Preheat the oven to 400°F. Cook the onions and beef: Heat the olive oil in a medium nonstick or cast iron skillet, and cook the onions for 5 minutes until they start to soften.Add the beef, chili powder, coriander, oregano and kosher salt. Break the beef up with a wooden spoon and cook until it browns, about 8 to 10 minutes. Remove from the heat and set aside. Line the pan with tortilla chips: This is not an exact science—about 6 to 8 handfuls of tortilla chips to line the sheet pan. You want them close and touching and mostly in one layer, but not too high. Add the beef: Using a slotted spoon to drain off the fat, transfer the beef to the pan with the chips, scattering it evenly across the pan. Be generous—you’ll use it all up. Add the toppings: Add the bell pepper, black beans, corn, black olives, and cheese. Bake the nachos: Bake the nachos in the oven for about 5 to 7 minutes, or until the cheese melts and becomes bubbly. Make the cilantro lime crème: While the nachos bake, place the sour cream, lime, cilantro, and salt into the bowl of a food processor fitted with the blade. Process until the ingredients become smooth and there are no lumps. Taste and add more salt if necessary.If you don’t want to bother with your food processor, you could finely chop the cilantro and stir it into the sour cream with the lime juice and salt. Drizzle the crème and serve: Remove the sheet pan from the oven and sprinkle with the fresh cilantro. Using a spoon drizzle the crème across the top of the nachos.Serve the pan as is right on the table with little bowls of the garnishes alongside. Source: Simply Recipes

Apple Turnovers Recipe

Apple turnovers are simple to make. The biggest decision you have to make is how to do the pastry crust. Already-prepared frozen puff pastry will be the easiest to make, with plenty of buttery layers. A homemade butter crust will be flaky but not filled with puffy layers. If you make your own homemade puff pastry dough you’ll have a truly delicious pastry. Prep time: 20 minsCook time: 20 minsTotal time: 40 minsServings: 4 to 6 servings Ingredients: 1 large tart baking apple (such as Granny Smith), peeled, cored, cut into 1/4-inch dice 3 tablespoons dried currants 2 tablespoons chopped walnuts 1/4 cup sugar 1/4 teaspoon cinnamon 1/2 teaspoon cornstarch 1/4 cup applesauce 1/8 teaspoon vanilla 1 frozen puff pastry sheet, thawed, OR 2 pâte brisée doughs (enough for a double crust pie) 2 tablespoons butter, cut into bits 1 large egg, lightly beaten 1 teaspoon milk Directions: Get ready: Put oven rack in lower third of oven and pre-heat oven to 400°F. Butter a large baking sheet Make filling: In a medium bowl, mix together apples, currants, and walnuts with the sugar, cinnamon, and cornstarch, making sure the fruit and nuts are well coated. Mix in the apple sauce and vanilla. If using puff pastry: Unfold the thawed pastry sheet on a lightly floured surface. Depending on the size of your puff pastry sheet you are going to want to cut the sheet into either four 5-inch-by-5-inch or six 4-inch-by-4-inch squares. If using pie dough: Roll out your pie dough on a lightly floured surface to a 16×11 inch rectangle. Trim the edges to 15×10 inches and cut into six 5×5-inch squares. Add filling to pastry squares: Divide the apple mixture among the squares, leaving a 1-inch border. If you are using an already prepared puff pastry sheet, dot the mixture in each pastry with a little butter. (If you are using a butter pie dough, you can skip adding the extra butter.) Brush egg mixture on pastry edges: In a small bowl mix the beaten egg with a teaspoon of milk. Use a pastry brush to brush the egg mixture on the border of the pastry. This will help the pastry seal. Fold and crimp, add steam vents: Fold each pastry into a triangle, enclosing the filling, and crimp edges with a fork. Brush the tops of the pastries with more of the egg wash. Cut 2 or 3 small steam vents in the top of each turnover. Bake: Place the pastries in the oven and bake at 400°F for 20 minutes, or until puffed and golden. Cool turnovers to warm before serving. Source: Simply Recipes

Air Fryer Crab Rangoon Recipe

Skip out on the takeout with these air fryer crab rangoons! Wontons are made with cream cheese and crab and are super crispy. These are more easily prepared in an air fryer. Look for square wonton wrappers since they’re bigger and easier to crimp closed. You can also make these without the crab, plain cream cheese wontons are equally delicious. Here are a few tips before you start. Don’t overfill them: Do at max one tablespoon of filling per wonton. Any more and you’ll end up with exploded wontons while frying. Seal with water: Water works just as well as egg wash. Paint the edge before crimping the corners in the center. Press out the air: Try to get rid of as much air as possible when sealing. Too much air inside while frying will cause the wonton to burst open. Prep time: 15 mins Cook time: 25 mins Total time: 40 mins Servings: 27 to 30 wontons Ingredients: 30 square wonton wrappers 8 ounces cream cheese, at room temperature 4 ounces lump crab meat or imitation crab 2 tablespoons minced scallions 2 teaspoons soy sauce Nonstick spray for air fryer For the dipping sauce: 1/4 cup soy sauce 1 tablespoon sesame oil 1 tablespoon rice wine vinegar Sesame seeds, for garnish Red pepper flakes, for garnish Directions: Make the filling: In a small bowl, stir together cream cheese, crab, scallion, and soy sauce. Mix well so the filling is a single consistency, and the crab is evenly distributed. Make the wontons: Working with one square wrapper at a time, add a 1/2 tablespoon of filling to the direct center of the wonton. Use your finger to paint the edges of the wonton with warm water, and then crimp the corners up to meet in the center, forming a dumpling. Use your fingers to press out as much air as you can along the edges as you seal the dumpling. Fry the wontons: Spray the air fryer basket with nonstick spray. Place as many wontons as possible, without touching, into the air fryer basket. You should be able to fit 7-8 wontons. Air fry the wontons at 350 ̊F for 6 minutes until they are crispy and golden brown. Serve the wontons: Let the wontons cool briefly, then serve with the dipping sauce. Cooked wontons don’t keep very well (they get soggy), so cook only as many as you intend to eat right away! Source: Simply Recipes