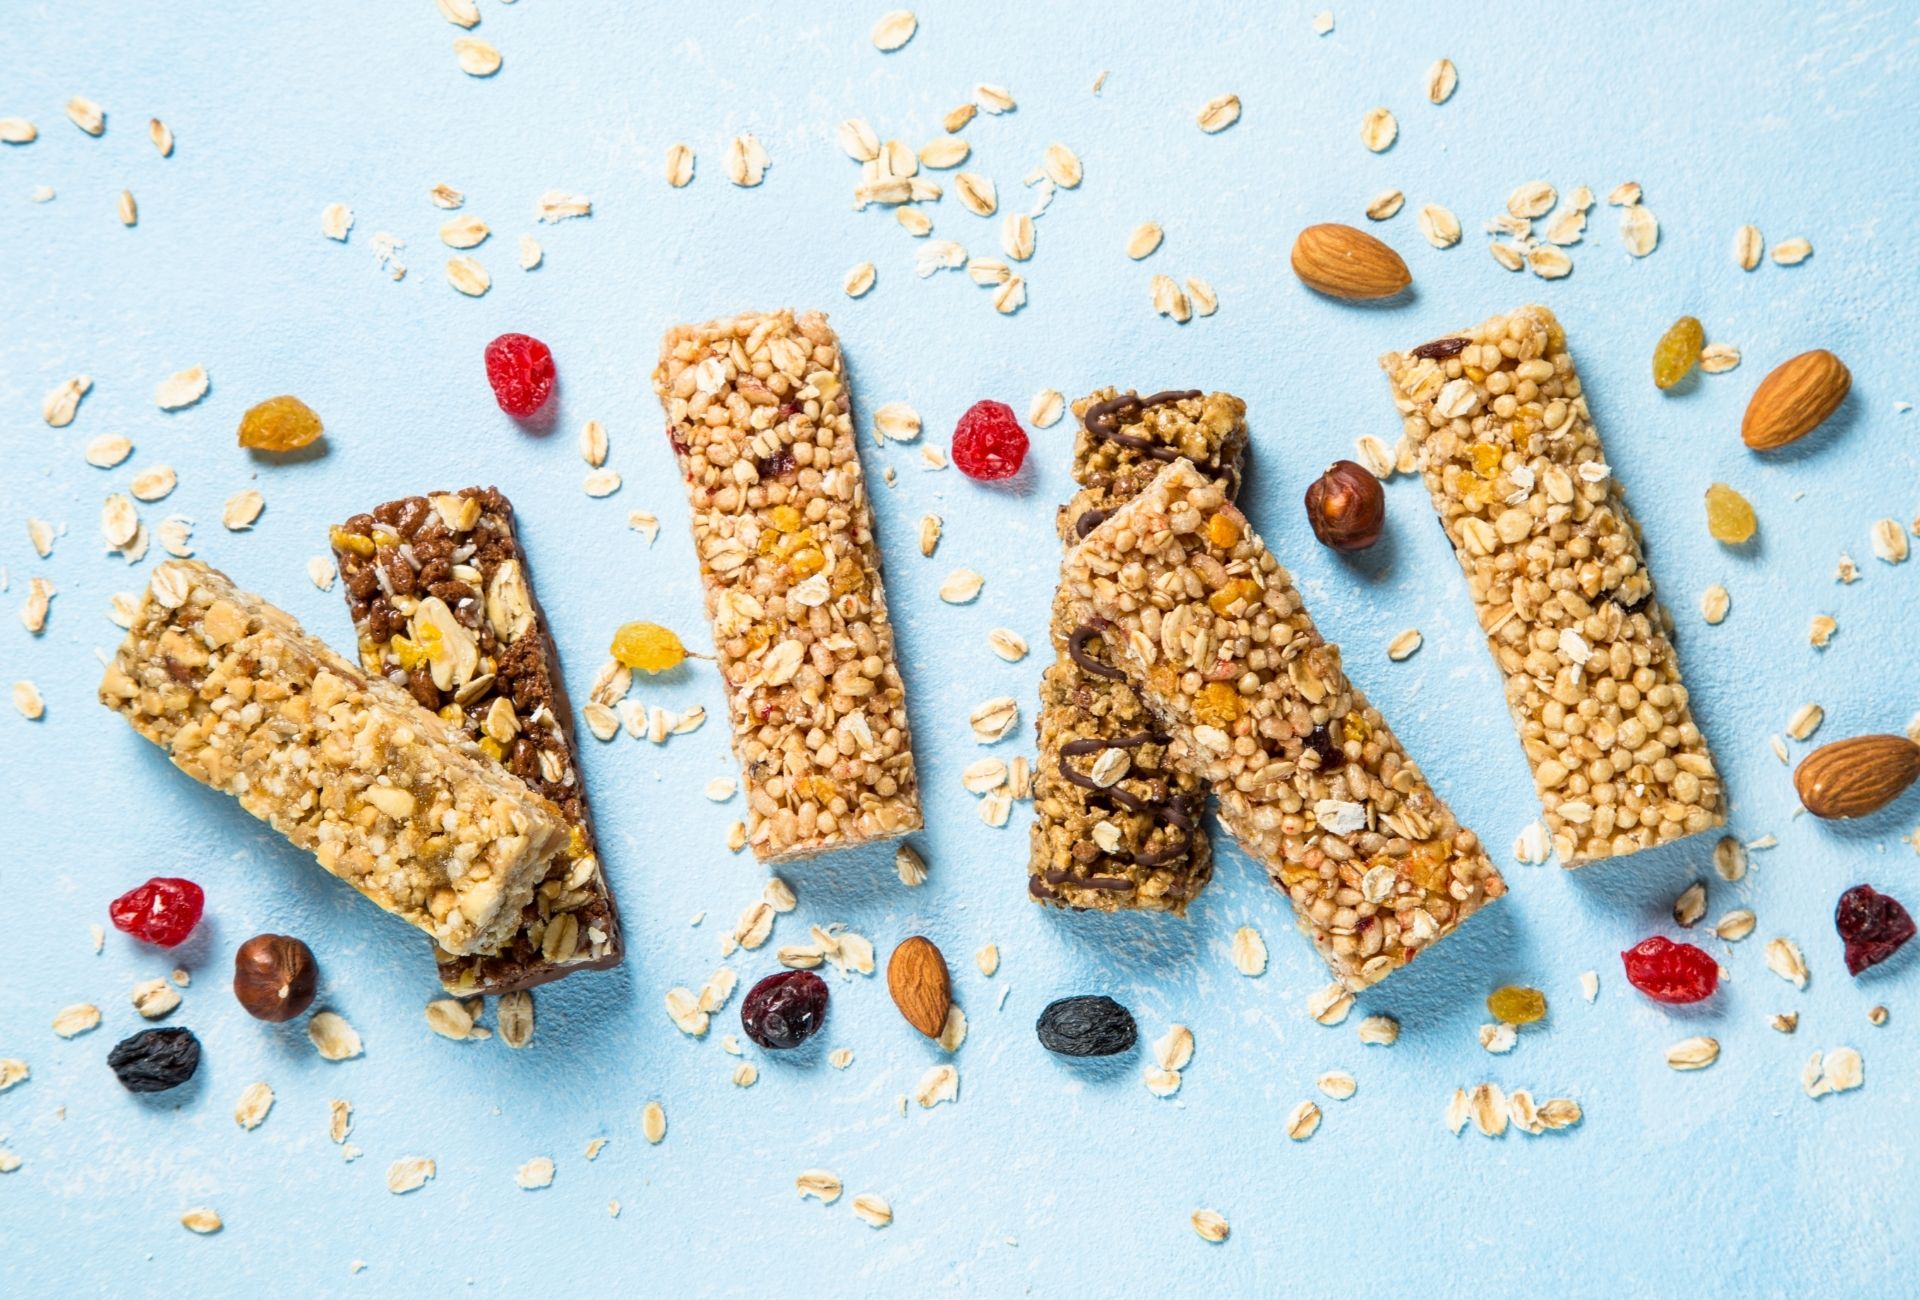
Recipes

Creamy Asparagus Soup Recipe

A fresh and easy asparagus soup is the perfect meal when spring arrives. Make use of delicious seasonal asparagus with a base of onions, garlic and lots of chopped asparagus. This recipe calls for cream, but you can skip it if you’re looking for a lighter meal. The secret ingredient here is a little bit of vermouth at the end. Read how to prepare this dish below. Prep time: 15 minsCook time: 30 minsTotal time: 45 mins Ingredients: 2 lbs asparagus, trimmed of woody stem bottoms 1 large yellow onion, chopped (1 1/2 to 2 cups chopped) 1 teaspoon minced garlic, or 1 Tbsp minced green garlic 3 Tbsp butter 4 cups chicken broth or vegetable broth (vegetarian option) 1 cup water 2 sprigs of fresh thyme 1 bay leaf 1/4 cup chopped fresh parsley 1/4 cup heavy cream or full-fat sour cream 1 Tbsp dry vermouth 1 teaspoon lemon juice 1/2 teaspoon black pepper (more to taste) 1 teaspoon salt (more to taste) Directions: Cut asparagus tips and reserve, cut the rest of asparagus into 1/4-inch rounds. Cut tips from the asparagus 1 1/2 inches from top and reserve. Chop the rest of the asparagus stalks into 1/4-inch rounds. Sauté onions, garlic. Melt the butter in a 4 to 5 quart pot on medium heat. Add the onions and cook until translucent, about 5 minutes. Add the garlic (or green garlic) and cook a minute more. Add the chopped asparagus (not the spear tips) to the onions. Sprinkle with salt and pepper to taste. Cook another 5 minutes. Add the broth, water, thyme sprigs and bay leaf to the pot. Increase the heat to a boil, then reduce to a simmer. Simmer, covered, until the asparagus are tender, about 10 minutes. At the end of cooking, stir in the chopped parsley Blanch asparagus tips. While the soup is cooking, blanch the asparagus tips in a small pot of boiling, salted water, until the tips are just tender, about 2-4 minutes, depending on the size of the asparagus. Drain. Rinse with cool water to stop the cooking. Set aside. Purée the soup. Remove bay leaf and thyme sprigs. Use either an immersion blender or an upright blender (working in batches) to purée the soup. If you use an upright blender, work in small batches, fill no more than a third the blender bowl at a time, and hold down the lid while blending. For a creamy texture, if you want, press the puréed soup through a sieve or food mill. Stir in the cream (or full-fat sour cream). Stir in the vermouth and lemon juice. Season with salt and pepper to taste. Garnish with asparagus tips. Source: Simply Recipes

Quick & Easy Air Fryer Asparagus Recipe

If you’re looking for the quickest side dish, look no further than air fryer asparagus. Your air fryer can cook much more than just doughnuts and french fries. Cook delicious and tender asparagus in under 10 minutes. When picking your asparagus, look for plump, straight and green spears. You’ll find the best results with medium to thick spears. Yield: Serves 4Prep time: 5 minutesCook time: 7 to 9 minutes Ingredients: 1 pound medium to thick asparagus 1 teaspoon olive oil 1/4 teaspoon kosher salt 1/4 teaspoon freshly ground black pepper Directions: Heat an air fryer to 400°F or 425°F (choose the higher temperature if available). Meanwhile, trim the woody ends from 1 pound asparagus. Transfer to a medium bowl, add 1 teaspoon olive oil and 1/4 teaspoon kosher salt, and toss to coat. Add the asparagus to the air fryer and spread into a single layer. Air fry until the asparagus is tender and slightly crispy on the ends, stopping to shake the basket (or rotate the pans in larger air fryers) about halfway through, 8 to 10 minutes total. Transfer to a serving platter and sprinkle 1/4 teaspoon black pepper evenly over the top. Source: the Kitchn

Brownie in a Mug Recipe

Looking for one of the quickest desserts you can make? Brownie in a mug! Complete this recipe in just 5 minutes. Use a mug that is microwave safe, with no metal in the ceramic glaze. A regular 12 to 16 ounce mug will work best. Use a neutral oil or butter instead of an extra olive oil for a more mild oil taste. Prep time: 3 minsCook time: 2 minsTotal time: 5 minsServing: 1 serving Ingredients: 1/4 cup flour (30 g) 1/4 cup sugar (50 g) 2 tablespoons (13 g) cocoa (natural, unsweetened) Pinch of salt Tiny pinch of cinnamon 1/4 cup water (60 ml) 2 tablespoons (30 ml) melted butter, or neutral oil 1/8 teaspoon vanilla extract 1 small scoop of ice cream or 1 or 2 teaspoons heavy whipping cream to serve Directions: Add the dry ingredients to the mug and stir: Place flour, sugar, cocoa, salt, and cinnamon in a microwave safe ceramic mug. Stir with a fork or spoon to mix well and break up any clumps. Add the wet ingredients and stir: Add the butter or oil, water, and vanilla to the cup and stir until the mixture is smooth and there are no lumps. Zap in microwave: Place in microwave and heat on high until the mixture is cooked through, about a 1 minute and 40 seconds for a 1000 watt microwave, or 1 minute 10 seconds on a 1650 watt microwave. You may have to experiment and adjust the time for less or more powerful microwaves. If you don’t know the power level on your microwave, start with 60 seconds and increase until the brownie is done. It should still be moist when cooked through, not dry. Top with ice cream: Let cool for a minute and serve with a scoop of vanilla ice cream or a teaspoon or two of whipping cream poured over. Upgrading your microwave soon? Shop our entire catalog of Cosmo Appliances here. Source: Simply Recipes

The Easiest Chocolate Mousse Recipe

Chocolate mousse is an older dessert that can be intimidating with all its precise steps. Separating eggs, getting melted chocolate to the right temperature and careful folding can be overwhelming. However, there’s an easy two-ingredient version that anyone can do. It’s the perfect balance of creamy, rich and sweetness. Read more below on how to master this dessert. In the classic French version, a chocolate mousse uses egg whites for volume and egg yolks for creaminess. In this version, you’ll just need a simple ganache and whipped cream. Be sure to carefully whip the cream to medium peaks, otherwise you’ll end up with a grainy mousse. When folding the cream, be sure to do so gently into the chocolate in thirds. You can serve the chocolate mousse in small ramekins or even cocktail glasses. It’s perfect as a make-ahead dessert. Yield: Serves 4Prep time: 15 minutesCook time: 1 hour Ingredients: 1 1/2 cups cold heavy cream, divided 1 cup good-quality chocolate chips or coarsely chopped chocolate (6 ounces) Garnish options: grated chocolate or crunchy toppings, such as chopped nuts, toffee, or brittle Equipment: Measuring cups and spoons Chef’s knife and cutting board Large and medium mixing bowls Whisk Large spatula 4 serving dishes or ramekins Directions: Warm 1/2 cup cream and use it to melt the chocolate. Heat 1/2 cup of the cream in a microwave-safe bowl for 1 minute. Add 1 cup chocolate chips and stir to combine. Set the bowl aside for 5 minutes for the chocolate to melt. Whisk the chocolate and cream together. Whisk the chocolate and cream together until smooth. Set aside to cool while you whip the remaining cream. Beat the remaining cream to medium peaks. Place the remaining 1 cup cold cream in a medium bowl. Beat with an electric hand mixer or with a whisk by hand until soft peaks form. Transfer 1/2 cup to a small bowl and refrigerate for topping the finished mousse before serving. Continue whipping the remaining whipped cream until stiff peaks form. Fold the whipped cream into the chocolate in three additions. Fold the whipped cream into the cooled chocolate mixture with a large spatula in three additions. Work swiftly and gently and don’t stress if there are streaks of cream in the chocolate mousse. Portion the mousse and chill before serving. Divide the mixture between 4 ramekins or cocktail glasses. Refrigerate at least 1 hour and up to 4 before serving. Dollop with the reserved softly whipped cream and sprinkle with grated chocolate or chopped hazelnuts, if desired. Looking for your next kitchen upgrade? Check out our entire line of Cosmo Appliances including ranges, cooktops, ovens and more here.(link) Source: the Kitchn

How to Make Classic Irish Coffee

St. Patrick’s Day is here, but you can enjoy Irish coffee year round! The key to any Irish coffee is Irish whiskey. Look for a mid-range with a mild, sweet finish to counter the bitter coffee. A lightly whipped cream will give you a frothy cream collar on top. If you prefer a high pile of cream, you’ll need to whip it to medium-stiff peaks. Use an unsweetened whipped cream to keep the sweetness contained in the coffee. Yield: Makes 1 drink Ingredients: 6 ounces hot, freshly brewed coffee 1 teaspoon granulated sugar 1 teaspoon packed brown sugar 1 1/2 ounces Irish whiskey Freshly whipped cream Equipment: Heatproof glass or mug Directions: Preheat your mug, then fill with coffee. Pour hot water into a mug or heatproof glass to take the chill off. Pour out the water. This will also prevent your glass from cracking. Fill the mug about 3/4 full with the coffee. Add sweetener. Add the granulated and brown sugars and stir until fully dissolved. Add Irish whiskey. Add the whiskey and stir to incorporate. Top with whipped cream. If using lightly whipped cream, pour it slowly over a warm spoon onto the coffee, being careful not to break the coffee’s surface. This takes some practice. A more foolproof way to not break the surface is to whip the cream a bit more and dollop it gently on top. Drink while hot! Source: the Kitchn

The Perfect Lemon Tart Recipe

Prepare the ultimate dessert. A buttery crust and zingy lemon filling, it’s perfect for any upcoming holiday occasion. Make the zest, dough and tart a few days in advance. Learn more below. Prep time: 90 minsCook time: 25 minsTotal: 115 minsServings: 6 to 8 slices Ingredients: For the candied zest: 1 cup lemon zest, julienned 1 cup granulated sugar For the crust: 1 1/2 cups (200 g) flour 1/2 teaspoon salt 1/2 cup (50 g) powdered sugar 1/2 cup (1 stick, or 1/4 pound, 112 g) unsalted butter, softened at room temperature 1 large egg, beaten 1/4 teaspoon almond extract 1 teaspoon lemon zest For the lemon filling: 1/2 cup (1 stick) unsalted butter1/4 cup crème fraîche (can sub sour cream)2 large eggs3 large egg yolks3/4 cup fresh lemon juice3/4 cup (150 g) granulated sugar1 1/2 teaspoon lemon zest Directions: Place lemon zest in a saucepan and cover with water by 1/2 inch. Bring to a boil. Remove from heat, drain the water. Fill up with water again and repeat. Bring to a boil, remove from heat, then drain.Add water again, this time adding the sugar as well. Simmer for 30 minutes, drain. Spread the zest out on a sheet of parchment paper. Let dry overnight at room temperature (do not put in the refrigerator). (Tip: if you wrap the zest strands around a chopstick and let them dry wrapped, then the next day when you unwrap them, they’ll hold a curly form.)The next day toss the zest with a little more sugar. Whisk together the flour, salt, and powdered sugar in a bowl. Add the butter and either use your (clean) fingers, or use a pastry blender, to mix the butter into the flour until the dough forms flaky crumbs and lumps. Try to make sure that all of the flour is coated with some butter.With a wooden spoon, mix in the egg, 1/4 teaspoon almond extract, and 1 teaspoon of lemon zest. Continue to mix until the dough clumps. Shape into a ball, flatten into a disk, wrap in plastic, refrigerate at least an hour or up to 2 days in advance. Preheat oven to 350°F If the dough has chilled overnight, let it sit at temperature for at least 10-15 minutes before attempting to work with it. This allows the dough to relax enough to become somewhat pliable before rolling out.Roll out the dough by either sprinkling the dough and rolling surface with little flour, or you can roll the dough out between two sheets of parchment paper. Roll the dough out to a circle 2 inches wider in diameter than your tart pan (about a 12-inch round).Press the dough into the tart pan. Use your rolling pin to level the dough along the edges of the pan. Freeze for 30 minutes. Place aluminum foil over the foil and gently mold it to the dough in the pan. Add pie weights (dried beans, sugar, rice, or ceramic pie weights).Bake at 350°F for 20 minutes. Remove from oven, lift the sides of the aluminum foil to remove the pie weights, and let the crust cool. Melt butter and crème fraîche together over a double boiler, stirring to combine. (If you don’t have a double boiler, bring a couple inches of water to simmer in a saucepan, place a stainless steel or pyrex bowl on top of the saucepan, making sure the bottom of the bowl is not touching the simmering water.) Remove top pan from heat and set aside.In a second bowl over the double boiler, whisk the eggs and egg yolks just long enough to warm them. Remove from heat and beat in the butter mixture, then the lemon juice.Strain the mixture through a sieve into a clean bowl and place over the simmering water. Add the sugar and zest and whisk until warm to touch, about 4 minutes. Pour the lemon filling into the crust and bake at 350°F for 25 minutes or until set in the middle. Let cool on a rack. Chill in the refrigerator. When ready to serve, top the tart with candied lemon zest. Are you looking to bake pastries and meals with an upgraded luxury appliance? Click here to learn more about Cosmo Ranges and Ovens. Source: Simply Recipes

Homemade Chicken Fingers Recipe

Make these crispy chicken fingers that you can bake immediately or freeze to bake later. Pair it with a delicious red pepper-basil dipping sauce for the perfect combination the whole family will love. Prepare these in a short amount of time for a weeknight meal. Total: 45 minActive: 25 minYield: 6 servings Ingredients: Chicken Fingers: 2 cups corn flake cereal 2 ounces whole-wheat Melba toast 1/3 cup finely grated Parmesan 1 tablespoon finely chopped fresh parsley, optional 1/2 teaspoon sweet paprika Kosher salt 2 large egg whites 2 pounds chicken tenders Red Pepper-Basil Dipping Sauce: 1/2 cup 2-percent Greek yogurt 2 tablespoons chopped fresh basil 2 tablespoons chopped roasted red pepper 1/2 teaspoon white wine vinegar 1 small clove garlic, grated Kosher salt Nonstick cooking spray Instructions: For the chicken fingers: Combine the cereal, melba toast, Parmesan, parsley if using, paprika and 1/2 teaspoon salt in a large resealable bag and, using the bottom of a skillet or rolling pin, crush into a coarse meal. Dump out into a shallow dish. Whisk the egg whites with 2 tablespoons water in another shallow dish. Dip the chicken tenders into the egg white, shake off the excess, and coat thoroughly in the coating. Bake immediately, or refrigerate up to 1 hour before baking. To freeze, arrange the breaded chicken tenders on a baking sheet and freeze until hard, 1 to 2 hours. Store in resealable freezer bags for up to 1 month. For the sauce: Combine the yogurt, basil, red pepper, 1 tablespoon water, vinegar, garlic and salt to taste in a small bowl; stir together. Wrap and refrigerate until ready to serve. Preheat the oven to 425 degrees F. Fit a rimmed baking sheet with a wire rack and spray with cooking spray. Generously spray the fresh or frozen chicken tenders all over with cooking spray. Arrange on the prepared rack and bake, flipping halfway through, until golden and crispy and cooked through, 15 to 20 minutes (if frozen, 20 to 25 minutes). Remove from the oven and season with salt. Serve with the dipping sauce. Source: Food Network

Shrimp Fried Rice Recipe

Fried rice is the perfect meal when you have any leftover rice in the fridge. The chilled rice works better than fresh rice. You can put anything in fried rice including veggies, beaten egg, and a protein such as shrimp or chicken. A hot pan will help everything fry quickly and prevent any ingredients from sticking. Try to fry everything separately in the same pan to preserve their flavors. Prep time: 15 minsCook time: 15 minsTotal time: 30 minsServings: 4 servings(NOTE: Make sure to use leftover, day old rice. Freshly made rice will make a fried rice mushy.) Ingredients: 8 ounces small raw shrimp, shelled and deveined 1/2 teaspoon kosher salt freshly ground black pepper 1/2 teaspoon cornstarch 3 tablespoons peanut oil, canola oil, or rice bran oil 3 eggs, beaten 2 stalks green onion, minced 4 cups leftover rice, grains separated well 3/4 cup frozen peas and carrots, defrosted 1 tablespoon soy sauce (use gluten-free soy sauce if you are making a gluten-free version), plus more to taste 1 teaspoon dark toasted sesame oil Directions: In a medium bowl, sprinkle the shrimp with salt, pepper, and cornstarch, and toss to coat. Set aside to sit for ten minutes at room temperature. Heat a large sauté pan or wok (a seasoned cast iron pan or hard anodized aluminum works well, they’re relatively stick free and can take the heat) on high heat.When the pan is very hot (a drop of water instantly sizzles when it hits the pan), swirl in one tablespoon of the cooking oil to coat the pan. Add the shrimp to the hot pan, spreading them out quickly in a single layer. Let them fry in the pan without moving them, for 30 seconds.Flip the shrimp over and let them fry on the other side for another 30 seconds or until they are mostly cooked through. (Do not cook them all the way!)Use a slotted spoon to scoop the shrimp out of the pan to a bowl. Return the pan to the burner and lower the heat to medium. Add a little more oil if the pan needs it. Add the beaten eggs and stir them quickly to scramble them while they cook.When the eggs are not quite cooked through, still a bit runny, transfer them from the pan to the bowl with the cooked shrimp. Clean out the pan or wok with paper towels and return it to the burner. Heat the pan on high and when it is hot, swirl in the remaining tablespoon or two of oil. When the oil is shimmering hot (almost smoking), add the green onions and sauté for 15 seconds.Then add the leftover cooked rice to the pan and stir with the green onions to mix well.Spread the rice onion mixture over the surface of the pan and let it fry, without moving it. You should hear the rice sizzle. Cook for about 1 to 2 minutes.Use a spatula to turn over the rice, and spread it over the pan again. Let cook for a minute longer. Sprinkle soy sauce on the rice and stir to combine.Add the carrots, peas, shrimp, eggs, and sesame oil, stirring to combine well.Heat everything until sizzling hot. Add more soy sauce to taste. Source: Simply Recipes

Oatmeal Cookies Recipe

There’s nothing better than a classic, chewy oatmeal cookie. These include walnuts and raisins, but you can leave them out if you prefer. The cookies will keep for several days in an airtight container on the counter. They also freeze well. Prep time: 20 minsCook time: 10 minsTotal time: 30 minsServings: 24 servings Ingredients: 1 cup shortening 1 cup brown sugar 1 cup white sugar 2 large eggs, well beaten 1 tablespoon vanilla extract 1 1/2 cup all-purpose flour 1 teaspoon salt 1 teaspoon baking soda 1 tablespoon cinnamon 3 cups old-fashioned rolled oats (we use Quaker Quick or Old Fashioned. Do NOT use instant.) 3/4 cup chopped walnuts (use 1/2 cup if using raisins) 1 cup raisins (optional) Directions: Preheat the oven to 350°F Make the cookie dough: Beat together the shortening and sugars. Add the eggs and vanilla extract, and beat well.Whisk together the flour, salt, baking soda and cinnamon. Add to sugar and egg mixture and mix well. Add a tablespoon of water. Add raisins (if using) and nuts. Add oats last. Bake: Spoon out by heaping tablespoonfuls on to greased cookie sheets. Bake at 350°F. Bake for 10 minutes. Remove to a wire rack. Cool completely: Cookies will keep for several days in an airtight container on the counter. Are you looking to upgrade your kitchen? Cosmo appliances offers luxury range hoods, cooktops, ranges, refrigerators and more. Take a look at our complete product lines here. Source: Simply Recipes

Air Fryer Grilled Cheese Recipe

Your Air Fryer is the key to hands-off grilled cheese. You can set the timer, walk away and come back to perfectly crispy bread and melted cheese. The best combination for flavorful cheese is a combination of sharp cheddar and a nice melting cheese like Monterey Jack. You’ll prepare these in the usual way you do your ordinary melted cheese. Read how below. Yield: Serves 2Prep time: 5 minutesCook time: 15 minutes Ingredients: 2 tablespoons unsalted butter 4 ounces sharp cheddar cheese 4 ounces Monterey Jack, Gruyère, or low-moisture mozzarella cheese 4 slices rustic bread, or white or whole-wheat sandwich bread Instructions: Let 2 tablespoons unsalted butter sit at room temperature until softened. Heat an air fryer to 375ºF. Grate 4 ounces sharp cheddar cheese and 4 ounces Monterey Jack cheese on the large holes of a box grater (about 1 cup each). Toss together in a medium bowl. Spread the butter onto one side of each of 4 slices sandwich or rustic bread. Flip 2 of the slices over and divide the cheese evenly over these slices. Close the sandwiches with the remaining 2 bread slices butter-side up. Press the sandwiches slightly to close. Air fry the grilled cheeses: place in the basket (do one at a time if they will not fit in a single layer with some space around them) and air fry for 3 minutes. Flip the sandwich and air fry until golden brown, 3 to 4 minutes more. Source: the Kitchn