kitchen basics

Why Your Kitchen Timer Is Lying to You (And What to Do About It)

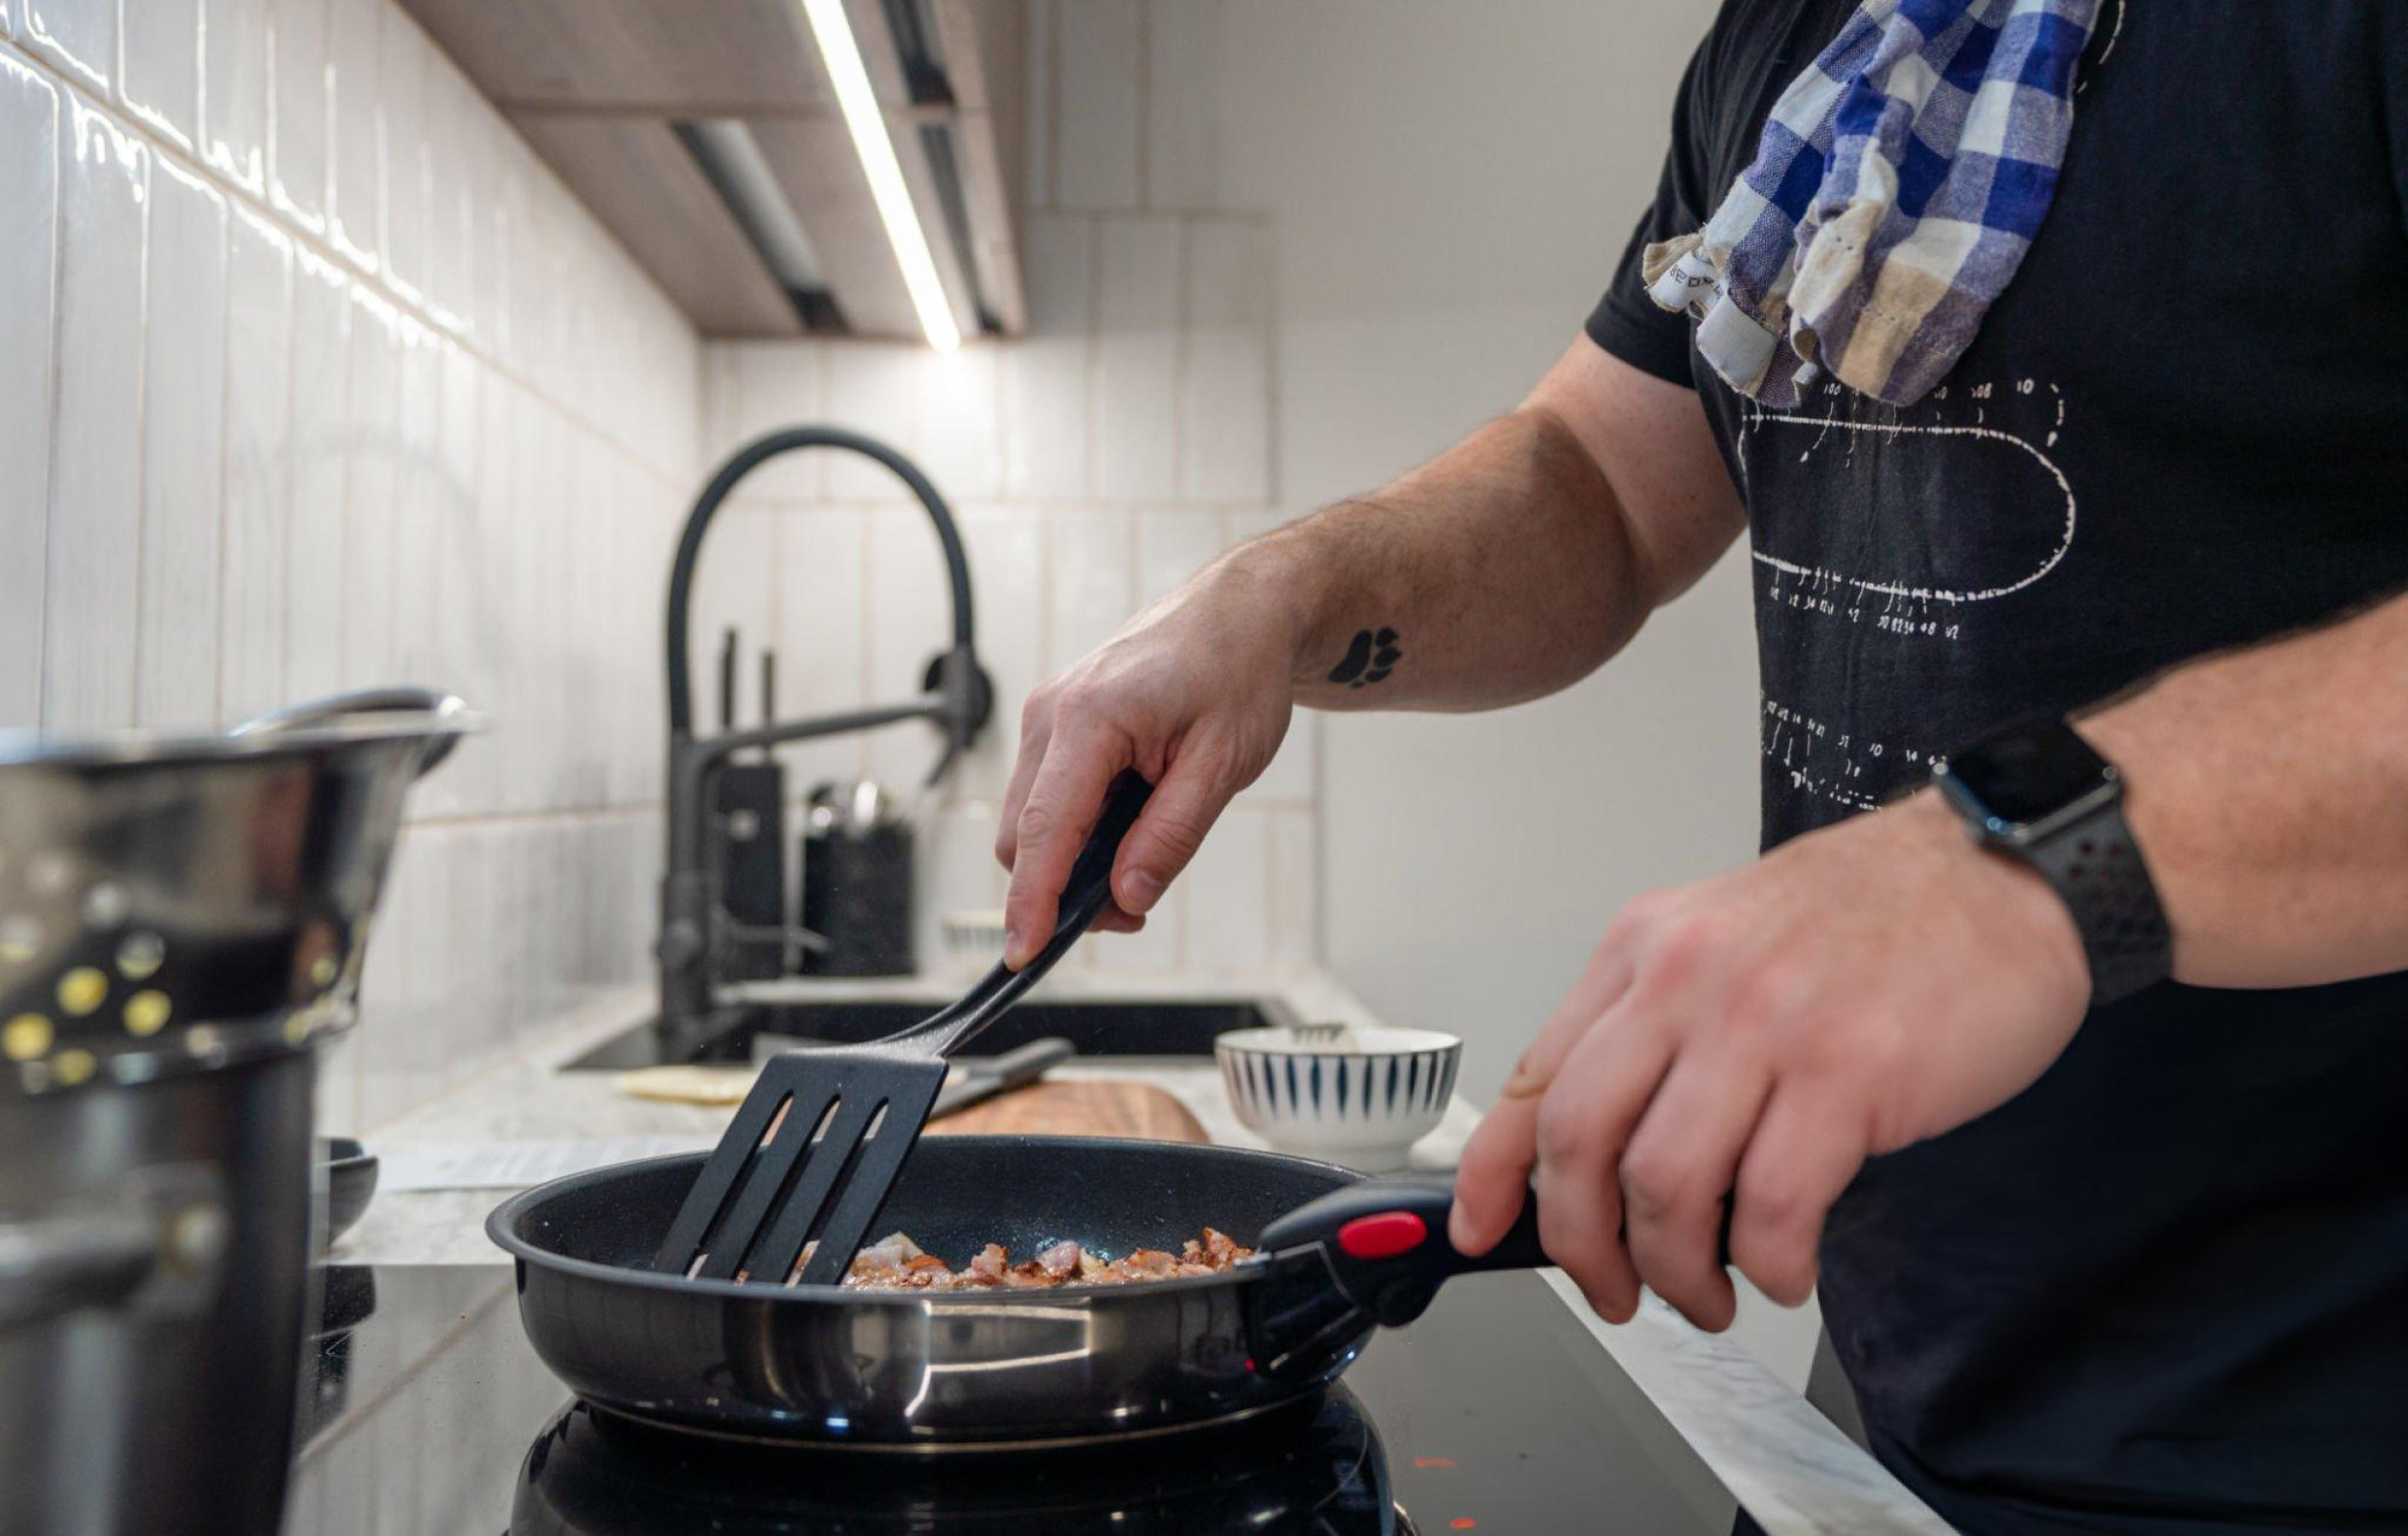
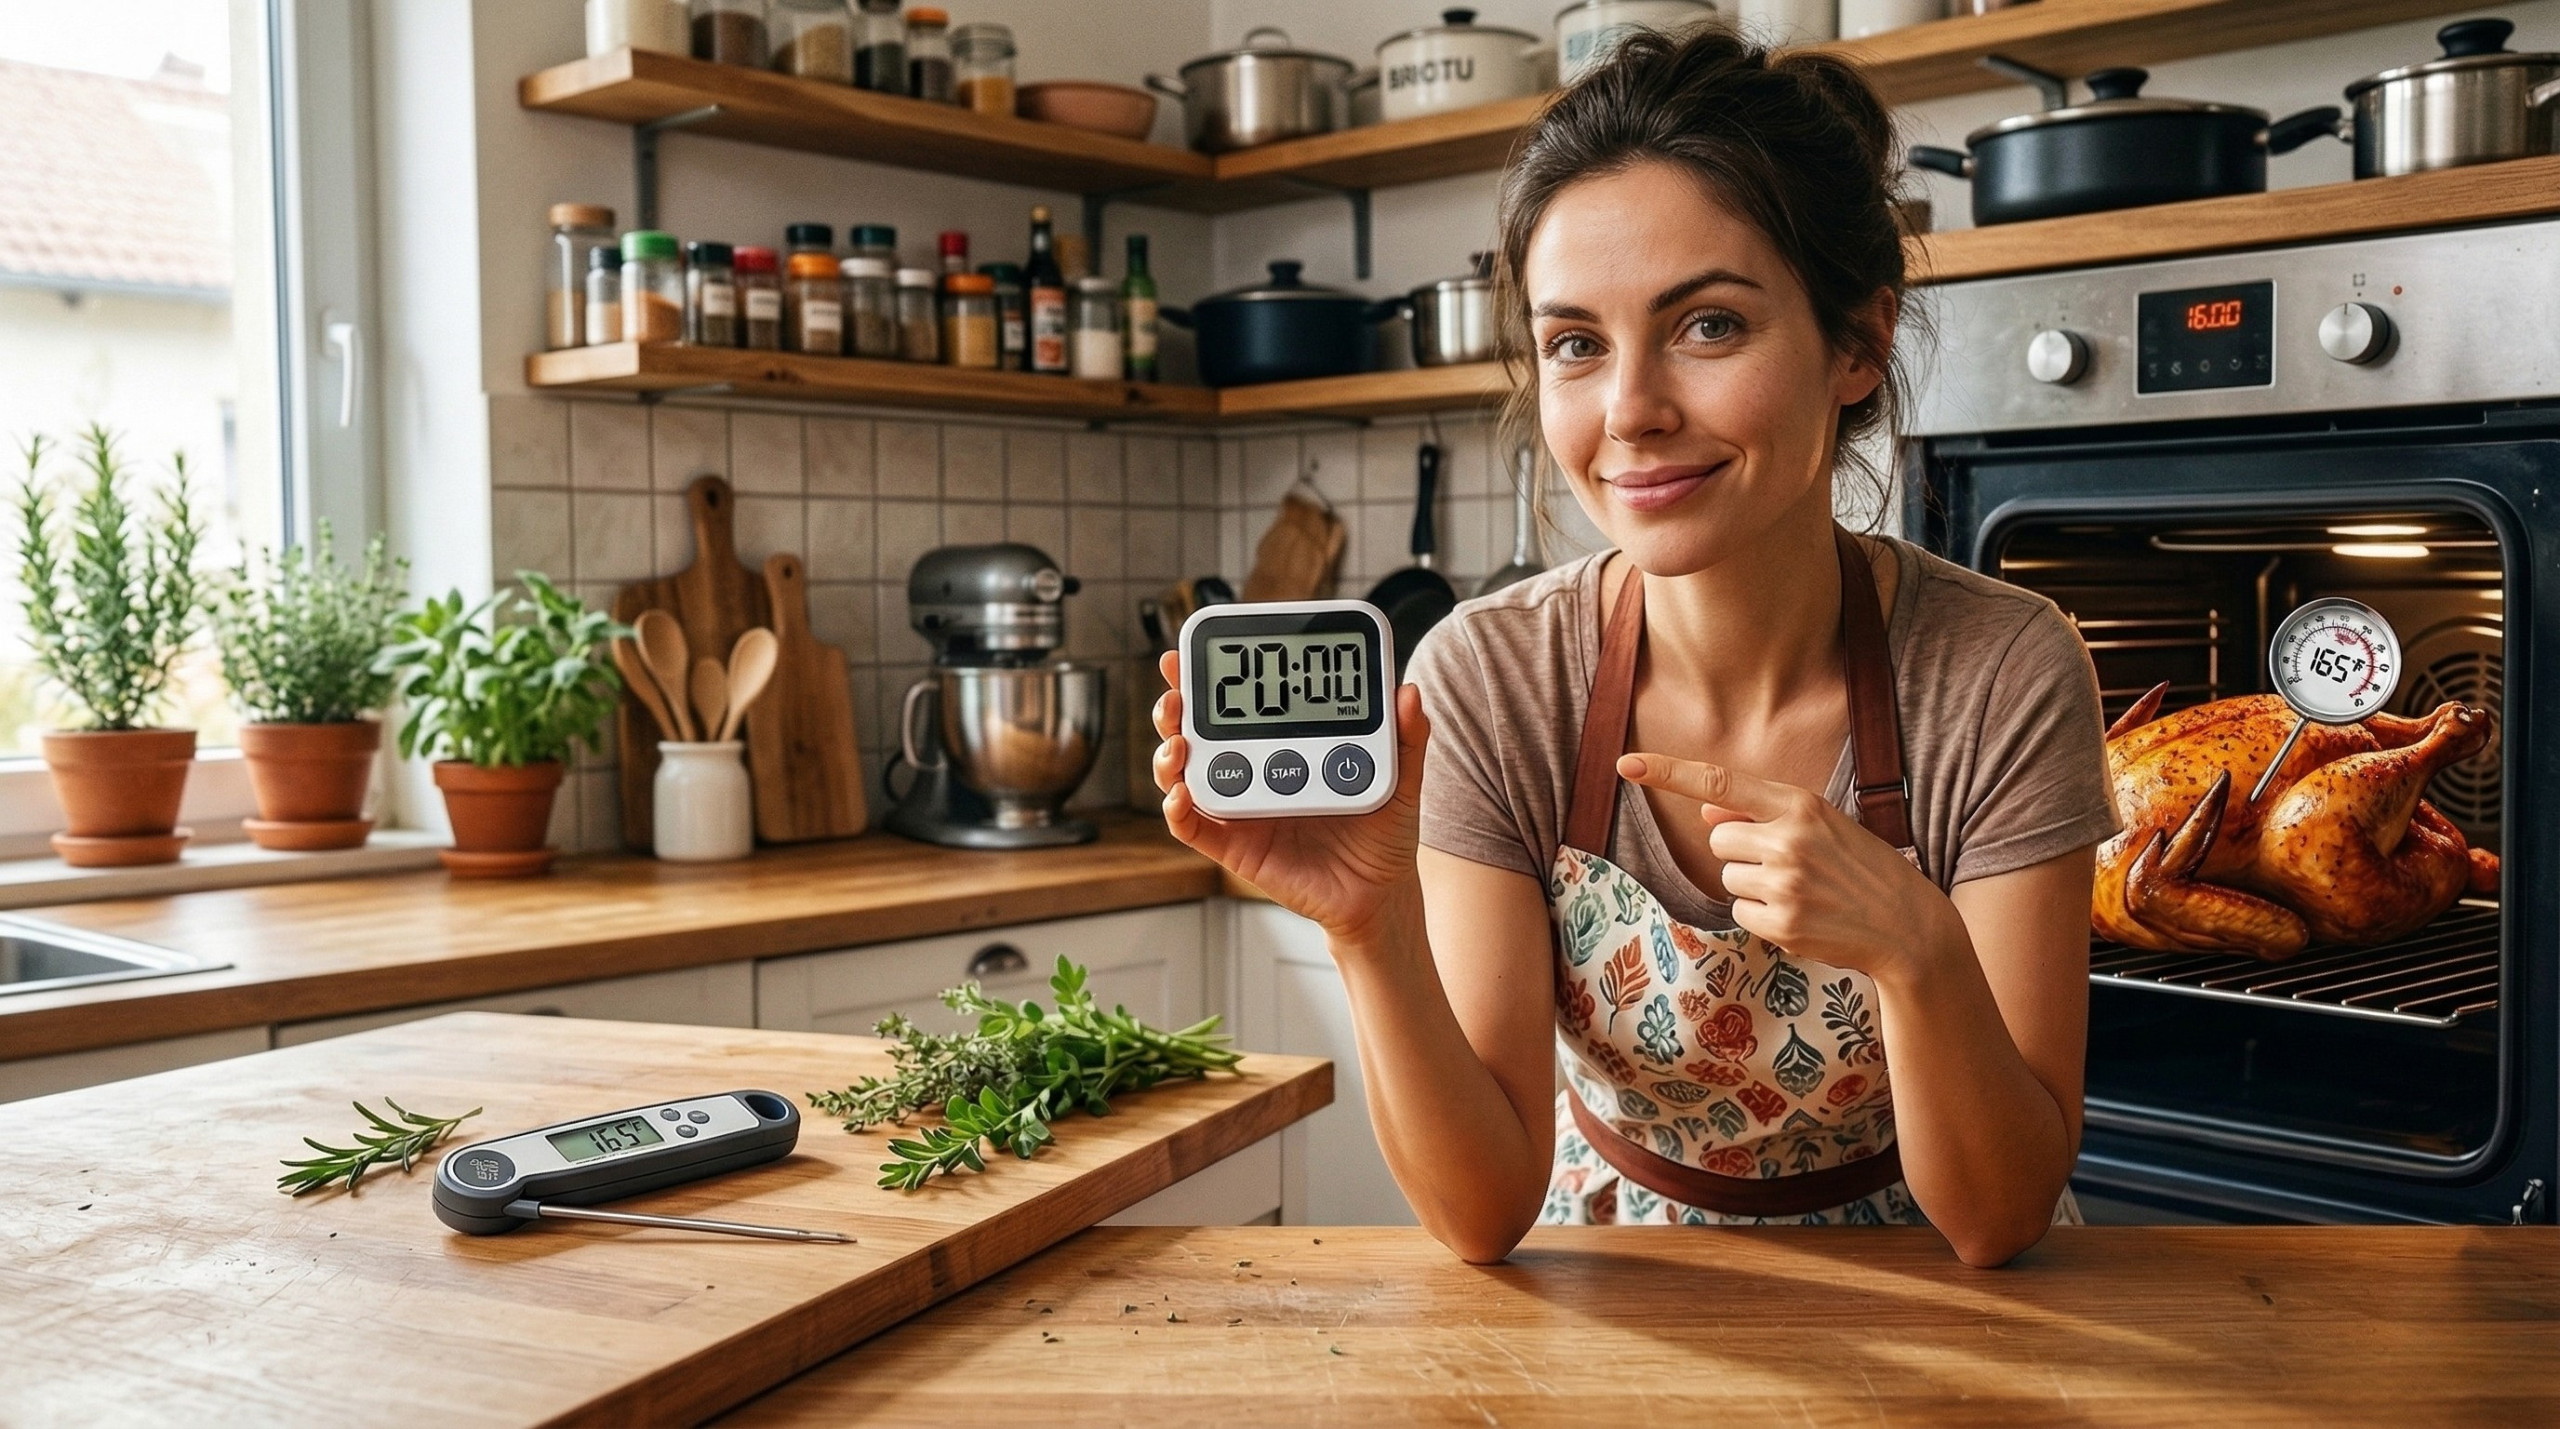
Kitchen timers tell you when 20 minutes have passed. They don’t tell you when your chicken is actually done. This distinction trips up more home cooks than almost any other kitchen mistake. You follow a recipe’s timing exactly, pull the dish out right when the timer beeps, and somehow it’s undercooked. Or dried out. Or weirdly uneven. The problem isn’t your timer. The problem is treating time as the finish line instead of a checkpoint. Here’s what actually determines when food is done, why recipe times mislead you, and how to know when to pull things from heat regardless of what the clock says. Recipe Times Assume Conditions You Don’t Have That recipe saying “bake for 35 minutes” was tested in someone else’s kitchen with different equipment, different ingredients, and different environmental conditions than yours. Your oven runs hot or cold compared to the test kitchen oven. Oven thermostats vary significantly between models and drift over time. A recipe tested in an oven that runs true might finish early in an oven running 25 degrees hot. Your ingredient sizes differ from recipe assumptions. “Medium onion” means different things to different people. Chicken breasts vary wildly in thickness. Larger pieces need more time, smaller pieces less. Your starting temperatures affect cooking duration. Ingredients straight from the refrigerator need longer than room-temperature ingredients. Recipes rarely specify starting temperature assumptions. Your cookware conducts heat differently. Dark pans absorb more heat than shiny pans. Heavy pans retain heat better than thin pans. Glass bakes differently than metal. Your altitude changes cooking times. Water boils at lower temperatures at higher elevations affecting cooking speed. Baked goods behave differently as elevation increases. Recipe times provide rough estimates, not precise instructions. Treating them as exact specifications leads to inconsistent results. Doneness Indicators Beat Timers Every Time Experienced cooks use time as a suggestion but rely on doneness indicators showing when food actually finishes cooking. Internal temperature tells truth about meat doneness. Chicken reaches safe consumption at 165°F regardless of whether that happens in 30 minutes or 45 minutes. Invest in instant-read thermometer. Visual cues show baking progress. Bread is done when deeply golden and sounds hollow when tapped. Cakes are done when toothpick inserted in center comes out clean or with few moist crumbs. Texture changes signal completion. Pasta is done when it has slight resistance when bitten. Vegetables are done when fork-tender or crisp-tender depending on desired result. Aroma indicates roasting progression. Coffee, nuts, and spices release distinct aromas when properly toasted. Burning smell means you’ve gone too far. The wiggle test works for custards and cheesecakes. Center should jiggle slightly like gelatin when gently shaken. Firm center means overcooked. These indicators work regardless of your oven’s quirks, your ingredient sizes, or your cookware. They measure actual doneness rather than elapsed time. Start Checking Before the Timer Most cooking disasters happen because people wait for the timer then discover problems too late to fix. Check baked goods five to ten minutes before minimum suggested time. Oven hot spots or size variations might finish items early. Catching them early prevents burning. Check roasted meats at three-quarter point of suggested time. Large temperature variations between ovens mean some chickens finish well before recipe timing suggests. Check stovetop items frequently regardless of timing. Burner heat output varies. Pan sizes affect cooking speed. Ingredient moisture content changes evaporation rates. Early checking catches problems while you can still fix them. Underdone food can cook longer. Overdone food is ruined. Set timer for earlier than recipe suggests then extend if needed. Better to add five minutes than serve burnt dinner. The timer’s job is reminding you to check, not telling you when food is done. Carryover Cooking Continues After Heat Stops Removing food from heat doesn’t stop cooking immediately. Internal temperature continues rising from residual heat. Large roasts continue cooking 5-10 degrees after removal from oven. A roast pulled at 130°F might reach 135-140°F during rest. Account for carryover when checking temperature. Thick steaks gain several degrees during resting. Pull steak from heat five degrees below target temperature. Resting time allows temperature to coast to target while redistributing juices. Baked goods firm up as they cool. Slightly underdone center becomes properly set during cooling. Overbaking trying to achieve firm center results in dry edges. Pasta continues softening in hot water. Drain pasta slightly before reaching desired texture. Residual heat finishes cooking while you toss with sauce. Carryover cooking means your target isn’t when food comes off heat but when it finishes cooking minutes later. Adjust accordingly. Develop Your Calibration Instinct Over time you’ll learn how your specific kitchen equipment behaves and adjust automatically without conscious thought. Track your oven’s personality. Notice whether things consistently finish early or late. Adjust all recipe times based on your oven’s tendency to run hot or cold. Learn your stovetop burner outputs. Some burners run hotter than others. Some respond quickly to adjustments, others slowly. Use appropriate burner for each task. Know your favorite pans’ characteristics. Your heavy Dutch oven retains heat differently than your thin saucepan. Your dark sheet pans brown faster than shiny ones. Recognize your ingredient patterns. If you consistently buy large chicken breasts, you know they need longer than recipe times suggest. If you prefer thin-cut pork chops, subtract time. This calibration happens subconsciously as you cook repeatedly in the same kitchen with the same equipment. Your instinct for “about done” becomes more reliable than any timer. Make Peace with Approximation Cooking isn’t chemistry requiring precise measurements. It’s craft requiring judgment and adaptation. Recipe times guide you to approximate doneness window. They tell you roughly when to start checking rather than exactly when to stop cooking. Different results are okay. Slightly more or less cooking time creates different textures. Learn which you prefer rather than obsessing over exact timing. Batch cooking reveals timing variations. Baking multiple sheet pans of cookies shows how position in oven affects timing. Front cookies might finish before back cookies. Experience matters more than precision. You’ll develop feel

Essential Kitchen Tools Every Home Chef Should Own: Building Your Culinary Arsenal

A well-equipped kitchen makes cooking faster, easier, and more enjoyable while allowing you to tackle a wider range of recipes with confidence. While beautiful appliances provide the foundation for cooking success, the right collection of tools and equipment transforms those appliances into complete cooking systems. Understanding which tools are truly essential helps you build a functional kitchen without wasting money on gadgets that end up collecting dust in drawers. The best kitchen tool collections grow over time as your cooking skills and interests develop. Starting with quality essentials provides a solid foundation that serves you well for years while allowing you to add specialized tools as your culinary repertoire expands. Smart tool selection focuses on items that perform multiple functions while maintaining the quality and durability that justify their cost through years of regular use. Quality Knives: Your Most Important Investment Nothing affects your cooking success more dramatically than having the right knives that are properly maintained and sharp. Quality knives make food preparation faster, safer, and more enjoyable while lasting for decades with proper care. Chef’s knife represents the single most important tool in any kitchen, handling about 80% of cutting tasks from chopping vegetables to slicing meat. An 8-inch blade works well for most home cooks, providing adequate length for larger items while remaining maneuverable for detailed work. Paring knife handles detailed tasks like peeling, trimming, and precise cutting that would be awkward with larger knives. A 3-4 inch blade provides the control needed for intricate work while being comfortable to hold during extended use. Serrated bread knife cuts through crusty breads, tomatoes, and other items with tough exteriors and soft interiors without crushing them. The saw-tooth edge maintains effectiveness even when the knife isn’t perfectly sharp. Quality matters more than quantity when building your knife collection. Three excellent knives serve you better than a dozen mediocre ones that won’t hold edges or feel comfortable during use. Proper storage protects knife edges while keeping them safely accessible. Magnetic strips, knife blocks, or in-drawer organizers all work well when they prevent blades from contacting other objects that can dull edges. Regular maintenance including proper cleaning, occasional sharpening, and appropriate storage ensures your knife investment provides decades of excellent performance. Cutting Boards: Protecting Counters and Knife Edges Quality cutting boards protect your countertops while providing stable, food-safe surfaces for all your cutting tasks. Having multiple boards in different sizes and materials optimizes both food safety and convenience. Wood cutting boards provide excellent cutting surfaces that are gentle on knife edges while being naturally antimicrobial when properly maintained. Hardwoods like maple, walnut, or cherry work particularly well for general use. Plastic cutting boards offer easy cleaning and dishwasher safety while being affordable enough to maintain separate boards for different food types. Color-coding prevents cross-contamination between raw meats and ready-to-eat foods. Multiple sizes accommodate different tasks efficiently. Large boards provide ample space for big cutting jobs, while smaller boards work better for quick tasks and take up less space during cleanup. Non-slip features like rubber feet or textured surfaces prevent boards from sliding during use, improving both safety and efficiency. Damp towels placed under boards also provide effective slip prevention. Proper maintenance including regular cleaning, occasional oiling for wood boards, and replacement when boards develop deep grooves extends their useful life while maintaining food safety. Dedicated boards for different food types prevent flavor transfer and reduce cross-contamination risks. Many cooks maintain separate boards for raw meat, vegetables, and bread to ensure food safety. Mixing and Prep Bowls: Kitchen Workhorses A good set of mixing bowls serves countless functions from mixing ingredients to storing prepped items and serving finished dishes. Having various sizes in durable materials provides flexibility for different tasks. Stainless steel bowls offer durability, easy cleaning, and versatility for both mixing and cooking tasks. They’re lightweight, stackable, and won’t retain odors or stains from previous uses. Glass bowls allow you to see contents while being microwave-safe and dishwasher-friendly. Tempered glass provides durability while maintaining attractive appearance that works for both prep and serving. Nesting sets save storage space while providing size variety for different tasks. A good set includes bowls ranging from small (1-2 cups) to extra-large (5+ quarts) for comprehensive coverage. Non-slip bases improve stability during mixing tasks, preventing bowls from spinning or sliding across counters during vigorous mixing or whisking activities. Lids for storage transform mixing bowls into food storage containers, reducing the need for separate storage vessels while streamlining kitchen organization. Multiple sets allow simultaneous prep work for complex recipes requiring many components. Having adequate bowls prevents constant washing between prep steps. Measuring Tools for Consistent Results Accurate measurement is crucial for baking success and recipe consistency. Quality measuring tools that are easy to read and use make following recipes simpler while improving your cooking results. Dry measuring cups in nested sets provide standard measurements from 1/4 cup to 1 cup. Metal or sturdy plastic cups with comfortable handles make measuring dry ingredients quick and accurate. Liquid measuring cups with clear markings and pour spouts handle wet ingredients efficiently. Having multiple sizes (1 cup, 2 cup, and 4 cup) accommodates different recipe requirements. Measuring spoons in complete sets from 1/8 teaspoon to 1 tablespoon handle small-quantity measurements for seasonings and other ingredients used in smaller amounts. Kitchen scale provides precision that volume measurements can’t match, particularly important for baking where exact measurements significantly affect results. Digital scales with tare functions offer the most convenience. Clear markings that remain legible after repeated washing ensure long-term usability. Etched or molded measurements last longer than printed markings that can wear off. Easy storage through nesting or ring-connected sets keeps complete measurement sets together and accessible when needed. Essential Cooking Utensils The right cooking utensils make food preparation and cooking more efficient while protecting your cookware from damage. Building a collection of versatile, durable utensils eliminates frustration and improves cooking success. Wooden spoons and spatulas provide gentle stirring and scraping that won’t damage non-stick surfaces while handling high heat safely. Wood