baking tips

Air Fryer Blonde Brown Sugar Brownies: The Chewy Bar No Oven Required

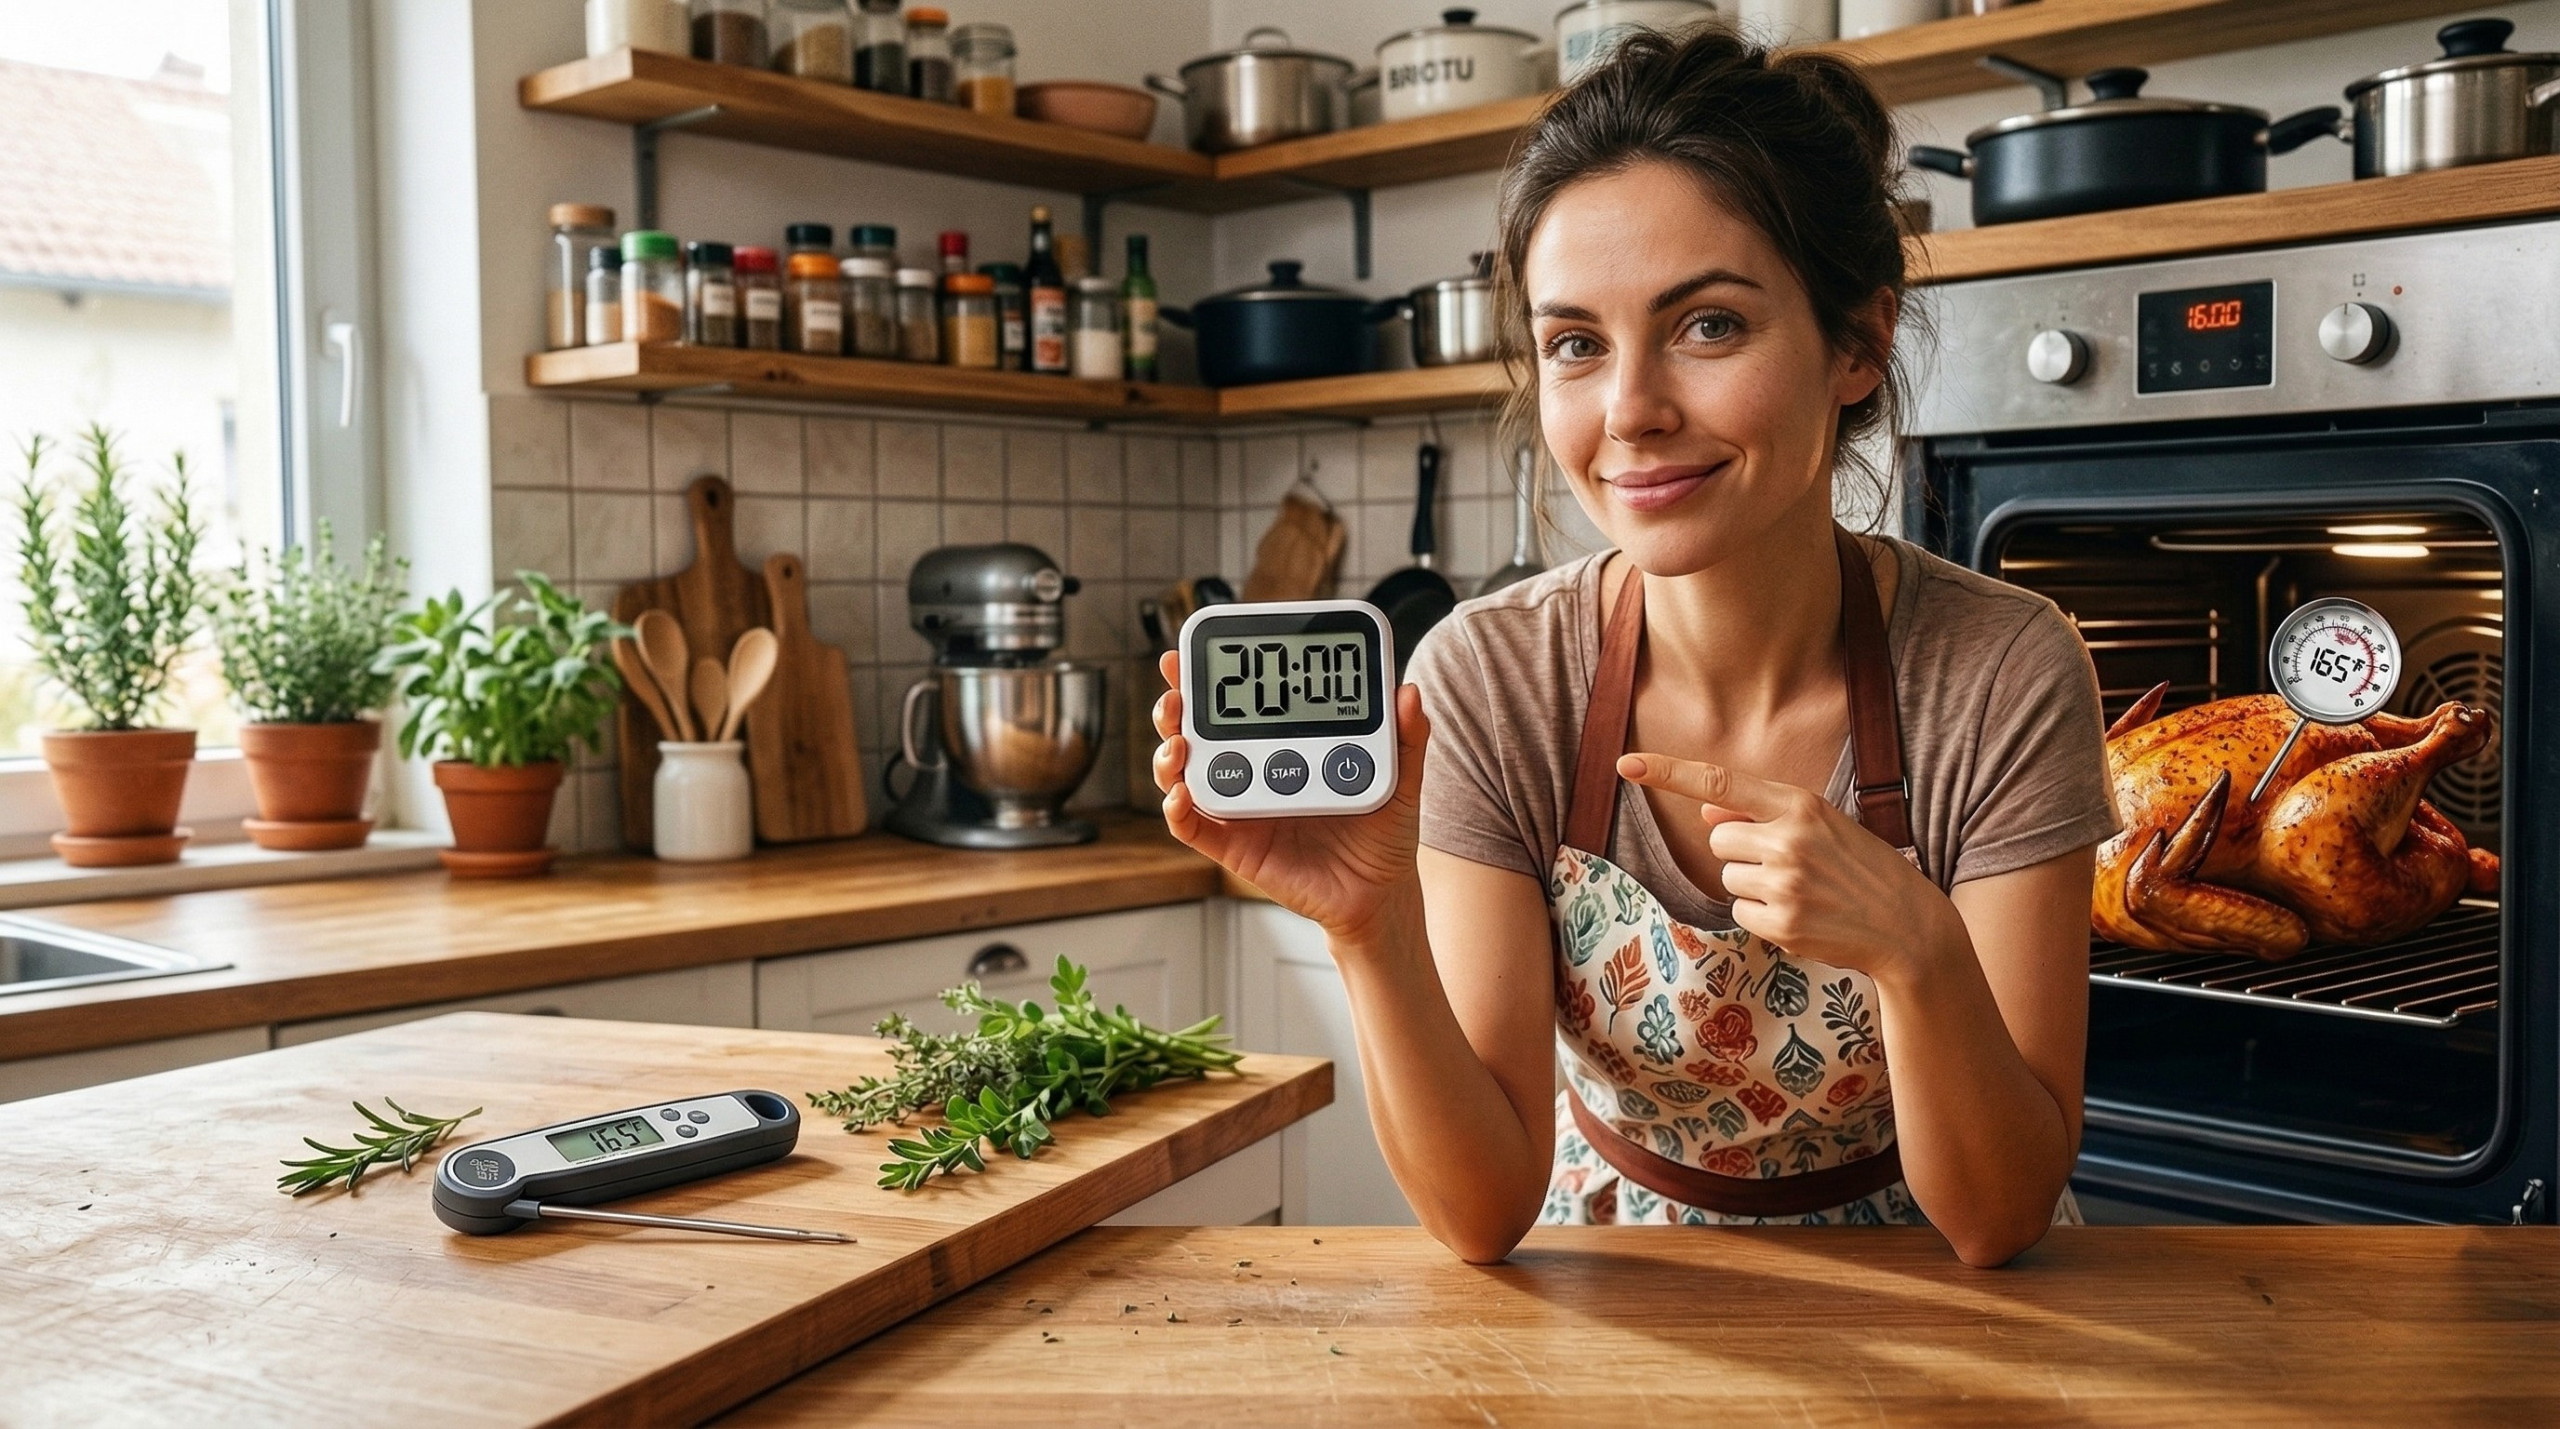
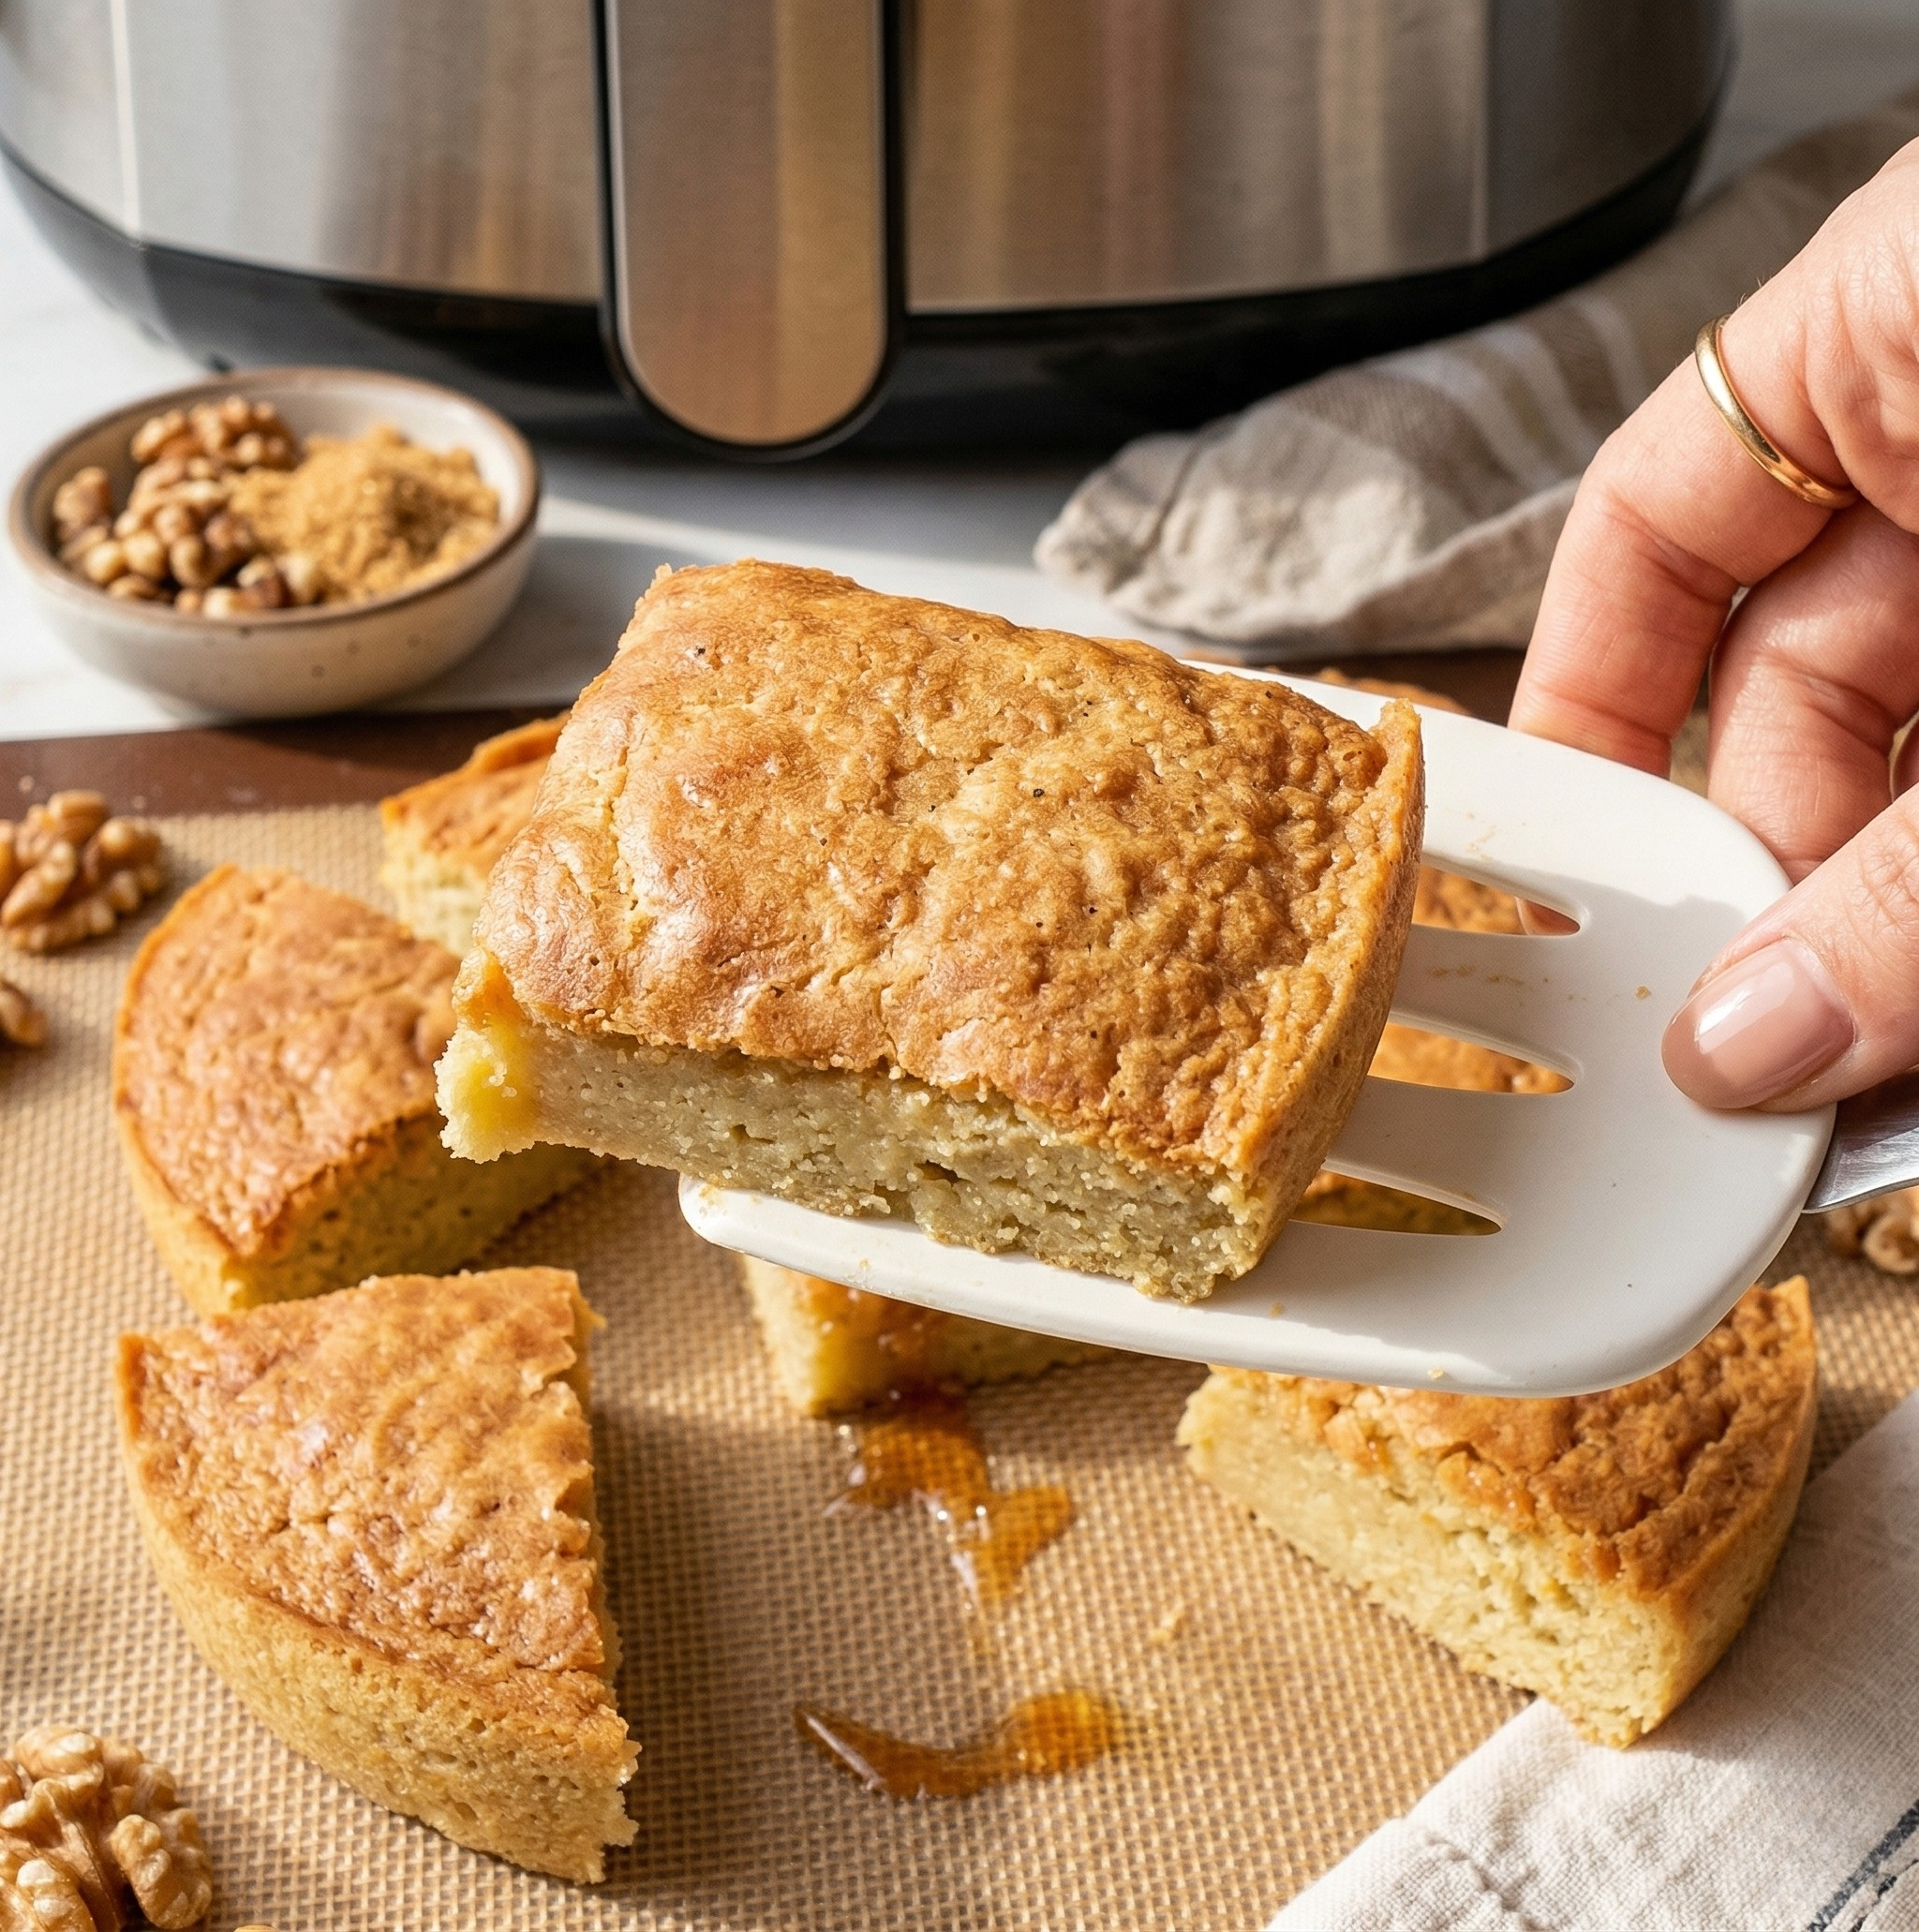
Brownies without chocolate sound wrong until you taste blondies. These brown sugar bars deliver chewy edges, soft centers, and butterscotch-like flavor without needing your oven. Air fryer blondies cook faster than traditional oven versions, creating golden tops and gooey middles in about ten minutes. The circulating heat produces even baking in a fraction of the time. Here’s how to make rich, chewy blonde brownies in your air fryer with simple pantry ingredients and minimal cleanup. What You’ll Need Dry Ingredients: Wet Ingredients: Equipment: Step-by-Step Instructions Step 1: Mix the Dry Ingredients In a mixing bowl, combine 1 and 2/3 cups flour, 1/2 teaspoon salt, and 1 teaspoon baking powder. Whisk together until evenly distributed. Set aside. Step 2: Combine the Wet Ingredients In a separate bowl (or the same bowl if you mixed dry ingredients first and set them aside), mix 1 cup brown sugar, 2 tablespoons melted butter, 1 large egg plus 1 egg yolk, and 1 teaspoon vanilla extract. Whisk until smooth and sugar dissolves into the mixture creating thick, glossy batter. The extra egg yolk adds richness and creates fudgier texture compared to using only whole eggs. Step 3: Combine Wet and Dry Add the dry ingredient mixture to the wet ingredients. Stir with spatula until just combined. Don’t overmix—stop when you no longer see dry flour streaks. Overmixing develops gluten creating tough brownies instead of tender ones. The batter will be thick and somewhat sticky, which is correct consistency for blondies. Step 4: Prepare the Pan Grease your shallow air fryer-safe pan with butter or non-stick spray. Pour the blondie batter into the prepared pan, spreading it evenly to the edges with spatula. Use shallow pan rather than deep pan. Shallow pans allow better air circulation creating even cooking. Deep pans trap heat unevenly leaving undercooked centers. Step 5: Air Fry Place the pan in your preheated air fryer. Cook at 340°F for 10 minutes. The blondies are done when the top is golden brown and edges pull away slightly from the pan sides. Check at 8 minutes if your air fryer runs hot. Different models vary in cooking speed, so first batch may require timing adjustment. The center should look set but still slightly soft. Blondies continue cooking from residual heat after removal, so slightly underdone center becomes perfectly chewy after cooling. Step 6: Cool and Serve Remove the pan from the air fryer and let cool for at least 10 minutes before cutting. Cutting immediately creates crumbly mess. Cooling allows structure to set making clean cuts possible. Slice into squares and serve. These blondies taste great warm or at room temperature. Why Brown Sugar Makes the Difference Brown sugar contains molasses creating deeper flavor than white sugar. The molasses adds butterscotch notes and caramel undertones that define blondie taste. The moisture from brown sugar also contributes to chewy texture. White sugar creates crisper baked goods, while brown sugar produces softer, chewier results. Packed brown sugar versus loose brown sugar affects texture. The recipe assumes packed brown sugar measured by pressing firmly into measuring cup. Loose brown sugar reduces sweetness and changes texture. Light brown sugar works fine, but dark brown sugar intensifies the molasses flavor creating more robust taste. Choose based on your preference. Texture Troubleshooting If blondies turn out too cake-like rather than chewy, reduce baking powder to 1/2 teaspoon next time. Less leavening creates denser, fudgier texture. If edges burn before center cooks, lower temperature to 320°F and extend time by 2-3 minutes. Slower cooking prevents edge burning. If center stays gooey after cooling, they needed another minute or two. Air fryer models vary—adjust timing based on your first batch results. Dry, crumbly blondies mean overbaking. Pull them one minute earlier next attempt. Remember they continue cooking after removal. Customization Ideas Add 1/2 cup chocolate chips to batter before baking for chocolate chip blondies. Fold in gently to avoid overmixing. Stir in 1/2 cup chopped nuts (walnuts or pecans) for added crunch and flavor depth. Add 1/4 teaspoon cinnamon to dry ingredients for warm spice notes complementing brown sugar. Drizzle cooled blondies with melted chocolate or caramel sauce for extra indulgence. Press mini chocolate candies or toffee bits on top before air frying for decorated presentation. Storage and Reheating Store leftover blondies in airtight container at room temperature for up to 3 days. They stay chewy when properly sealed preventing moisture loss. Refrigerate for up to one week if kitchen is very warm or humid. Bring to room temperature before serving or warm briefly in microwave. Freeze individual squares wrapped in plastic wrap then placed in freezer bag for up to 3 months. Thaw at room temperature or microwave for 15-20 seconds. Reheat individual portions in microwave for 10-15 seconds to restore warm, gooey texture. Serving Suggestions Serve blondies with vanilla ice cream for simple dessert upgrade. Pair with coffee or cold milk for afternoon snack. Cut into smaller squares for party dessert platters or bake sales. Top with whipped cream and fresh berries for dressed-up presentation. Watch the Video Tutorial Air fryer blondies deliver bakery-quality results in ten minutes without heating your whole kitchen. The brown sugar creates rich butterscotch flavor, the extra egg yolk adds fudgy texture, and the air fryer handles the baking while you handle everything else. Mix ingredients, pour into pan, set timer. Chewy blonde brownies without the oven hassle.

Why Your Kitchen Timer Is Lying to You (And What to Do About It)

Kitchen timers tell you when 20 minutes have passed. They don’t tell you when your chicken is actually done. This distinction trips up more home cooks than almost any other kitchen mistake. You follow a recipe’s timing exactly, pull the dish out right when the timer beeps, and somehow it’s undercooked. Or dried out. Or weirdly uneven. The problem isn’t your timer. The problem is treating time as the finish line instead of a checkpoint. Here’s what actually determines when food is done, why recipe times mislead you, and how to know when to pull things from heat regardless of what the clock says. Recipe Times Assume Conditions You Don’t Have That recipe saying “bake for 35 minutes” was tested in someone else’s kitchen with different equipment, different ingredients, and different environmental conditions than yours. Your oven runs hot or cold compared to the test kitchen oven. Oven thermostats vary significantly between models and drift over time. A recipe tested in an oven that runs true might finish early in an oven running 25 degrees hot. Your ingredient sizes differ from recipe assumptions. “Medium onion” means different things to different people. Chicken breasts vary wildly in thickness. Larger pieces need more time, smaller pieces less. Your starting temperatures affect cooking duration. Ingredients straight from the refrigerator need longer than room-temperature ingredients. Recipes rarely specify starting temperature assumptions. Your cookware conducts heat differently. Dark pans absorb more heat than shiny pans. Heavy pans retain heat better than thin pans. Glass bakes differently than metal. Your altitude changes cooking times. Water boils at lower temperatures at higher elevations affecting cooking speed. Baked goods behave differently as elevation increases. Recipe times provide rough estimates, not precise instructions. Treating them as exact specifications leads to inconsistent results. Doneness Indicators Beat Timers Every Time Experienced cooks use time as a suggestion but rely on doneness indicators showing when food actually finishes cooking. Internal temperature tells truth about meat doneness. Chicken reaches safe consumption at 165°F regardless of whether that happens in 30 minutes or 45 minutes. Invest in instant-read thermometer. Visual cues show baking progress. Bread is done when deeply golden and sounds hollow when tapped. Cakes are done when toothpick inserted in center comes out clean or with few moist crumbs. Texture changes signal completion. Pasta is done when it has slight resistance when bitten. Vegetables are done when fork-tender or crisp-tender depending on desired result. Aroma indicates roasting progression. Coffee, nuts, and spices release distinct aromas when properly toasted. Burning smell means you’ve gone too far. The wiggle test works for custards and cheesecakes. Center should jiggle slightly like gelatin when gently shaken. Firm center means overcooked. These indicators work regardless of your oven’s quirks, your ingredient sizes, or your cookware. They measure actual doneness rather than elapsed time. Start Checking Before the Timer Most cooking disasters happen because people wait for the timer then discover problems too late to fix. Check baked goods five to ten minutes before minimum suggested time. Oven hot spots or size variations might finish items early. Catching them early prevents burning. Check roasted meats at three-quarter point of suggested time. Large temperature variations between ovens mean some chickens finish well before recipe timing suggests. Check stovetop items frequently regardless of timing. Burner heat output varies. Pan sizes affect cooking speed. Ingredient moisture content changes evaporation rates. Early checking catches problems while you can still fix them. Underdone food can cook longer. Overdone food is ruined. Set timer for earlier than recipe suggests then extend if needed. Better to add five minutes than serve burnt dinner. The timer’s job is reminding you to check, not telling you when food is done. Carryover Cooking Continues After Heat Stops Removing food from heat doesn’t stop cooking immediately. Internal temperature continues rising from residual heat. Large roasts continue cooking 5-10 degrees after removal from oven. A roast pulled at 130°F might reach 135-140°F during rest. Account for carryover when checking temperature. Thick steaks gain several degrees during resting. Pull steak from heat five degrees below target temperature. Resting time allows temperature to coast to target while redistributing juices. Baked goods firm up as they cool. Slightly underdone center becomes properly set during cooling. Overbaking trying to achieve firm center results in dry edges. Pasta continues softening in hot water. Drain pasta slightly before reaching desired texture. Residual heat finishes cooking while you toss with sauce. Carryover cooking means your target isn’t when food comes off heat but when it finishes cooking minutes later. Adjust accordingly. Develop Your Calibration Instinct Over time you’ll learn how your specific kitchen equipment behaves and adjust automatically without conscious thought. Track your oven’s personality. Notice whether things consistently finish early or late. Adjust all recipe times based on your oven’s tendency to run hot or cold. Learn your stovetop burner outputs. Some burners run hotter than others. Some respond quickly to adjustments, others slowly. Use appropriate burner for each task. Know your favorite pans’ characteristics. Your heavy Dutch oven retains heat differently than your thin saucepan. Your dark sheet pans brown faster than shiny ones. Recognize your ingredient patterns. If you consistently buy large chicken breasts, you know they need longer than recipe times suggest. If you prefer thin-cut pork chops, subtract time. This calibration happens subconsciously as you cook repeatedly in the same kitchen with the same equipment. Your instinct for “about done” becomes more reliable than any timer. Make Peace with Approximation Cooking isn’t chemistry requiring precise measurements. It’s craft requiring judgment and adaptation. Recipe times guide you to approximate doneness window. They tell you roughly when to start checking rather than exactly when to stop cooking. Different results are okay. Slightly more or less cooking time creates different textures. Learn which you prefer rather than obsessing over exact timing. Batch cooking reveals timing variations. Baking multiple sheet pans of cookies shows how position in oven affects timing. Front cookies might finish before back cookies. Experience matters more than precision. You’ll develop feel