Month: March 2021

How to Make Classic Irish Coffee

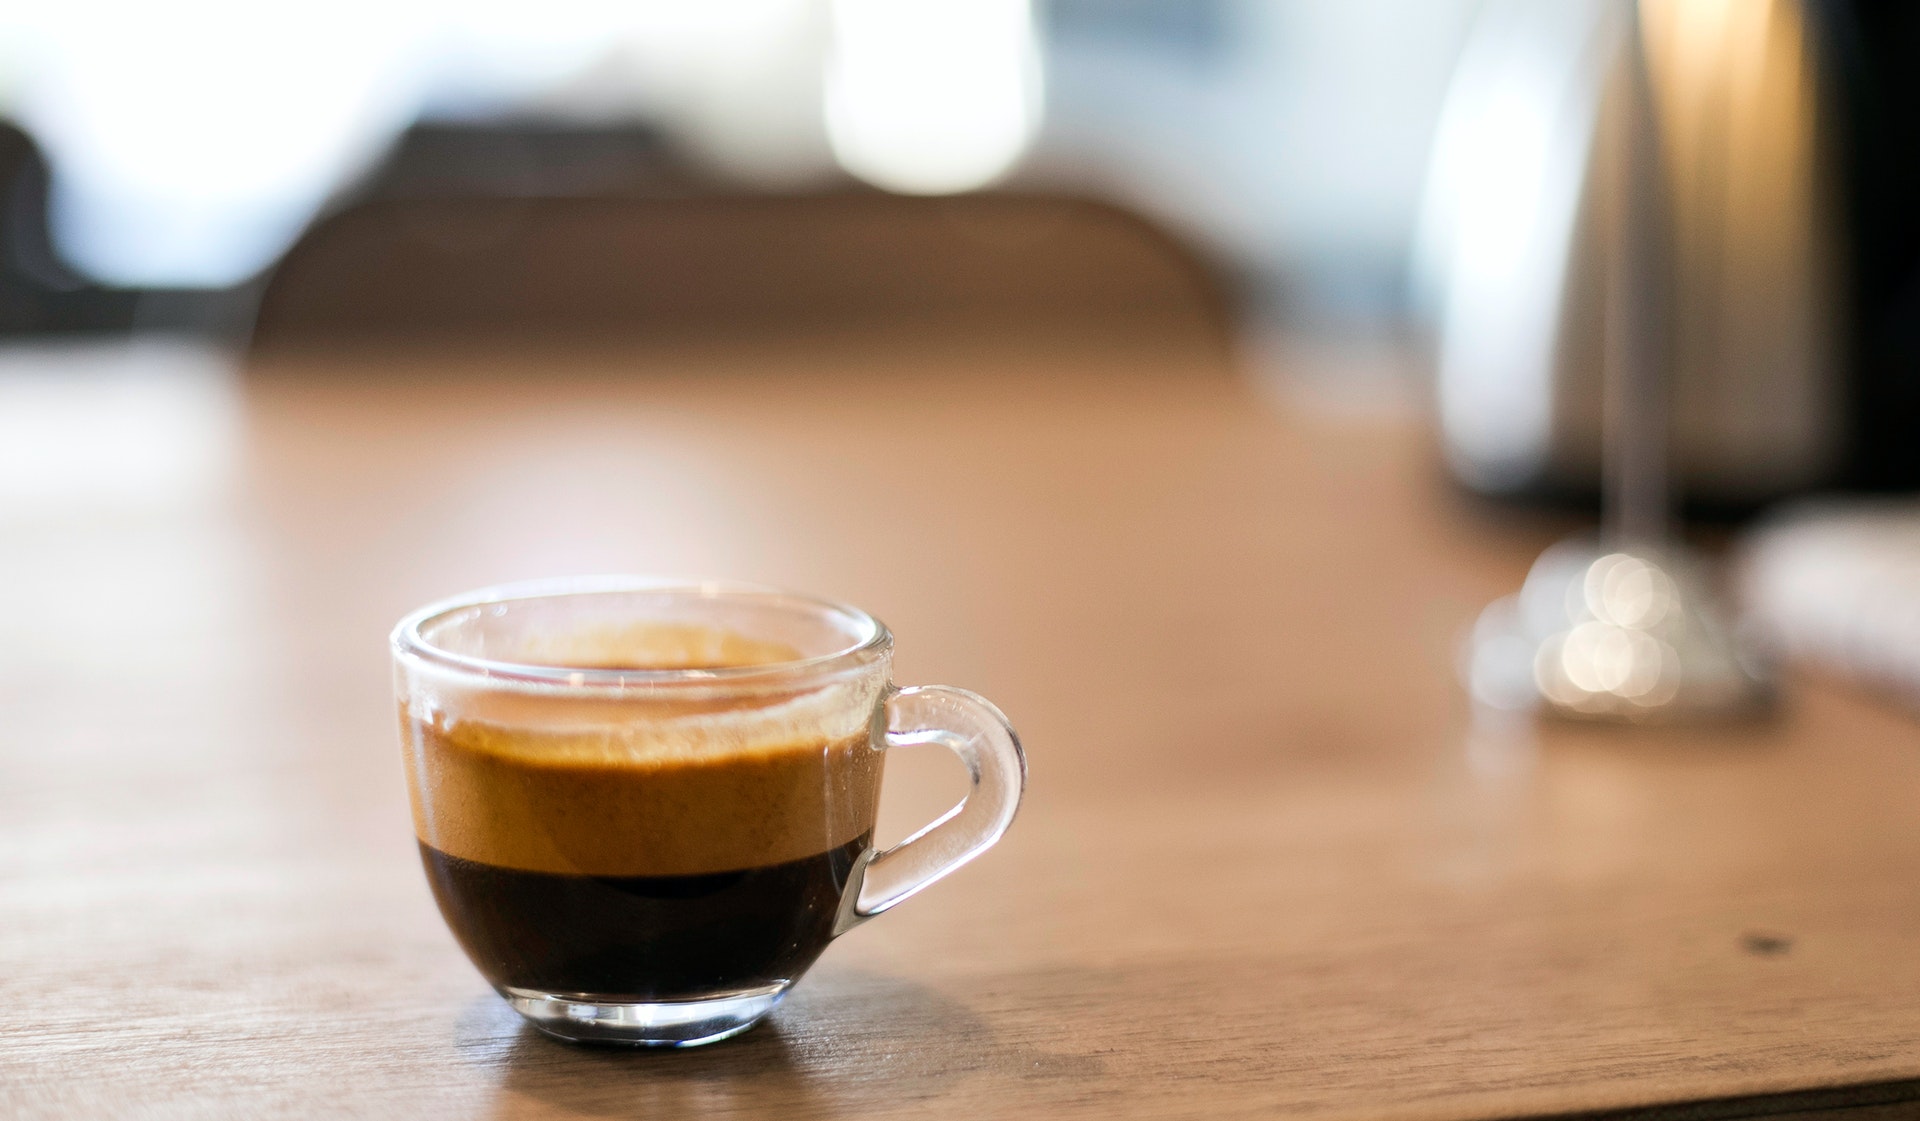
St. Patrick’s Day is here, but you can enjoy Irish coffee year round! The key to any Irish coffee is Irish whiskey. Look for a mid-range with a mild, sweet finish to counter the bitter coffee. A lightly whipped cream will give you a frothy cream collar on top. If you prefer a high pile of cream, you’ll need to whip it to medium-stiff peaks. Use an unsweetened whipped cream to keep the sweetness contained in the coffee. Yield: Makes 1 drink Ingredients: 6 ounces hot, freshly brewed coffee 1 teaspoon granulated sugar 1 teaspoon packed brown sugar 1 1/2 ounces Irish whiskey Freshly whipped cream Equipment: Heatproof glass or mug Directions: Preheat your mug, then fill with coffee. Pour hot water into a mug or heatproof glass to take the chill off. Pour out the water. This will also prevent your glass from cracking. Fill the mug about 3/4 full with the coffee. Add sweetener. Add the granulated and brown sugars and stir until fully dissolved. Add Irish whiskey. Add the whiskey and stir to incorporate. Top with whipped cream. If using lightly whipped cream, pour it slowly over a warm spoon onto the coffee, being careful not to break the coffee’s surface. This takes some practice. A more foolproof way to not break the surface is to whip the cream a bit more and dollop it gently on top. Drink while hot! Source: the Kitchn

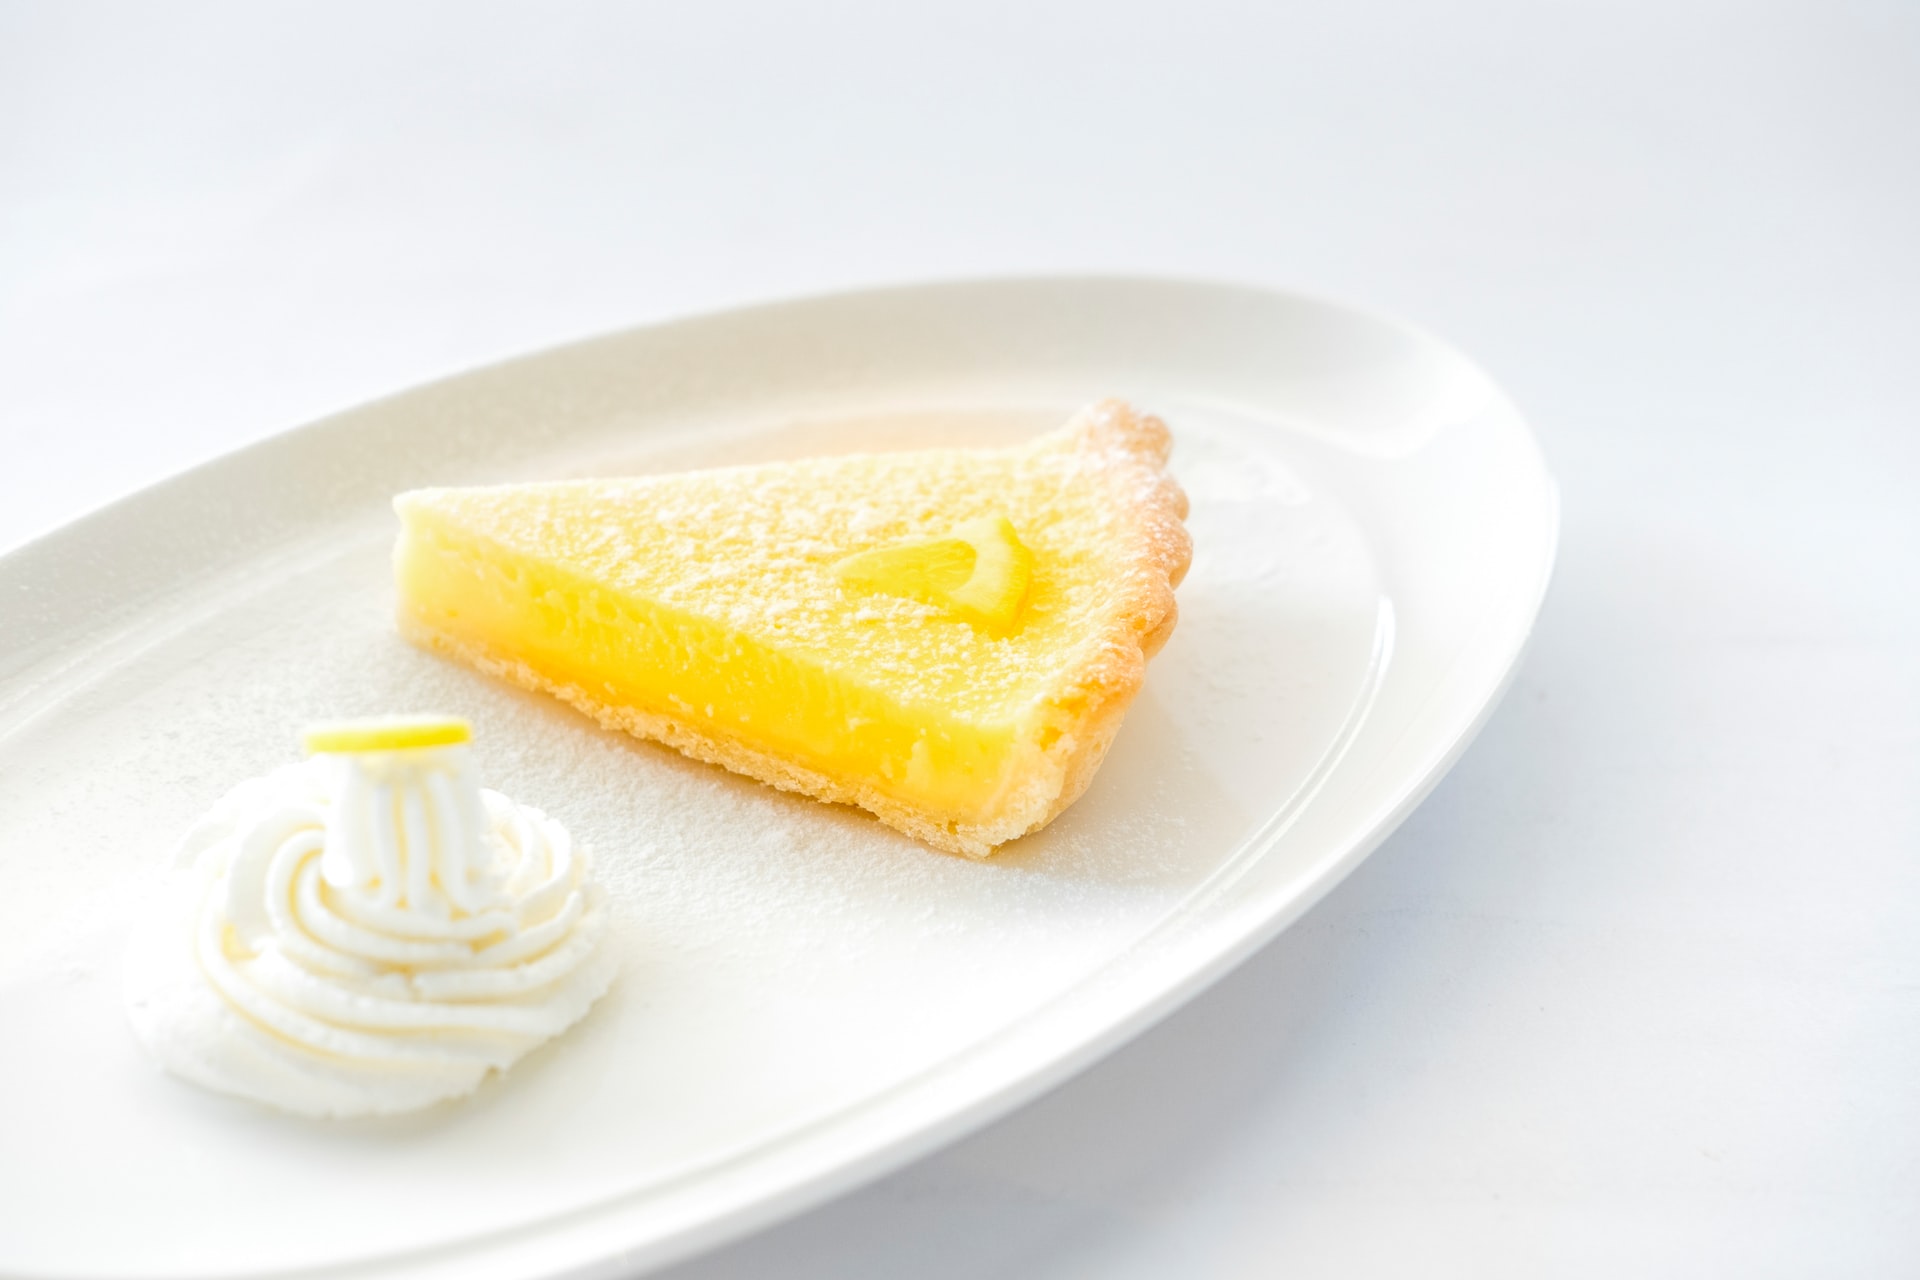
The Perfect Lemon Tart Recipe

Prepare the ultimate dessert. A buttery crust and zingy lemon filling, it’s perfect for any upcoming holiday occasion. Make the zest, dough and tart a few days in advance. Learn more below. Prep time: 90 minsCook time: 25 minsTotal: 115 minsServings: 6 to 8 slices Ingredients: For the candied zest: 1 cup lemon zest, julienned 1 cup granulated sugar For the crust: 1 1/2 cups (200 g) flour 1/2 teaspoon salt 1/2 cup (50 g) powdered sugar 1/2 cup (1 stick, or 1/4 pound, 112 g) unsalted butter, softened at room temperature 1 large egg, beaten 1/4 teaspoon almond extract 1 teaspoon lemon zest For the lemon filling: 1/2 cup (1 stick) unsalted butter1/4 cup crème fraîche (can sub sour cream)2 large eggs3 large egg yolks3/4 cup fresh lemon juice3/4 cup (150 g) granulated sugar1 1/2 teaspoon lemon zest Directions: Place lemon zest in a saucepan and cover with water by 1/2 inch. Bring to a boil. Remove from heat, drain the water. Fill up with water again and repeat. Bring to a boil, remove from heat, then drain.Add water again, this time adding the sugar as well. Simmer for 30 minutes, drain. Spread the zest out on a sheet of parchment paper. Let dry overnight at room temperature (do not put in the refrigerator). (Tip: if you wrap the zest strands around a chopstick and let them dry wrapped, then the next day when you unwrap them, they’ll hold a curly form.)The next day toss the zest with a little more sugar. Whisk together the flour, salt, and powdered sugar in a bowl. Add the butter and either use your (clean) fingers, or use a pastry blender, to mix the butter into the flour until the dough forms flaky crumbs and lumps. Try to make sure that all of the flour is coated with some butter.With a wooden spoon, mix in the egg, 1/4 teaspoon almond extract, and 1 teaspoon of lemon zest. Continue to mix until the dough clumps. Shape into a ball, flatten into a disk, wrap in plastic, refrigerate at least an hour or up to 2 days in advance. Preheat oven to 350°F If the dough has chilled overnight, let it sit at temperature for at least 10-15 minutes before attempting to work with it. This allows the dough to relax enough to become somewhat pliable before rolling out.Roll out the dough by either sprinkling the dough and rolling surface with little flour, or you can roll the dough out between two sheets of parchment paper. Roll the dough out to a circle 2 inches wider in diameter than your tart pan (about a 12-inch round).Press the dough into the tart pan. Use your rolling pin to level the dough along the edges of the pan. Freeze for 30 minutes. Place aluminum foil over the foil and gently mold it to the dough in the pan. Add pie weights (dried beans, sugar, rice, or ceramic pie weights).Bake at 350°F for 20 minutes. Remove from oven, lift the sides of the aluminum foil to remove the pie weights, and let the crust cool. Melt butter and crème fraîche together over a double boiler, stirring to combine. (If you don’t have a double boiler, bring a couple inches of water to simmer in a saucepan, place a stainless steel or pyrex bowl on top of the saucepan, making sure the bottom of the bowl is not touching the simmering water.) Remove top pan from heat and set aside.In a second bowl over the double boiler, whisk the eggs and egg yolks just long enough to warm them. Remove from heat and beat in the butter mixture, then the lemon juice.Strain the mixture through a sieve into a clean bowl and place over the simmering water. Add the sugar and zest and whisk until warm to touch, about 4 minutes. Pour the lemon filling into the crust and bake at 350°F for 25 minutes or until set in the middle. Let cool on a rack. Chill in the refrigerator. When ready to serve, top the tart with candied lemon zest. Are you looking to bake pastries and meals with an upgraded luxury appliance? Click here to learn more about Cosmo Ranges and Ovens. Source: Simply Recipes

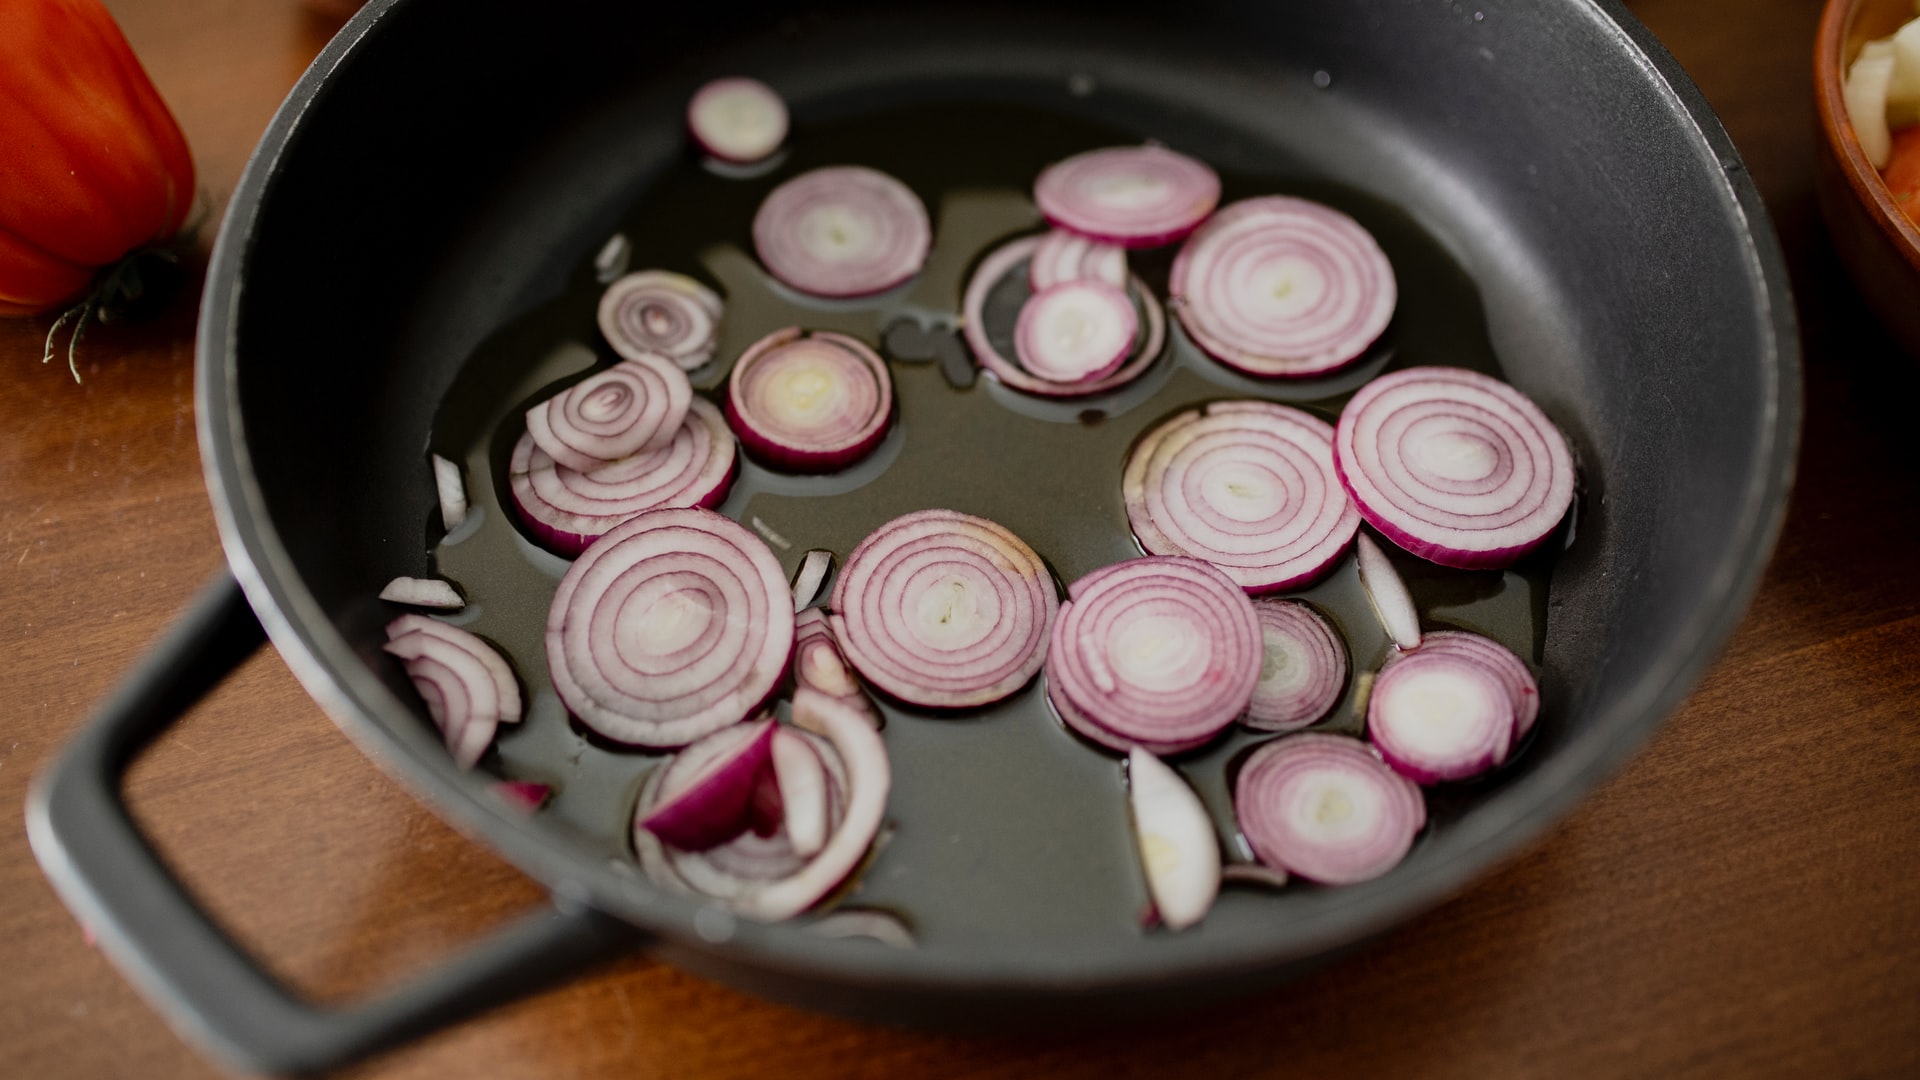
How to Caramelize Onions

A caramelized onion brings out a deep, rich, and sweet flavor. Slowly cooking them in a little olive oil is a great way to pull out all the flavor from the simplest of ingredients. As you slowly cook onions over time the natural sugars caramelize, making the best topping to steaks, onion soups or pizza. Learn how below. Prep time: 10 minsCook time: 45 minsTotal time: 55 minsYield: 2 cups Ingredients: Several medium or large onions, yellow, white, or red Extra virgin olive oil Butter (optional) Salt Sugar (optional) Balsamic vinegar (optional) Directions: Slice 1/2-inch off the stem ends of the onions and the roots off of the root end. Place the onions cut side down on the cutting board. Cut them in half through the root end. Peel back the peels from the onions.Lay the onions cut side down and make angled cuts into each onion, aimed at the center, cutting almost all the way, but not completely through the root end. Make the cuts to your desired level of thickness.The root end will help hold the onion together as you cut it, making it easier to cut. Then cut a V in the root end to cut out the tough root holding the slices together. Use a wide, thick-bottomed sauté pan for maximum pan contact with the onions. Coat the bottom of the pan with olive oil, or a mixture of olive oil and butter (about 1 teaspoon per onion). Heat the pan on medium high heat until the oil is shimmering. Add the onion slices and stir to coat the onions with the oil. Spread the onions out evenly over the pan and let cook, stirring occasionally.Depending on how strong your stovetop burner is you may need to reduce the heat to medium or medium low to prevent the onions from burning or drying out.After 10 minutes, sprinkle some salt over the onions, and if you want, you can add some sugar to help with the caramelization process. (about a teaspoon of sugar for 5 onions) One trick to keeping the onions from drying out as they cook is to add a little water to the pan. Let cook for 30 minutes to an hour more, stirring every few minutes. As soon as the onions start sticking to the pan, let them stick a little and brown, but stir them before they burn.The trick is to leave them alone enough to brown (if you stir them too often, they won’t brown), but not so long so that they burn. After the first 20 to 30 minutes you may want to lower the stove temperature a little, and add a little more oil, if you find the onions are about to burn.A metal spatula will help you scrape up the browned bits from the bottom of the pan as the caramelization proceeds. As the onions cook down, you may find you need to scrape the pan every minute, instead of every few minutes.Continue to cook and scrape, cook and scrape, until the onions are a rich, browned color. At the end of the cooking process you might want to add a little balsamic vinegar or wine to help deglaze the pan and bring some additional flavor to the onions.Store refrigerated for several days in an air-tight container. Source: Simply Recipes

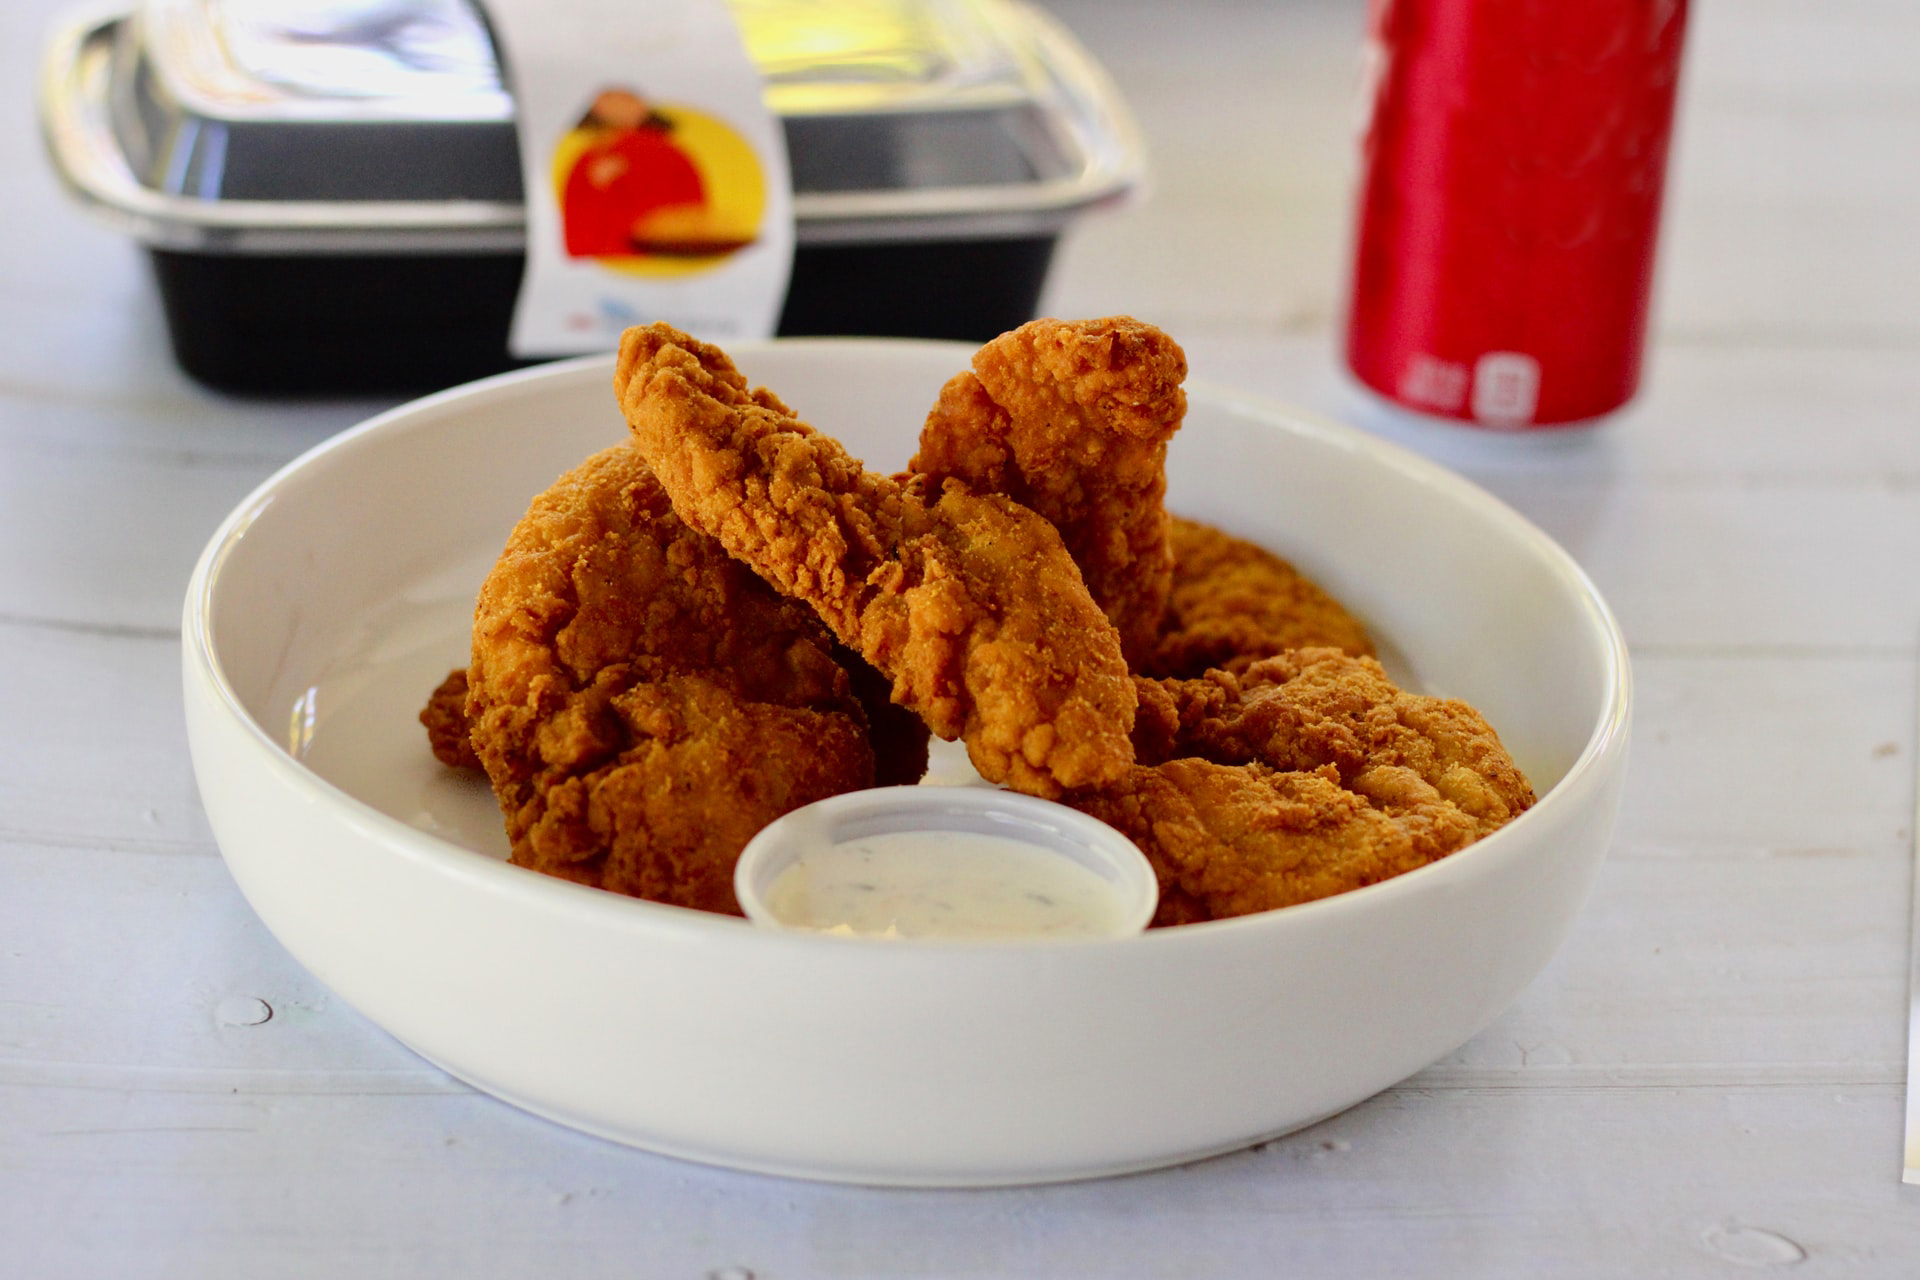
Homemade Chicken Fingers Recipe

Make these crispy chicken fingers that you can bake immediately or freeze to bake later. Pair it with a delicious red pepper-basil dipping sauce for the perfect combination the whole family will love. Prepare these in a short amount of time for a weeknight meal. Total: 45 minActive: 25 minYield: 6 servings Ingredients: Chicken Fingers: 2 cups corn flake cereal 2 ounces whole-wheat Melba toast 1/3 cup finely grated Parmesan 1 tablespoon finely chopped fresh parsley, optional 1/2 teaspoon sweet paprika Kosher salt 2 large egg whites 2 pounds chicken tenders Red Pepper-Basil Dipping Sauce: 1/2 cup 2-percent Greek yogurt 2 tablespoons chopped fresh basil 2 tablespoons chopped roasted red pepper 1/2 teaspoon white wine vinegar 1 small clove garlic, grated Kosher salt Nonstick cooking spray Instructions: For the chicken fingers: Combine the cereal, melba toast, Parmesan, parsley if using, paprika and 1/2 teaspoon salt in a large resealable bag and, using the bottom of a skillet or rolling pin, crush into a coarse meal. Dump out into a shallow dish. Whisk the egg whites with 2 tablespoons water in another shallow dish. Dip the chicken tenders into the egg white, shake off the excess, and coat thoroughly in the coating. Bake immediately, or refrigerate up to 1 hour before baking. To freeze, arrange the breaded chicken tenders on a baking sheet and freeze until hard, 1 to 2 hours. Store in resealable freezer bags for up to 1 month. For the sauce: Combine the yogurt, basil, red pepper, 1 tablespoon water, vinegar, garlic and salt to taste in a small bowl; stir together. Wrap and refrigerate until ready to serve. Preheat the oven to 425 degrees F. Fit a rimmed baking sheet with a wire rack and spray with cooking spray. Generously spray the fresh or frozen chicken tenders all over with cooking spray. Arrange on the prepared rack and bake, flipping halfway through, until golden and crispy and cooked through, 15 to 20 minutes (if frozen, 20 to 25 minutes). Remove from the oven and season with salt. Serve with the dipping sauce. Source: Food Network

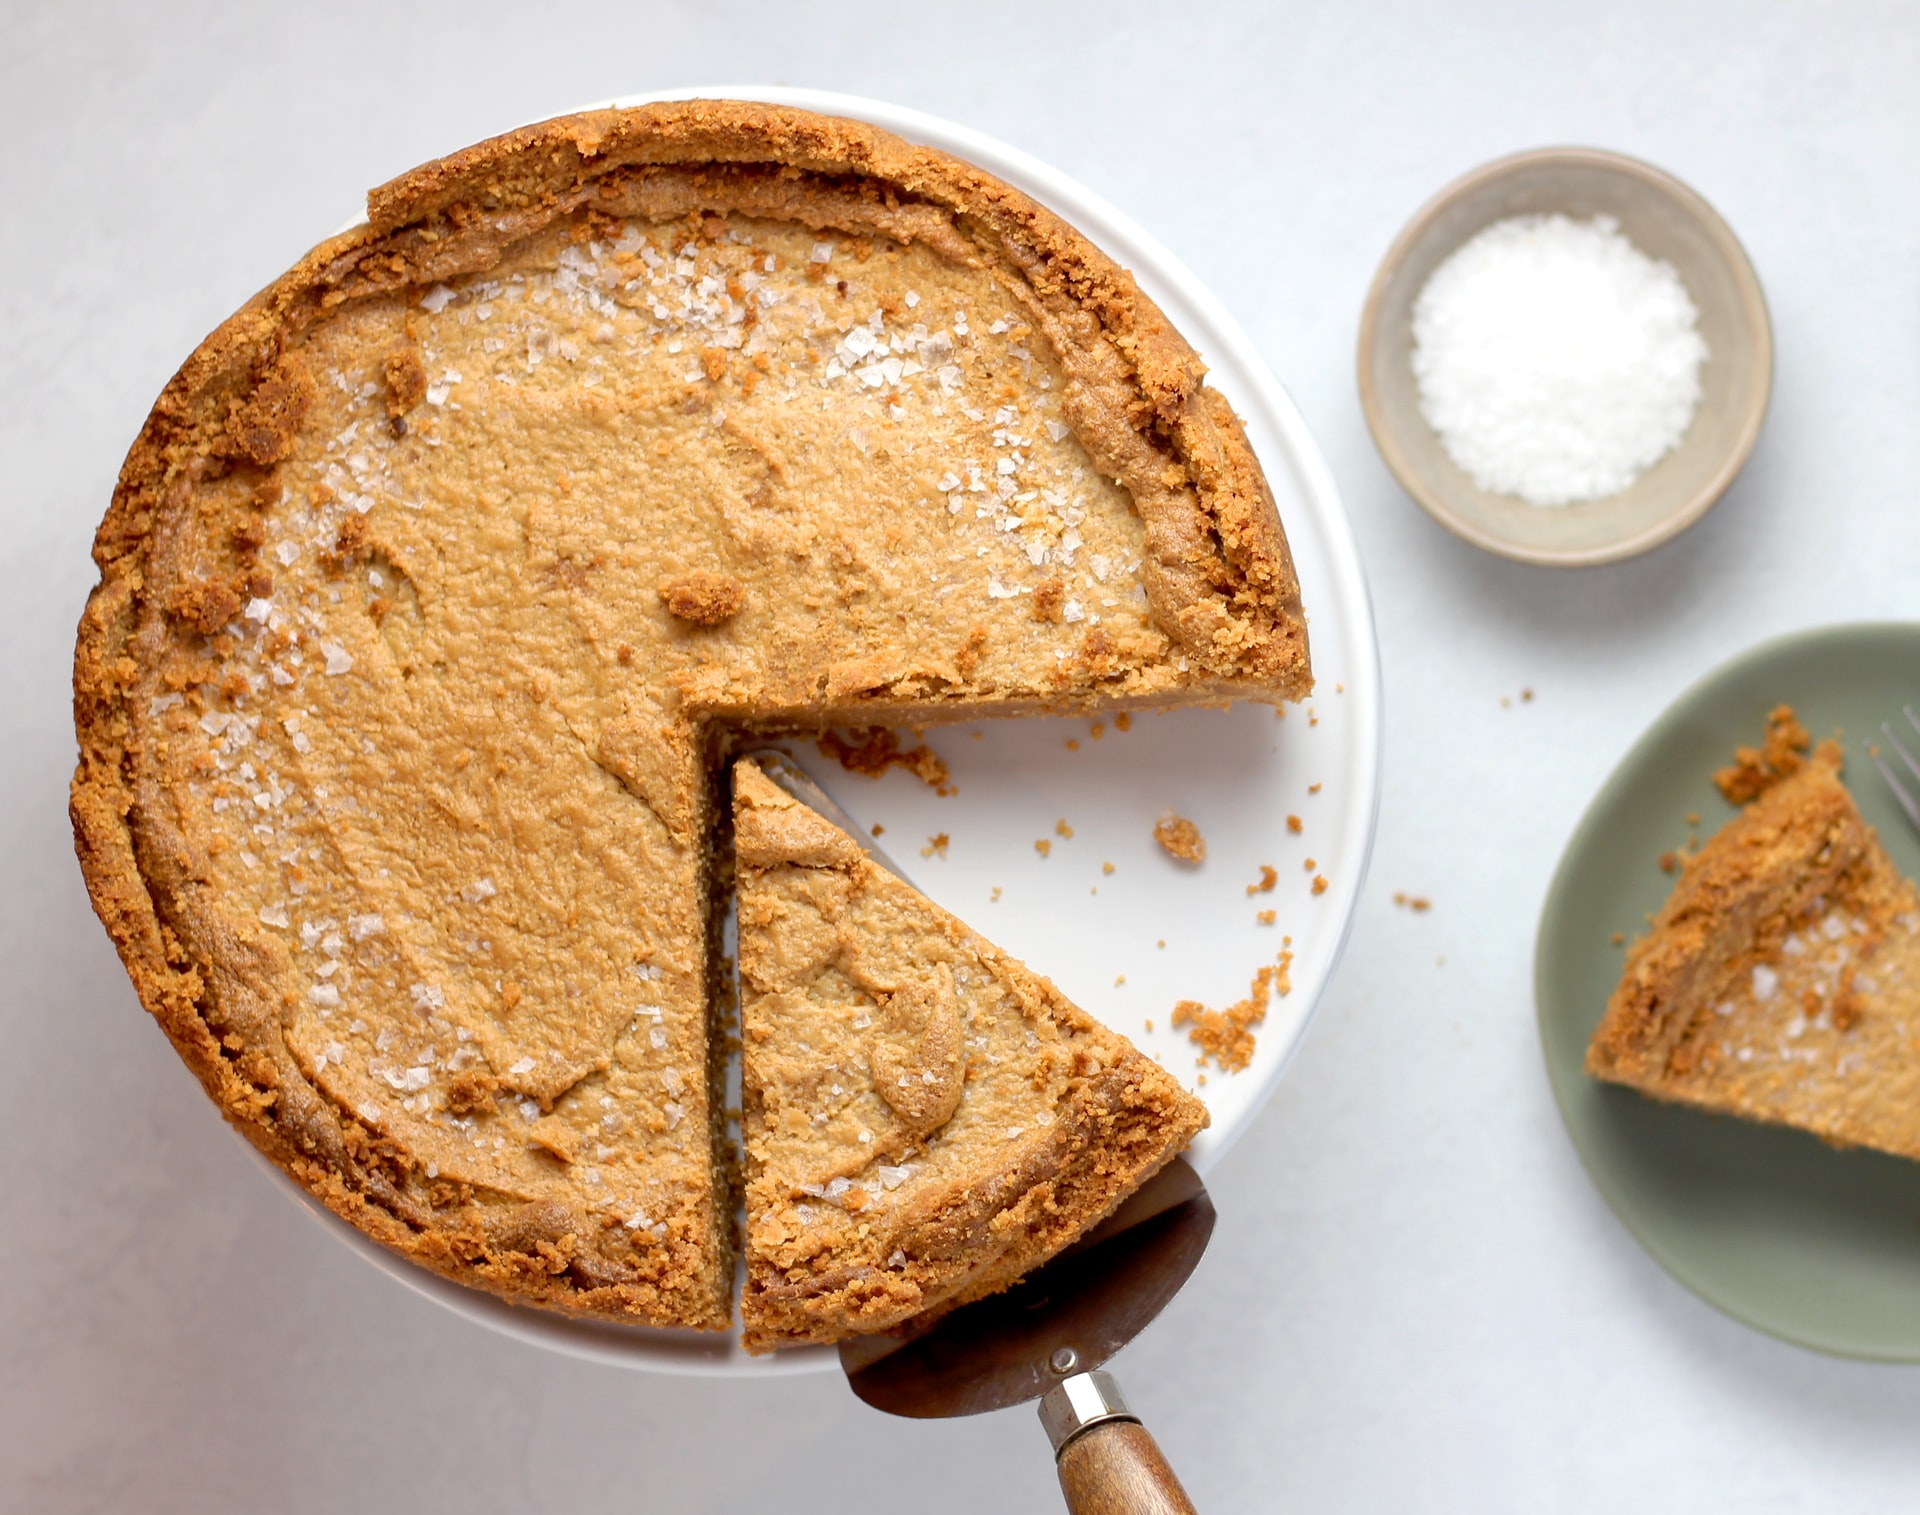
The Key to the Best Pie Crust

Baking a pie with the perfect flaky and tender crust is no easy feat. Ideally your dough should be assembled with cold ingredients and a gentle hand. The temperature in your kitchen is always a factor when you bake. If your kitchen is too hot and humid, dry ingredients tend to absorb the moisture in the air. On the other hand, when your kitchen is too cold, bringing ingredients to room temperature can take a while. Pie dough is no exception to these factors. Baking powder is the secret ingredient to a flaky pie dough. It lightens and expands your crust providing a flaky-like texture. It’ll also make the crust softer in a light and airy way. If your kitchen is too warm or too cold, the baking powder can save the pie. So the next time you run into a tricky weather situation or over handle the dough, reach for about ¼ to ½ teaspoon baking powder to every 1 ¼ cup of flour. Source: the Kitchn

The Best Way to Reheat Leftover Pizza

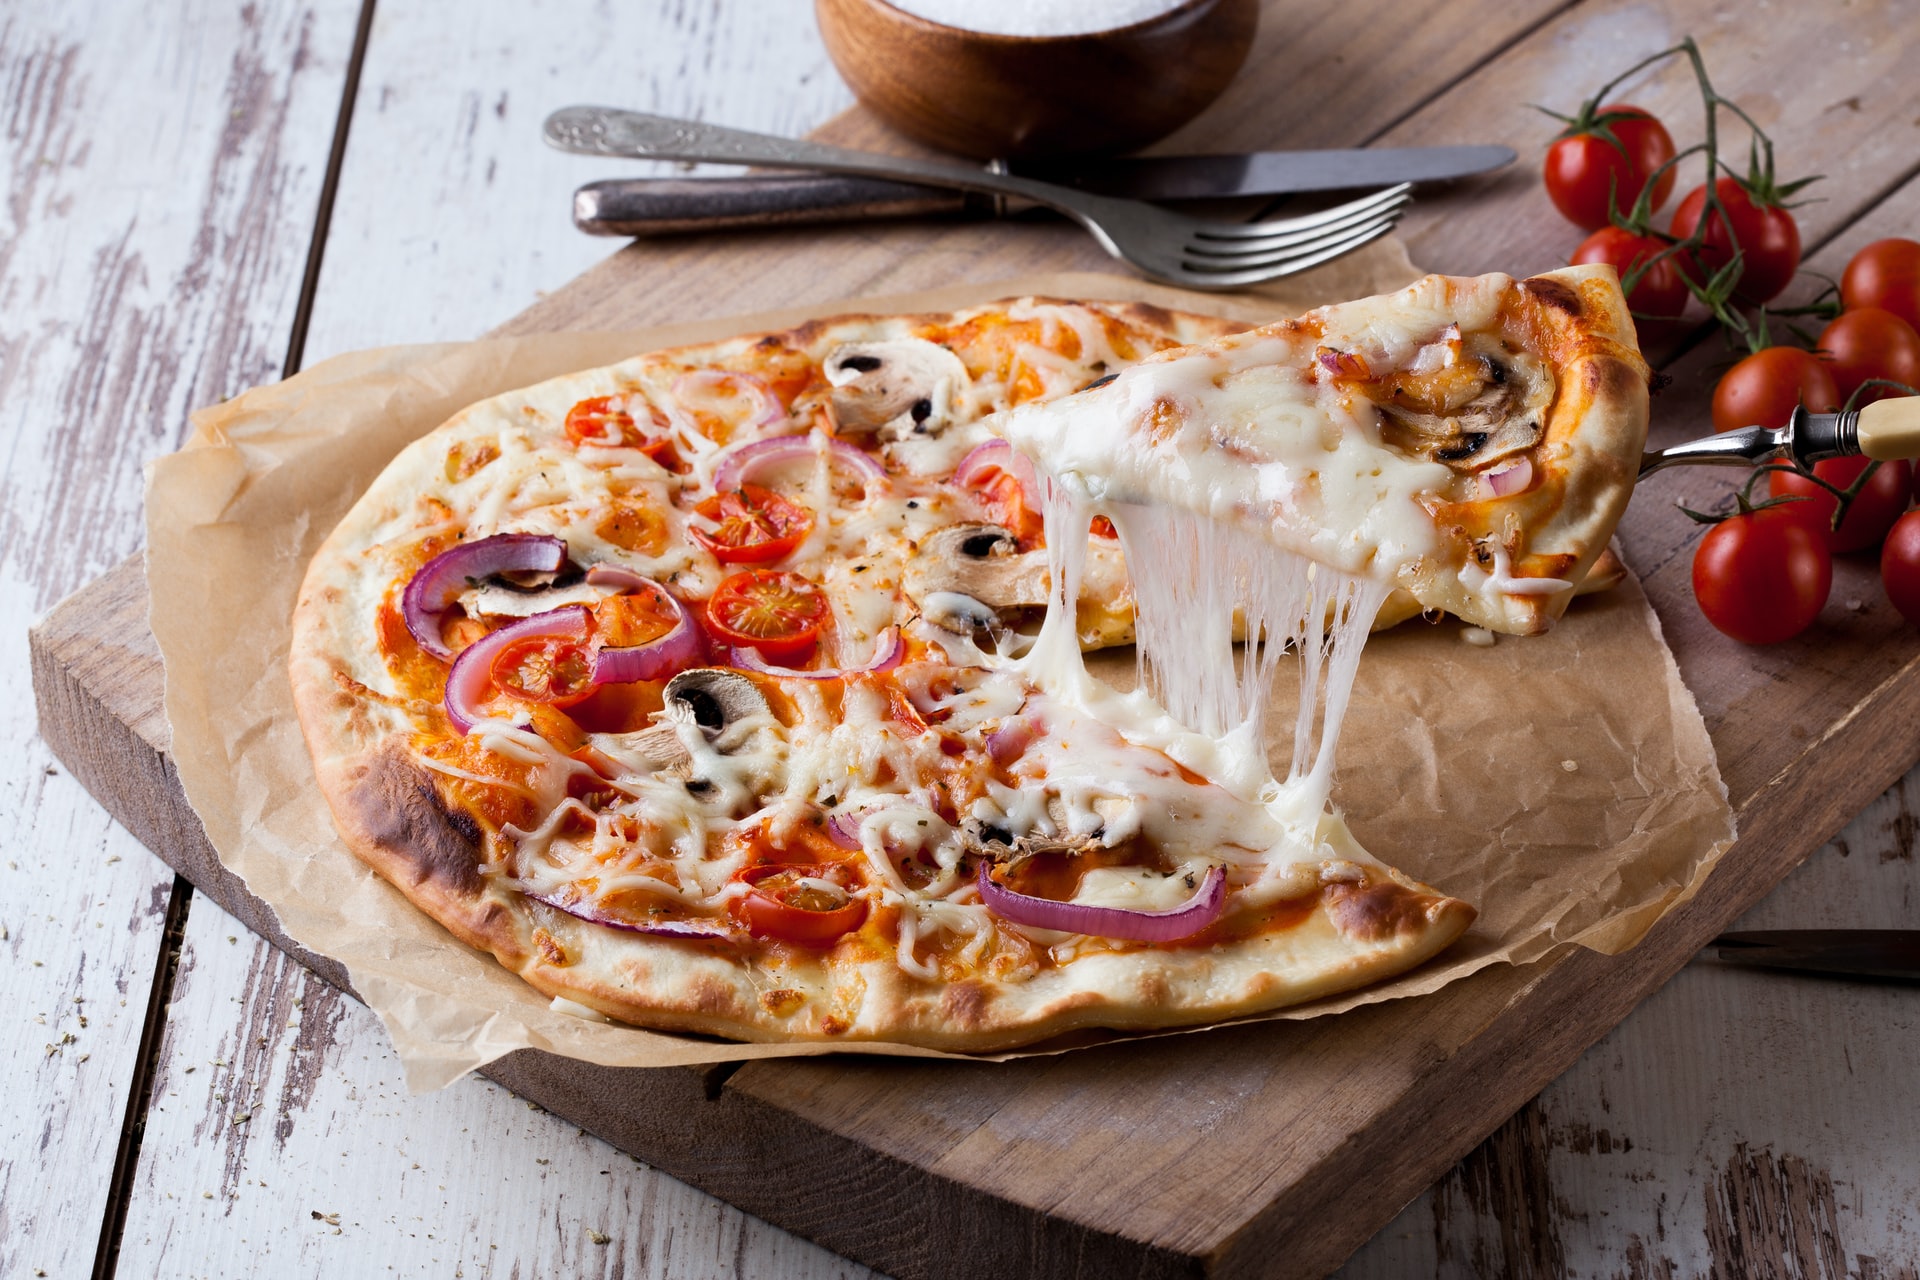
Reheating a leftover pizza to the same level of crispiness can be difficult. The first step is to ditch the microwave. You’ll end up with a soggy pizza slice. Microwaves heat water that’s in food, so the pizza will end up steaming from the inside out. The better way to reheat a pizza is to use a skillet on the stove. This can be a nonstick skillet or a cast iron skillet. Any skillet tends to work so long as it has a lid. Heat up the skillet. Place the skillet over medium low heat and add a little oil to it. You can use nonstick spray to get an even layer. Put the pizza slices in the skillet and make sure they’re aren’t overlapping. You want them to be in full contact with the bottom of the skillet. Put the lid on. After a few minutes, the slices will begin to crisp. Pop the lid and let the slices steam on top. This will remelt the cheese and heat the rest of the toppings. Your pizza should be back to super crispy and delicious. Ovens can also reheat pizzas but it tends to be a waste of energy for a few slices that are already cooked. If needed, you can put the slices on parchment paper on a baking sheet, and let them cook for about 10 minutes. Source: Simply Recipes

Shrimp Fried Rice Recipe

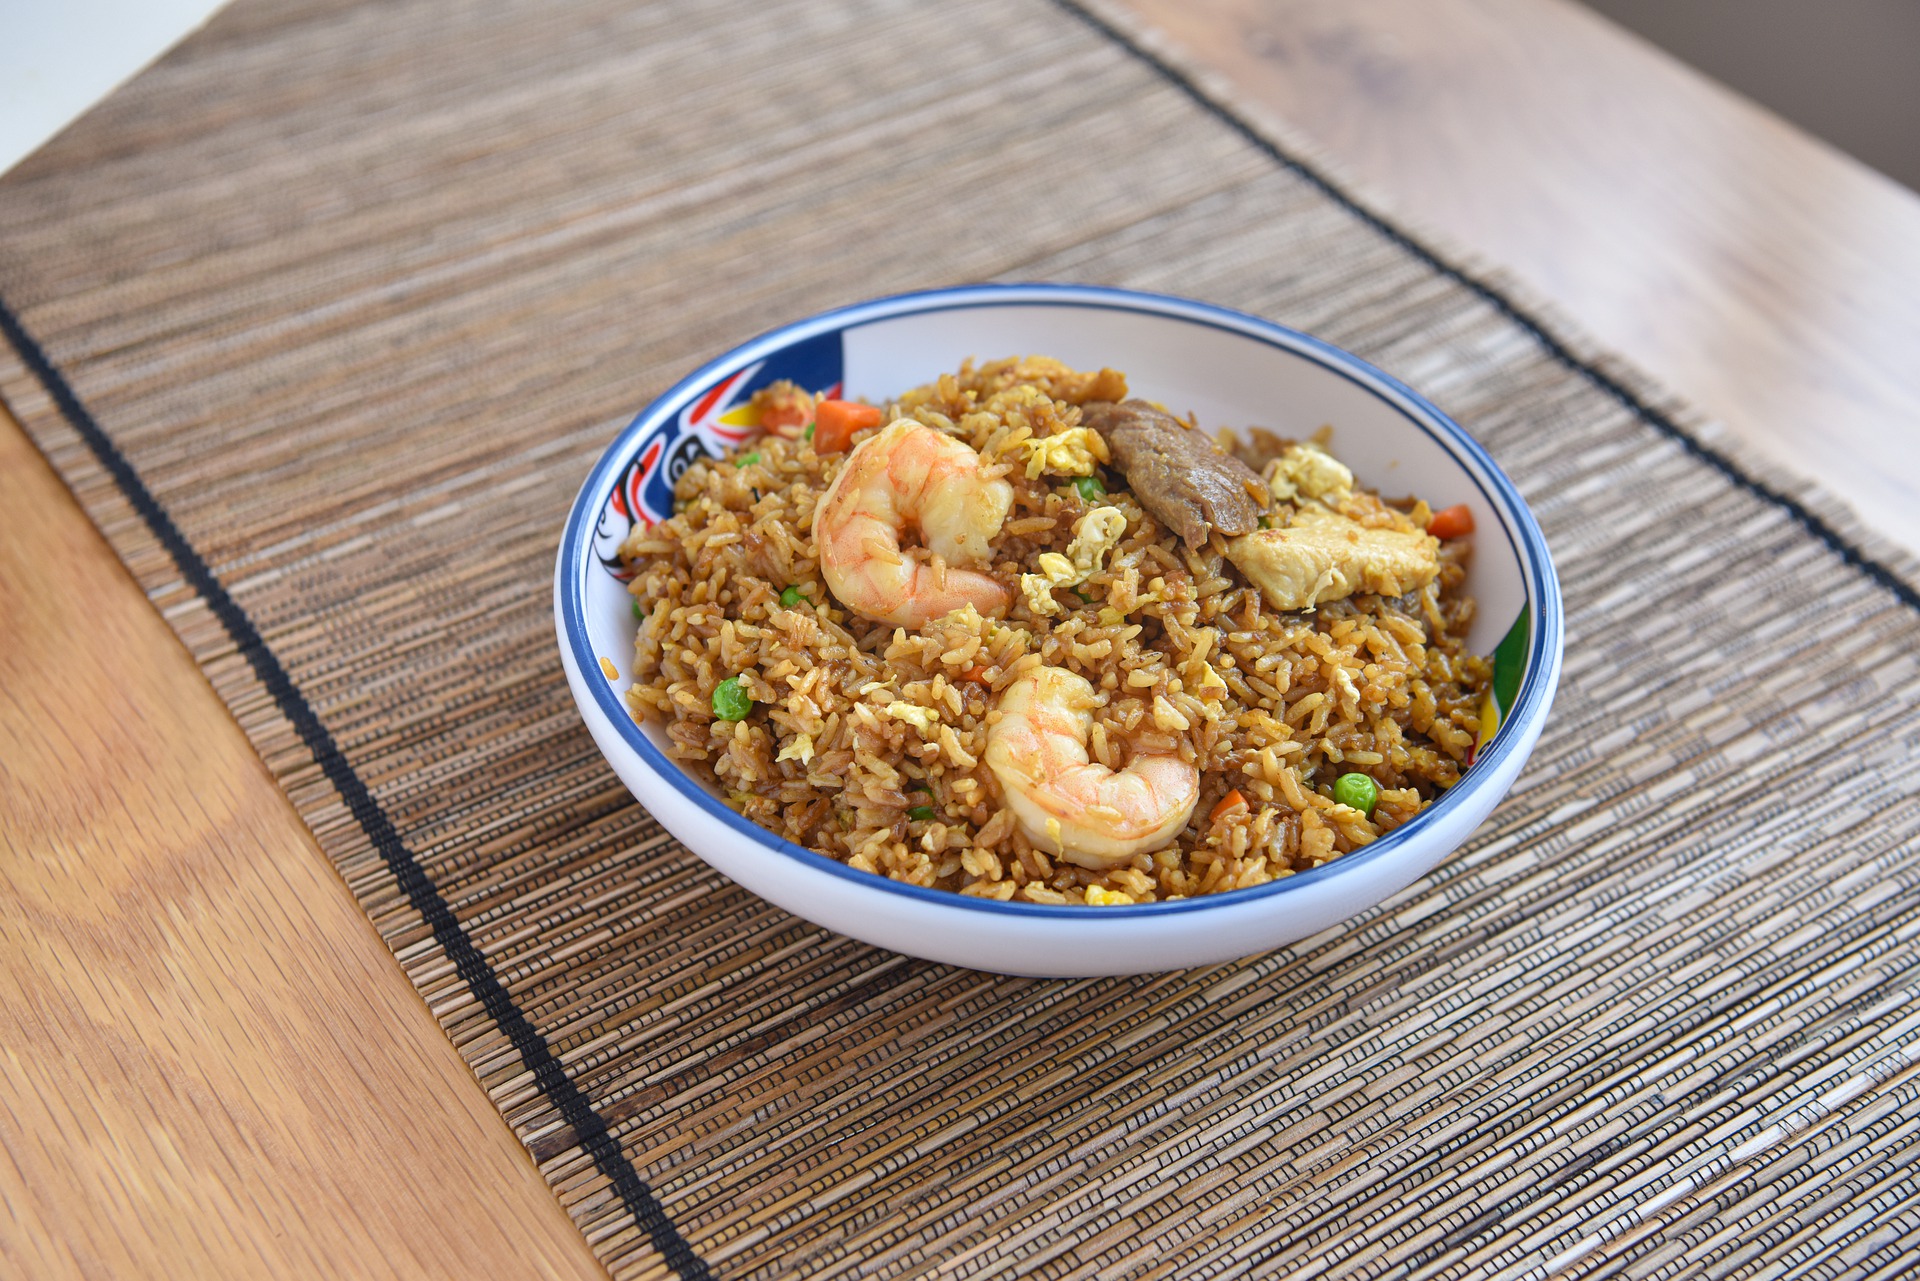
Fried rice is the perfect meal when you have any leftover rice in the fridge. The chilled rice works better than fresh rice. You can put anything in fried rice including veggies, beaten egg, and a protein such as shrimp or chicken. A hot pan will help everything fry quickly and prevent any ingredients from sticking. Try to fry everything separately in the same pan to preserve their flavors. Prep time: 15 minsCook time: 15 minsTotal time: 30 minsServings: 4 servings(NOTE: Make sure to use leftover, day old rice. Freshly made rice will make a fried rice mushy.) Ingredients: 8 ounces small raw shrimp, shelled and deveined 1/2 teaspoon kosher salt freshly ground black pepper 1/2 teaspoon cornstarch 3 tablespoons peanut oil, canola oil, or rice bran oil 3 eggs, beaten 2 stalks green onion, minced 4 cups leftover rice, grains separated well 3/4 cup frozen peas and carrots, defrosted 1 tablespoon soy sauce (use gluten-free soy sauce if you are making a gluten-free version), plus more to taste 1 teaspoon dark toasted sesame oil Directions: In a medium bowl, sprinkle the shrimp with salt, pepper, and cornstarch, and toss to coat. Set aside to sit for ten minutes at room temperature. Heat a large sauté pan or wok (a seasoned cast iron pan or hard anodized aluminum works well, they’re relatively stick free and can take the heat) on high heat.When the pan is very hot (a drop of water instantly sizzles when it hits the pan), swirl in one tablespoon of the cooking oil to coat the pan. Add the shrimp to the hot pan, spreading them out quickly in a single layer. Let them fry in the pan without moving them, for 30 seconds.Flip the shrimp over and let them fry on the other side for another 30 seconds or until they are mostly cooked through. (Do not cook them all the way!)Use a slotted spoon to scoop the shrimp out of the pan to a bowl. Return the pan to the burner and lower the heat to medium. Add a little more oil if the pan needs it. Add the beaten eggs and stir them quickly to scramble them while they cook.When the eggs are not quite cooked through, still a bit runny, transfer them from the pan to the bowl with the cooked shrimp. Clean out the pan or wok with paper towels and return it to the burner. Heat the pan on high and when it is hot, swirl in the remaining tablespoon or two of oil. When the oil is shimmering hot (almost smoking), add the green onions and sauté for 15 seconds.Then add the leftover cooked rice to the pan and stir with the green onions to mix well.Spread the rice onion mixture over the surface of the pan and let it fry, without moving it. You should hear the rice sizzle. Cook for about 1 to 2 minutes.Use a spatula to turn over the rice, and spread it over the pan again. Let cook for a minute longer. Sprinkle soy sauce on the rice and stir to combine.Add the carrots, peas, shrimp, eggs, and sesame oil, stirring to combine well.Heat everything until sizzling hot. Add more soy sauce to taste. Source: Simply Recipes

Testing Your Oven for Hotspots With Sugar

The exact temperature of your oven is important, but so is where the heat is located. If heat is uneven in an oven, you could end up with goods that are burnt in some places and still cooking in other places. A thermometer will tell you the temperature, but it won’t tell you where the hot or cold spots are. Luckily you can test your oven with just sugar and a pan to see what you’re dealing with. Set your oven rack to the middle (where it would be if you were baking) and crank the heat to 400°F. Line a baking sheet with parchment paper and sprinkle an even layer of granulated sugar onto it. Try using a cup of sugar, which would be enough to cover a 11×17-inch pan with a light dusting. Once preheated, place the pan in the center rack of the oven and set a timer for 10 minutes. Once the timer goes off, immediately remove the pan from the oven and inspect the sugar. With this method, you now have a map of your oven’s hot and cold spots. Where the temperature was exactly 400°F, the sugar should be melted without being burnt. Darker, burnt sugar indicate hot spots, while unmelted areas are cool spots. This will help inform where you should be placing goods in your oven. Source: the Kitchn

Oatmeal Cookies Recipe

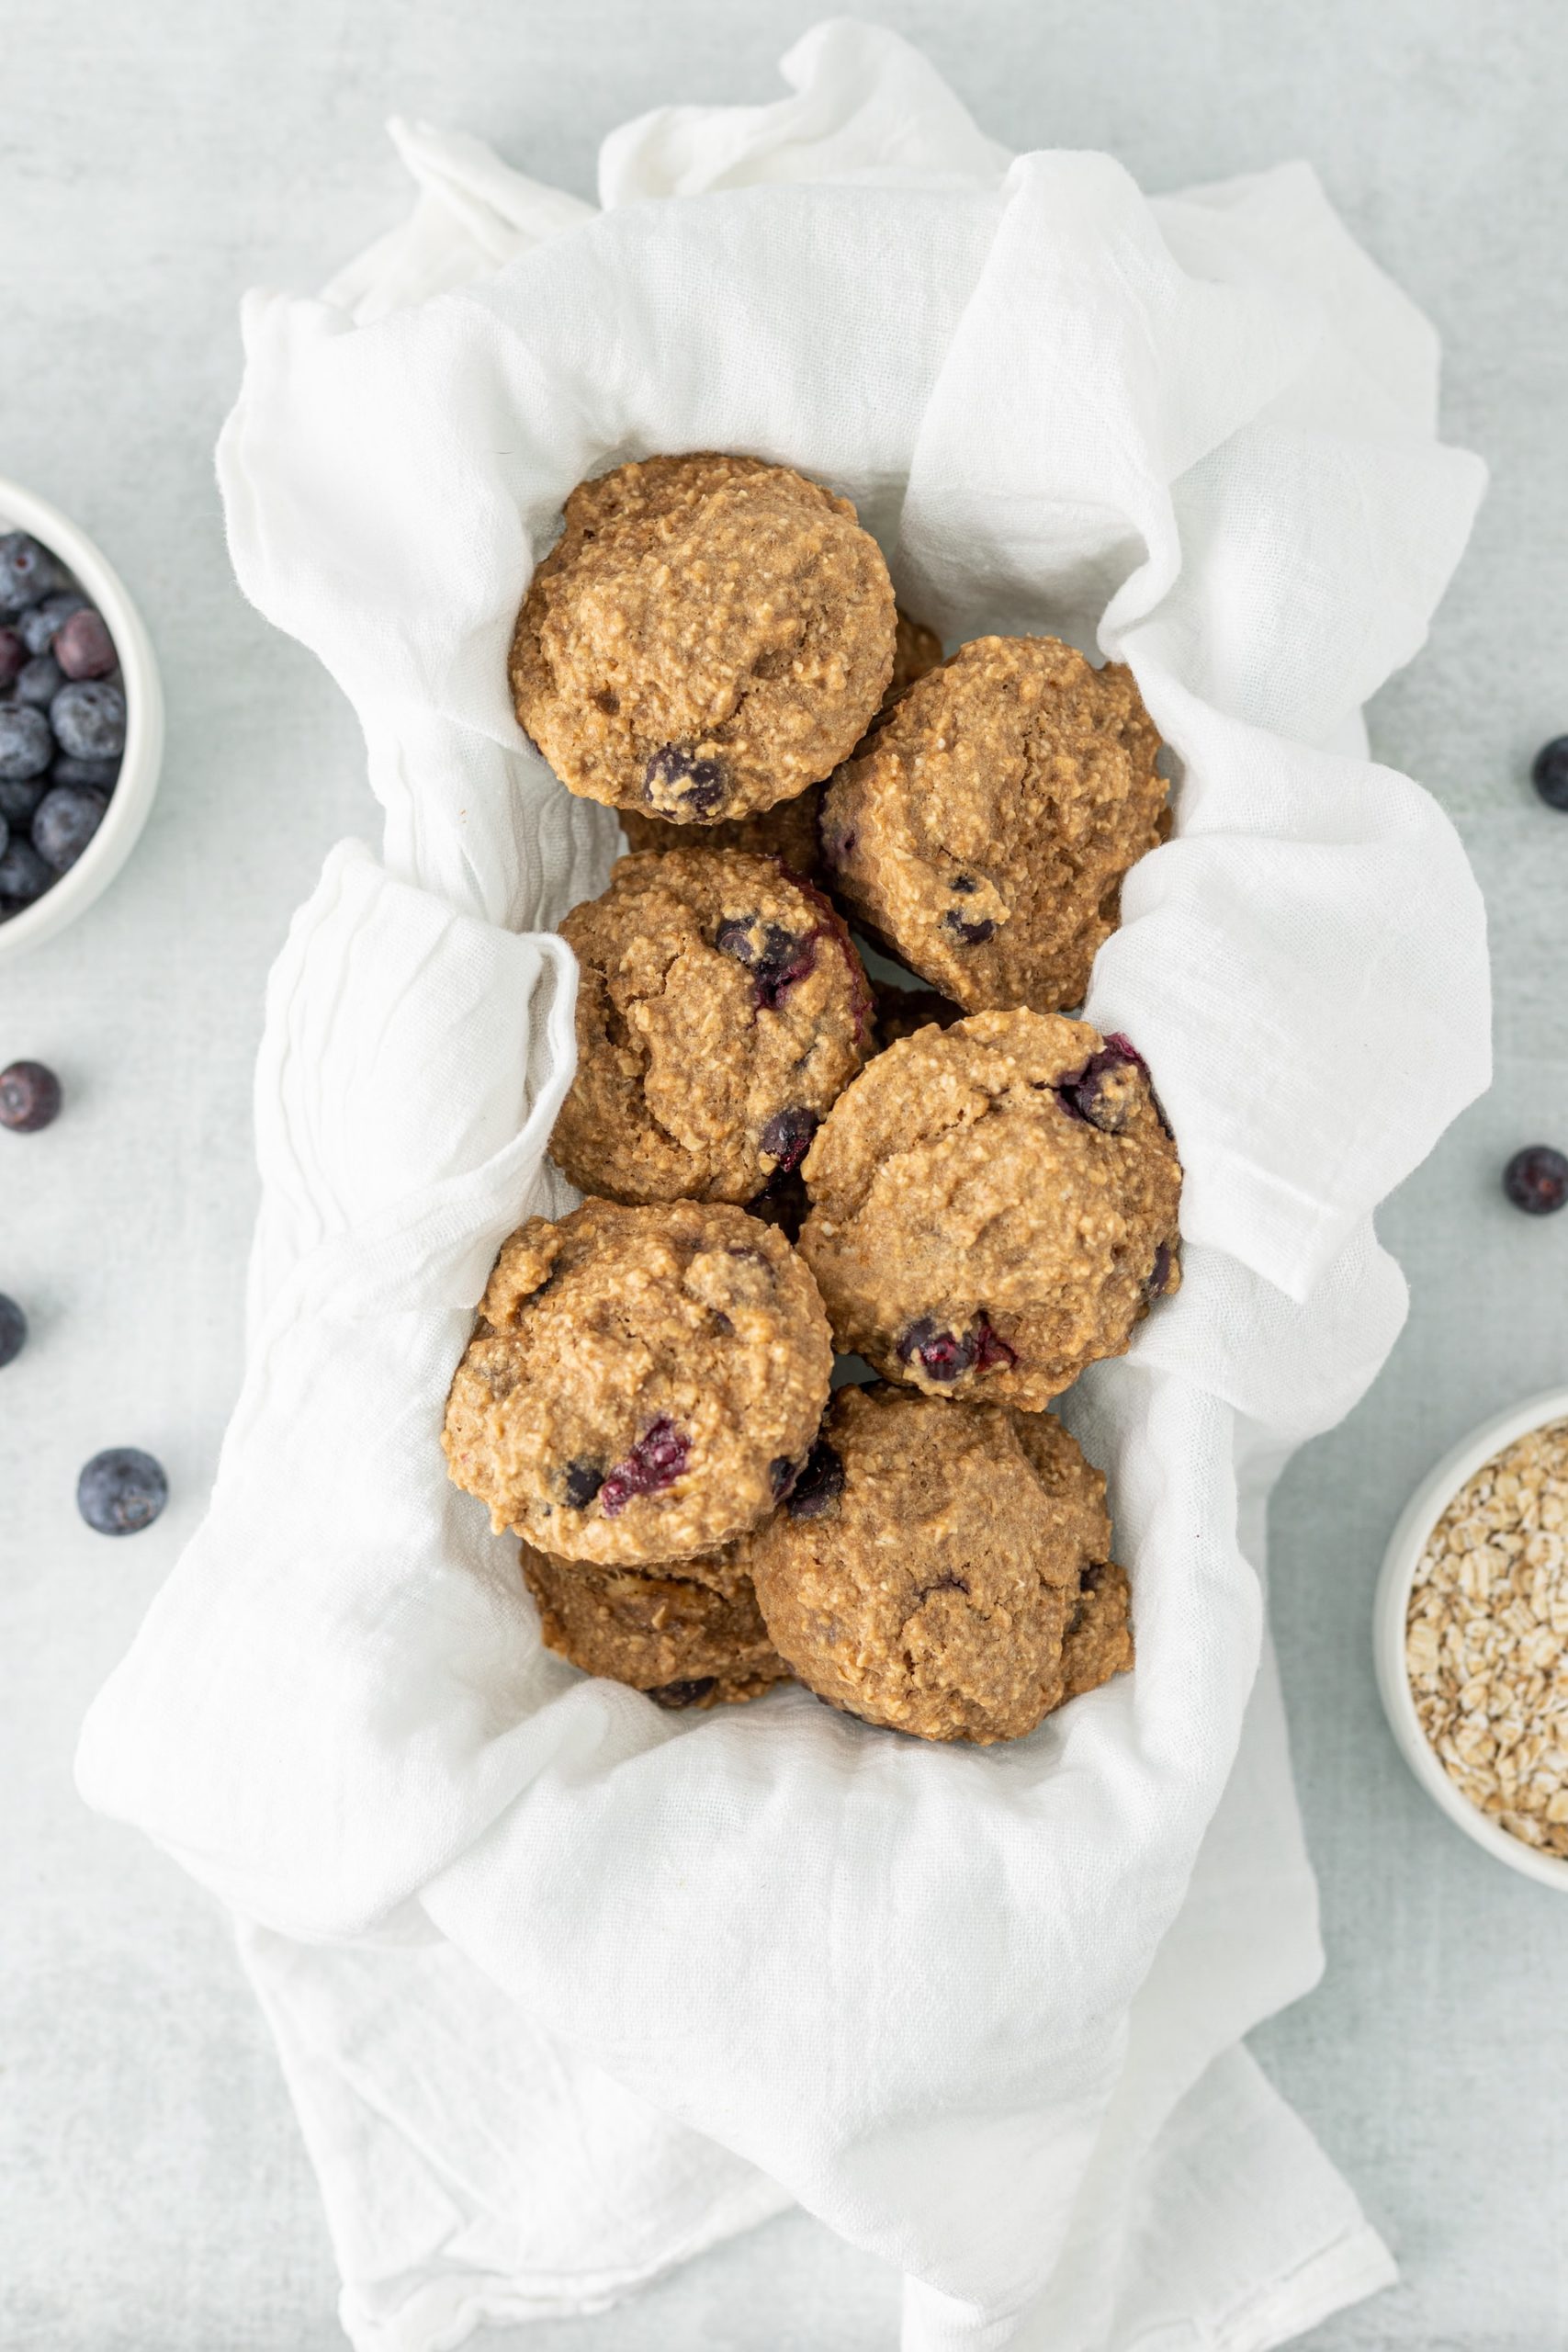
There’s nothing better than a classic, chewy oatmeal cookie. These include walnuts and raisins, but you can leave them out if you prefer. The cookies will keep for several days in an airtight container on the counter. They also freeze well. Prep time: 20 minsCook time: 10 minsTotal time: 30 minsServings: 24 servings Ingredients: 1 cup shortening 1 cup brown sugar 1 cup white sugar 2 large eggs, well beaten 1 tablespoon vanilla extract 1 1/2 cup all-purpose flour 1 teaspoon salt 1 teaspoon baking soda 1 tablespoon cinnamon 3 cups old-fashioned rolled oats (we use Quaker Quick or Old Fashioned. Do NOT use instant.) 3/4 cup chopped walnuts (use 1/2 cup if using raisins) 1 cup raisins (optional) Directions: Preheat the oven to 350°F Make the cookie dough: Beat together the shortening and sugars. Add the eggs and vanilla extract, and beat well.Whisk together the flour, salt, baking soda and cinnamon. Add to sugar and egg mixture and mix well. Add a tablespoon of water. Add raisins (if using) and nuts. Add oats last. Bake: Spoon out by heaping tablespoonfuls on to greased cookie sheets. Bake at 350°F. Bake for 10 minutes. Remove to a wire rack. Cool completely: Cookies will keep for several days in an airtight container on the counter. Are you looking to upgrade your kitchen? Cosmo appliances offers luxury range hoods, cooktops, ranges, refrigerators and more. Take a look at our complete product lines here. Source: Simply Recipes

The Difference Between Ale and Lager Beers

Beers are all made from a basic combination of water, malts, hops and yeast. The difference between ale and lager is yeast, more specifically the type. This brings a wide range of changes between the two beers. Here’s what you can expect from the two brews. Ale Beers Ales are brewed with a top-fermenting yeast that prefers mid-range room temperatures. These ales are typically stored between 60°F and 75°F during the fermentation stage. This process gives ales a fruitier and spicier flavor than lagers. They are generally more robust and complex. Lager Beers On the other hand, lagers are made with bottom-fermenting yeast which works best in cooler temperatures, between 35°F and 55°F. The fermentation will happen slower, making the beer more stable. Lagers can be stored longer than ales. The yeast will have less prominence in the finished beer, resulting in a cleaner and crisper quality. Source: the Kitchn