Month: June 2021

Kitchen Knives 101

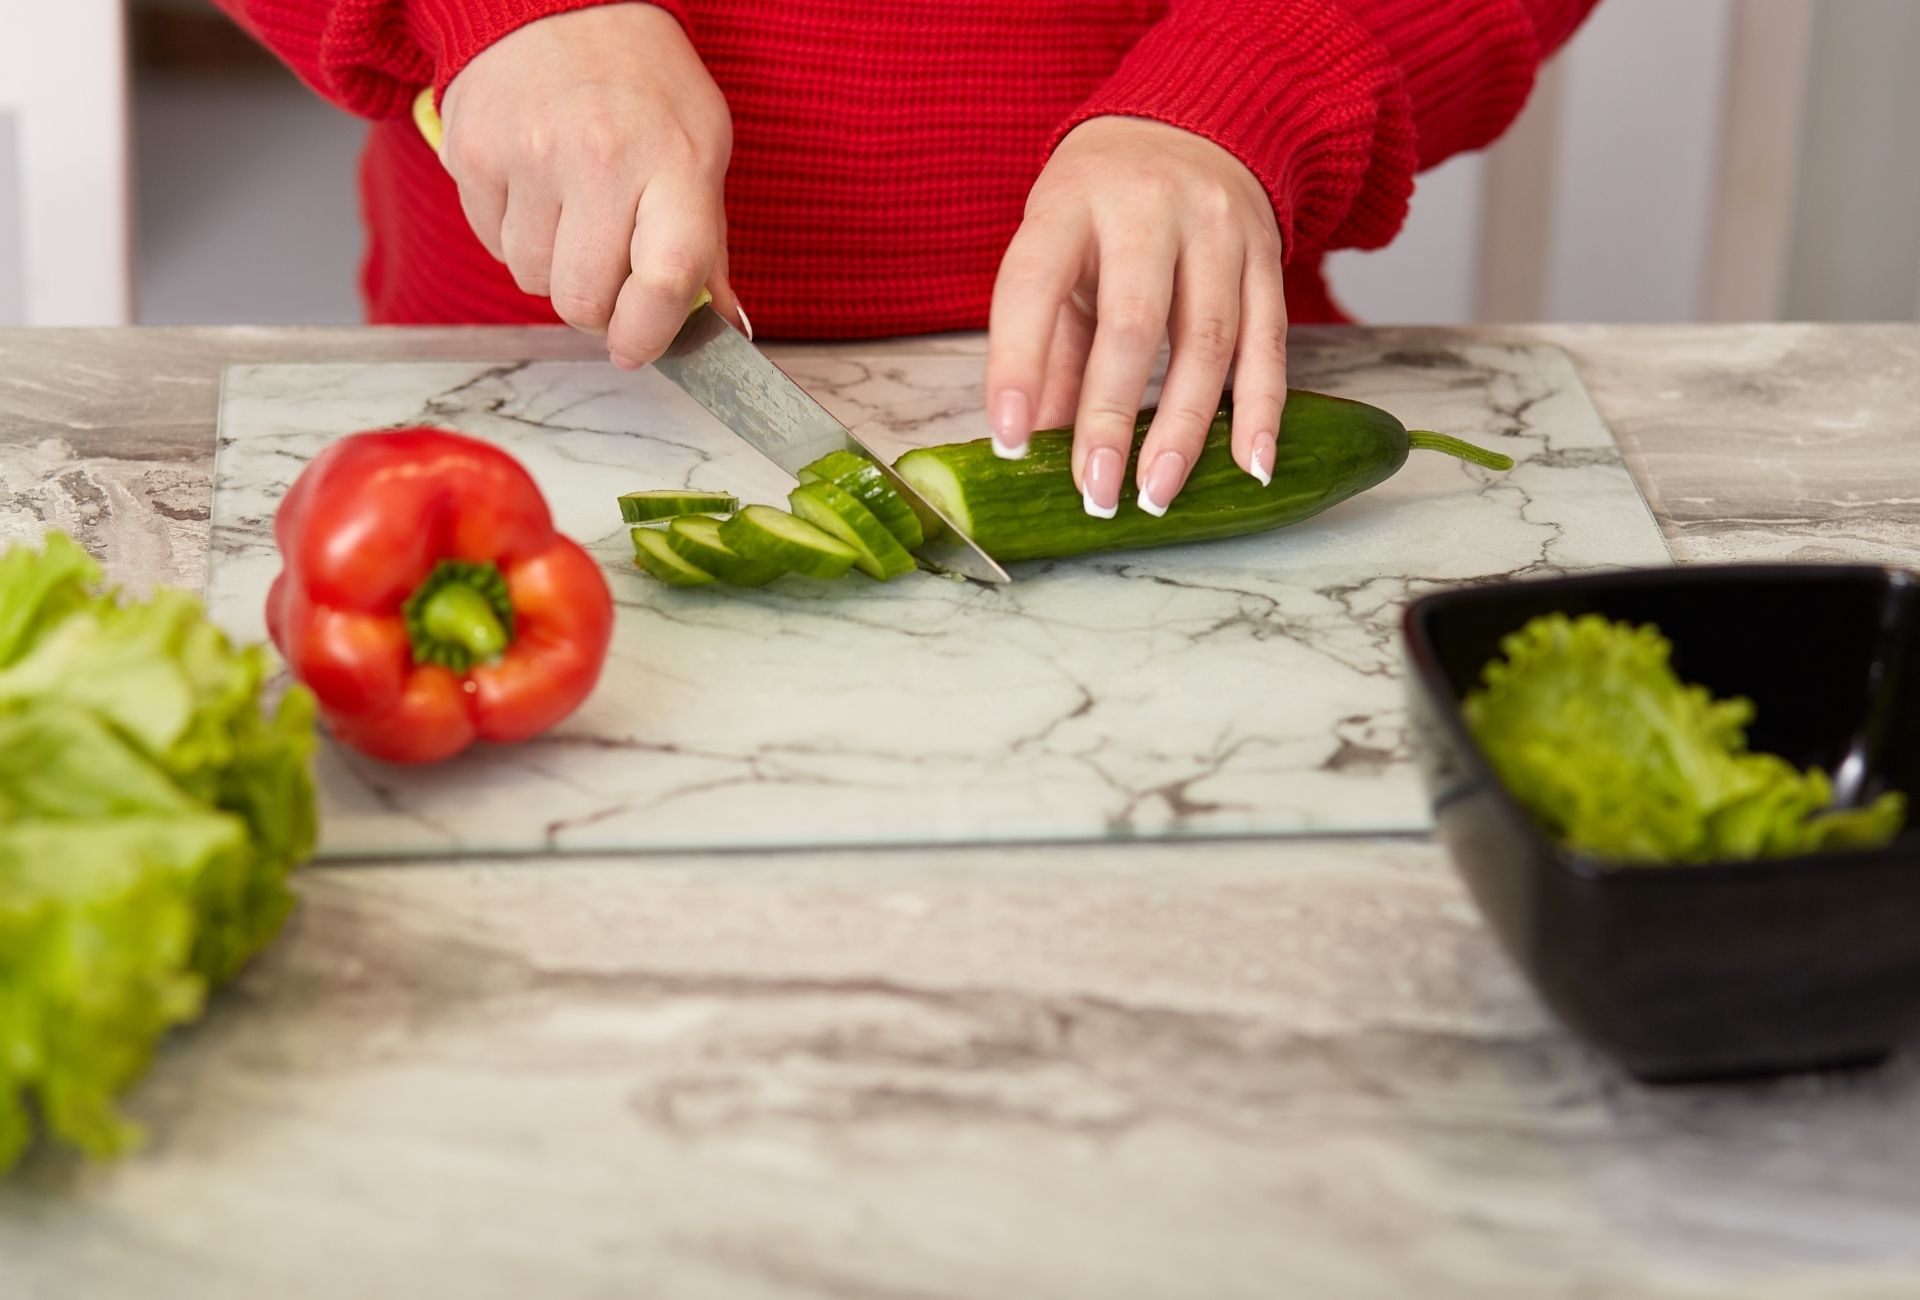
When shopping for knives there’s a few key tips to keep in mind in order to find the perfect fit. Not all knives will work with your style of cutting and should influence the brand or type you plan on investing in. Here are seven tips to making sure your kitchen purchase is the correct one. Test Runs. There’s nothing quite like completely understanding the feel of a knife. If you’ve just purchased a knife the first thing you should do is wash it off and slice a tomato on a cutting board. It’ll help you get more comfortable with it. The more times you use it the better. Shop In-Person. We live in a time of online shopping, but try to go in-person when selecting a knife. Take a few of the knives for a test feel, holding it in your hand and feeling the weight and grip. A good store will also have something to cut such as carrots or celery. Try them out and see what’s best for you. You can find the one you like the best, and then see where it’s available online for the best deal. Dishwashing is Safe. You shouldn’t make a habit of it, but dishwashing a knife should be fine. Always check the label instructions if the knife has any materials that can cause issues. Blocks Can Be Useful. Most of the time, knife blocks provide way too many knives than someone can use. The block also can dull the blades when returning and removing the knives. There are self sharpening blocks on the market which help to keep the factory edge. Magnetic knife bars are also a great option to leave knives in an easy place to reach and free up counter space. Sharpening. You probably aren’t sharpening your knives as often as you should be. How often the knives are used and the surface they’re used on will determine when it’s a good time to sharpen. If you are using them daily on a wood or plastic board, try sharpening them once a month. You can test the knife by trying to slice a tomato. If it doesn’t slide through easily, it’s time to sharpen. Source: the Kitchn

How to Make Homemade Granola Bars

Granola bars are a great way to pack whole ingredients in one convenient snack. You can take them anywhere making them easy, portable sources of valuable nutrients. Although granola bars are common in stores, making your own at home gives you total control on the sweetness and ingredients. Try this recipe for a more chewy granola bar with fruits, nuts and seeds, but don’t be afraid to experiment and customize them to your taste. Prep time: 10 minsCook time: 25 minsCooling time: 60 minsTotal time: 95 minsServings: 12 servingsYield: 12 granola bars Ingredients: 1 1/2 cups old fashioned oats 1/2 cup oat flour (or 1/2 cup old fashioned oats pulsed in a food processor until finely ground) 1/2 teaspoon salt 1/4 teaspoon ground cinnamon 3/4 cup raw almonds, rough chopped 3/4 cup raw pumpkin seeds 1/2 cup dried cherries, rough chopped 1/2 cup unsweetened coconut flakes 1/3 cup creamy almond butter 1/3 cup coconut oil 1/2 cup honey 2 tablespoons corn syrup 2 teaspoons vanilla extract Directions: Preheat oven and prepare baking pan: Preheat the oven to 325°F.Line a 9×9 inch baking pan with parchment paper, leaving enough overhang on 2 opposite sides to form a “sling.” You will use the overhang to lift the bars out of the pan once they have cooled. Combine the dry ingredients: In a large bowl, stir together the oats, oat flour, salt, and cinnamon until well combined. Prepare the mix ins: Add the chopped almonds, pumpkin seeds, chopped dried cherries, and unsweetened coconut flakes or 2 1/ 2 cups of mix-ins of your choice to bowl with oat mixture. Simmer wet ingredients: In a small saucepan over medium heat combine the almond butter, coconut oil, honey, and corn syrup using a heat proof spatula.Bring to a simmer, stirring occasionally. Continue to simmer for 1 minute, stirring constantly to ensure the nut butter does not burn. Remove from heat and stir in the vanilla extract. Combine and shape granola bars: Pour the wet ingredients over the oat mixture. Use a rubber spatula to combine until everything is fully coated.Transfer the granola mixture to the parchment-lined baking pan. Place a piece of parchment paper on top of the mixture and use your hands to spread and press it evenly into the pan. Using the bottom of a cup, firmly press the mixture down until it is even, flat, and compact. Remove the top piece of parchment. Bake granola bars: Place the bars in the oven and bake until the edges just begin to turn golden brown, about 25 minutes. Chill: Remove pan from the oven place on a cooling rack for about 30 minutes. Then transfer the pan uncovered to the fridge for another 30 minutes. Cut and enjoy: Use the parchment sling to transfer the granola to a cutting board. Using a chef’s knife, cut into 12 bars (one cut down the center and 5 cuts across). Source: Simply Recipes

Air Fried S’mores Dip

No need to go camping to enjoy this all time favorite snack. The best part? You only need two ingredients and an air fryer to quickly indulge in this treat. Be sure to scoop it with your favorite crackers for the full experience. Ingredients: Chocolate chips Marshmallows Directions: Load a flat layer of chocolate chips into your pan Add a layer of marshmallows Add another layer of chocolate chips Bake at 350 degrees F for 7 minutes

Chocolate Peanut Butter Bars Recipe

These chocolate peanut butter bars are a breeze to make, and no baking is required! Add in the graham cracker crumbs to the peanut butter to help them hold shape. They make for a perfect snack or dessert after a meal. Prep time: 30 mins Cook time: 5 mins Total time: 35 mins Servings: 36 servings Ingredients: Peanut butter layer: 1 1/4 cup of graham cracker crumbs 1 1/4 cup of confectioner’s sugar 3/4 cup plus 2 Tbsp of crunchy, natural peanut butter (no added preservatives or corn syrup) 8 Tbsp (4-ounces) unsalted butter, melted 2 Tbsp honey Chocolate topping: 9-ounces semi-sweet chocolate chips (1 1/2 cups) (use Kosher chocolate chips if making for Passover) 1 Tbsp butter Equipment needed: A 9×9-inch square baking pan with straight sides (can also use an 8×10 or 8×11 baking pan) Food processor Parchment paper or non-stick aluminum foil Directions: Line the baking pan with parchment paper or non-stick aluminum foil. Line the pan in a way so that you have an overhang on at least 2 opposite sides of the pan to make it easy to lift up the bars once they have set. In the bowl of a food processor place the crumbs and the powdered sugar. Pulse until well mixed. Add the peanut butter, melted butter, and honey. Process until well blended. The mixture should hold together, almost like a dough. If it’s too dry, add a little more melted butter. If it’s too wet, after you press it into the bottom of the pan in the next step, you can chill it in the fridge for 10 minutes to firm up a bit. Press the peanut butter mixture into the bottom of your lined pan in an even layer. You can use the flat bottom of a measuring cup, small saucepan, or smaller baking pan to press on the mixture to help make the surface more even. Place a metal bowl over a saucepan with simmering water (not boiling, but gently simmering). Place the chocolate chips and butter into the bowl. Melt the chocolate chips, stirring occasionally, until smooth. Spread the melted chocolate evenly over the peanut butter layer in the pan. (An offset spatula is a good tool for this.) Refrigerate for at least an hour. Lift the contents from the pan onto a cutting board. Cut into 36 bars, 1-inch by 2 1/4 inches. Source: Simply Recipes

The Right Way to Measure Dry and Wet Ingredients

Recipes can call for a multitude of ingredients, and with all the different measurements it can be a puzzle to solve just what you need. There are fluid ounces, weight ounces, imperial and metric systems, and liquid and dry measures. When a recipe relies on precise measurements, how you measure these ingredients really matters. First, make sure you’re using the correct measuring cup for an ingredient. Measuring flour with a liquid measuring cup will mess up your recipe. The same goes for measuring liquid with a dry measuring cup. A dry and liquid ingredient will have differing properties, changing how they should be measured. The types of cups you’re using also matters! Sadly, decorative ceramic cups may be designed for looks instead of accuracy. Basic metal cups usually provide the best results. Common Units of Volume Teaspoons: 3 teaspoons equal 1 tablespoon Tablespoons: 1 tablespoon equals 3 teaspoons Cups: 1 cup equals 8 fluid ounces Pints: There are 2 cups in 1 pint Quarts: There are 4 cups in 1 quart Gallons: There are 4 quarts in a gallon Fluid ounces: Fluid ounces are not the same as weight ounces. 1 cup of water is 8 fluid ounces but weighs 8.3 ounces Liters: This is metric measurement, equal to 33.8 ounces Milliliters: There are 1,000 ml in a liter Essentials for Measuring Liquid measuring cups, which are made of clear glass or plastic and have a spout so you can pour from them. Dry measuring cups, which are made of metal or plastic. A basic set includes 1 cup, 1/2 cup, 1/3 cup, and 1/4 cup. Measuring spoons, which are used for amounts of dry and liquid ingredients. The largest measure in the set is a tablespoon. The smallest is usually 1/4 teaspoon, though some sets include 1/8 teaspoon. To measure 3/4 teaspoon, just measure 1/2 teaspoon and 1/4 teaspoon of the ingredient. Tips on Measuring Dry Ingredients How you measure ingredients such as flour, can make the difference between a dense and gluey banana bread versus a light and cakey banana bread. The best method for measuring is the fluff-and-scoop method: Lightly fluff the flour in its container. Scoop or spoon the flour into the measuring cup. Level it off with a flat edge, such as the back of a table knife. Do not pack the flour or tap the cup. If you ever find yourself looking for the most accurate method, try a kitchen scale! Weight will give you better results as it’s an absolute measurement. It’ll eliminate any guesswork. Source: Simply Recipes

Cream Cheese Stuffed Air Fried Bell Peppers

Take your dinner to the next level with stuffed bell peppers! Enjoy the cream cheese and just the right amount of seasoning to compliment the bell pepper. Quickly prepare these with the help of your air fryer. Ingredients: Cream cheese Butter Italian seasoning Garlic salt Bell peppers Mozzarella cheese Directions: Mix 3 parts cream cheese and 1 part butter. Add Italian seasoning and garlic salt Chop bell peppers in half and remove seeds Stuff bell peppers with cream cheese mix. Top with mozzarella cheese. Bake at 365 degrees F for 8 to 10 minutes

Making the Perfect Flan Every Time

Flan is a custard-based dessert topped with a layer of caramel sauce. The creamy, silk texture is achieved with the help of a water bath when baked. It should be chilled and then inverted onto a plate before serving. The great thing about flan is it only requires a few panty ingredients, making it easily achievable. Watch the caramel sauce carefully to prevent it from burning. Ingredients: 1 cup granulated sugar ¼ cup water 1 (14-ounce) can sweetened condensed milk 1 cup heavy cream 5 large eggs 2 large egg yolks 2 teaspoons vanilla extract Directions: Heat the oven to 350°F. Arrange a rack in the middle of the oven and heat the oven to 350°F. Start the caramel sauce. Place 1 cup granulated sugar and 1/4 cup water in a small saucepan over high heat. Bring to a boil and gently swirl the pan to incorporate the sugar (avoid stirring, which can cause crystallization and result in the caramel seizing). Cook the caramel sauce. Once the mixture boils, gently swirl the pan, then reduce heat to medium and cook, swirling the pan occasionally, until the syrup turns a dark caramel color, 12 to 14 minutes. Pour the caramel into the pan. Carefully pour the caramel into an 8-inch round cake pan, swirling the pan to coat the bottom. Transfer to roasting pan. Place the pan in a large roasting pan. Prepare the flan. Place 1 can sweetened condensed milk, 1 cup heavy cream, 5 large eggs, 2 large egg yolks, and 2 teaspoons vanilla extract in a blender and blend until smooth. Pour into cake pan. Pour the flan mixture over the caramel in the cake pan. Create water bath. Place the roasting pan onto the oven rack, then carefully fill the roasting pan halfway with warm water to create a water bath, being careful not to splash any water into the flan. Bake the flan. Bake until a toothpick inserted into the center comes out clean, 50 to 60 minutes. Cool the flan. Carefully remove the roasting pan from the oven, remove the cake pan to a wire rack, and let cool at least 30 minutes. Chill the flan. Cover the pan with plastic wrap. Refrigerate at least 3 hours or overnight. Release the flan. When ready to serve, carefully run a sharp knife or small offset spatula around the cake pan to loosen the flan. Invert a larger plate over the cake pan and flip over to release the flan. Source: the Kitchn

Frittata Recipe

A healthy and satisfying weeknight meal, this frittata is made with potatoes, onions, red peppers, spinach and ground turmeric. It’s a quick and easy meal, loaded with flavor. Be sure to slice the potatoes down their length for a better shape. Add the turmeric as you’re heating the oil to let it infuse with the oil. Prep time: 15 minsCook time: 25 minsTotal time: 40 minsServings: 4 to 6 servings Ingredients: 6 large eggs 1/4 cup (60ml) milk 2 1/2 tablespoon olive oil 3/4 teaspoon ground turmeric 1/2 cup diced red onions 2 cloves garlic, minced 8 ounces (225g) fingerling potatoes, thinly sliced down their length 1 medium red pepper, seeded and diced 1 scallion, thinly sliced 1 cup baby spinach Freshly ground black pepper Directions: Preheat oven to 400F In a small bowl, whisk eggs and milk together. Set aside. Cook the onions and garlic: Heat olive oil in a 10-inch oven-safe skillet or pan over medium heat. Add the turmeric and stir so that turmeric dissolves into the oil.Add diced onions and cook, stirring occasionally, until they start to soften, about 2 minutes. Add minced garlic and stir for 30 seconds. Cook the potatoes and other vegetables: Add the potatoes and a generous pinch of salt and cook, stirring occasionally, until some of the slices start to brown, 5 to 6 minutes.Add the red pepper and cook until they start to soften, about 2 minutes. Add scallions and spinach leaves and cook until the leaves start to wilt, stirring occasionally. Pour egg mixture into the skillet and reduce heat to medium-low. Cook until the eggs start to set on the bottom, about 2 to 3 minutes. Place skillet in the oven and bake for 8 to 9 minutes, until the center is setRemove skillet from oven with oven mitts. Let frittata cool for 5 minutes before serving. Cut into wedges and season with more salt and some ground pepper, if desired.Frittata will keep refrigerated for 5 days. Leftovers can be eaten chilled or briefly warmed in the microwave. Source: Simply Recipes

Brioche Bread Air Fried Pizza

Bake the perfect pizza cups right in your air fryer. You can quickly prepare these on Brioche bread for an easy meal. Sprinkle Italian seasoning over top for the finishing touch of flavor. Ingredients: Brioche bread Pizza Mozzarella cheese Pepperoni Italian seasoning Directions: Add pizza sauce to one slice of brioche bread (pre-toast if desired) Top with mozzarella cheese and pepperoni Sprinkle Italian seasoning Bake at 350 degrees F for 5 to 6 minutes

Cleaning Silicone Cooking Utensils

Even after cleaning silicone utensils with a dishwasher, you may notice a white film lingering behind. Although these are technically clean, it can be off-putting to think it doesn’t look clean visually. This is a combination of soap scum and hard water. The film can still appear if you’re washing the utensils by hand. It can also interfere with nonstick cooking properties. To clean these silicone utensils you’ll need hydrogen peroxide and baking soda. The hydrogen peroxide will also remove any stubborn stains left behind. How to clean: Give your utensils a soak: Soak your affected utensils in hydrogen peroxide for 24 hours. Scrub them with a paste: Make a paste with baking soda and water and apply it all around the utensils. Wash: Wash the utensils with soap and water. Source: the Kitchn