Year: 2021

Grow Your Savings in 2021

2020 was tough. A massive economic fallout left many people with additional debt and economic anxiety. Increasing your savings in the new year can be easier with the right strategies. Try these effective ways to build up or replenish your savings account. Unsubscribe Start off by hitting unsubscribe from all those store email lists. Even if we have the intentions to save, seeing an email for 70 percent off at our favorite store will always be tempting. It’s better to eliminate all those risks. Next, unsubscribe from any phone apps and subscription services that are hardly in use. Check with your monthly bank statements to see what you’re paying for and track all your subscriptions. Take it a step further and set up automatic monthly transfers for the same amount of the subscriptions you’re cancelling. Even a $15 monthly streaming service can turn into a $180 for your savings account by the end of the year. The 50-30-20 Budget Take a new approach to your budget with the 50-30-20 rule. With this formula, take 50 percent of your take-home pay and use it for needs like housing, food, utilities and other must-haves. Use the thirty percent towards any wants, like meals out or monthly subscriptions. The final 20 percent goes towards savings and debt payments, prioritizing high-interest debt or emergency funds. Bulk Buying Next time you’re out shopping for groceries or essentials consider buying in bulk. This will ultimately reduce the cost per unit and limit the trips to the store. You’ll also cut back on any impulse purchases when out shopping. Sign Up Bonuses Many credit cards offer bonuses when signing up for the first few months. The key here is to take advantage while limiting actual spending with the card. If you do decide to spend, only use it for purchases you can afford at the moment and will be able to pay off by the end of the month. Source: Apartment Therapy

Easy Lemon Pudding Recipe

A lemon pudding is probably one of the easiest desserts you can make. The key is a thick cream, reduced slightly, and combined with tart lemon juice. Use fancy glasses for a memorable presentation. Prep time: 5 minutes Cook time: 10 minutes Chilling time: 2 hours Yield: 4 servings Ingredients: 2 cups heavy whipping cream 2/3 cup granulated sugar Finely grated zest of 1 lemon 6 tablespoons lemon juice 1 cup blueberries, raspberries, sliced strawberries or blackberries, to garnish Directions: Warm the cream and sugar: In a medium saucepan over medium heat, stir together the cream, sugar and lemon zest. Bring to a boil. Adjust the heat to a gentle boil, and cook, stirring often, for 5 minutes. Watch carefully and stir frequently to keep the cream from boiling over. Add the lemon juice and continue to simmer for 5 more minutes. Stir frequently. Take the pan off the heat and let the cream cool for 5 minutes. Strain and chill. Strain the mixture through a fine-mesh strainer into a 4-cup liquid measuring cup or other container for easy pouring. Pour into 4 four-ounce ramekins or pretty stemmed glasses. Refrigerate, uncovered, for 2 to 3 hours, or until set. This pudding can also be prepared and refrigerated up to 2 days in advance. Top each glass with berries just before serving. Source: Simply Recipes

How to Install Cabinet Hardware

A new set of cabinet hardware is a quick and easy way to upgrade the look of your kitchen. Hardware is typically a low expense with little effort required. If you’d like knobs where none existed, it’ll take a little longer to locate and drill new holes. Here’s how to install new cabinet hardware. What You’ll Need: Ruler or tape measure Hammer Drill with 3/16-inch twist bit Straightedge Screwdriver Materials: Cabinet knobs Cardboard Finishing nail Instructions: Measure: Typically knobs are placed 2 ½ to 3 inches from the top or bottom of a door and centered across the width of the stile. Simply measure the width of the stile and divide by 2 to find the center. If your cabinets have slab doors without rails or stiles, you can plan on positioning the knobs 2 ½ to 3 inches from the bottom or top edge of the door, and an equal distance from the side edge of the door. Create a Template: Measuring each door one by one can take a long time, if you’re looking to speed up your workflow consider creating a cardboard template. Measure 2 ½ or 3 inches from one edge of a squared-off cardboard and from the adjacent edge, measure in half the width of the cabinet stile. Poke a finishing nail throughout the cardboard where the two measurements intersect. Remove the nail. Mark Locations: Take the template and place it flush with the side and the top or bottom edge of the door. Push the finishing nail through the hole and give it a tap with a hammer to mark the door. Using a nail instead of drilling through the template will preserve the template. If you were to drill through the template the hole will get larger and cause inaccuracies. Drill: Most knob screws require a 3/16-inch-diameter hole but it’s advised to test a hole in a scrap piece of wood to make sure of the size. Drill the hole at the marked point. Hold the door open as you drill to prevent accidentally drilling into the cabinet. Install the Knob: Knobs come with two different screws of different lengths. The shorter screw is meant for cabinet doors of standard thickness, while the longer screw is for “false front” drawers attached to drawer boxes. Insert the shorter screw through the drilled hole from the back and tighten to the knob while gripping it from the other side. Marking and Installing Knobs on Drawers: Knobs on drawers are typically installed in the center of the faces of drawers. You could take a similar approach with a template for the drawers but it might be easier to mark the center by finding the intersection of the diagonals. Place a straight edge across one set of opposing diagonal corners and make a light pencil mark near the center. Repeat the process with the other diagonal and mark where the two lines intersect. Drill and use the longer screw to install a knob. If you are using a handle-style pull you will need to measure horizontally from the marked center point to mark two holes for the handle. Source: The Spruce

Vegetarian Eggs Benedict

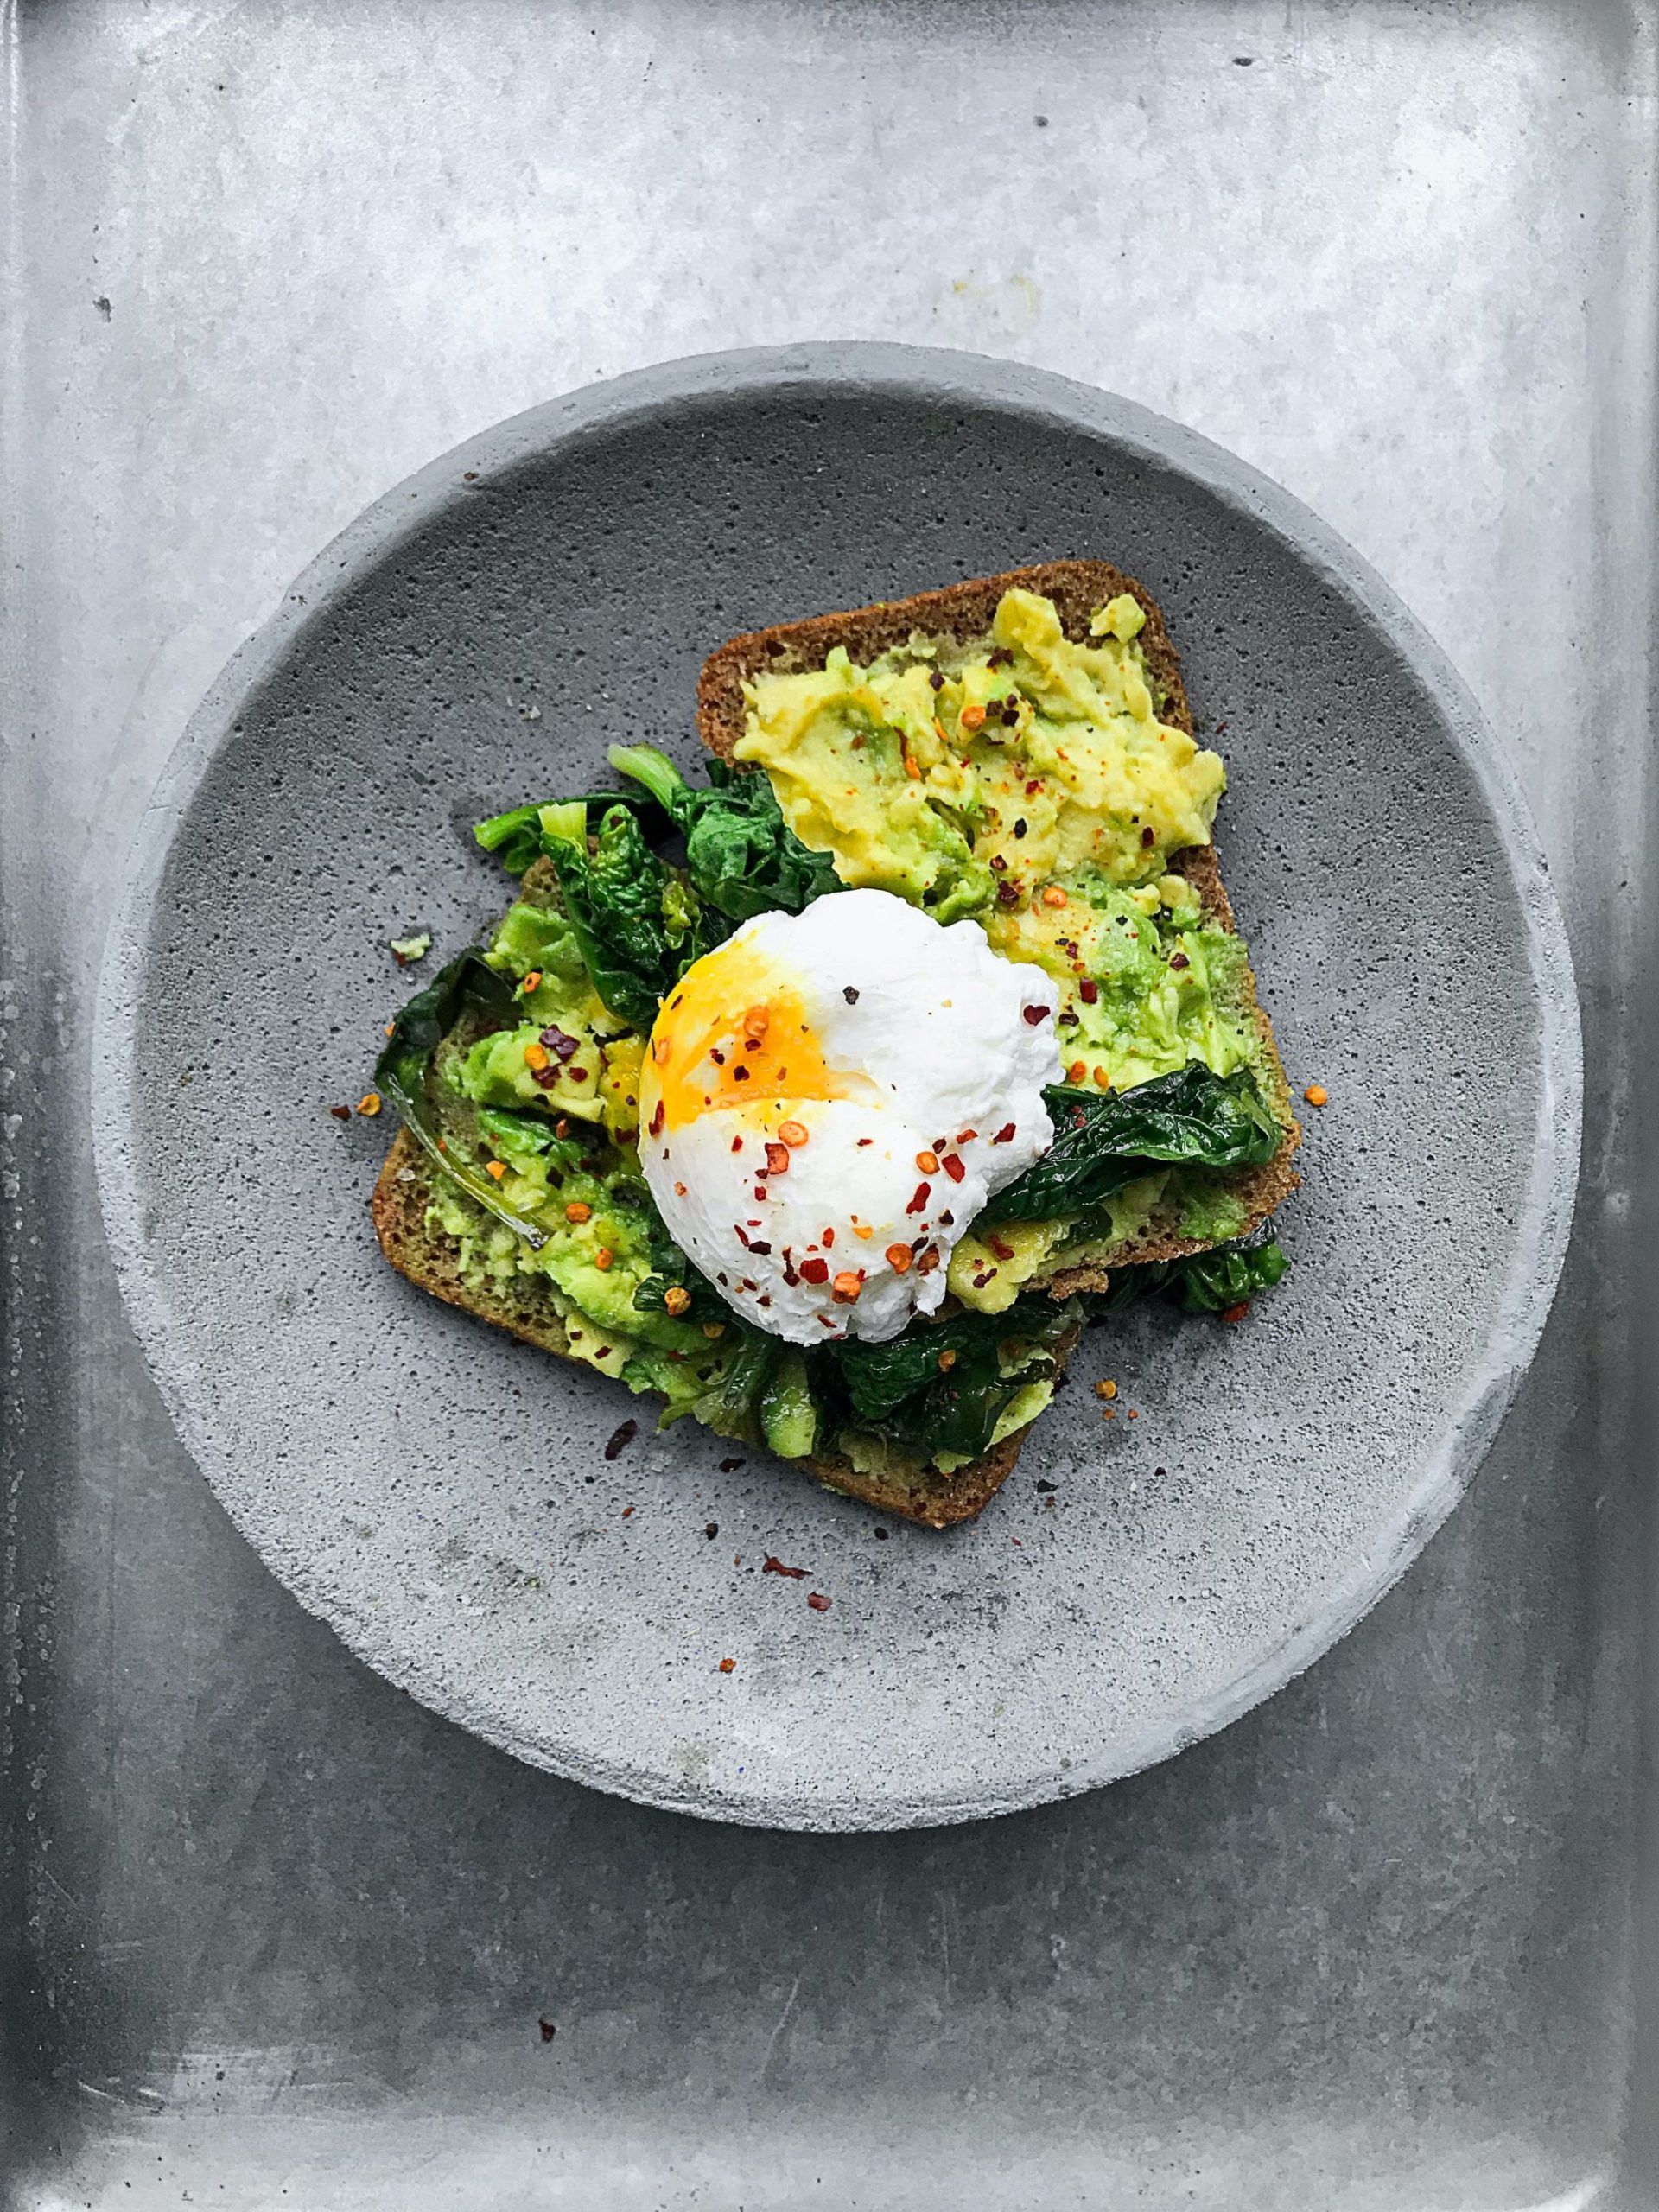
Eggs benedict is a brunch favorite. If you’re trying to cut back on the meat, try this veggie packed version for a meal the whole family will love. Prep time: 15 minutes Cook: time: 10 minutes Yield: Makes 4 one-egg servings Ingredients: For Hollandaise Sauce: 2 egg yolks 1 tablespoon lemon juice 1/4 teaspoon salt Pinch of cayenne pepper 8 tablespoons melted unsalted butter For the Eggs Benedict: 1 tablespoon olive oil 5 ounces baby spinach 1 clove garlic, minced Pinch of salt and pepper 1 avocado, thinly sliced 4 large eggs 1 tablespoon white vinegar or apple cider vinegar 2 English muffins Chopped scallions, for garnish (optional) Directions: Make the hollandaise sauce: Add egg yolks, lemon juice, salt, and cayenne to a blender or food processor and pulse until combined. The mixture should be frothy and light yellow in color. Slowly drizzle in the butter and continue to run the blender until the sauce thickens. Cook the spinach: In a large skillet over medium heat, add the olive oil and warm until shimmering. Add the spinach and sauté until it wilts and cooks down, about 2-3 minutes. Then add the garlic and season with a pinch of salt and pepper. Keep spinach warm over very low heat until serving. Poach the eggs: Bring a large pot with a few inches of water to a slight simmer. Add a dash of vinegar (like apple cider vinegar) to the pot. Swirl the water with a spoon and gently roll in the cracked eggs. Let eggs poach in not-quite-boiling water for 2-3 minutes, or until the whites of the eggs are set and the centers are still soft. Remove the eggs with a slotted spoon and let them drain on a few paper towels. Assemble the benedicts: Toast the English muffins. Blend the hollandaise sauce one final time to smooth it out. Top English muffins with sliced avocado, then spinach, and finally a poached egg. Right before serving, spoon hollandaise sauce over each Benedict and sprinkle with minced scallions. Serve immediately. Share your masterpieces with us over on our Facebook and Instagram. Sources: Simply Recipes

How to Solve 8 Common Kitchen Problems

Kitchen appliances may cause issues down the road. It’s useful to know the common problems you can easily fix before calling on a professional. Here’s 10 of the most common problems you can fix in your kitchen. A Warm Fridge or Freezer. If your appliance can’t stay cool, check the doors are closing completely and the seal is tight. Pay attention to any unusual heat, drips or noises. A refrigerator condenser will generate heat but it shouldn’t be excessive. Odors in a Fridge or Freezer. This is often caused by food that has gone bad. Wash the bins and shelves with dish soap and let the unit air out, and clean the evaporator. Adjust the temperatures inside between 0 and 40 degrees F to prevent any frost build, mold growth or odors. Under or Overcooking Oven. Every oven operates differently. Investing in an oven thermometer to check temperature settings can prevent food from taking too long or burning quickly. If the issue persists, look into recalibration. Microwave Doesn’t Heat Up. A faulty magnetron could be the cause of a malfunctioning microwave. These parts can burn out if the microwave is turned on while empty. Look for a replacement of the part. Microwave Tray Isn’t Turning. If the plate doesn’t turn, look for any obstructions such as large crumbs. The motor could also be worn out, which is easily replaceable with a manufacturer part. Dripping Sink or Faucet. If your sink is leaking, clean the faucet screen. If you notice any mold under the sink check for any leaks near the drain line and pea-trap. Check the garbage disposal and water lines leading to other appliances as well. Garbage Disposal Doesn’t Work. Try the reset button first. Next, you can try grinding an ice cube or two. If you suspect the garbage disposal is blocked with food or silverware, unplug it first before trying to clear it. Range Hood Isn’t Clearing Smoke. One cause of a faulty range hood is the motor or clogged ductwork. Replacing air filters is a quick fix if there’s an excess of grease build up. Ductwork can be tricky and should be performed by a professional for any suspected blocks. Source: The Spruce

A Smoky Paprika Shrimp Skewer Recipe

Try out this recipe for a delicious dinner meal packed with flavor and smokiness. The best part? It’s quick and easy! Prep time: 40 minutes Cook time: 8 minutes Yield: Serves 4 Ingredients: 2 tablespoons sweet paprika 2 tablespoons smoked paprika 1/2 teaspoon ground cumin 2 garlic cloves, minced 1/2 teaspoon Kosher salt 1/2 teaspoon freshly ground black pepper 2 Tbsp lime juice 1/3 cup extra virgin olive oil 1 pound of large shrimp, cleaned and peeled, tails on Bamboo skewers Directions: Soak the skewers in water for at least a half an hour before grilling. Marinate the shrimp: In a large bowl whisk together the spices—the paprikas, cumin, garlic, salt, and pepper—and the lime juice and olive oil. Add the shrimp and toss to coat with the marinade. Keep chilled for half an hour to an hour. Grill the shrimp: Prepare grill for medium-high direct heat, or heat a grill pan. Thread the shrimp onto skewers (it helps to double thread with two skewers at a time to make it easier to turn over on the grill). Baste the grill grates with some olive oil so that the shrimp don’t stick to the grill. Grill or cook the shrimp a few minutes per side (2-4, depending on the size of the shrimp), until the shrimp are just cooked through. Remove from grill and serve immediately. Sources: Simply Recipes

How to Clean a Tiled Backsplash

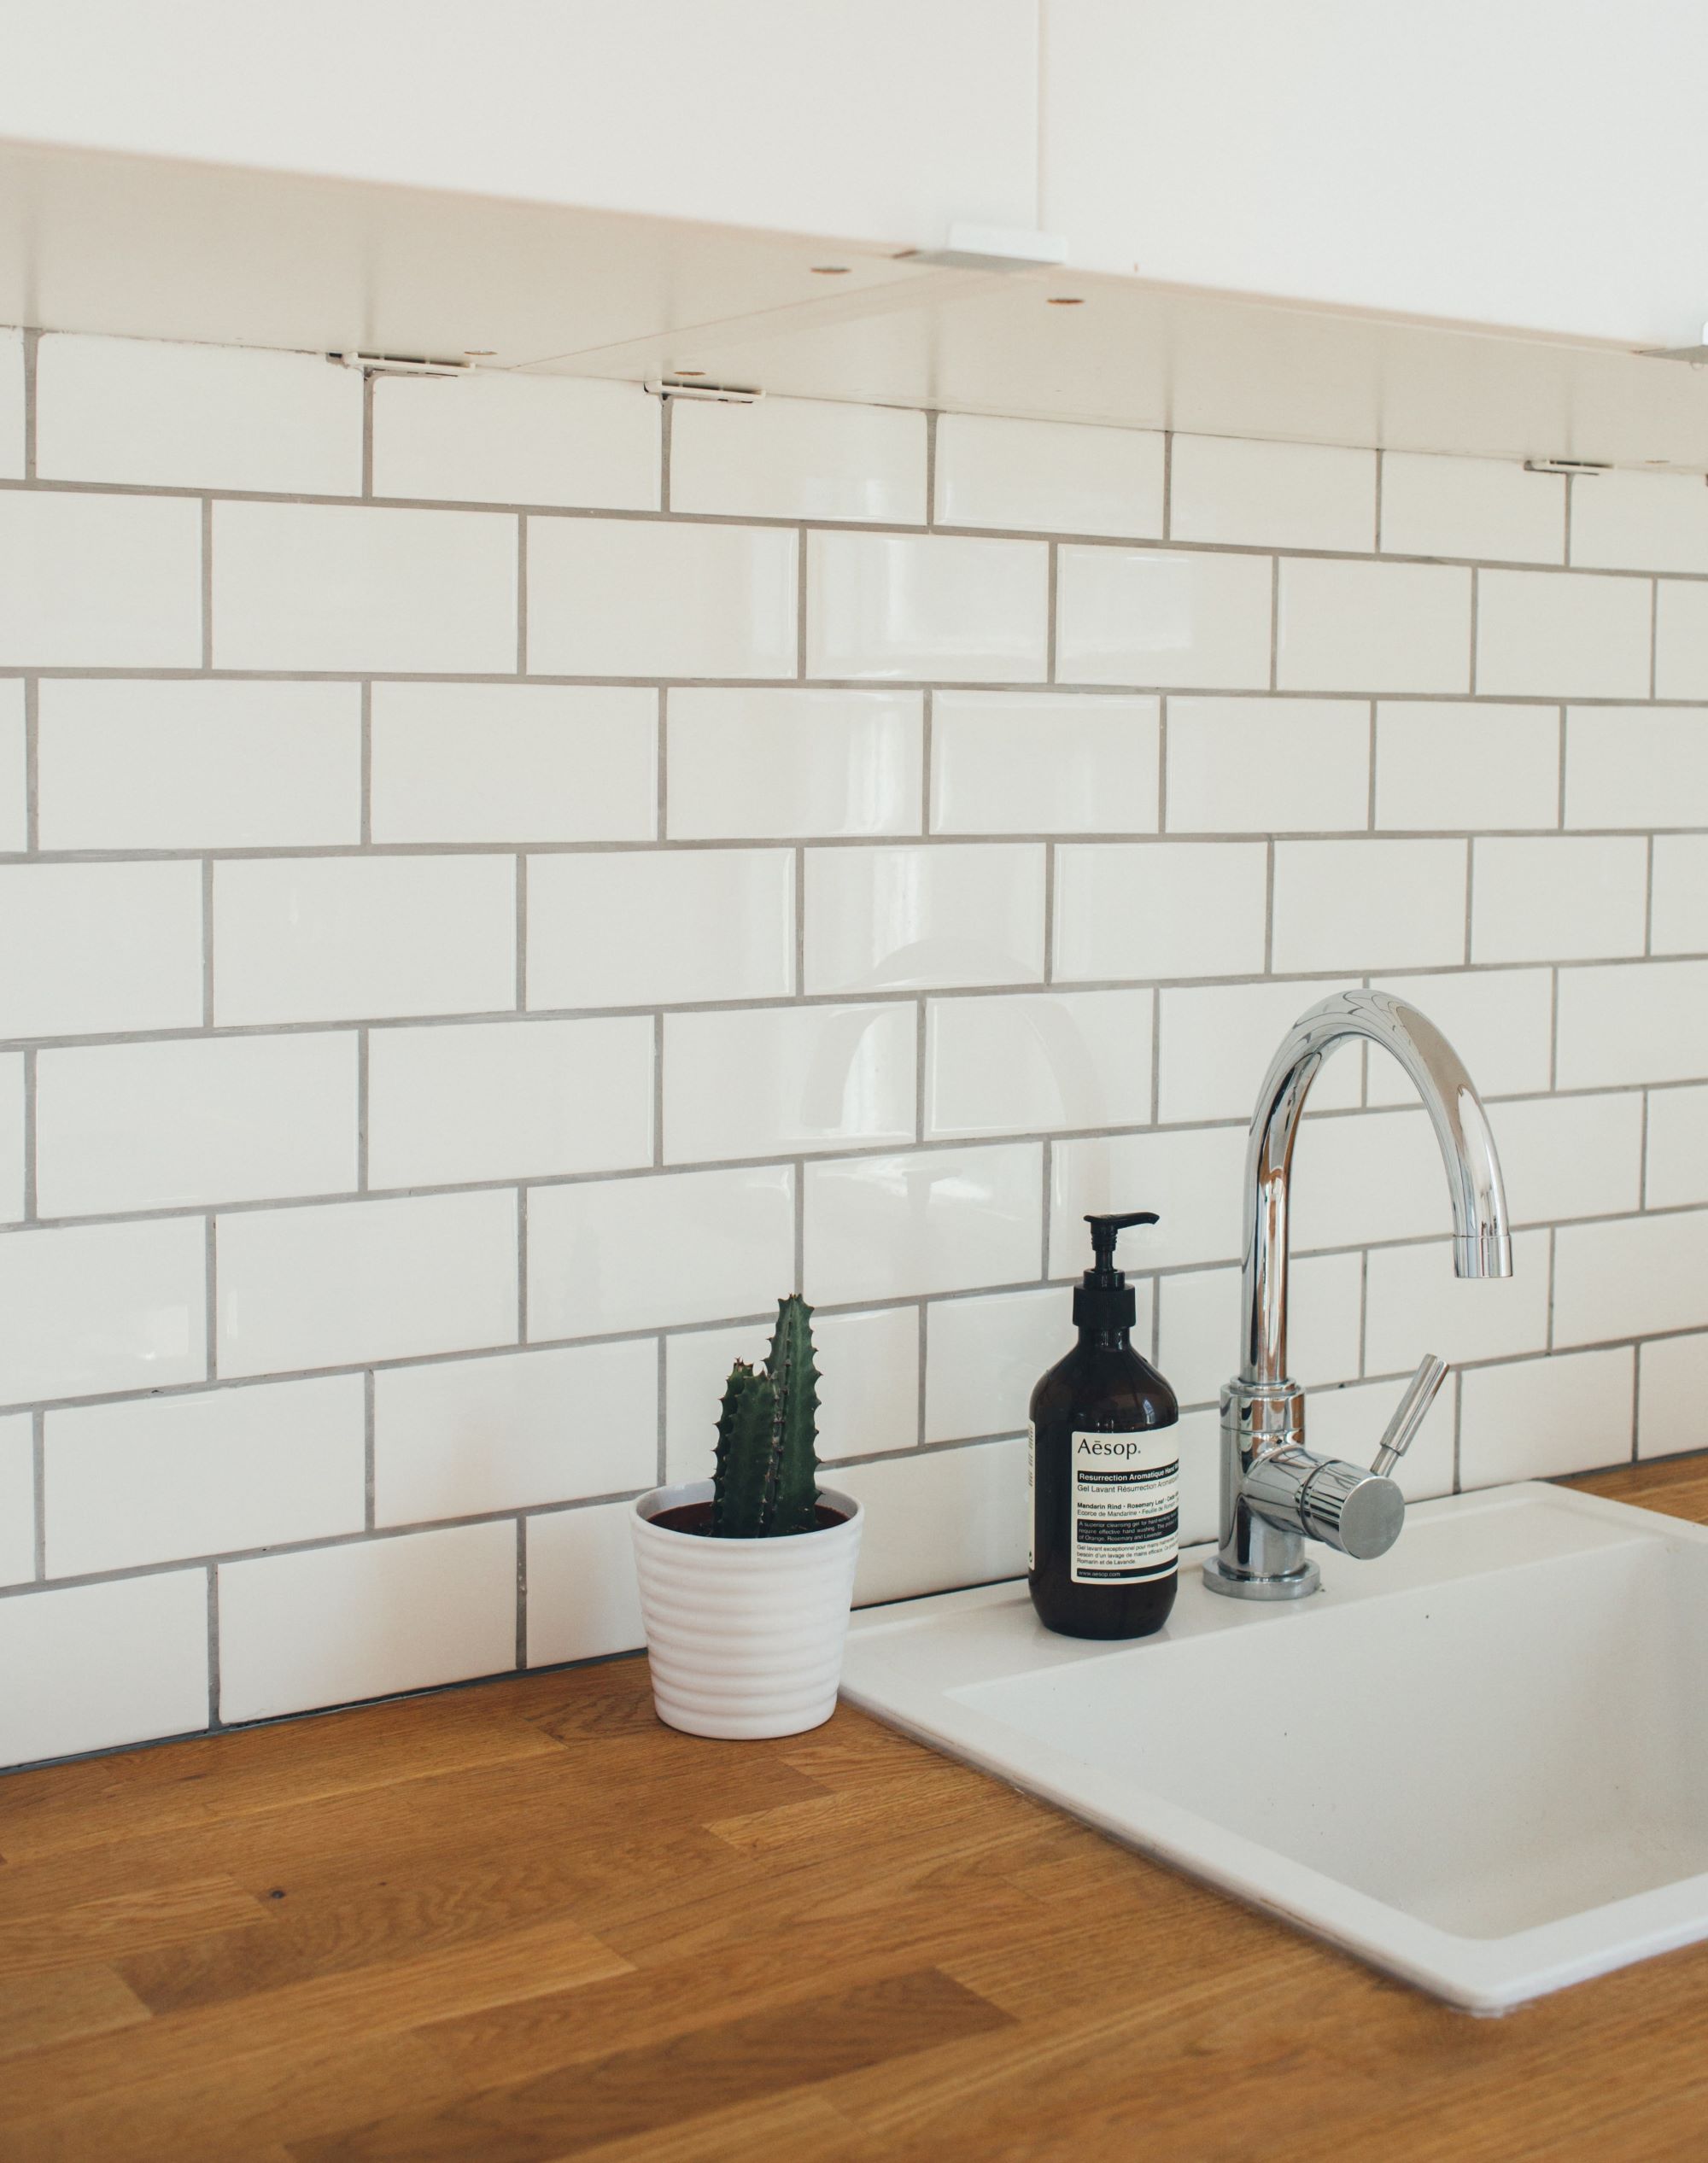
A subway tile backsplash is bound to build up grease. Follow this step by step guide on how to get those tiles shining again. What You’ll Need: Sponge Dish soap Dish cloths Lemons Vinegar Baking soda Toothbrush Grout sealer Instructions: Use a soapy sponge: With circular motions, clean the backsplash and group with the sponge. Wipe clean: Take a damp dish cloth and wipe the tiles from any soapy residue. Create a paste: For persistent grease, mix a paste with one part lemon, juice, one part vinegar, and two parts baking soda. Scrub the tiles with the paste: Take a toothbrush and apply the paste on the tiles and grout. Scrub with the toothbrush or sponge. Wipe clean: Take a damp dish cloth and wipe the tiles clean. Apply a sealer: Let everything dry completely for a few hours. Apply one or two coats of a silicone-based grout sealer to protect your grout in the future. Sources: The Kitchn

Blueberry Breakfast Cake Recipe

It’s never the wrong time to enjoy cake, even breakfast time. Try this blueberry cake recipe with the same flavor of a great blueberry muffin. Enjoy it with a morning coffee or tea. Time: 2 hr 25 min Active: 40 min Yield: 6 to 8 servings Ingredients: Melted unsalted butter, for buttering the pan 3/4 cup granulated sugar 1/2 cup old-fashioned rolled oats 1 teaspoon baking powder 1/2 teaspoon kosher salt 1/4 teaspoon baking soda 1 1/2 cups plus 1 tablespoon all-purpose flour (see Cook’s Note) 1/2 cup vegetable oil 1/2 cup plain yogurt 1 teaspoon pure vanilla extract 2 large eggs 1 1/4 cups blueberries, plus more for topping Frosting and Filling: 1/2 cup plain yogurt One 8-ounce package cream cheese, at room temperature 1 teaspoon pure vanilla extract 1/2 cup confectioners’ sugar 1/4 cup blueberry preserves, for topping Directions: For the cake: Preheat the oven to 350 degrees F. Butter a 7-by-3-inch round cake pan. Whisk together the sugar, oats, baking powder, salt, baking soda and 1 1/2 cups flour in a large bowl and set aside. Toss the blueberries with the remaining 1 tablespoon flour in a small bowl. Whisk together the oil, yogurt, vanilla and eggs in a medium bowl. Fold the oil mixture into the sugar mixture until just combined. Then gently fold in the floured blueberries. Pour the batter into the prepared cake pan and bake until a toothpick inserted in the center comes out clean, 55 minutes to 1 hour 5 minutes. Cool in the pan on a rack for 30 minutes. Unmold the cake and cool completely on the rack, about 30 minutes more. For the frosting: Meanwhile, beat the yogurt and cream cheese in a large bowl with an electric mixer on medium-high speed until smooth. Beat in the vanilla. Then slowly add the sugar, while beating, until completely combined. Refrigerate until ready to use. Slice the cooled cake in half horizontally to make 2 rounds. Put 1 cake round on a cake stand or round serving platter. Evenly spread half the frosting over the top of the cake, spreading all the way to the edge. Dollop half the blueberry preserves in several small drops all over the frosting layer. Top with the remaining cake round and spread the remaining frosting over the top. The sides of the cake will be unfrosted. Dollop the remaining blueberry preserves in the center of the cake. Sprinkle blueberries on top of the preserves. The cake can be served right away or made the night before and refrigerated. Sources: Food Network

Teriyaki Chicken Breast Recipe

Learn how to make a quick dinner option with this teriyaki chicken recipe. Try your hand at a homemade teriyaki sauce for a healthier choice with great flavor. Cook time: 30 minutesYield: Serves 4 Ingredients: 3/4 cup soy sauce* (or mix tamari** and water in equal proportions to make 3/4 cup) 3/4 cup sake 3/4 cup mirin 4 Tbsp sugar A 1-inch piece of ginger, grated fine 4 skinless, boneless chicken breasts, about 1 1/4 to 1 1/2 pounds total (set out for 30 minutes to come to room temp) 2-3 Tbsp sesame seeds Directions: Gently simmer chicken in sauce made with sake, mirin, soy sauce, sugar, ginger: Mix the grated ginger, sugar, soy sauce, sake and mirin in a pot and bring to a boil. Add the chicken breasts, return to a simmer, then lower the heat to the lowest possible setting (warm if you can), on your smallest burner, and cover.The idea is to cook the chicken as gently as possible, below a simmer. Cook for 20 minutes.If you are working with somewhat large chicken breasts, you may need to cook them longer, or cut them in half before cooking. Toast sesame seeds: While the chicken is poaching, toast the sesame seeds in a dry pan until they begin to brown. Move to a small bowl and set aside. Set aside chicken, cover with foil: Remove the chicken breasts from the teriyaki sauce, set on a plate and wrap with foil. Reduce sauce: Bring the sauce back to a boil and boil vigorously until the sauce is reduced to a syrup, about 8-10 minutes. Keep an eye on the sauce, stirring it occasionally. Slice chicken, cover with sauce, sprinkle with sesame seeds and serve: To serve, slice the chicken breasts, cover with the teriyaki sauce and sprinkle sesame seeds on them. Serve with plain white rice. Sources: Simply Recipes

The COS-C106SIX-PT Oven’s New Look

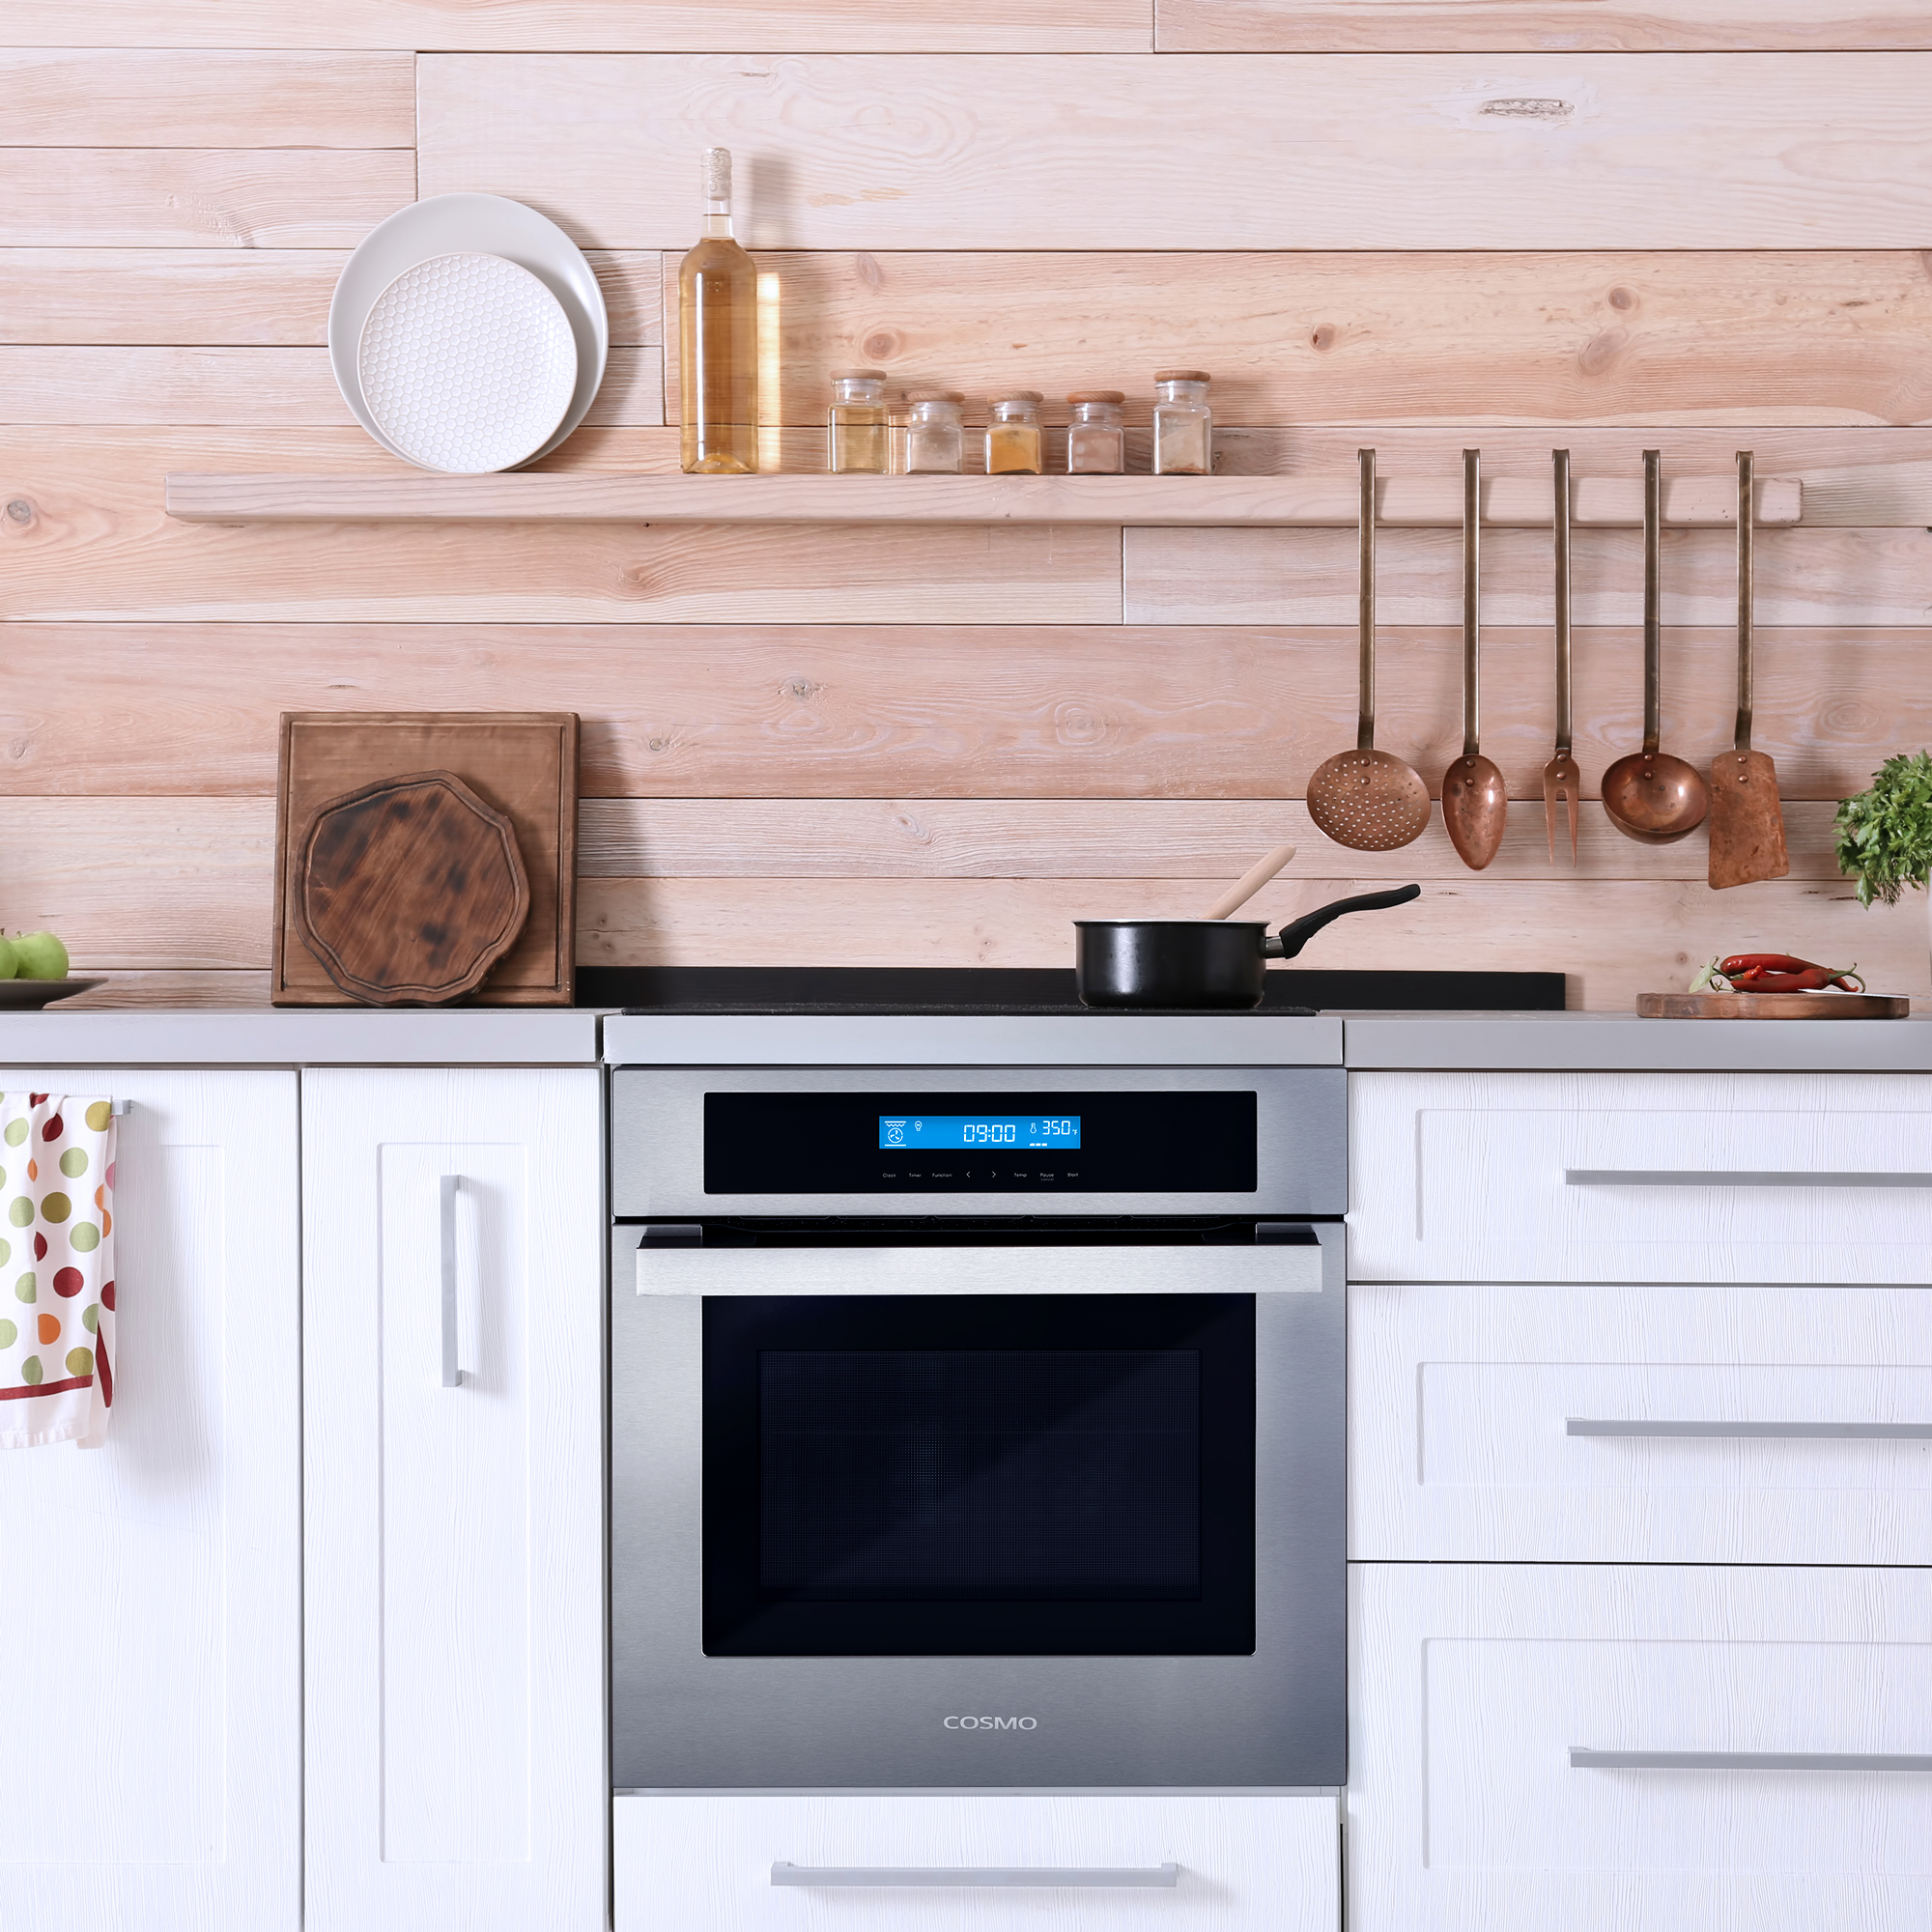
New year new oven. Our 24” wall oven has gotten a visual upgrade for the new year. It’s the same oven you loved with a new modern look. Take a look at all the features you can have with your next kitchen upgrade. Previous Next Features Spacious 2.5 cu. ft. capacity single electric wall oven delivers plenty of space in a compact size Single electric wall oven has 8 oven functions: Defrost, Turbo True European Convection, lower heater, upper and lower heater, upper and lower heater convection, full grill, double grill, double grill convection Integrated touch controls make cleaning the oven exterior easy; surface wipes clean with a soft cloth Turbo True European Convection for fast cooking and even heating Single electric wall oven with 2 racks can be configured between 5 positions for multi-rack cooking Modern cabinet pull style stainless steel handle Child safety control lockout built-in to our single electric wall oven Cavity cooling system dissipates heat from the outer surfaces of the unit, including the oven door Single electric wall oven has a ventilated steam outlet Triple layer glass door with removable inner panel features safe cool-to-touch glass Extra-large oven window with dual lights to easily monitor the progress of your cooking Complimentary drip pan included for your convenience Check it out here!