How to Install Cabinet Hardware
Posted on Posted in How-To
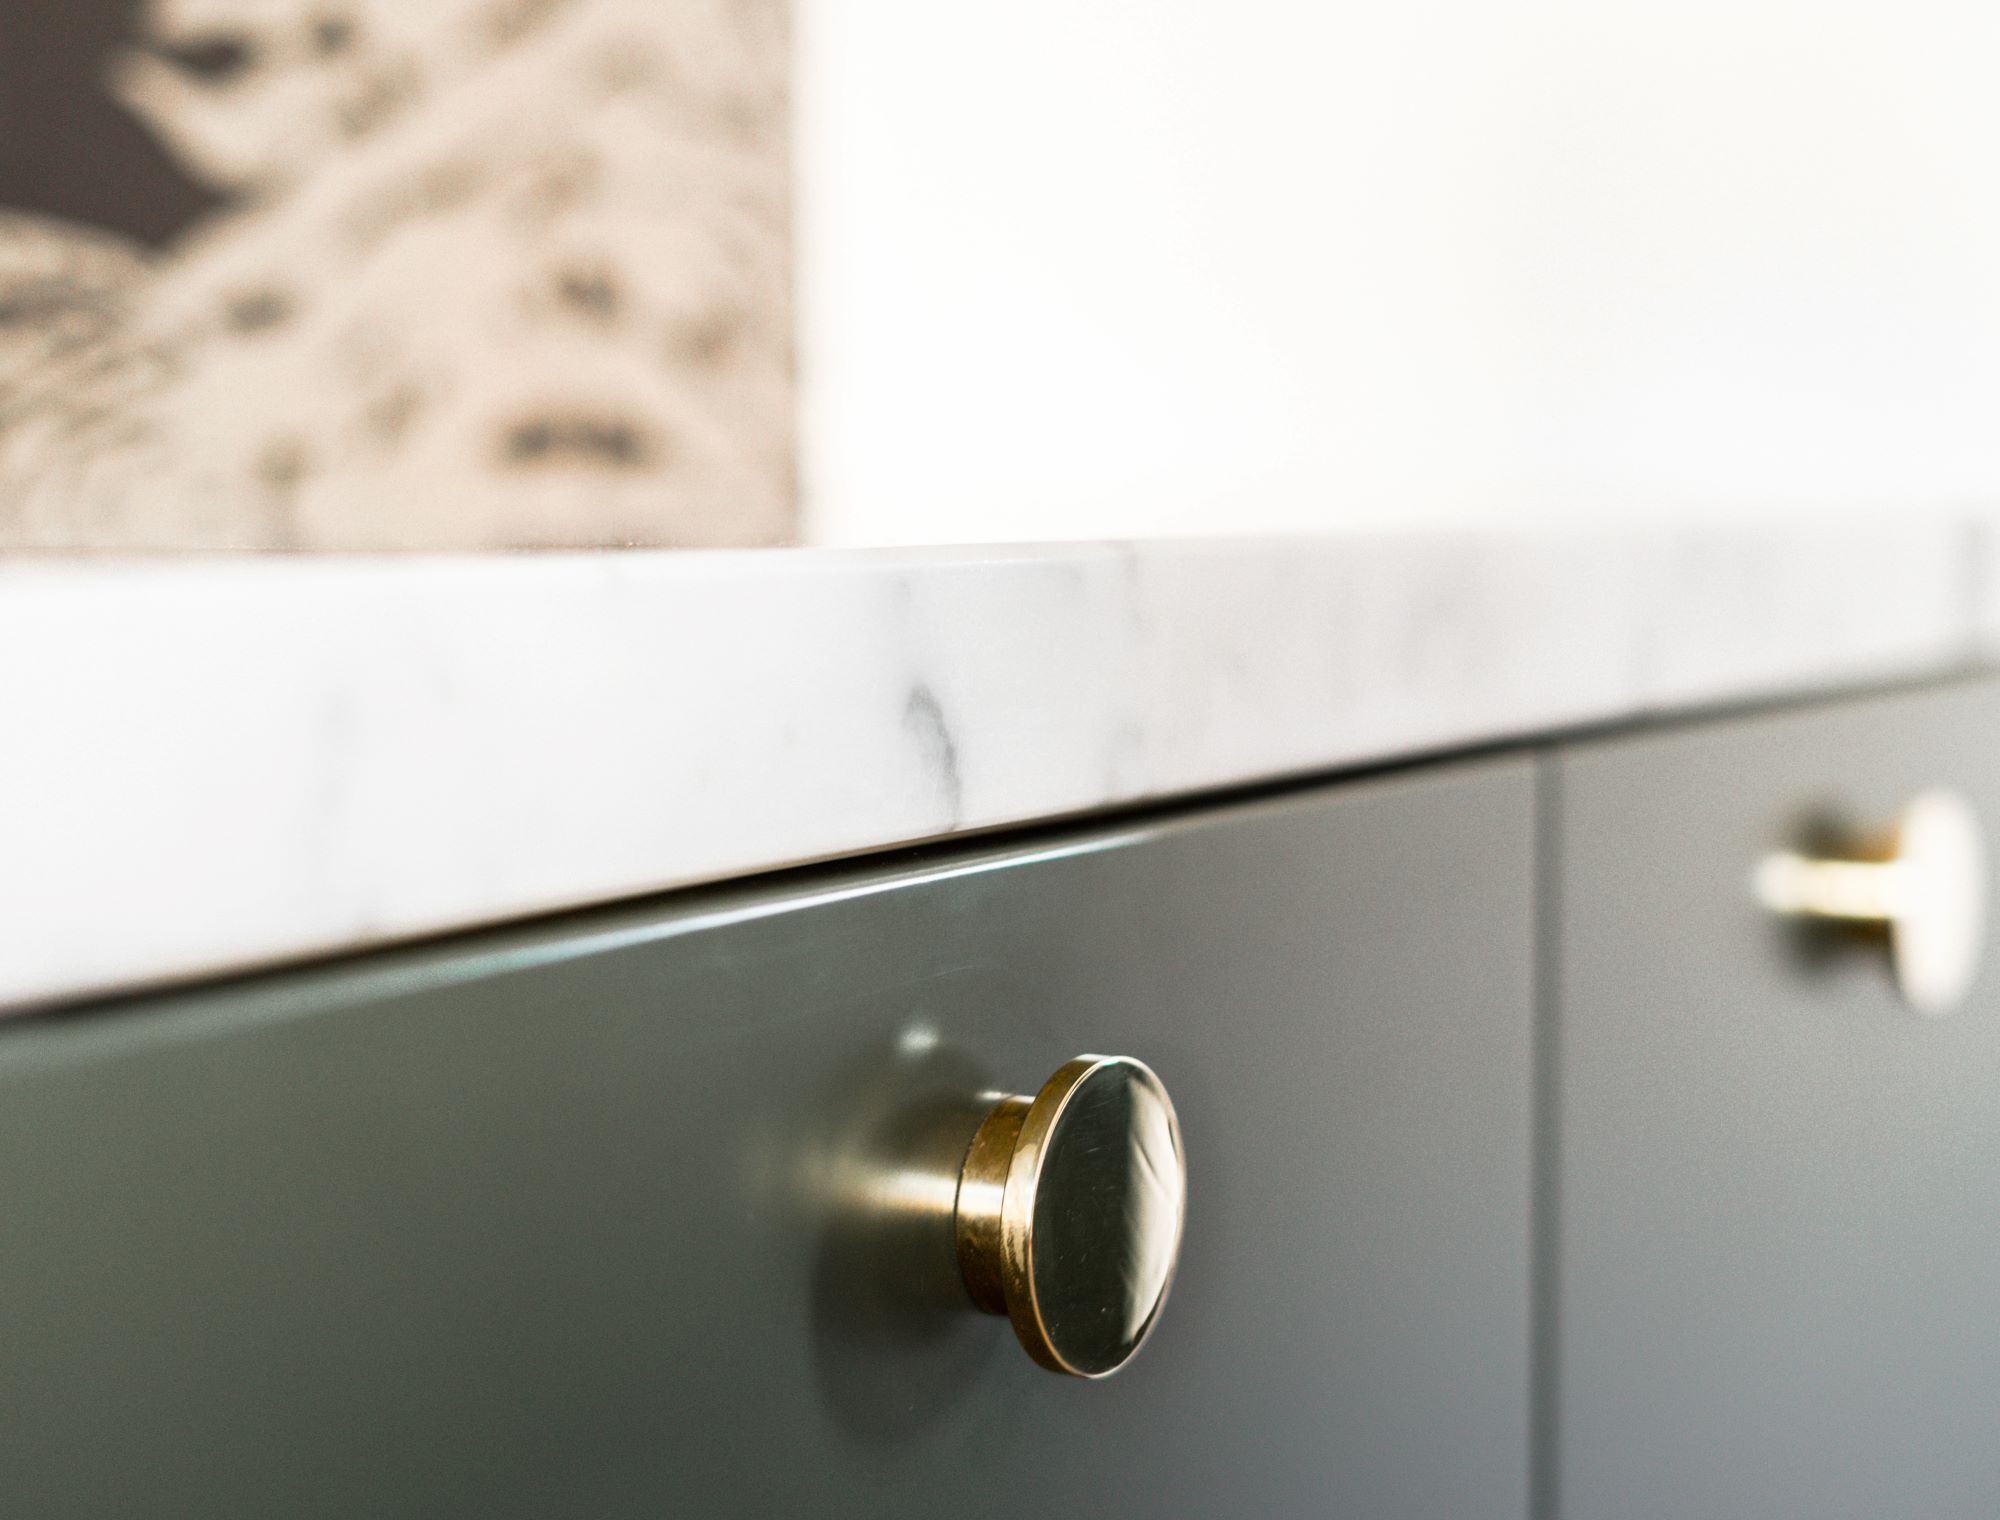
A new set of cabinet hardware is a quick and easy way to upgrade the look of your kitchen. Hardware is typically a low expense with little effort required. If you’d like knobs where none existed, it’ll take a little longer to locate and drill new holes. Here’s how to install new cabinet hardware.
What You’ll Need:
- Ruler or tape measure
- Hammer
- Drill with 3/16-inch twist bit
- Straightedge
- Screwdriver
Materials:
- Cabinet knobs
- Cardboard
- Finishing nail
Instructions:
- Measure: Typically knobs are placed 2 ½ to 3 inches from the top or bottom of a door and centered across the width of the stile. Simply measure the width of the stile and divide by 2 to find the center. If your cabinets have slab doors without rails or stiles, you can plan on positioning the knobs 2 ½ to 3 inches from the bottom or top edge of the door, and an equal distance from the side edge of the door.
- Create a Template: Measuring each door one by one can take a long time, if you’re looking to speed up your workflow consider creating a cardboard template. Measure 2 ½ or 3 inches from one edge of a squared-off cardboard and from the adjacent edge, measure in half the width of the cabinet stile. Poke a finishing nail throughout the cardboard where the two measurements intersect. Remove the nail.
- Mark Locations: Take the template and place it flush with the side and the top or bottom edge of the door. Push the finishing nail through the hole and give it a tap with a hammer to mark the door. Using a nail instead of drilling through the template will preserve the template. If you were to drill through the template the hole will get larger and cause inaccuracies.
- Drill: Most knob screws require a 3/16-inch-diameter hole but it’s advised to test a hole in a scrap piece of wood to make sure of the size. Drill the hole at the marked point. Hold the door open as you drill to prevent accidentally drilling into the cabinet.
- Install the Knob: Knobs come with two different screws of different lengths. The shorter screw is meant for cabinet doors of standard thickness, while the longer screw is for “false front” drawers attached to drawer boxes. Insert the shorter screw through the drilled hole from the back and tighten to the knob while gripping it from the other side.
- Marking and Installing Knobs on Drawers: Knobs on drawers are typically installed in the center of the faces of drawers. You could take a similar approach with a template for the drawers but it might be easier to mark the center by finding the intersection of the diagonals. Place a straight edge across one set of opposing diagonal corners and make a light pencil mark near the center. Repeat the process with the other diagonal and mark where the two lines intersect. Drill and use the longer screw to install a knob. If you are using a handle-style pull you will need to measure horizontally from the marked center point to mark two holes for the handle.
Source: The Spruce