Cleaning

Cleaning and Caring for Your Kitchen Exhaust Fan

Your kitchen exhaust fan plays a crucial role in maintaining a clean, odor-free, and safe cooking environment. Over time, grease, smoke, and odors accumulate, reducing the efficiency of your exhaust fan. Regular cleaning and maintenance ensure it functions effectively and extends its lifespan. Here’s a comprehensive guide to help you clean and care for your kitchen exhaust fan. Why Clean Your Kitchen Exhaust Fan? Tools and Materials Needed Step-by-Step Cleaning Guide Additional Tips Regular cleaning and maintenance of your kitchen exhaust fan are essential for a clean and safe cooking environment. By following these steps, you can ensure your exhaust fan effectively removes smoke, odors, and grease, enhancing your kitchen’s air quality and safety. 

Maintaining and Cleaning Kitchen Faucets: A Comprehensive Guide

Kitchen faucets are one of the most frequently used fixtures in any home. Over time, they can accumulate limescale, mineral buildup, and water spots, which not only affect their appearance but also their functionality. Regular cleaning and maintenance can keep your faucets looking shiny and ensure they function properly for years to come. Here’s how you can effectively clean and maintain your kitchen faucets. Why Maintain and Clean Kitchen Faucets? Tools and Materials Needed Step-by-Step Guide to Cleaning and Maintaining Kitchen Faucets Step 1: Regular Wiping Step 2: Removing Water Spots and Fingerprints Step 3: Tackling Limescale and Mineral Buildup Step 4: Cleaning Aerators and Spray Heads Step 5: Polishing the Faucet Step 6: Preventative Maintenance Additional Tips Maintaining and cleaning your kitchen faucets doesn’t have to be a daunting task. With regular care and the right techniques, you can keep your faucets looking shiny and functioning smoothly. By incorporating these simple steps into your routine, you’ll ensure that your kitchen remains a clean, efficient, and pleasant space to work in. Enjoy the benefits of a well-maintained faucet and the enhanced beauty it brings to your kitchen!

Cleaning and Deodorizing Your Garbage Disposal: A Step-by-Step Guide

Garbage disposals are a convenient kitchen appliance, but they can quickly become a source of unpleasant odors and clogs if not maintained properly. Regular cleaning and deodorizing can keep your garbage disposal running smoothly and your kitchen smelling fresh. Follow these step-by-step instructions to ensure your garbage disposal is clean and odor-free. Step 1: Safety First Before you start cleaning your garbage disposal, safety is paramount. Always disconnect the power to the unit to prevent any accidents. You can do this by unplugging the disposal or switching off the corresponding circuit breaker in your electrical panel. Step 2: Gather Your Supplies Here’s what you’ll need: Step 3: Clean the Splash Guard The splash guard (the rubber flaps at the disposal’s opening) can harbor grime and bacteria. To clean it: Step 4: Clear Debris from the Disposal Step 5: Deodorize with Baking Soda and Vinegar Step 6: Clean the Disposal Blades Step 7: Freshen Up with Citrus Step 8: Final Rinse After completing the above steps, give your garbage disposal a final rinse: Maintenance Tips By following these steps, you can ensure your garbage disposal remains clean, efficient, and odor-free. Regular maintenance will extend the life of your appliance and keep your kitchen smelling fresh.

Tackling Tough Grease Stains in the Kitchen

Grease stains are a common nuisance in the kitchen, particularly on surfaces like stovetops, backsplashes, and countertops. These stubborn stains can be difficult to remove, but with the right techniques and cleaning solutions, you can restore your kitchen’s sparkle. Whether you prefer commercial cleaners or homemade solutions, here’s expert advice on how to tackle tough grease stains effectively. Grease stains are composed of oil and food particles that have cooked onto surfaces, making them sticky and challenging to remove. The key to effectively cleaning these stains is to break down the grease molecules, allowing them to be wiped away easily. Commercial Cleaners 1. Degreasers: Commercial degreasers are specifically formulated to cut through grease. Follow the instructions on the label for the best results. Procedure: 2. Baking Soda-Based Cleaners: Many commercial cleaners use baking soda as a key ingredient due to its mild abrasive properties. Products are effective for grease removal. Procedure: Homemade Solutions 1. Vinegar and Baking Soda: A combination of vinegar and baking soda is a powerful homemade solution for grease stains. Vinegar cuts through grease, while baking soda acts as a mild abrasive. Procedure: 2. Lemon Juice and Baking Soda: Lemon juice has natural degreasing properties, and combined with baking soda, it can effectively remove tough grease stains. Procedure: 3. Dish Soap and Warm Water: A simple mixture of dish soap and warm water can work wonders on grease stains, especially if the grease hasn’t set in too deeply. Procedure: Specific Tips for Different Surfaces 1. Stovetops: 2. Backsplashes: 3. Countertops: Prevention Tips Tackling tough grease stains in the kitchen doesn’t have to be a daunting task. With the right approach and effective cleaning solutions, you can maintain a clean and sparkling kitchen. Whether you choose commercial cleaners or homemade remedies, following these expert tips will help you keep grease stains at bay and ensure your kitchen surfaces remain pristine.

Cleaning and Maintaining Kitchen Cabinets: A Comprehensive Guide

Kitchen cabinets are a significant investment and a central element of your kitchen’s aesthetic and functionality. Keeping them clean and well-maintained is crucial for preserving their appearance and ensuring they provide optimal storage and ease of access. Learn the effective strategies for cleaning and maintaining kitchen cabinets, from removing grease and grime to polishing wood surfaces and organizing the interior. Why Cleaning and Maintenance Matter Maintaining your kitchen cabinets ensures: Cleaning Your Kitchen Cabinets Supplies You’ll Need General Cleaning Steps Polishing Wood Surfaces Maintaining Your Kitchen Cabinets Organizing Your Cabinets Tips for Better Storage and Accessibility Keeping your kitchen cabinets clean and well-maintained not only enhances the look of your kitchen but also ensures they function efficiently for years to come. By following these cleaning and maintenance tips, you can preserve the beauty and durability of your cabinets while enjoying a more organized and hygienic kitchen space.

How to Clean Kitchen Upholstery: Tips and Tricks for a Fresh and Stain-Free Look

Kitchen upholstery, such as dining chairs and bar stools, adds comfort and style to your dining area. However, with frequent use, they can quickly accumulate stains, spills, and dirt. Keeping your kitchen upholstery clean is essential not only for aesthetic reasons but also for maintaining hygiene. Here’s a comprehensive guide on how to clean and maintain your kitchen upholstery, ensuring it remains fresh and stain-free. Understand the Fabric Before you start cleaning, it’s important to know the type of fabric you’re dealing with. Check the manufacturer’s label for specific cleaning instructions and fabric care recommendations. Common upholstery fabrics include cotton, linen, microfiber, polyester, and leather, each requiring different cleaning methods. Regular Maintenance Regular maintenance can prevent dirt and stains from setting in, making deep cleaning easier. Spot Cleaning Accidents happen, but prompt action can prevent stains from becoming permanent. Deep Cleaning For a more thorough clean, deep cleaning your upholstery periodically can help maintain its appearance and hygiene. Leather Upholstery Leather requires different care compared to fabric upholstery. Preventative Measures Taking preventative steps can help keep your kitchen upholstery looking its best for longer. Handling Specific Stains Different stains require different approaches: Keeping your kitchen upholstery clean and fresh doesn’t have to be a daunting task. With regular maintenance, prompt spot cleaning, and occasional deep cleaning, your dining chairs and bar stools can look their best for years to come. By understanding your fabric type and using the right cleaning methods, you can enjoy a clean, comfortable, and stylish kitchen dining area.

Sparkling Solutions: Mastering the Art of Cleaning Your Kitchen Windows and Blinds

A clean kitchen is the heart of a happy home, and often, the windows and blinds play a significant role in maintaining that pristine ambiance. However, keeping them streak-free and spotless can be a daunting task without the right techniques and tools. Fear not! In this guide, we’ll explore tips and tricks for achieving sparkling windows and blinds in your kitchen effortlessly. Gather Your Tools:  Before diving into the cleaning process, ensure you have all the necessary tools at hand. A few essentials include: Dusting Blinds:  Start by dusting your blinds thoroughly to remove any accumulated dirt and grime. You can use a soft-bristled brush or a vacuum cleaner with a brush attachment for this task. Work from top to bottom, ensuring you reach all the slats. Preparing the Cleaning Solution:  For a homemade cleaning solution, mix equal parts water and vinegar or mild dish soap in a bucket. Alternatively, you can use a commercial glass cleaner, ensuring it’s suitable for your window type. Washing Windows:  Dip your microfiber cloth or sponge into the cleaning solution and wring out any excess liquid. Gently wipe the window surface in circular motions, starting from the top and working your way down. Pay extra attention to corners and edges where dirt tends to accumulate. Squeegee Technique:  After washing, use a squeegee to remove excess water and cleaner from the window surface. Begin at the top corner and pull the squeegee down in a smooth, overlapping motion. Wipe the squeegee blade with a clean cloth after each pass to prevent streaks. Drying and Buffing:  To ensure a streak-free finish, use a dry microfiber cloth to buff the window surface gently. Work in circular motions, focusing on any remaining streaks or water spots until the glass sparkles. Cleaning Blinds:  For blinds, dip a microfiber cloth or sponge into the cleaning solution and gently wipe each slat from top to bottom. Rinse the cloth frequently to avoid spreading dirt. Once clean, use a dry cloth to remove excess moisture and leave the blinds to air dry completely. Maintenance Tips: With the right tools and techniques, keeping your kitchen windows and blinds clean and streak-free is a breeze. By incorporating these tips into your cleaning routine, you can enjoy a sparkling kitchen that radiates warmth and cleanliness. Say goodbye to smudges and streaks, and hello to a brighter, more inviting culinary space!

Sanitizing Your Kitchen Sponges and Cloths: The Ultimate Guide

Keeping your kitchen clean and sanitary is essential, but it doesn’t stop at countertops and appliances. One of the most overlooked aspects of kitchen hygiene is the tools you rely on daily: your sponges and cloths. These items can harbor a significant amount of bacteria if not properly sanitized. In this blog post, we’ll walk you through the best methods to sanitize your kitchen sponges and cloths, ensuring a healthier and more effective cleaning routine. The Importance of Regular Sanitization Sponges and cloths are prime breeding grounds for bacteria due to their moisture content and frequent contact with food residues. Without regular sanitization, you risk spreading harmful bacteria like E. coli and Salmonella. Therefore, effectively cleaning these tools is not just a matter of extending their lifespan—it’s a critical step in safeguarding your family’s health. Methods for Sanitizing Kitchen Sponges 1. Microwave Method    Step 1 Thoroughly rinse the sponge to remove any loose debris.    Step 2 Place the damp sponge in the microwave.    Step 3 Microwave the sponge on high for 1-2 minutes.    – Ensure the sponge is wet to avoid the risk of fire. 2. Dishwasher Method    Step 1 Place the sponge in the dishwasher’s utensil holder.    Step 2 Run the dishwasher on the hottest cycle with a drying option.    – The high temperature will kill bacteria effectively. 3. Bleach Soak Method    Step 1 Mix 3/4 cup of bleach in one gallon of water.    Step 2 Soak the sponge for 5-10 minutes.    Step 3 Rinse thoroughly with clean water.    – This method is particularly effective for heavily soiled sponges. Methods for Sanitizing Kitchen Cloths 1. Hot Wash Cycle    Step 1 Place the cloths in the washing machine.    Step 2 Use the hottest setting available.    Step 3 Add a suitable amount of detergent and bleach if appropriate.    – The high temperature and bleach will kill most bacteria. 2. Boiling Method    Step 1 Boil a pot of water.    Step 2 Add the cloths and let them boil for 5-10 minutes.    Step 3 Allow them to cool before handling.    – Boiling is a surefire way to eliminate bacteria. Best Practices for Maintenance – Frequent Replacement: Sponges should be replaced every 1-2 weeks, even with regular sanitization. Cloths should be changed out and washed after every use. – Dry Thoroughly: Ensure sponges and cloths are fully dried between uses to inhibit bacterial growth. – Dedicated Use: Use separate sponges and cloths for dishes and countertops to avoid cross-contamination. Incorporating these sanitization methods into your regular cleaning routine will help keep your kitchen a safe and healthy environment. Don’t overlook the importance of maintaining clean sponges and cloths—your family’s well-being depends on it.

How to Clean and Maintain Your Kitchen Sink

A clean and well-maintained kitchen sink is essential for a hygienic and functional kitchen. Over time, sinks can accumulate stains, mineral deposits, and bacteria, making regular cleaning crucial. In this blog post, we’ll explore the best methods for keeping your kitchen sink sparkling clean and provide tips for maintaining different sink materials like stainless steel, porcelain, and granite. General Cleaning Tips Cleaning Stainless Steel Sinks Stainless steel sinks are popular for their durability and sleek appearance. However, they can show water spots and scratches if not properly maintained. Cleaning Porcelain Sinks Porcelain sinks are known for their classic look but can be prone to chipping and staining. Cleaning Granite Sinks Granite sinks are stylish and durable but require special care to maintain their appearance. Additional Maintenance Tips By following these cleaning and maintenance tips, you can ensure that your kitchen sink remains clean, hygienic, and in excellent condition, no matter what material it is made from. A well-maintained sink not only enhances the look of your kitchen but also promotes a healthier cooking environment.

Essential Cleaning Tools for the Kitchen: Must-Have Supplies for a Sparkling Space

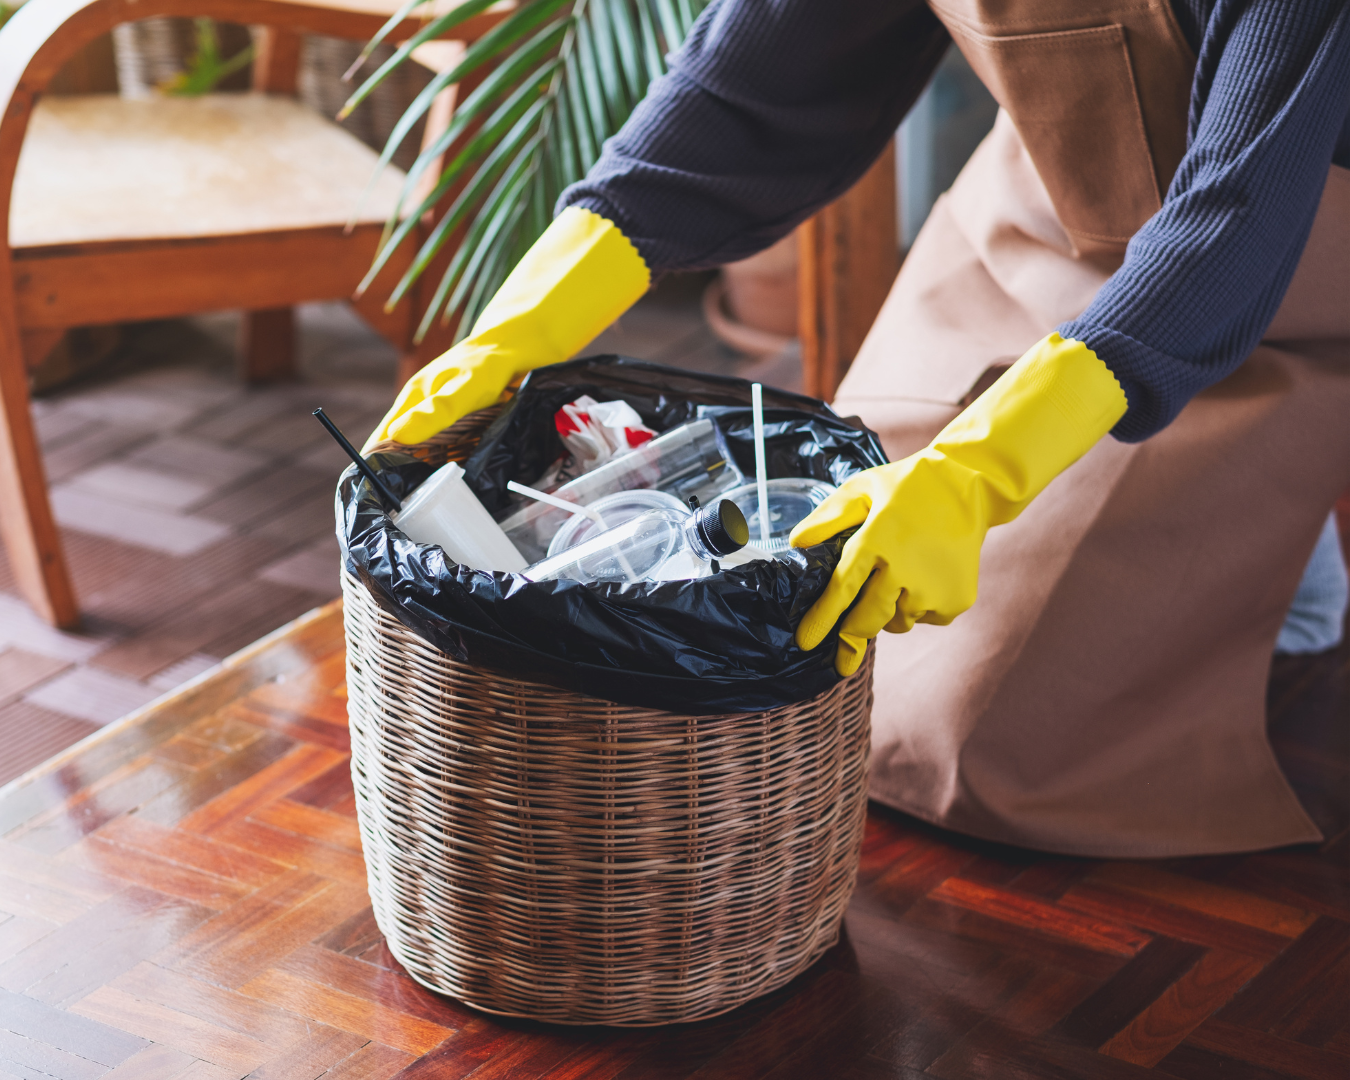
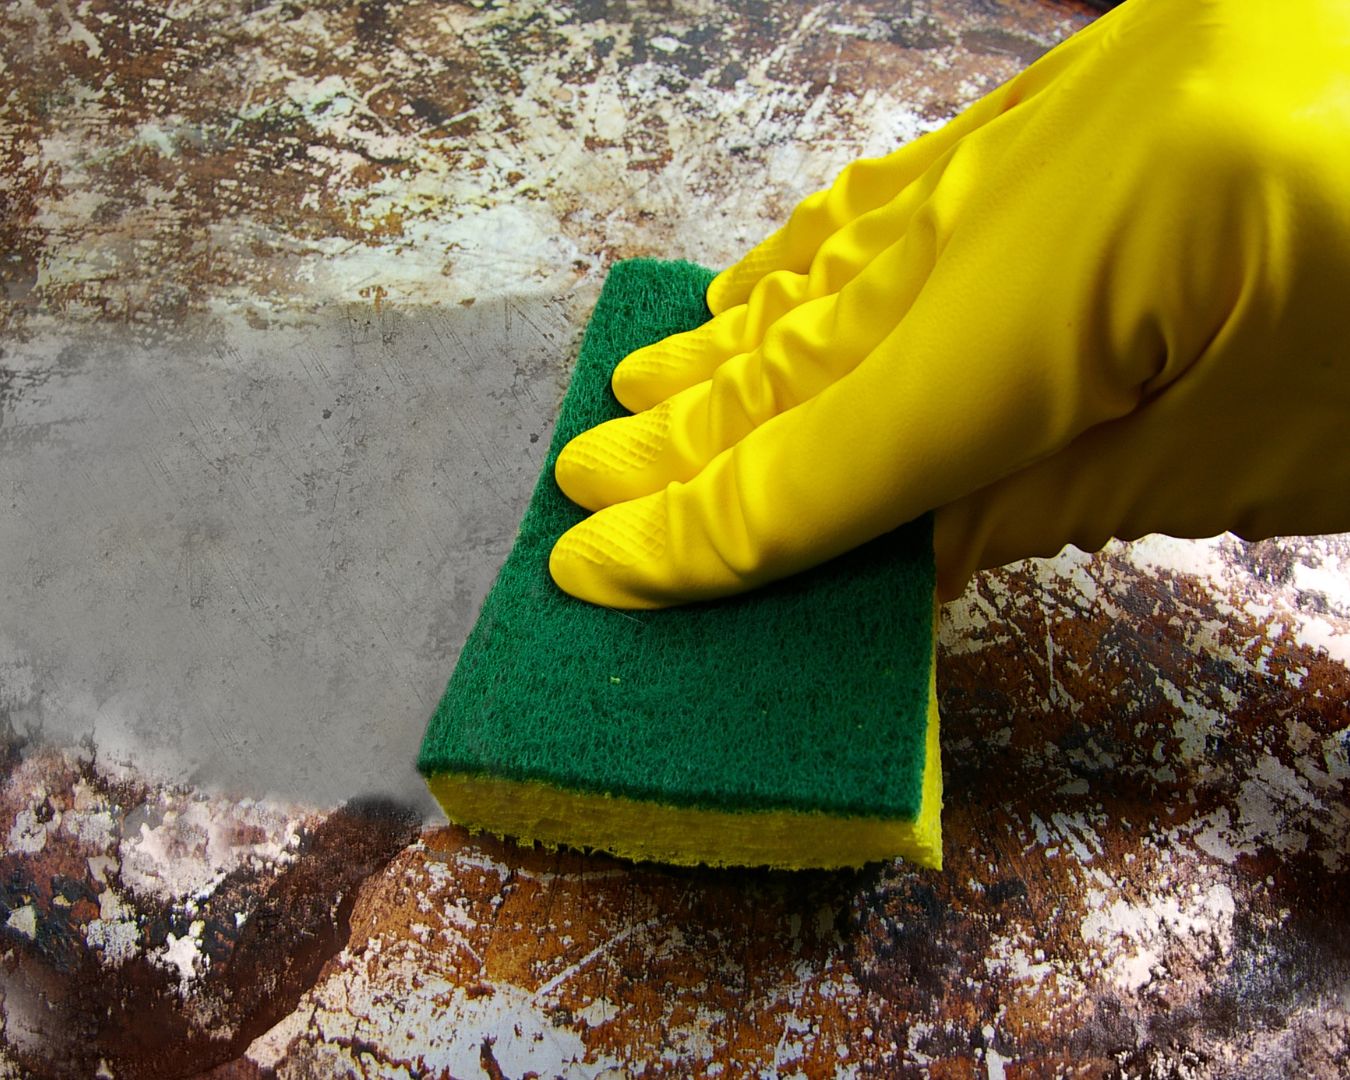
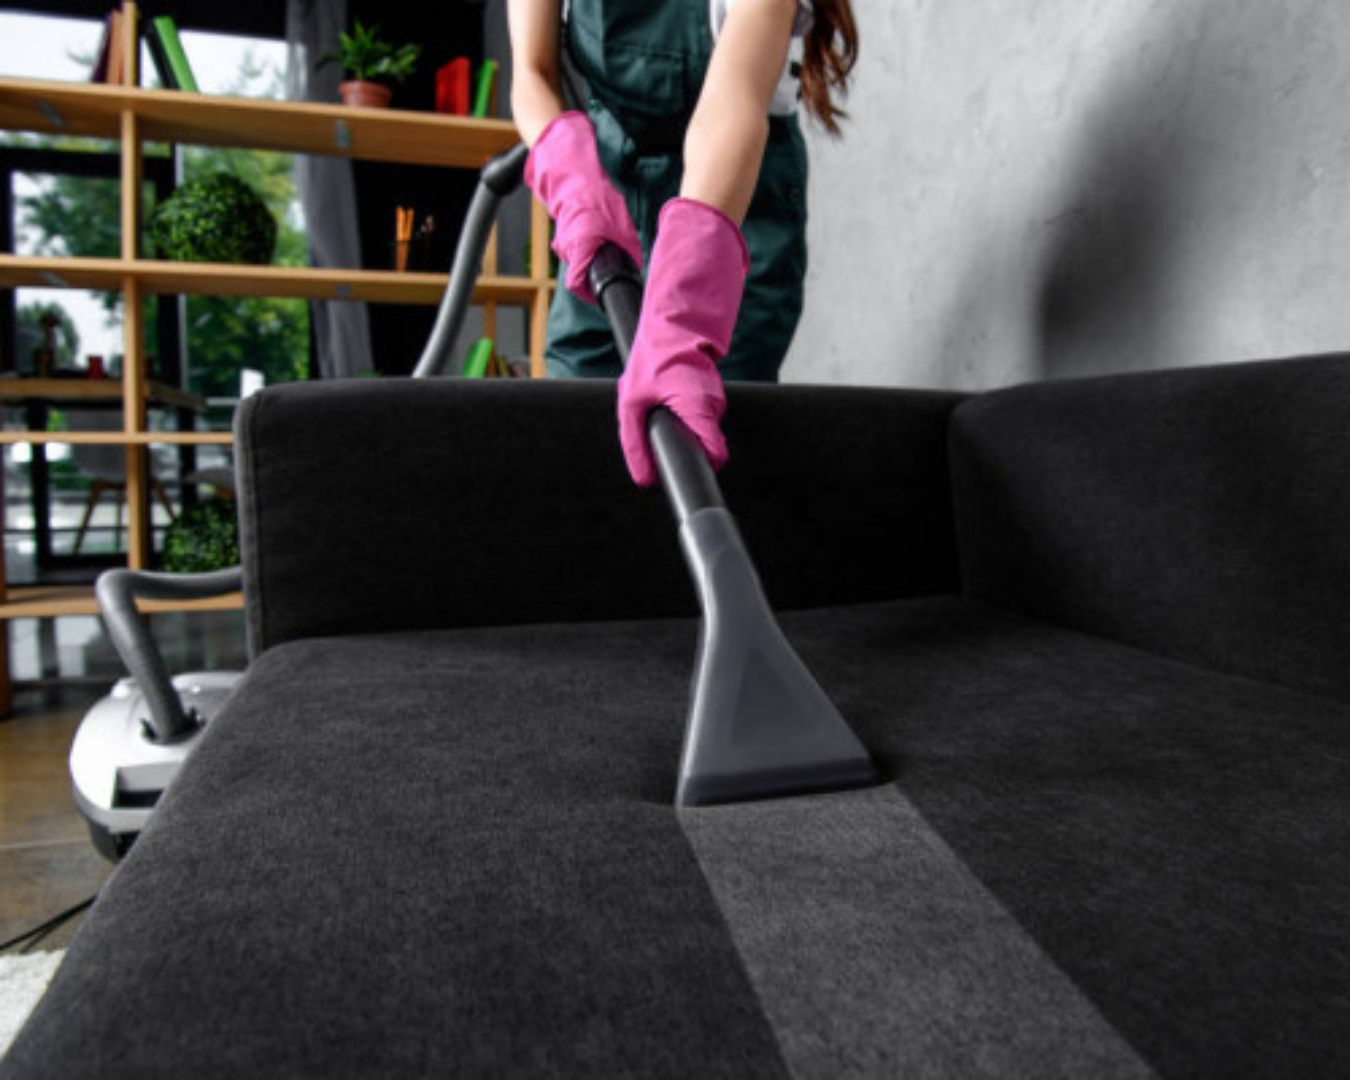
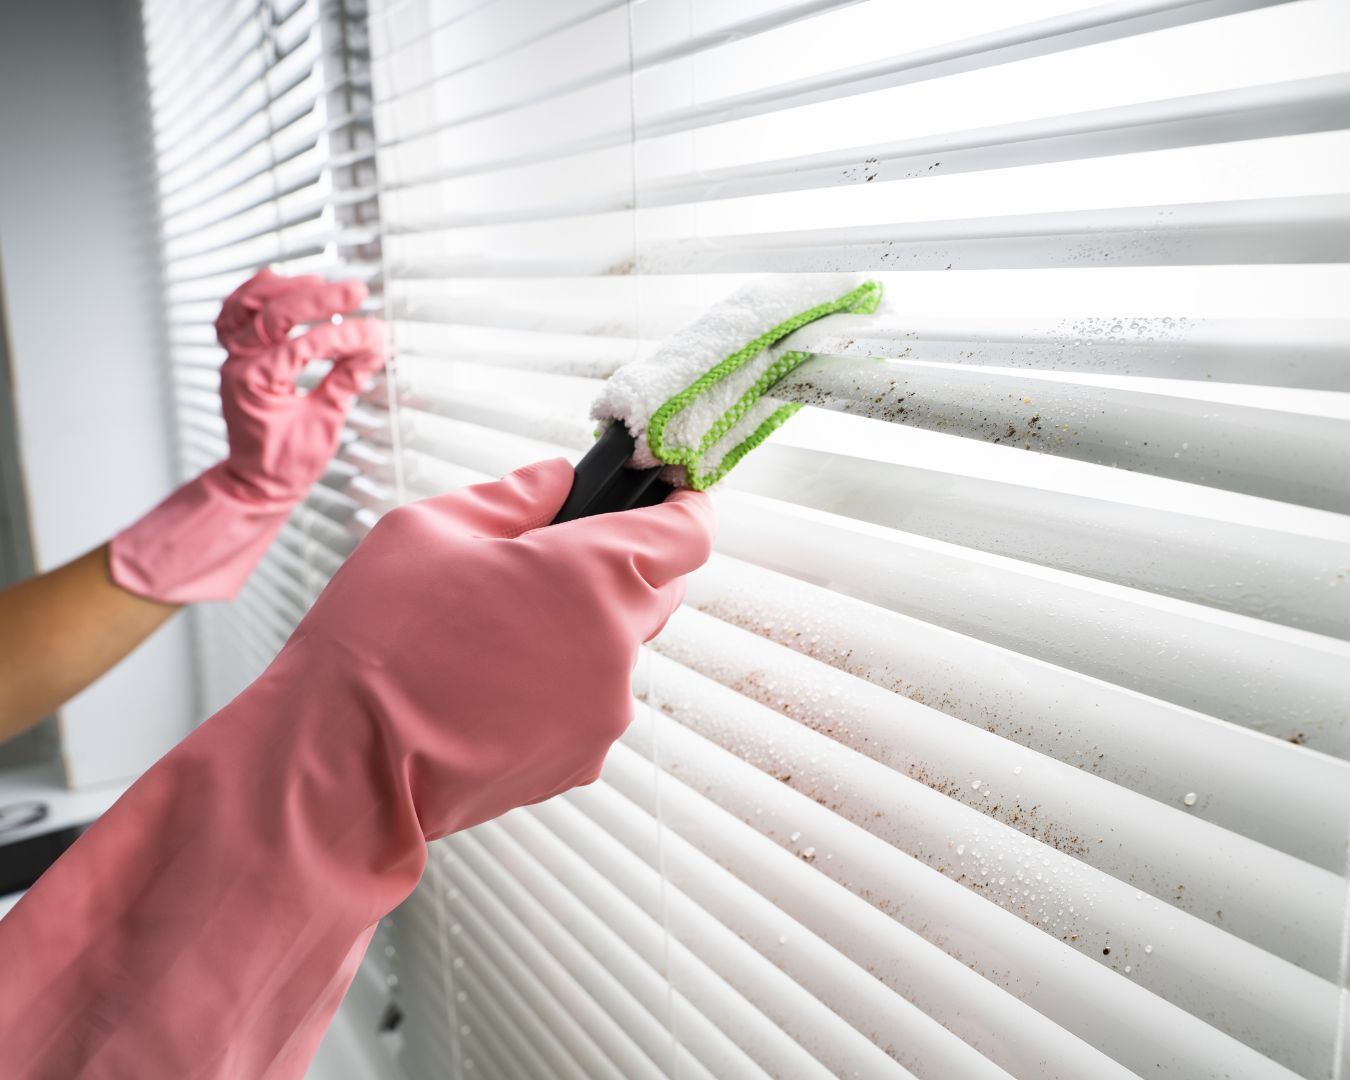
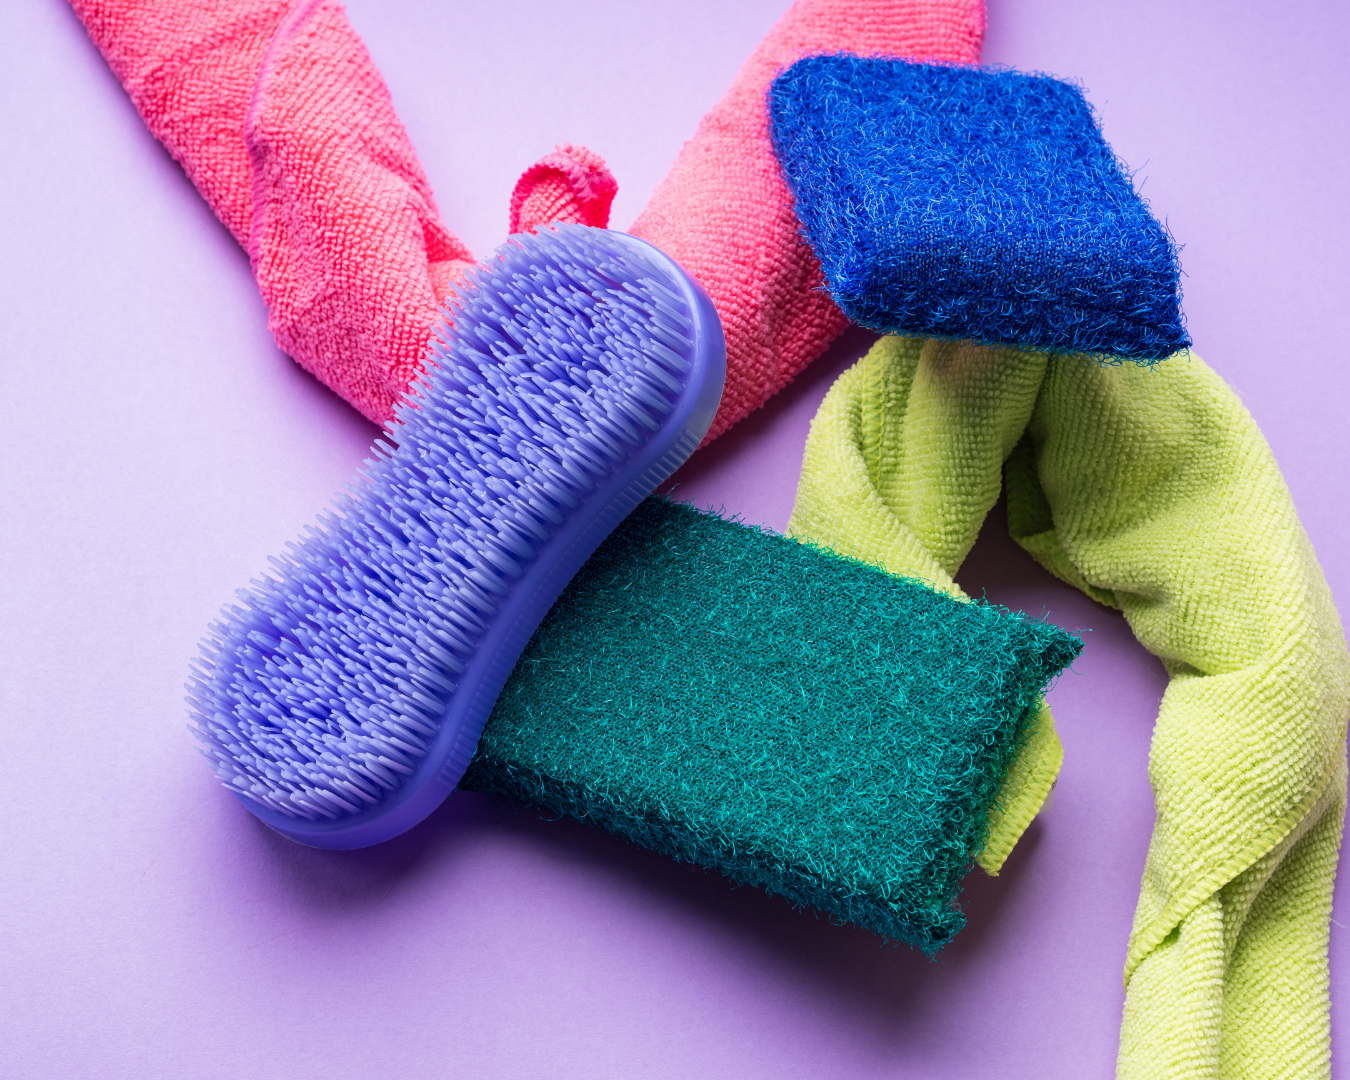
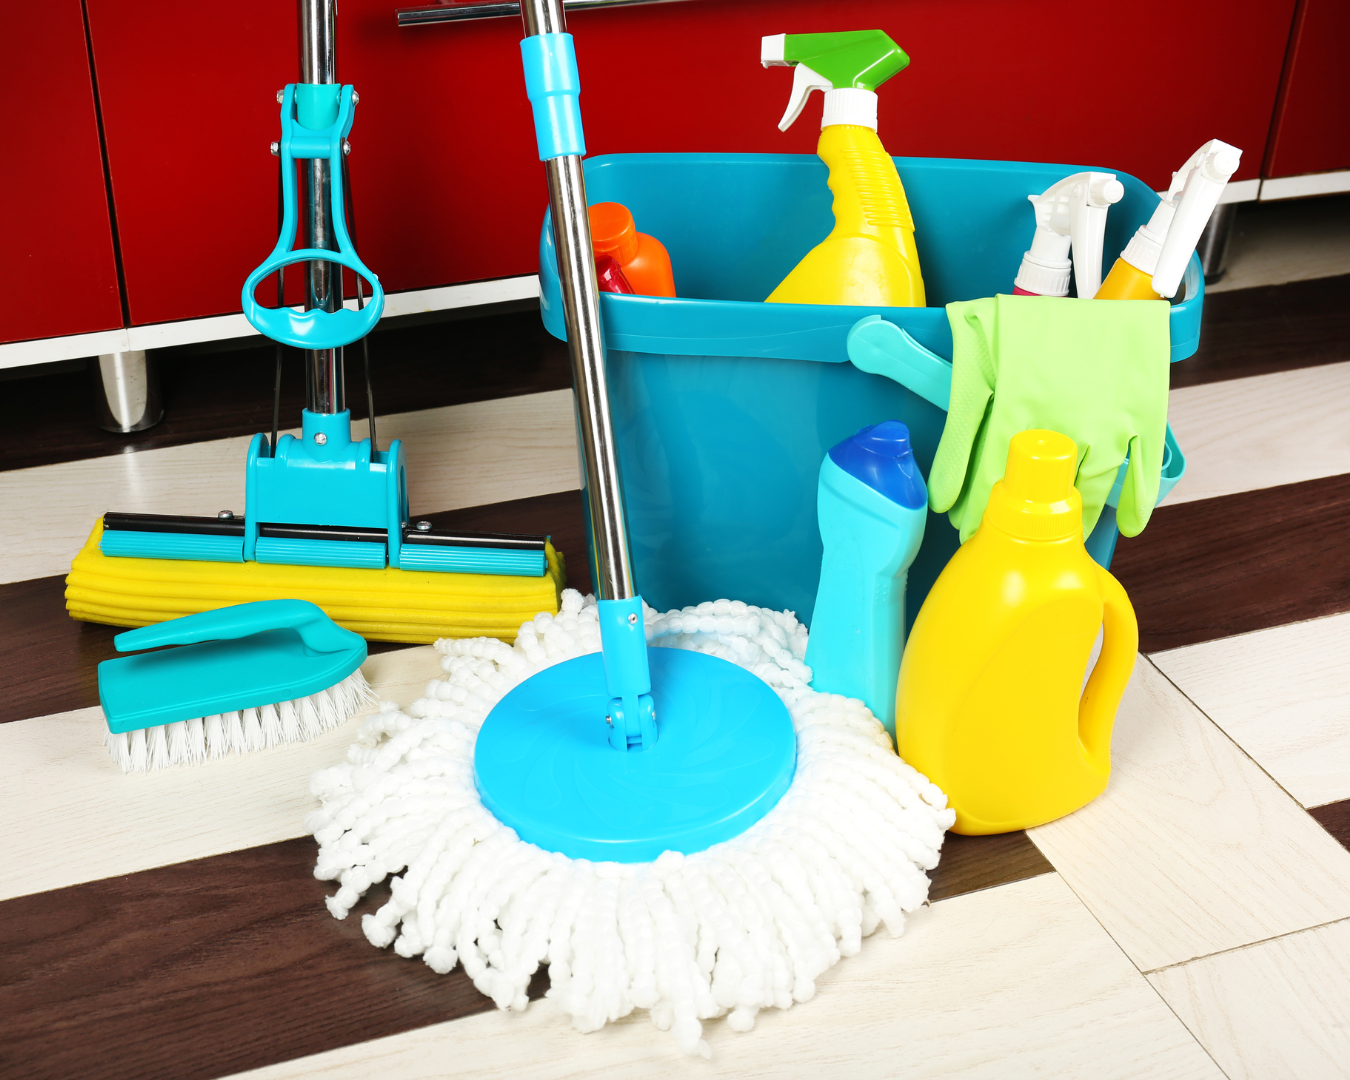
A clean and organized kitchen is not only essential for food safety but also contributes to a more enjoyable cooking experience. To maintain a pristine cooking environment, it’s important to have the right cleaning tools and supplies on hand. In this blog post, we’ll explore the essential cleaning tools that every kitchen should have to ensure cleanliness, hygiene, and organization. Microfiber Cleaning Cloths: Microfiber cleaning cloths are a versatile and indispensable tool for tackling a wide range of cleaning tasks in the kitchen. These ultra-absorbent cloths effectively trap dirt, grease, and grime without leaving behind lint or streaks, making them ideal for wiping down countertops, appliances, and surfaces. All-Purpose Cleaner: An all-purpose cleaner is a must-have for maintaining cleanliness throughout the kitchen. Look for a cleaner that is safe for use on a variety of surfaces, including countertops, cabinets, and appliances. Choose environmentally friendly options for a safer and more sustainable cleaning solution. Dish Soap and Dish Brush: Dish soap and a durable dish brush are essential for keeping dishes, pots, and pans clean and free of food residue. Opt for a biodegradable dish soap that effectively cuts through grease and grime without harsh chemicals. A high-quality dish brush with stiff bristles will make quick work of tough, baked-on messes. Sponge or Scrubber: Sponges or scrubbers are indispensable tools for scrubbing away stubborn stains and residue from dishes, cookware, and surfaces. Choose a sponge or scrubber with a non-abrasive surface to avoid scratching delicate surfaces like stainless steel or glass. Baking Soda and Vinegar: Baking soda and vinegar are natural cleaning powerhouses that can tackle a variety of kitchen cleaning tasks. Use baking soda as a gentle abrasive to scrub away stains and odors from sinks, countertops, and appliances. Vinegar is effective for cutting through grease and disinfecting surfaces. Rubber Gloves: Protect your hands from harsh chemicals and hot water with a pair of rubber gloves. Rubber gloves provide a barrier against dirt, bacteria, and chemicals, allowing you to clean with confidence and comfort. Trash Bags and Recycling Bins: Keep your kitchen tidy and organized by having ample trash bags and recycling bins on hand. Choose durable trash bags that can withstand heavy loads and resist leaks and tears. Place recycling bins in convenient locations to encourage proper waste disposal and recycling practices.With the right cleaning tools and supplies, you can keep your kitchen sparkling clean and organized with minimal effort. From microfiber cleaning cloths to all-purpose cleaner and baking soda, these essential cleaning tools will help you maintain a hygienic and inviting cooking environment. Invest in quality cleaning products and establish a regular cleaning routine to ensure that your kitchen remains a functional and enjoyable space for cooking and dining.