Cleaning

How to Clean Fish and Remove Scales: A Step-by-Step Guide

Cleaning fish and removing scales can be a bit daunting if you’re new to it, but with the right techniques and tools, you can make the process smooth and efficient. Whether you’re preparing a fresh catch or store-bought fish, properly cleaning and scaling your fish is essential for ensuring a delicious and enjoyable meal. Here’s a step-by-step guide to help you clean fish and remove scales with ease. Tools You’ll Need: Step 1: Prepare Your Workspace Start by setting up your workspace. Place a cutting board on a stable surface and have your tools ready. If you’re cleaning a large number of fish, you might want to use a bowl or basin to catch any debris and water. Step 2: Rinse the Fish Rinse the fish under cold running water to remove any surface dirt and slime. Pat the fish dry with paper towels to make it easier to handle. Step 3: Remove the Scales Step 4: Gut the Fish Step 5: Clean the Fish Step 6: Store or Cook the Fish If you’re not cooking the fish immediately, store it in the refrigerator on a plate or in a container, covered with plastic wrap or aluminum foil. For longer storage, you can freeze the fish. Wrap it tightly in plastic wrap or place it in a vacuum-sealed bag to prevent freezer burn. Cleaning and scaling fish may seem like a daunting task, but with the right approach, it can become a quick and manageable part of your cooking routine. By following these steps—rinsing the fish, removing scales, gutting, and cleaning—you’ll ensure that your fish is ready for a delicious meal. With a bit of practice, you’ll be able to clean fish like a pro, making your seafood preparations both efficient and enjoyable.

How to Remove Sticky Residue from Kitchen Surfaces

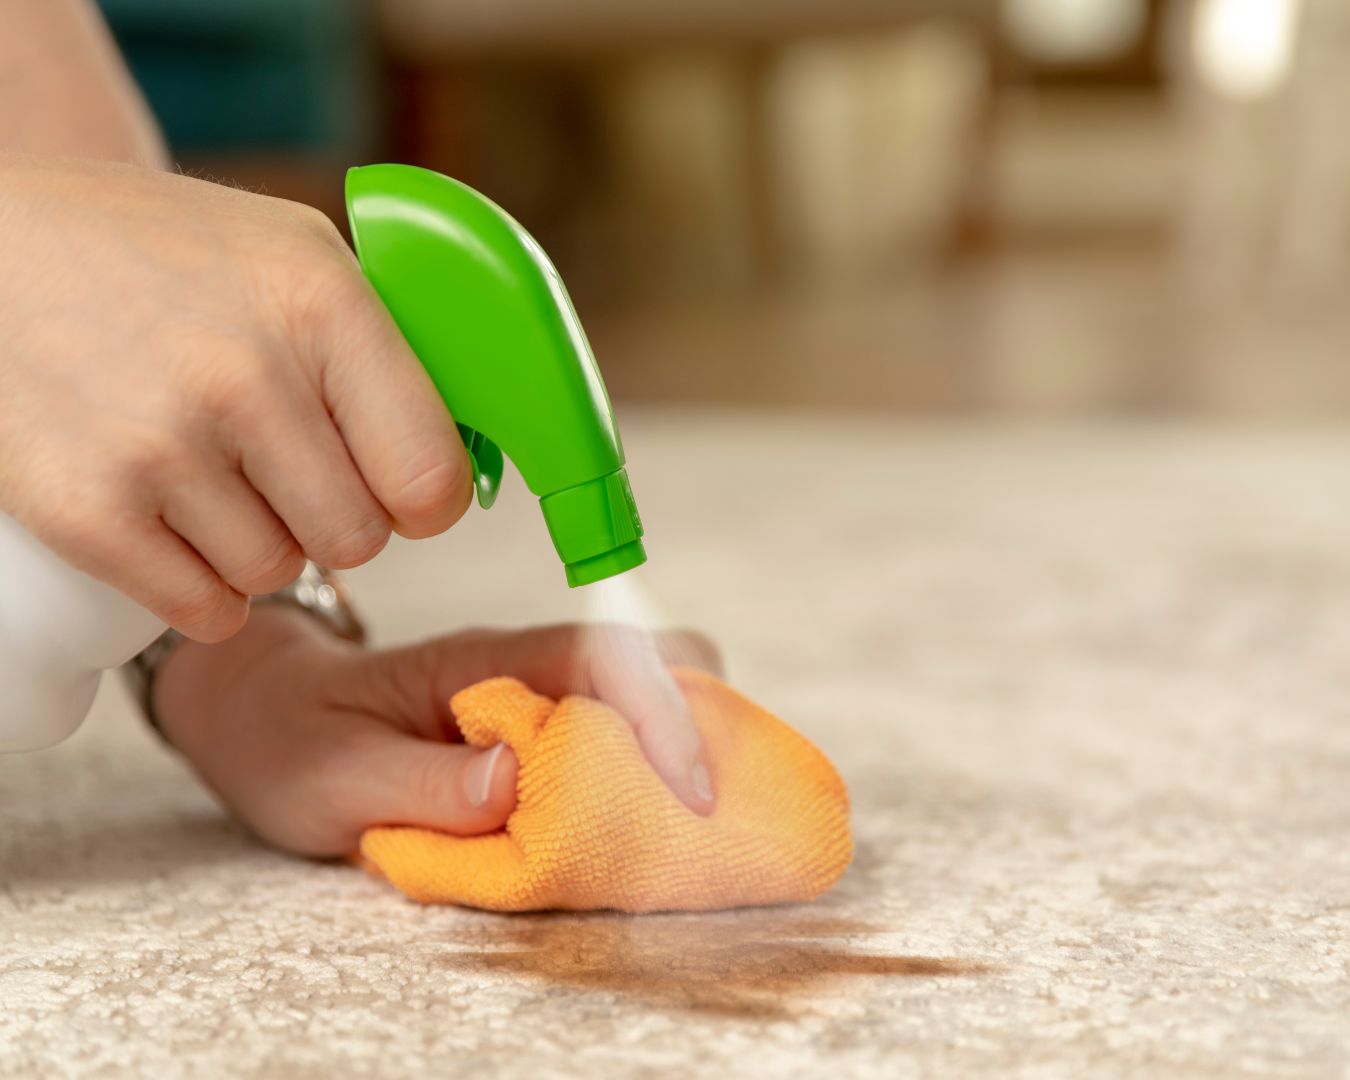
Sticky residue on kitchen surfaces can be frustrating to deal with, especially when it seems impossible to remove. Whether it’s from spilled food, adhesive labels, or leftover grime from cooking, sticky residue can make your kitchen look unclean and attract more dirt over time. Fortunately, with the right techniques and tools, you can effectively remove sticky residue from various kitchen surfaces without damaging them. In this blog post, we’ll explore different methods to tackle sticky residue and restore your kitchen surfaces to their original condition. Identifying the Type of Surface Before you begin removing sticky residue, it’s important to identify the type of surface you’re dealing with. Different surfaces require different cleaning methods to avoid damage: General Cleaning Tips for Sticky Residue For most kitchen surfaces, these general tips will help remove sticky residue effectively: Methods for Removing Sticky Residue a. Soap and Warm Water For most surfaces, a mixture of mild dish soap and warm water is a safe and effective first step: b. Baking Soda Paste Baking soda is a gentle abrasive that works well on stubborn sticky residue: c. White Vinegar White vinegar is an effective natural cleaner that can dissolve sticky residue: d. Rubbing Alcohol or Vodka Rubbing alcohol or vodka can effectively dissolve adhesive residue on most surfaces: e. Cooking Oil or Coconut Oil For surfaces that are sensitive to harsh chemicals, cooking oil or coconut oil can help loosen sticky residue: f. Commercial Adhesive Removers For stubborn sticky residue, you may need to use a commercial adhesive remover. These products are specifically designed to break down adhesives: Special Considerations for Different Surfaces Preventing Sticky Residue in the Future To keep your kitchen surfaces clean and free from sticky residue: Sticky residue can be a nuisance, but with the right approach, it’s easy to remove from your kitchen surfaces. By using gentle cleaning methods and being mindful of the type of surface you’re working with, you can effectively clean and maintain a sparkling kitchen. Keep these tips in mind to ensure your kitchen remains free of sticky residue and looking its best.

How to Clean and Maintain a Toaster Oven

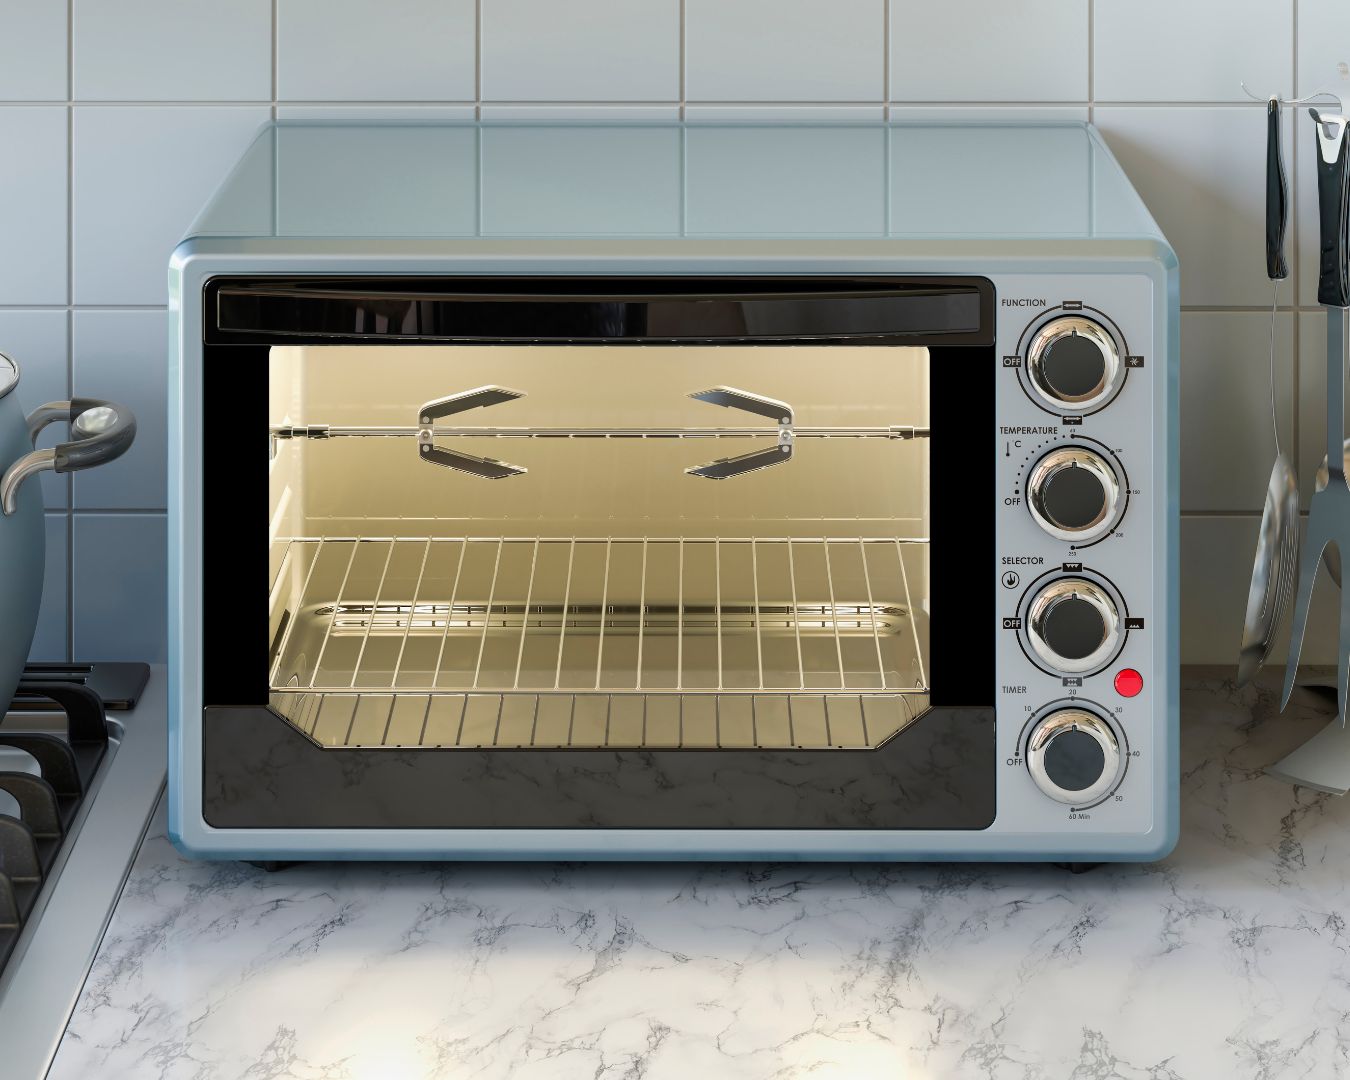
Toaster ovens are versatile kitchen appliances that can do everything from toasting bread to baking small batches of cookies. However, like any other appliance, they require regular cleaning and maintenance to keep them working efficiently and safely. In this blog post, we’ll guide you through the steps to clean and maintain your toaster oven, ensuring it stays in top condition for years to come. Why Regular Cleaning and Maintenance Matter Regular cleaning and maintenance are essential for several reasons: How to Clean Your Toaster Oven Step 1: Unplug and Cool Down Before you start cleaning, make sure your toaster oven is unplugged and completely cooled down. This is important for both your safety and the effectiveness of the cleaning process. Step 2: Remove and Clean the Removable Parts Step 3: Clean the Interior Step 4: Clean the Exterior Step 5: Reassemble and Test Once everything is clean and dry, reassemble your toaster oven. Plug it in and run it on a low heat setting for a few minutes to make sure everything is working properly. Maintaining Your Toaster Oven 1. Regularly Empty the Crumb Tray The crumb tray should be emptied and cleaned regularly to prevent crumbs from burning and causing smoke or fire hazards. 2. Avoid Overfilling Avoid overloading your toaster oven with food, as this can cause spills and make cleaning more difficult. Follow the manufacturer’s guidelines for food capacity. 3. Use the Right Cookware Only use cookware that is safe for toaster ovens. Avoid using plastic or other materials that could melt or warp under high heat. 4. Check the Door Seal Periodically check the door seal to ensure it’s intact and sealing properly. A good seal helps maintain even cooking temperatures and prevents heat from escaping. 5. Schedule Deep Cleans In addition to regular cleaning, schedule a deep clean of your toaster oven every few months. This will help prevent buildup and keep your appliance in good condition. Troubleshooting Common Issues 1. Uneven Heating If your toaster oven is cooking unevenly, it might be due to grease buildup on the heating elements or improper rack placement. Clean the heating elements carefully and make sure the racks are positioned correctly. 2. Burning Smell A burning smell is often a sign of leftover food particles or grease in the toaster oven. Unplug the appliance and give it a thorough cleaning to remove any residue. 3. Door Not Closing Properly If the door isn’t closing properly, check for obstructions or misaligned parts. If the door seal is damaged, it may need to be replaced. Cleaning and maintaining your toaster oven is simple, yet essential for ensuring its longevity and safe operation. By following these steps, you can keep your toaster oven in top shape, ready to deliver delicious meals and snacks whenever you need them. Make regular cleaning a habit, and enjoy the benefits of a well-maintained kitchen appliance!

How to Clean a Blender and Other Small Kitchen Appliances

Small kitchen appliances like blenders, coffee makers, and toasters are essential tools in our daily cooking routines. However, over time, they can accumulate food residue, grease, and stains, which not only affect their performance but also pose hygiene risks. Regular cleaning and maintenance are key to extending the life of these appliances and ensuring they function efficiently. In this blog post, we’ll guide you through the process of cleaning your blender and other common small kitchen appliances, so you can keep your kitchen tools in top shape. How to Clean a Blender Blenders are versatile appliances, used for everything from smoothies to soups. However, their design can make them tricky to clean properly. Here’s how to do it: 1. Disassemble the Blender: 2. Rinse Immediately After Use: 3. Use Warm Soapy Water: 4. Deep Clean the Components: 5. Clean the Base: 6. Reassemble and Store: How to Clean Other Small Kitchen Appliances 1. Coffee Maker: Coffee makers can accumulate mineral deposits and coffee oils, affecting the taste of your brew. Here’s how to clean it: 2. Toaster: Toasters collect crumbs and can become a fire hazard if not cleaned regularly. 3. Microwave: Microwaves can quickly become dirty from food splatters and spills. 4. Food Processor: Food processors can trap food particles in various parts, making them difficult to clean. Keeping your small kitchen appliances clean is essential for maintaining their performance and ensuring your kitchen remains a safe and hygienic space. By following these cleaning tips for your blender, coffee maker, toaster, microwave, and food processor, you can extend the life of your appliances and enjoy consistently great results in your cooking and food preparation. Make regular cleaning a part of your kitchen routine, and your appliances will thank you with years of reliable service.

Tips for Cleaning and Maintaining a Kitchen Range Hood

A kitchen range hood is an essential appliance that helps keep your kitchen free from smoke, odors, grease, and airborne contaminants. However, to ensure your range hood operates efficiently and lasts for years, regular cleaning and maintenance are crucial. Here are some practical tips for cleaning and maintaining your kitchen range hood. Clean the Range Hood Filters Regularly The filters in your range hood are designed to trap grease and other particles, preventing them from circulating back into your kitchen. Over time, these filters can become clogged, reducing the efficiency of your range hood. Here’s how to clean them: Wipe Down the Exterior Regularly The exterior of your range hood can quickly accumulate grease, dust, and grime, especially in a busy kitchen. To keep it looking its best: Clean the Vent and Ductwork The vent and ductwork of your range hood are responsible for carrying smoke, steam, and odors out of your kitchen. Over time, grease and residue can build up inside the ducts, potentially causing blockages or reducing airflow. To maintain proper ventilation: Check and Clean the Fan Blades The fan inside your range hood plays a critical role in drawing air through the filters and out of your kitchen. Over time, grease and debris can accumulate on the fan blades, reducing their effectiveness. To clean the fan: Replace Light Bulbs as Needed Many range hoods come with built-in lights that provide extra illumination while you cook. Over time, these bulbs may burn out and need replacement. To replace the bulbs: Perform Regular Inspections Routine inspections can help you identify potential issues with your range hood before they become major problems. During your inspection: Replace Parts When Necessary Over time, certain components of your range hood, such as the fan, motor, or filters, may wear out and need replacement. Regular maintenance helps extend the life of these parts, but when they do need replacement: Schedule Professional Maintenance While regular DIY maintenance is important, scheduling professional maintenance once a year is a good idea. A professional can thoroughly clean and inspect your range hood, ensuring it operates efficiently and safely. They can also identify and address any issues that may not be apparent to the untrained eye. A clean and well-maintained kitchen range hood is essential for a healthy, functional kitchen. By following these tips, you can ensure that your range hood continues to operate efficiently, removing smoke, odors, and grease from your cooking area. Regular maintenance not only extends the life of your appliance but also contributes to a cleaner, safer kitchen environment.

Best Practices for Cleaning and Sanitizing Your Kitchen: A Comprehensive Guide

A clean kitchen is the cornerstone of a healthy home. Regular cleaning and sanitizing not only keep your kitchen looking its best but also ensure that it’s free from harmful bacteria and germs. Whether you’re cooking daily meals or preparing for special events, maintaining a hygienic kitchen is essential. In this post, we’ll explore the best practices for cleaning and sanitizing your kitchen to create a safe and pleasant cooking environment. Develop a Cleaning Routine Establishing a consistent cleaning routine is crucial for maintaining kitchen hygiene. Aim to clean and sanitize your kitchen daily to prevent the buildup of grime and bacteria. Break down your cleaning tasks into daily, weekly, and monthly routines to ensure comprehensive maintenance. Daily Tasks: Weekly Tasks: Monthly Tasks: Focus on High-Touch Areas High-touch areas in the kitchen are prone to contamination and require special attention. These include handles, knobs, and faucets. To effectively clean and sanitize these areas: Use the Right Cleaning Products Choosing the right cleaning products is essential for effective sanitation. Opt for: Prioritize Food Safety Proper food handling and storage are key to preventing foodborne illnesses. Follow these food safety practices: Clean Kitchen Tools and Equipment Kitchen tools and equipment can harbor bacteria if not cleaned properly. Follow these practices: Maintain a Clean Sink The kitchen sink can be a breeding ground for bacteria. Keep it clean by: Keep Air Vents and Filters Clean Air vents and filters help maintain air quality in the kitchen. Regular maintenance includes: A clean and sanitized kitchen is vital for both health and efficiency. By following these best practices, you can create a safe and enjoyable cooking environment. Develop a regular cleaning routine, focus on high-touch areas, prioritize food safety, and use appropriate cleaning products to maintain a hygienic kitchen. With consistent effort and attention to detail, you’ll ensure that your kitchen remains a clean and welcoming space for all your culinary adventures.

How to Clean a Glass-Top Stove: A Complete Guide

A glass-top stove adds a sleek, modern look to your kitchen, but it requires special care to maintain its shine and functionality. Unlike traditional stovetops, glass-top stoves can easily show streaks, smudges, and burnt-on food if not cleaned properly. In this guide, we’ll walk you through the best practices for cleaning and maintaining your glass-top stove to keep it looking pristine and functioning effectively. Why Glass-Top Stoves Require Special Care Glass-top stoves are made from smooth, flat ceramic or tempered glass surfaces. While they are visually appealing and easier to wipe down compared to gas stoves, their delicate surface can be prone to scratches and stains if you use the wrong cleaning methods. Abrasive cleaning tools or harsh chemicals can damage the surface, while burnt-on food can become a nightmare if not handled properly. That’s why it’s essential to use the right techniques and materials when cleaning a glass-top stove. Let’s dive into how to clean your stove without causing damage. What You’ll Need Step-by-Step Cleaning Process 1. Let the Stove Cool Down Before you begin cleaning, ensure that the stove is completely cool. Cleaning a hot stove can cause burns or damage the surface. Wait at least 20-30 minutes after cooking before starting the cleaning process. 2. Wipe Away Loose Debris Use a damp microfiber cloth or paper towel to wipe away loose debris, crumbs, or light spills. This will remove any immediate messes and prevent them from being smeared around the surface during the next steps. 3. Spray with White Vinegar White vinegar is a great natural cleaner for glass-top stoves because it cuts through grease and streaks. Fill a spray bottle with white vinegar and lightly mist the entire surface of the stove. Allow the vinegar to sit for a few minutes, which will help loosen any grease or residue. 4. Apply Baking Soda for Stubborn Stains For tougher, burnt-on stains, sprinkle baking soda generously over the problem areas. Baking soda is a mild abrasive that will help lift the grime without scratching the glass surface. The combination of baking soda and vinegar creates a fizzing action that helps break down stubborn food particles. 5. Use a Damp Cloth to Gently Scrub Take a damp microfiber cloth and gently scrub the baking soda and vinegar mixture in a circular motion. Be careful not to press too hard, as applying too much pressure can scratch the glass. Work your way across the surface, focusing on areas with visible stains or grime. 6. Scrape Off Burnt-On Food with a Razor Blade For any tough, burnt-on food that won’t come off with baking soda and vinegar, you can use a razor blade scraper. Ensure that the scraper is specifically designed for glass-top stoves to avoid scratching the surface. Hold the scraper at a 45-degree angle and gently scrape away the burnt residue. Be careful not to apply too much pressure, and always keep the blade flat against the surface. 7. Wipe the Surface Clean Once you’ve removed all the stains and food debris, wipe the stove with a clean, damp microfiber cloth to remove the remaining residue. Make sure the surface is free of baking soda and any other cleaning agents. 8. Dry and Polish To finish, use a dry microfiber cloth or paper towel to dry the stove and buff it to a shine. You can also spray a small amount of glass cleaner on the surface and wipe it down for a streak-free finish. Regular Maintenance Tips Cleaning a glass-top stove may require a bit of extra care, but by following the proper steps and using the right cleaning materials, you can keep your stove looking brand new. From regular maintenance to removing stubborn stains, these tips will help you maintain a sleek, scratch-free surface that enhances your kitchen’s modern look.

How to Properly Clean and Care for Silicone Baking Mats

Silicone baking mats are a kitchen staple for many home bakers and cooks. They’re durable, non-stick, and make cleanup a breeze, but to ensure they last and perform optimally, it’s essential to clean and care for them properly. In this blog post, we’ll guide you through the best practices for maintaining your silicone baking mats so they continue to be a reliable tool in your kitchen. Why Silicone Baking Mats Are a Great Choice Silicone baking mats offer several advantages: Cleaning Silicone Baking Mats Proper cleaning is crucial to maintaining the performance and longevity of your silicone baking mats. Here’s how to do it: Routine Cleaning Deep Cleaning Storing Silicone Baking Mats Proper storage helps maintain the shape and functionality of your silicone mats: Common Mistakes to Avoid To ensure the longevity of your silicone baking mats, avoid these common mistakes: Troubleshooting Common Issues If you encounter problems with your silicone baking mats, here’s how to address them: Silicone baking mats are a fantastic addition to any kitchen, offering convenience, versatility, and durability. By following proper cleaning and care techniques, you can ensure your mats remain in top condition, providing you with excellent performance and easy cleanup for many baking adventures to come. Remember to treat your silicone mats with care, and they’ll continue to be a reliable tool in your kitchen for years to come.

The Best Practices for Washing and Drying Fresh Berries to Prevent Mold

Fresh berries are a delicious and nutritious addition to any meal, whether sprinkled over yogurt, added to salads, or eaten straight from the carton. However, they are also highly perishable and can quickly develop mold if not handled properly. By using the right techniques for washing and drying berries, you can extend their freshness and prevent mold from ruining your precious fruit. In this blog post, we’ll walk you through the best practices for cleaning and storing berries so you can enjoy them for longer. Why Berries Are Prone to Mold Berries such as strawberries, blueberries, raspberries, and blackberries have high moisture content and delicate skin, making them susceptible to mold growth. If stored improperly, the moisture can encourage mold spores to develop, shortening the lifespan of your berries. Mold can spread rapidly, so it’s essential to handle berries with care from the moment you bring them home. Here’s how you can preserve your fresh berries and reduce the risk of mold development. Step-by-Step Guide: How to Wash and Dry Fresh Berries 1. Wash Just Before Eating or Using One of the most important rules for preventing mold on berries is to avoid washing them until you’re ready to eat or use them. Washing berries and then storing them while damp can trap moisture, creating the perfect environment for mold to grow. If you must wash berries ahead of time, make sure to dry them thoroughly before storing them. 2. Use a Vinegar and Water Solution A simple and effective way to clean berries is by using a vinegar and water solution. The vinegar helps kill mold spores and bacteria on the surface of the berries, significantly reducing the chances of mold formation. Here’s how to do it: The vinegar will not affect the taste of the berries, but if you’re concerned, you can give them a quick rinse with fresh water after the vinegar soak. 3. Rinse Carefully in Cold Water After the vinegar soak, carefully rinse your berries in cold water. This helps wash away any vinegar residue and ensures that your berries are clean and ready to eat. Be gentle when rinsing delicate berries like raspberries and blackberries to avoid crushing them. Use a colander to rinse the berries under cold running water. Avoid letting the berries sit in water for too long, as this can cause them to become soggy and more prone to mold. 4. Dry the Berries Thoroughly Once your berries are clean, it’s crucial to dry them thoroughly before storage. Excess moisture is the primary cause of mold development, so removing as much water as possible is key to prolonging their freshness. Here’s how to dry your berries properly: For especially delicate berries like raspberries and blackberries, use a soft cloth or paper towel to blot them dry instead of rubbing, as their skins are easily damaged. 5. Store Berries in a Well-Ventilated Container Once your berries are completely dry, it’s time to store them properly. To prevent mold, berries need airflow. Store them in a well-ventilated container that allows air circulation, rather than in a tightly sealed bag or container where moisture can accumulate. Here’s what works best for storing berries: 6. Check for Mold Regularly Even with proper washing, drying, and storage techniques, it’s essential to check your berries regularly for any signs of mold. Mold can spread quickly from one berry to another, so if you spot any berries with mold, remove them immediately to prevent the spread. If you notice any mushy or overripe berries, it’s a good idea to remove them as well, as they can accelerate the spoilage of the other berries in the container. Extra Tips for Extending the Life of Your Berries Berries are a delicious and nutritious snack, but they can quickly go bad if not stored properly. By following these best practices for washing, drying, and storing your berries, you can significantly extend their freshness and prevent mold from developing. Remember to wash berries just before eating, dry them thoroughly, and store them in a well-ventilated container in the fridge. With these simple steps, you’ll enjoy fresh, juicy berries for days without the worry of mold spoiling your produce.

The Best Way to Remove Stains from Kitchen Towels

Kitchen towels are indispensable in any kitchen, but they can quickly become stained and unsightly from everyday use. From spilled sauces to greasy fingerprints, these stains can be tough to remove, especially if they’re left untreated for too long. Fortunately, with the right techniques and a few household products, you can restore your kitchen towels to their original pristine condition. Here’s a comprehensive guide to the best ways to remove stains from kitchen towels. Act Quickly The sooner you address a stain, the easier it will be to remove. Blot the stain gently with a clean cloth or paper towel to absorb excess liquid. Avoid rubbing, as this can push the stain deeper into the fibers. Pre-Treat with Stain Remover For stubborn stains, a pre-treatment can be highly effective. Apply a stain remover or a mixture of baking soda and water directly to the stained area. Let it sit for 15-30 minutes before washing. DIY Stain Remover Recipe: Use Vinegar and Baking Soda Vinegar and baking soda are powerful natural cleaners. For tough stains, add 1 cup of white vinegar to your washing machine’s rinse cycle, or sprinkle baking soda directly on the stain before washing. Both ingredients help to lift stains and neutralize odors. Steps: Try Hydrogen Peroxide Hydrogen peroxide is effective for removing a variety of stains, including blood and coffee. Apply a small amount directly to the stain and let it sit for 10-15 minutes before rinsing. Steps: Lemon Juice and Salt For grease stains, lemon juice and salt can work wonders. The acidity of the lemon juice helps break down grease, while the salt acts as a gentle abrasive. Steps: Boiling Water for Persistent Stains Boiling water can be an effective method for removing persistent stains, especially those caused by tea or coffee. Steps: Use Oxygen Bleach Oxygen bleach is a safer alternative to chlorine bleach and can be used to remove tough stains without damaging the fabric. Follow the package instructions for the correct amount to use. Steps: Avoid Fabric Softeners Fabric softeners can build up on towels over time and make stains harder to remove. Instead, use vinegar in the rinse cycle to keep your towels soft without the buildup. Drying and Maintenance After washing, check if the stains are gone before drying, as heat can set stains. If necessary, repeat the stain removal process. For best results, air-dry your towels or use a low-heat setting in the dryer. Removing stains from kitchen towels can be a straightforward process if you act quickly and use the right methods. With these tips and tricks, you’ll be able to keep your kitchen towels looking fresh and clean, no matter how messy your cooking adventures get. Remember, regular maintenance and prompt treatment are key to keeping your towels in top shape! Do you have any tried-and-true methods for removing stains from kitchen towels? Share your tips in the comments!