Cleaning

Grill Cleaning Tips Before and After the Holiday

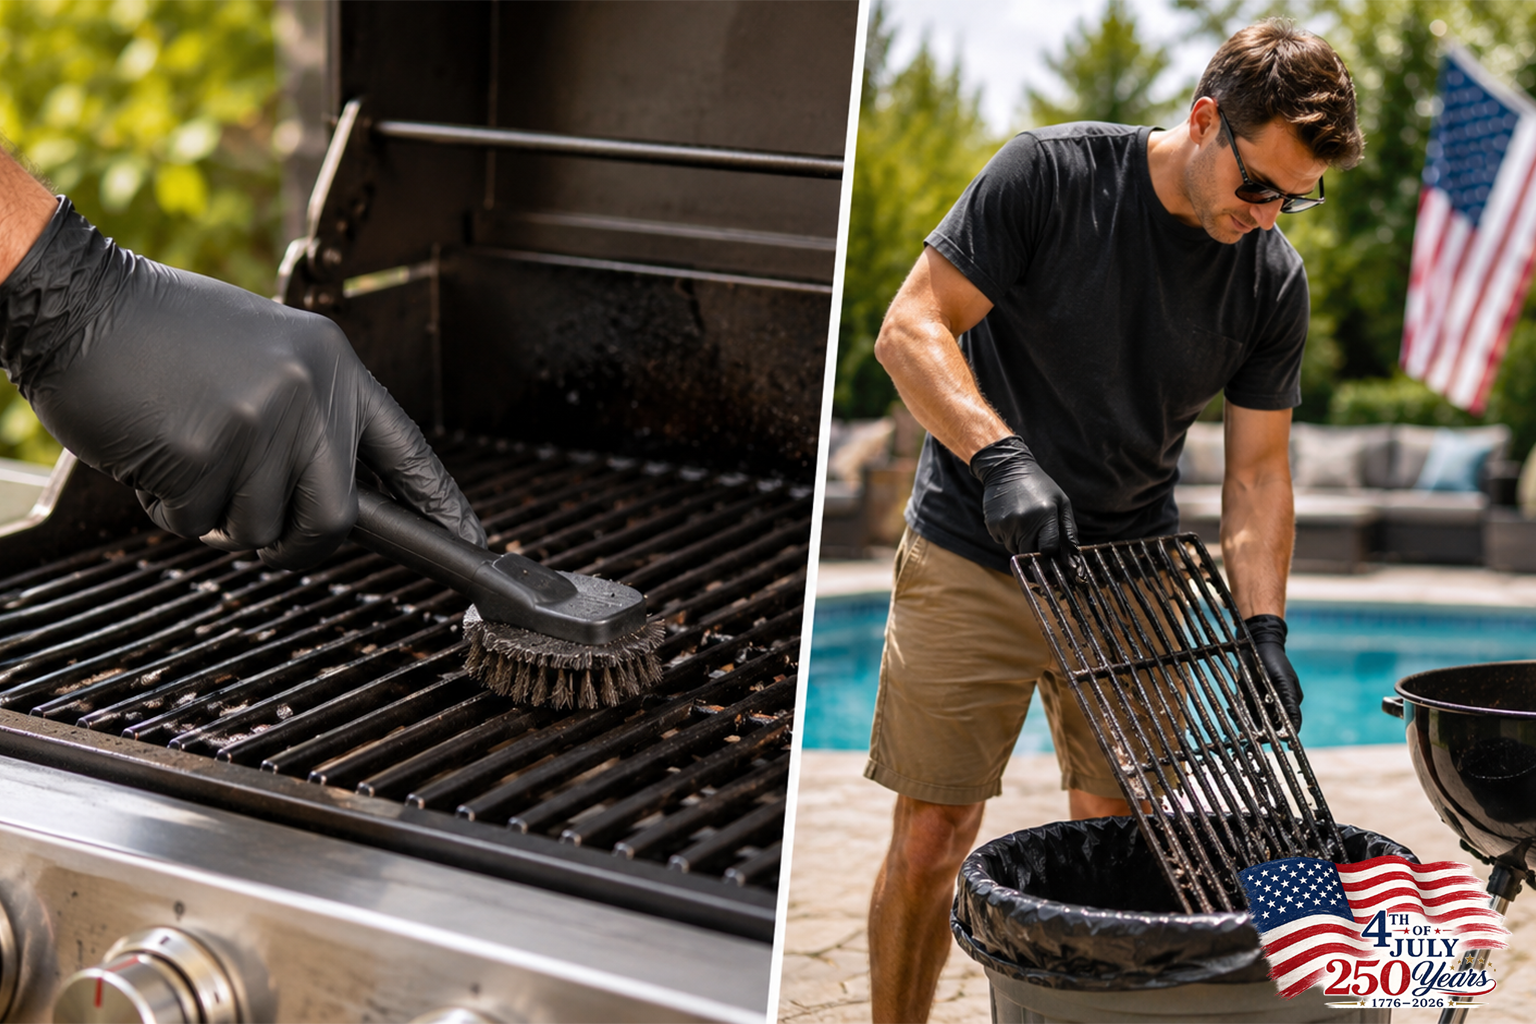
A clean grill performs better than a dirty one in ways that are easy to underestimate until you’re dealing with the consequences. Grease buildup causes flare-ups at the worst moments — when the grill is running hot and fully loaded with food for twenty guests. Old carbon residue on grates transfers bitter, off-flavors to food that good seasoning can’t fully mask. Blocked burner ports on gas grills create uneven heat distribution that produces inconsistently cooked food despite your best technique. Accumulated ash in charcoal grills restricts airflow and makes temperature management harder than it needs to be.The Fourth of July specifically motivates grill cleaning that might otherwise get deferred indefinitely, which is part of why the holiday is worth treating as a deliberate cleaning occasion. A grill that hasn’t been seriously cleaned since last summer is carrying a season’s worth of accumulated grease, carbon, and debris into an event where it’ll run harder and longer than almost any other day of the year. Getting it properly clean before the holiday improves both cooking results and safety. Getting it clean after establishes a baseline that makes the next cleaning — and the next cooking session — easier.Before the Holiday: Deep Cleaning ChecklistPre-holiday cleaning is the more important of the two sessions because it’s the one that directly affects cooking performance and safety on the day itself. Do this at least two or three days before the Fourth rather than the morning of, when you’ll have too many other preparation tasks competing for your attention.Gas Grills: Full Pre-Season Inspection and CleanGas grill cleaning starts with a systematic inspection rather than immediately scrubbing surfaces, because understanding the grill’s condition determines what cleaning is actually needed.Check and Clean Burner Tubes: Burner ports — the small holes along the burner tubes through which gas exits before ignition — clog with grease, food residue, and occasional insect nesting material over a storage season. Clogged ports create uneven flames, cold spots, and in some cases prevent certain sections of burners from lighting at all. Turn off and disconnect the gas, remove the grates and heat distribution plates or flavor bars to access the burners, and inspect each port. Clear blocked ports with a stainless steel wire or small drill bit of the appropriate diameter. Never use toothpicks or wooden skewers that can break off inside the port.While the burners are accessible, check for rust, corrosion, or physical damage along the burner tubes themselves. Surface rust on cast iron burners is common and mostly cosmetic — clean it with a wire brush and the burner will function normally. Significant corrosion, holes, or structural damage on any burner warrants replacement before cooking on the grill.Clean Flavor Bars and Heat Tents: The metal components sitting between burners and grates accumulate heavily with grease, and this accumulated grease is the primary source of dangerous flare-ups during high-heat cooking. Remove these components and clean them thoroughly. Hardened grease responds well to soaking in hot soapy water for 30 minutes before scrubbing. For particularly heavy buildup, commercial degreasers applied with a brush and allowed to penetrate for 10-15 minutes before rinsing significantly reduce the scrubbing effort required.Clean the Firebox Interior: The grill’s interior walls, bottom, and any collection trays accumulate grease that drips during cooking. Scrape the interior walls down with a putty knife or grill scraper to remove any built-up layers, then follow with a degreaser and wipe-down. The grease collection tray or drip pan beneath the firebox should be emptied completely and cleaned before any holiday cooking session. A full drip tray can overflow during extended high-volume cooking, creating a fire hazard.Scrub the Grates: Grates that cook most frequently are where the most visible buildup exists. Preheat the grill to loosen residue, then scrub with a quality grill brush while grates are hot. For more stubborn buildup, crumpled aluminum foil held with tongs provides aggressive scrubbing action. After scrubbing, wipe grates with a paper towel lightly coated in cooking oil to season the surface and prevent rust during the days before use.Check the Ignition System: Light each burner individually to verify the ignition system fires reliably. A burner that takes multiple attempts to light during normal use needs its igniter cleaned or potentially replaced before a holiday cooking session. Igniter electrodes develop carbon buildup that reduces spark reliability — cleaning with a dry toothbrush removes most surface buildup.Inspect Gas Lines and Connections: Apply a soap and water solution to all hose connections and the regulator. Turn on the gas briefly without lighting the grill and watch for bubbles, which indicate leaks requiring immediate professional service before the grill is used. Do this inspection every season regardless of how the grill performed the previous year, as hoses can develop cracks during winter storage.Charcoal Grills: Ash and Grease CleanupCharcoal grills accumulate different types of debris than gas grills but require the same thoroughness before a high-demand cooking event.Remove All Old Ash: Ash left in the bottom of a charcoal grill is the primary enemy of good fire management. Ash absorbs moisture, becomes cement-like when wet, restricts the airflow through bottom vents that controls fire temperature, and can reactivate to produce residual smoke that flavors food in unwanted ways. Completely empty the ash catcher and the bottom of the firebox before any serious cooking session. Do this when the ash is thoroughly cold — hot ash can remain a fire hazard for longer than people generally expect.Clean Interior Walls and Lid: The interior surfaces of charcoal grills develop a carbon buildup that eventually flakes off in large pieces onto food below. Scrape interior walls and the inside of the lid with a stiff brush or scraper to remove any loose or flaking carbon. A light layer of baked-on carbon on interior surfaces is normal and actually helpful — it’s the loose, flaking material that needs to come off.Clean the Grates: Same approach as gas grates — heat to loosen residue, scrub with a grill brush, wipe clean. Charcoal grate cleaning is generally simpler

How to Actually Keep a Kitchen Clean While You’re Cooking

Most kitchen cleaning advice focuses on what happens after cooking — the post-meal scrub, the weekly deep clean, the seasonal reorganization. This is useful, but it addresses the symptom rather than the cause. The reason kitchens get genuinely difficult to clean is rarely that people don’t clean them afterward. It’s that cooking itself generates mess faster than any post-session cleaning can efficiently address, and certain habits during cooking either contain that mess or let it compound into something that takes far longer to deal with than it needed to. Cooking clean — the habit of managing mess during the cooking process rather than purely after it — is one of the more underrated skills in practical kitchen management. It’s not about perfectionism or anxiety about a dirty kitchen. It’s about the relationship between active mess generation and active mess management, and understanding which interventions during cooking make the cleanup afterward genuinely easier rather than just displacing effort. Professional kitchens operate on this principle out of necessity. A restaurant that waits until after service to address the mess generated during service would be non-functional within a week. The systems they use to stay clean during operation translate directly into home kitchens with some adjustment for scale and context. Why Kitchens Get Out of Control During Cooking Understanding the mechanics of kitchen mess accumulation helps you identify where to intervene rather than just trying harder to keep everything tidy. Mess Compounds Nonlinearly: A small amount of mess at the beginning of a cooking session doesn’t stay small. Grease splattered on a stovetop in the first five minutes of cooking gets heated repeatedly by subsequent burner use, eventually baking onto the surface and becoming significantly harder to remove than it would have been if wiped immediately. Flour on a counter gets pressed into the surface by subsequent prep work, then moistened by water, then dried again into something that requires actual scrubbing. Mess that gets addressed quickly is easy. The same mess left until cooking is complete is harder. Left until the next morning, it’s genuinely difficult. Surfaces Interact: Mess generated on one surface migrates to others through normal kitchen activity. Wet hands touch cabinet doors. Splattered oil moves from the stovetop to the counter to cutting boards as items are transferred between surfaces. The spoon that stirred the sauce gets set down and leaves a ring. These interactions spread mess faster than it’s generated at any single point, which is why kitchens that seem manageable at the start of cooking look chaotic thirty minutes in. Mental Load of Visible Mess: Beyond the physical accumulation, visible kitchen mess during cooking creates cognitive load that affects cooking performance. Studies on cluttered environments consistently show reduced focus and increased stress in people working in visually disordered spaces. A clean or cleaner workspace during cooking actually supports better cooking outcomes — you notice when things are burning, you find tools quickly, you move efficiently rather than navigating around accumulating debris. The Parallel Processing Problem: Cooking requires attention across multiple simultaneous tasks — timing multiple dishes, monitoring heat levels, following recipe steps, managing ingredients. Adding cleaning as another parallel task competes for the same cognitive resources. The key is making cleaning habitual enough that it doesn’t require active attention, which means establishing specific reflexes rather than making conscious decisions about when to clean. Setting Up for Clean Cooking Before You Start The conditions you establish before cooking begins determine how manageable the cleanup process is throughout. Clear Counter Surfaces Completely: Start with as much clear counter space as possible. This sounds obvious but rarely happens in practice — counters accumulate everyday items that don’t belong there and don’t get moved before cooking starts. A full counter has no space for prep debris, finished components, or tools, so everything piles onto whatever space remains. A cleared counter gives mess somewhere to go other than on top of other things. Establish a Debris Zone: Designate one specific area of counter for cooking debris — vegetable trimmings, packaging, empty cans, used paper towels. This could be a bowl, a section of counter, or a cutting board positioned near the trash. Funneling debris to one location prevents it from distributing across the entire kitchen and makes disposal a single action rather than a surface-by-surface collection effort. Position the Trash Strategically: Where your trash can sits during cooking affects how much debris ends up on counters rather than in it. The trash should be within arm’s reach of your primary prep zone without requiring you to cross the kitchen to dispose of anything. Pulling the trash can out from under a cabinet or repositioning it before cooking starts makes disposal effortless rather than requiring a deliberate trip. Set Up a Dish Station: Place a large bowl or container near the sink before cooking starts. Every dish, utensil, and piece of equipment you finish using goes directly into this container rather than onto the counter. This prevents finished tools from spreading across surfaces while also making post-cooking dish management a single collection rather than hunting for items across the kitchen. Lay Down a Splatter Mat or Towel: For cooking tasks that will generate significant mess — rolling out dough, working with oily ingredients, anything involving substantial liquid — lay a clean kitchen towel or silicone mat under the work area. The mat catches debris that would otherwise reach the counter surface, and cleanup means picking up and disposing of the mat rather than scrubbing the counter. The Habits That Actually Make Cooking Cleaner Specific cooking behaviors, repeated consistently, prevent the vast majority of mess accumulation rather than just managing it after the fact. Wipe As You Go, Not After You’re Done: The single most impactful clean-cooking habit is wiping surfaces during natural pauses in the cooking process rather than waiting until the end. While something simmers for five minutes, wipe down the stovetop, counter, and any surfaces you’ve used. The mess at this point is fresh and takes seconds to address. The

How to Maintain and Care for Stainless Steel Appliances: Keep Your Kitchen Looking Brand New

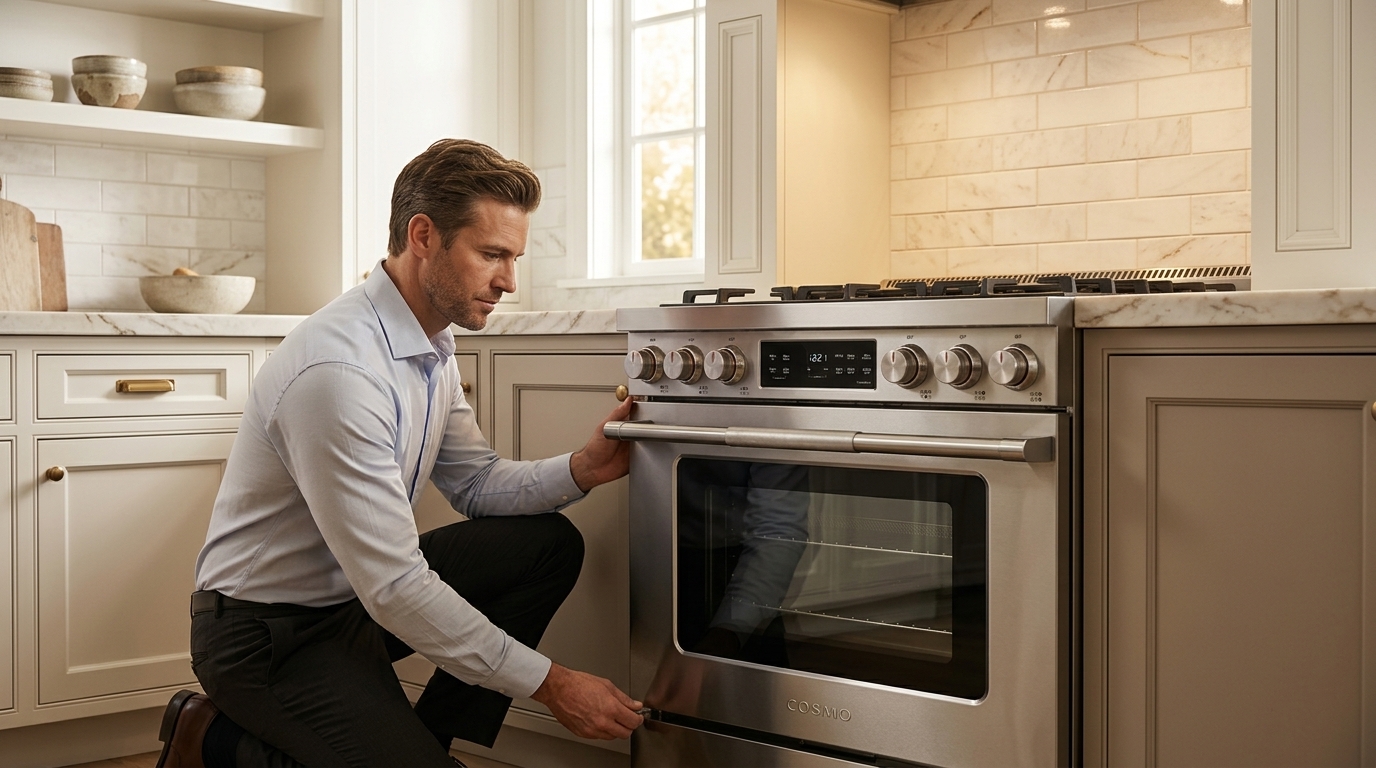
Stainless steel appliances have become the gold standard in modern kitchens, and for good reason. They offer a sleek, professional appearance that works with virtually any design style while providing durability that lasts for decades. However, keeping stainless steel looking its best requires more than just occasional wiping down. Understanding proper care techniques will help your appliances maintain their stunning appearance and protect your investment for years to come. Many homeowners struggle with water spots, fingerprints, and streaks on their stainless steel surfaces. The good news is that with the right knowledge and techniques, maintaining stainless steel appliances becomes much easier. You don’t need expensive specialty products or professional cleaning services – just the right approach and consistent care. Understanding Your Stainless Steel Finish Not all stainless steel finishes are created equal. Most appliances use either brushed or polished stainless steel, and each requires slightly different care approaches. Brushed finishes have a directional grain that helps hide fingerprints and scratches, while polished finishes offer a mirror-like shine but show marks more easily. The grain direction in brushed stainless steel is crucial for proper cleaning. Always clean in the direction of the grain, never against it. Cleaning against the grain can create scratches and make your appliances look dull over time. If you’re unsure about the grain direction, look closely at the surface in good light – you should be able to see the subtle lines that indicate which way to clean. Some manufacturers apply protective coatings or special finishes to their stainless steel appliances. These fingerprint-resistant finishes make daily maintenance easier but may require specific care instructions. Check your appliance manual for any special requirements before using cleaning products. Understanding the grade of stainless steel also helps with care decisions. Higher grades like 304 stainless steel resist corrosion better and are easier to maintain than lower grades. This information is usually available in your appliance documentation. Daily Cleaning Routine That Works The key to beautiful stainless steel appliances is consistent daily care rather than intensive deep cleaning sessions. Developing a simple routine prevents buildup of grease, fingerprints, and water spots that become harder to remove over time. Start each day by wiping down your appliances with a clean, damp microfiber cloth. Microfiber is ideal because it picks up dust and light soil without scratching the surface. Always wipe in the direction of the grain, using long, smooth strokes rather than circular motions. For everyday cleaning, warm water often works perfectly well without any cleaning products. This gentle approach prevents chemical buildup while removing surface dirt and fingerprints. Dry immediately with a clean, dry microfiber cloth to prevent water spots from forming. Pay special attention to high-touch areas like handles, control panels, and the areas around faucets. These spots accumulate oils from hands and need more frequent attention. A quick daily wipe prevents these oils from building up and becoming harder to remove. Don’t forget about the sides and back of appliances that are visible in your kitchen. Dust and grease can settle on these surfaces, making your appliances look dingy even if the fronts are clean. The Right Products for Stainless Steel Care While many commercial stainless steel cleaners are available, you don’t always need specialty products to keep your appliances looking great. Some of the most effective cleaning solutions are probably already in your kitchen. Dish soap mixed with warm water creates an effective, gentle cleaner for most stainless steel surfaces. Use just a few drops of mild dish soap in a spray bottle filled with warm water. This solution cuts through grease and fingerprints without being harsh on the finish. White vinegar works exceptionally well for removing water spots and mineral deposits. Mix equal parts white vinegar and water in a spray bottle for tough spots. The acidity in vinegar dissolves mineral buildup that plain water can’t remove. Always rinse thoroughly after using vinegar to prevent any potential etching. For stubborn fingerprints and smudges, rubbing alcohol on a microfiber cloth can be very effective. The alcohol evaporates quickly, reducing the chance of streaking while cutting through oils from fingerprints. Commercial stainless steel cleaners can be useful for weekly deep cleaning or particularly stubborn spots. Look for products specifically designed for stainless steel rather than general-purpose cleaners. These products often contain oils that help protect the finish while cleaning. Baby oil or mineral oil can add shine and create a protective barrier against fingerprints when used sparingly. Apply a tiny amount to a microfiber cloth and wipe in the direction of the grain. This technique works particularly well on refrigerator doors and other high-touch surfaces. What to Avoid: Products That Can Damage Stainless Steel Knowing what not to use is just as important as knowing what works well. Many common household cleaners can damage stainless steel finishes permanently, so avoiding these products protects your investment. Bleach and chlorine-based cleaners can cause pitting and discoloration in stainless steel. Even small amounts can start corrosion processes that worsen over time. If you accidentally use a chlorine product, rinse thoroughly with clean water immediately. Abrasive cleaners, steel wool, and scouring pads will scratch stainless steel finishes. Once scratches occur, they’re very difficult to remove and can make your appliances look worn and old. Stick to soft cloths and non-abrasive cleaning tools. Ammonia-based cleaners can discolor stainless steel and should be avoided. Many glass cleaners contain ammonia, so check labels carefully before using any cleaning product on your appliances. Cleaners containing hydrochloric acid, muriatic acid, or other strong acids can permanently damage stainless steel. These ingredients are sometimes found in rust removers and heavy-duty bathroom cleaners. Paper towels, while convenient, can actually scratch stainless steel surfaces and leave lint behind. The rough texture of paper towels makes them unsuitable for delicate finishes. Stick to microfiber cloths for best results. Never use oven cleaner on stainless steel surfaces, even if part of your range or oven has stainless steel exterior panels. These cleaners are far too harsh and will damage the finish. Removing

How to Separate Biodegradable and Non-Biodegradable Waste in Your Kitchen

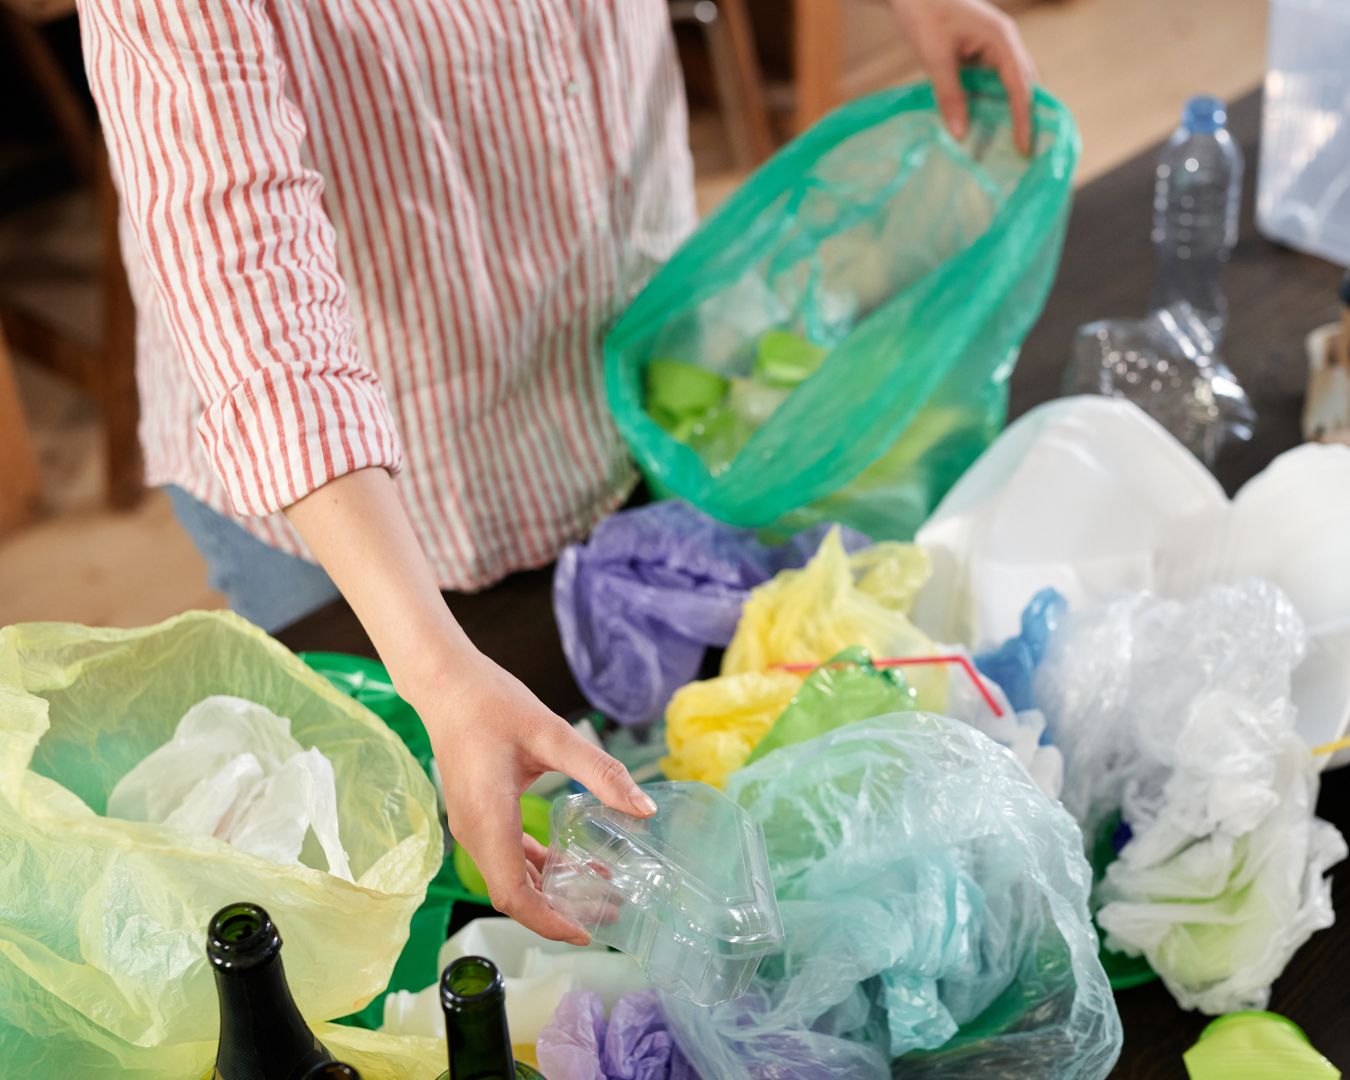
Managing kitchen waste effectively is crucial for maintaining a clean home and contributing to environmental sustainability. One of the most effective ways to do this is by separating biodegradable and non-biodegradable waste. This practice not only helps in reducing the amount of waste that ends up in landfills but also promotes recycling and composting efforts. Here’s a comprehensive guide on how to separate biodegradable and non-biodegradable waste in your kitchen. What is Biodegradable Waste? Biodegradable waste consists of organic materials that can be broken down by microorganisms into natural elements. This type of waste includes: What is Non-Biodegradable Waste? Non-biodegradable waste consists of materials that do not break down easily and can persist in the environment for a long time. This type of waste includes: Steps to Separate Biodegradable and Non-Biodegradable Waste 1. Set Up Separate Bins Biodegradable Waste Bin: Non-Biodegradable Waste Bin: 2. Educate Your Household 3. Composting Biodegradable Waste 4. Recycling Non-Biodegradable Waste Benefits of Separating Waste Separating biodegradable and non-biodegradable waste in your kitchen is a simple yet effective way to contribute to environmental sustainability. By setting up separate bins, educating your household, and participating in composting and recycling programs, you can significantly reduce your kitchen waste’s impact on the environment. Start implementing these practices today and take a step towards a cleaner, greener future.

Essential Cleaning Tools for the Kitchen: Your Guide to a Sparkling Clean Space

 A clean and organized kitchen is essential for a healthy and functional cooking environment. To achieve that pristine sparkle, you need the right cleaning tools and supplies on hand. Explore the must-have cleaning tools and supplies that every kitchen needs to stay tidy, hygienic, and organized. 1. Microfiber Cleaning Cloths:  2. All-Purpose Cleaner:  3. Sponge or Scrubber:  4. Dish Soap:  5. Baking Soda:  6. Vinegar:  7. Rubber Gloves:  8. Stainless Steel Cleaner: With the right cleaning tools and supplies, you can keep your kitchen sparkling clean, organized, and inviting. From microfiber cleaning cloths and all-purpose cleaner to baking soda and vinegar, these essential cleaning tools will help you tackle any cleaning task with ease and efficiency. So, stock up on these must-have cleaning supplies and enjoy a cleaner and more enjoyable kitchen environment.

Green Cleaning in the Kitchen: Eco-Friendly Methods for a Healthier Home

Cleaning the kitchen is an essential task, but it doesn’t have to involve harsh chemicals that can harm your health and the environment. Explore the concept of green cleaning and share eco-friendly methods and natural cleaning products that are safe, effective, and sustainable. From reducing waste to protecting indoor air quality, adopting green cleaning practices in the kitchen can contribute to a healthier home and planet. 1 Benefits of Green Cleaning: 2. Eco-Friendly Cleaning Methods: 3. Natural Cleaning Products: Green cleaning in the kitchen offers numerous benefits for both your health and the environment. By adopting eco-friendly cleaning methods and using natural cleaning products, you can create a safer, healthier home while reducing your environmental footprint. Whether you’re wiping down countertops, washing dishes, or deep cleaning appliances, choosing green cleaning practices is a simple yet impactful way to make a positive difference for yourself and future generations.

Cleaning and Caring for Kitchen Backsplashes

A kitchen backsplash not only adds a stylish touch to your cooking space but also serves as a protective barrier against spills, splashes, and stains. To keep your kitchen backsplash looking pristine, it’s essential to understand the best practices for cleaning and maintaining it, especially since different materials require different care. Here’s a comprehensive guide on how to clean and care for backsplashes made of tile, glass, stainless steel, and other materials. Tile Backsplashes Tile backsplashes, whether ceramic, porcelain, or natural stone, are popular for their durability and aesthetic appeal. However, the grout lines can be prone to staining and require special attention. Cleaning Tips Maintenance Glass Backsplashes Glass backsplashes are sleek and modern, offering a reflective surface that can make your kitchen appear larger and brighter. They are relatively easy to clean but can show fingerprints and smudges. Cleaning Tips Maintenance Stainless Steel Backsplashes Stainless steel backsplashes offer a contemporary and industrial look. They are resistant to heat and stains but can show fingerprints and water spots. Cleaning Tips Maintenance Other Materials Backsplashes can be made from various other materials such as marble, granite, or laminate, each requiring specific care. Marble and Granite Laminate General Tips for All Backsplashes Proper cleaning and maintenance of your kitchen backsplash can keep it looking pristine and extend its life. Whether you have a tile, glass, stainless steel, or another type of backsplash, following these best practices will ensure your kitchen remains a stylish and functional space.

How to Remove Hard Water Stains in the Kitchen

Hard water stains can be an eyesore, leaving unsightly marks on faucets, sinks, and dishware. Fortunately, there are effective ways to tackle these stains using both natural and commercial cleaning products. Here’s a guide to help you keep your kitchen surfaces sparkling clean. What Are Hard Water Stains? Hard water stains are caused by the buildup of minerals, primarily calcium and magnesium, left behind when water evaporates. These minerals can leave white, chalky deposits on various surfaces, making your kitchen look less than pristine. Natural Cleaning Solutions Natural cleaning products are a great first line of defense against hard water stains. They are environmentally friendly, non-toxic, and often just as effective as their commercial counterparts. Here are a few natural solutions to try: Commercial Cleaning Products If natural solutions aren’t cutting it, there are several commercial products specifically designed to tackle hard water stains: Preventing Hard Water Stains Prevention is key to keeping your kitchen surfaces free of hard water stains. Here are some tips to help: Hard water stains in the kitchen can be a nuisance, but with the right approach, they can be effectively removed and prevented. Whether you prefer natural solutions or commercial products, there’s a method to suit your needs and keep your kitchen looking its best. Regular maintenance and preventative measures will go a long way in ensuring your kitchen remains stain-free and sparkling clean.

Organizing and Cleaning Your Spice Rack: Tips for a Fresh and Tidy Kitchen

A well-organized spice rack is a game-changer in any kitchen. It keeps your spices fresh, easily accessible, and free from dust and spills. Here are some practical tips to help you organize and clean your spice rack, transforming it into a functional and tidy space. Empty and Clean Your Spice Rack Before you start organizing, it’s essential to empty and thoroughly clean your spice rack. Follow these steps: Procedure: Check Expiration Dates Spices lose their potency over time. Checking the expiration dates is crucial to ensure your spices are fresh and flavorful. Procedure: Sort and Categorize Your Spices Organizing your spices into categories makes them easier to find and use. Procedure: Choose the Right Storage Solutions Selecting the right storage solutions can make a big difference in keeping your spice rack organized and accessible. Ideas: Label Everything Clear labeling is key to maintaining an organized spice rack. Procedure: Store Spices Properly Proper storage is essential for keeping your spices fresh and flavorful. Tips: Regular Maintenance Maintaining your spice rack regularly ensures it stays clean and organized. Procedure: An organized and clean spice rack not only enhances the functionality of your kitchen but also makes cooking more enjoyable. By following these tips for organizing and cleaning your spice rack, you can keep your spices fresh, easily accessible, and free from dust and spills. Take the time to set up a system that works for you and enjoy the benefits of a well-organized kitchen.

Cleaning and Caring for Wooden Kitchen Cabinets

Wooden kitchen cabinets are a timeless feature in many homes, adding warmth and elegance to the kitchen. However, to keep them looking their best and lasting for years, they require proper cleaning and care. In this blog post, we’ll explore effective methods for cleaning and maintaining wooden kitchen cabinets, ensuring they stay beautiful and functional. Understanding Your Wood Finish Before diving into cleaning and care tips, it’s important to understand the type of finish on your wooden cabinets, as this can influence the cleaning method you use: Cleaning Wooden Kitchen Cabinets 1. Regular Dusting What You Need: Steps: 2. Gentle Cleaning What You Need: Steps: 3. Removing Grease What You Need: Steps: 4. Treating Stains What You Need: Steps: Caring for Wooden Kitchen Cabinets 1. Refinish or Reapply Protective Coatings What You Need: Steps: 2. Avoid Excess Moisture Tips: 3. Use Cabinet Protectors What You Need: Steps: 4. Addressing Scratches and Dings What You Need: Steps: 5. Maintain Proper Ventilation Tips: Wooden kitchen cabinets can add lasting beauty and value to your home, but they require regular cleaning and maintenance to keep them in top shape. By following these cleaning and care tips, you can ensure your cabinets remain beautiful and functional for years to come. With a little effort and attention, your wooden cabinets will continue to be a stunning feature of your kitchen.