Elevate Your Culinary Creations: Use a Vegetable Peeler to Thinly Slice Vegetables for Salads and Stir-Fries
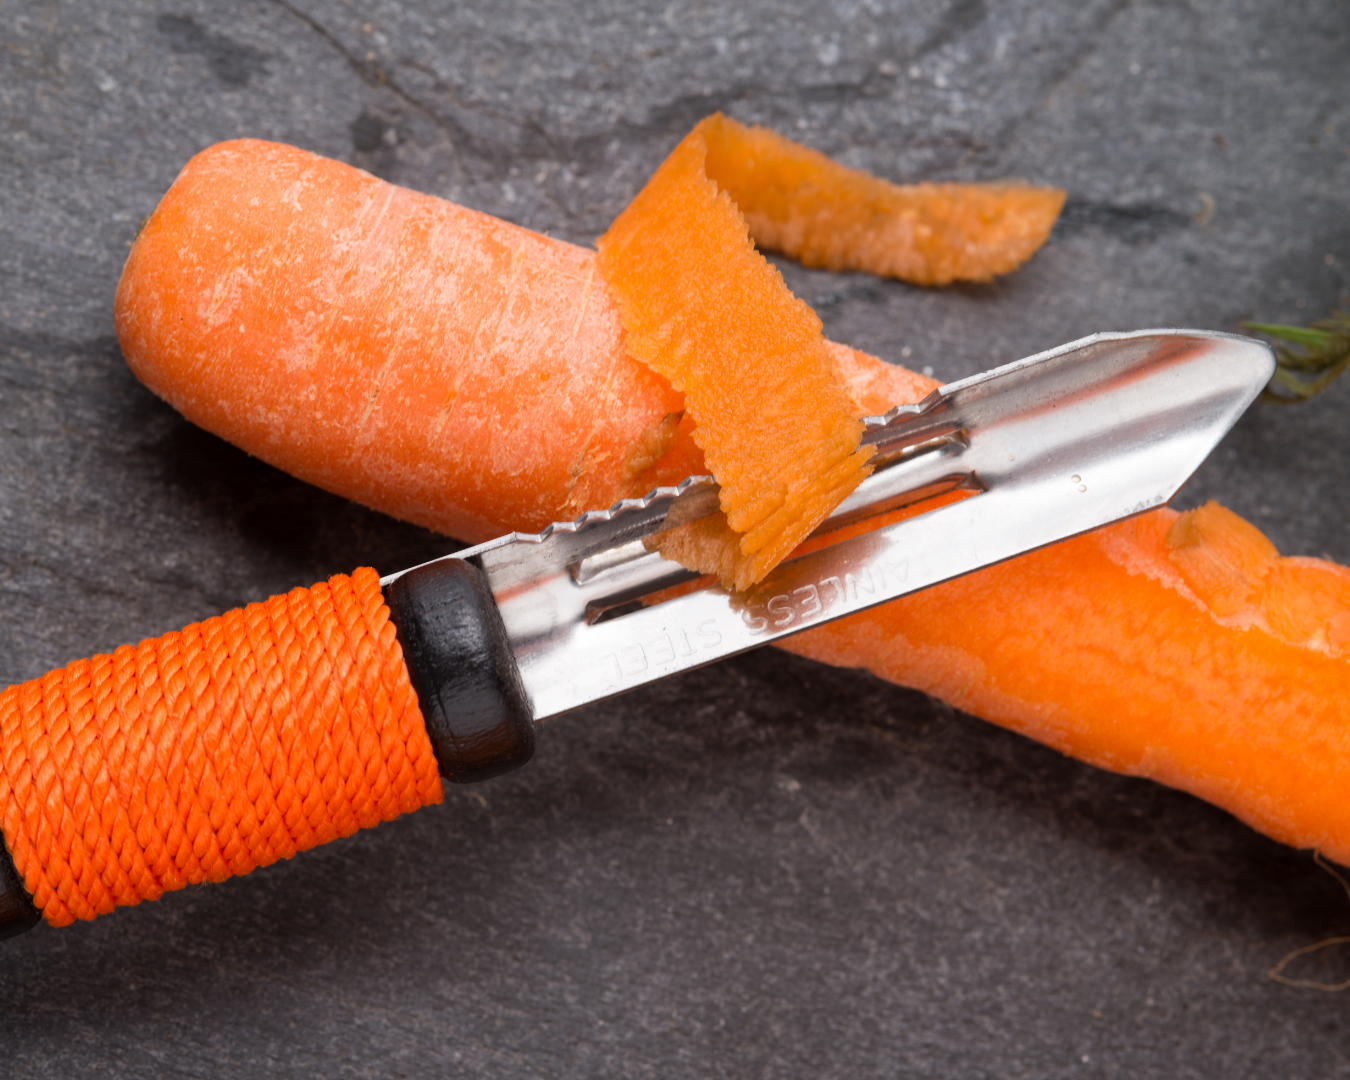
In the kitchen, simplicity often yields the best results. One tool that embodies this principle is the humble vegetable peeler. Traditionally used for removing skins from vegetables, this versatile tool can be a game-changer when it comes to preparing salads and stir-fries. By using a vegetable peeler to thinly slice vegetables, you can transform your dishes with ease and elegance. Here’s how this simple trick can elevate your culinary creations. Why Use a Vegetable Peeler for Slicing? How to Use a Vegetable Peeler for Slicing Vegetables Creative Uses for Thinly Sliced Vegetables A vegetable peeler is more than just a tool for removing skins; it can be your secret weapon for creating beautifully thin slices of vegetables that enhance both the flavor and presentation of your dishes. By incorporating this simple technique into your culinary repertoire, you can effortlessly elevate everyday meals into visually stunning and delicious creations. So next time you’re preparing a salad or stir-fry, reach for your vegetable peeler and discover the difference it can make.