Cutting Fruits and Vegetables 101
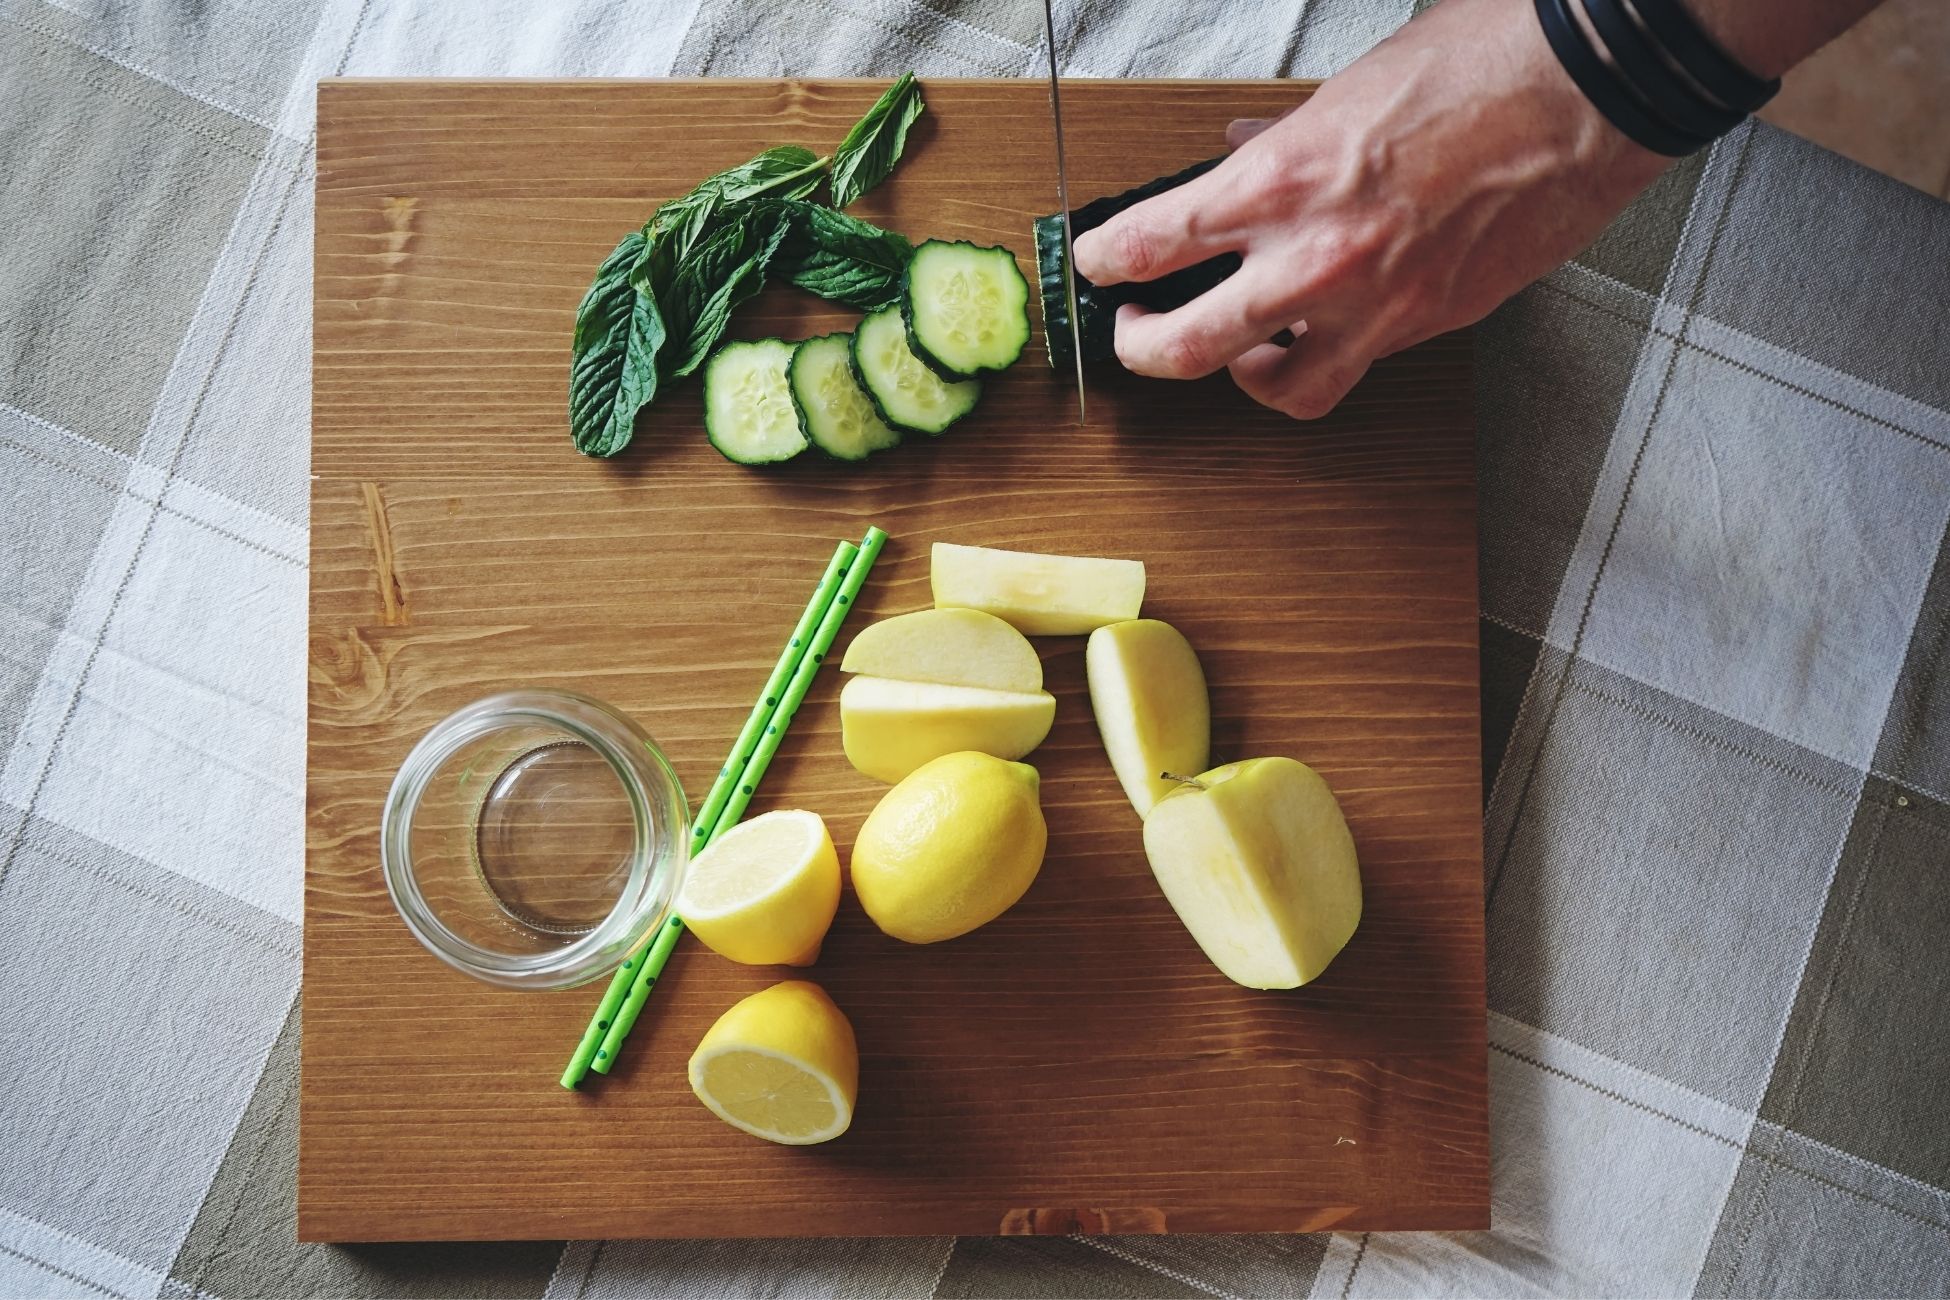
Cutting fruits and vegetables is all in the grip. There are 4 tips for safer and smarter chopping you can follow. Making sure the cutting board won’t slip Using the “claw grip” method when cutting Stabilizing your food Keeping your knives sharp Keep Your Cutting Board From Slipping You first want to make sure your cutting board isn’t moving around while you’re using it. Chopping on an unstable surface could potentially lead to accidents. Some boards come with rubber feet on the bottom which are great for stabilizing the board. If yours doesn’t, use a damp kitchen towel or a rubber mat underneath the cutting board. The Claw Grip Protect your finger while also stabilizing your ingredient with the “claw grip”. This method takes your non-dominant hand’s fingers to form a claw. Press your fingertips and a bit of your fingernails into the food itself to hold it stable. It also protects your fingers in case the knife slips. As you move down the food and the pieces get smaller, it’s important to curl and tuck your fingertips under as you grip the food. This will also help grip your ingredient as it continues to shrink. Put the Cut Side Down You want to create a flat surface to secure your food. Doing so will prevent any rocking or slipping while cutting. For example, if you are cutting an onion you want to prevent it from rolling around on the table. Cut the onion in half and place the cut side down before chopping it into pieces. Combining this method with the claw grip will ensure you can safely and securely cut any fruit or vegetable. Keep Knives Sharp If you’re struggling to cut through a potato, it may be time to sharpen your knife. A knife should easily cut through ingredients without damaging them. A dull knife can be more dangerous than a sharp one since it requires more pressure which could cause you to lose your grip. You can take your knife to be professionally sharpened at least once every six months or more depending on use. Source: Simply Recipes