How to Grill Pizza
Posted on Posted in Cooking
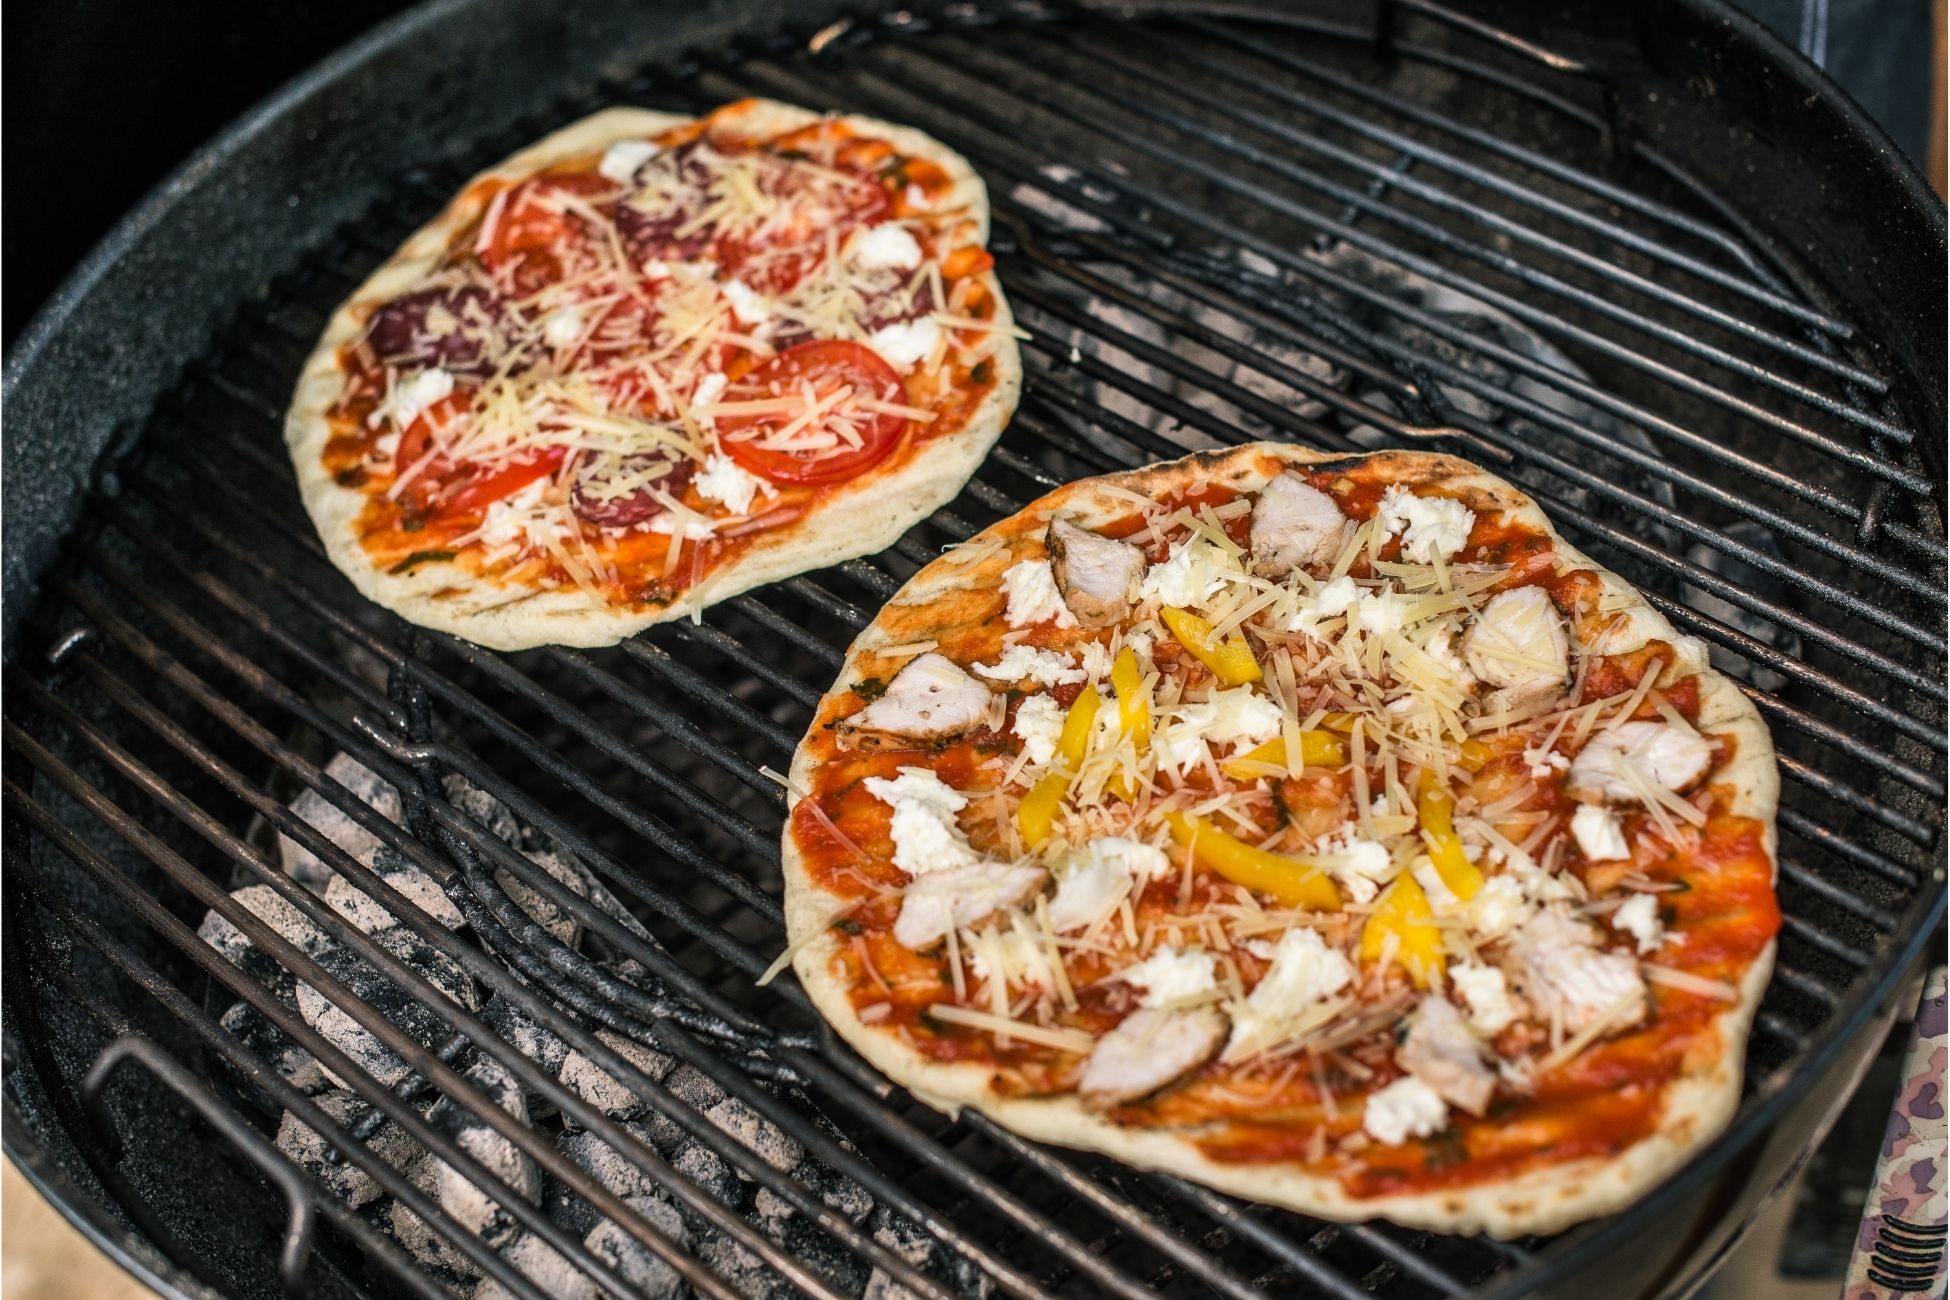
Grilling pizza might seem a bit confusing at first, but can offer you greater flavor than an oven normally would. The charcoal better mimics the wood fired ovens that pizzas are normally made in. It also leaves the heat outside during a hot summer day, no firing up an oven and making your home hotter than it should be! The dough doesn’t fall through the grates and will form a lightly browned crust if prepared correctly.
Servings: 4 to 6 servings
Yield: 2 Grilled Pizzas
Ingredients:
- Pizza dough
- Extra virgin olive oil
- Pizza toppings: tomato sauce, herbs, mozzarella cheese, thinly sliced onions, tomatoes, mushrooms, or pepperoni
- All-purpose flour or corn meal to dust the cookie sheet or pizza peel
Directions:
- Make the dough: You can either make pizza dough from scratch or use prepared pizza dough. Both will work.
- Prep grill and toppings: Prepare the grill for high direct heat. Prepare a small bowl with olive oil for greasing the grill grates and for brushing the pizza. Prepare the toppings so they are ready to go on the pizza—tomato sauce, cheese, and anything else you wish.
- Stretch and shape the pizza dough: Shape the pizza dough by flattening it with your hands on a lightly floured surface. Either use your fingers to stretch the dough out, or hold up the edges of the dough with your fingers, letting the dough hang and stretch, while working around the edges of the dough.
Once you’ve stretched the dough, let it sit for 5 minutes and then push out the edges with your fingers again, until you have a nice round shape, about 12-inches in diameter. Do not make a raised rim, it will interfere with the grilling process.
Note that if you are preparing the pizza dough for a party, you can make several pizza dough rounds, stack them separated by parchment paper, and keep them in the refrigerator for up to two hours before cooking. - Grill one side of the pizza dough: Once the grill is hot (you can hold your hands an inch over the grates for no more than 2 seconds), dip a tightly folded up paper towel in olive oil and use tongs to wipe the grill grates.
Then place a pizza dough round on a lightly floured (or you can use cornmeal) rimless cookie sheet (or pizza peel if you have one).
Let the dough slide off the cookie sheet onto the hot grill grates.
Close the lid of the grill and let cook for 2 minutes. - Check the dough and look for air bubbles: After 2 minutes, open the grill and check underneath the dough to see if it is getting browned. If it is on one side, but not another, use a spatula or tongs to rotate the dough 90 degrees and cook for another minute.
If it is not beginning to brown, cover the grill and continue to cook a minute at a time until the bottom has begun to brown.
It should only take a couple minutes if you have a hot grill. The top of the pizza dough will start bubbling up with air pockets. - Remove grilled dough and flip it over onto a cookie sheet: Once the pizza dough has browned lightly on one side, use your cookie sheet or pizza peel to remove it from the grill. Use a spatula to flip the dough over so that the grilled side is now up. Keep the grill covered so it retains its heat for the next step.
- Brush with olive oil, add toppings: Paint the grilled surface of the pizza with a little extra virgin olive oil, then cover with 1 ladle of sauce – no more, or you’ll end up with a soggy pizza.
Sprinkle on your toppings, ending with Mozzarella cheese (if using), and if using meat, put that over the cheese.
Remember to go light on the toppings, or your pizza will be heavy and soggy. - Slide the topped pizza back onto the grill: If you are using a gas grill, reduce the heat. If working with a charcoal grill, close the vents on the cover almost all the way. Close the lid and cook for 2-3 minutes more, or until the bottom begins to char and the cheese is bubbly. Pull off the grate with a spatula onto a cutting board or other flat surface and let rest for a couple minutes before cutting into slices.
- Slice and serve!
Source: Simply Recipes