Creative Ways to Get Picky Eaters to Try New Foods
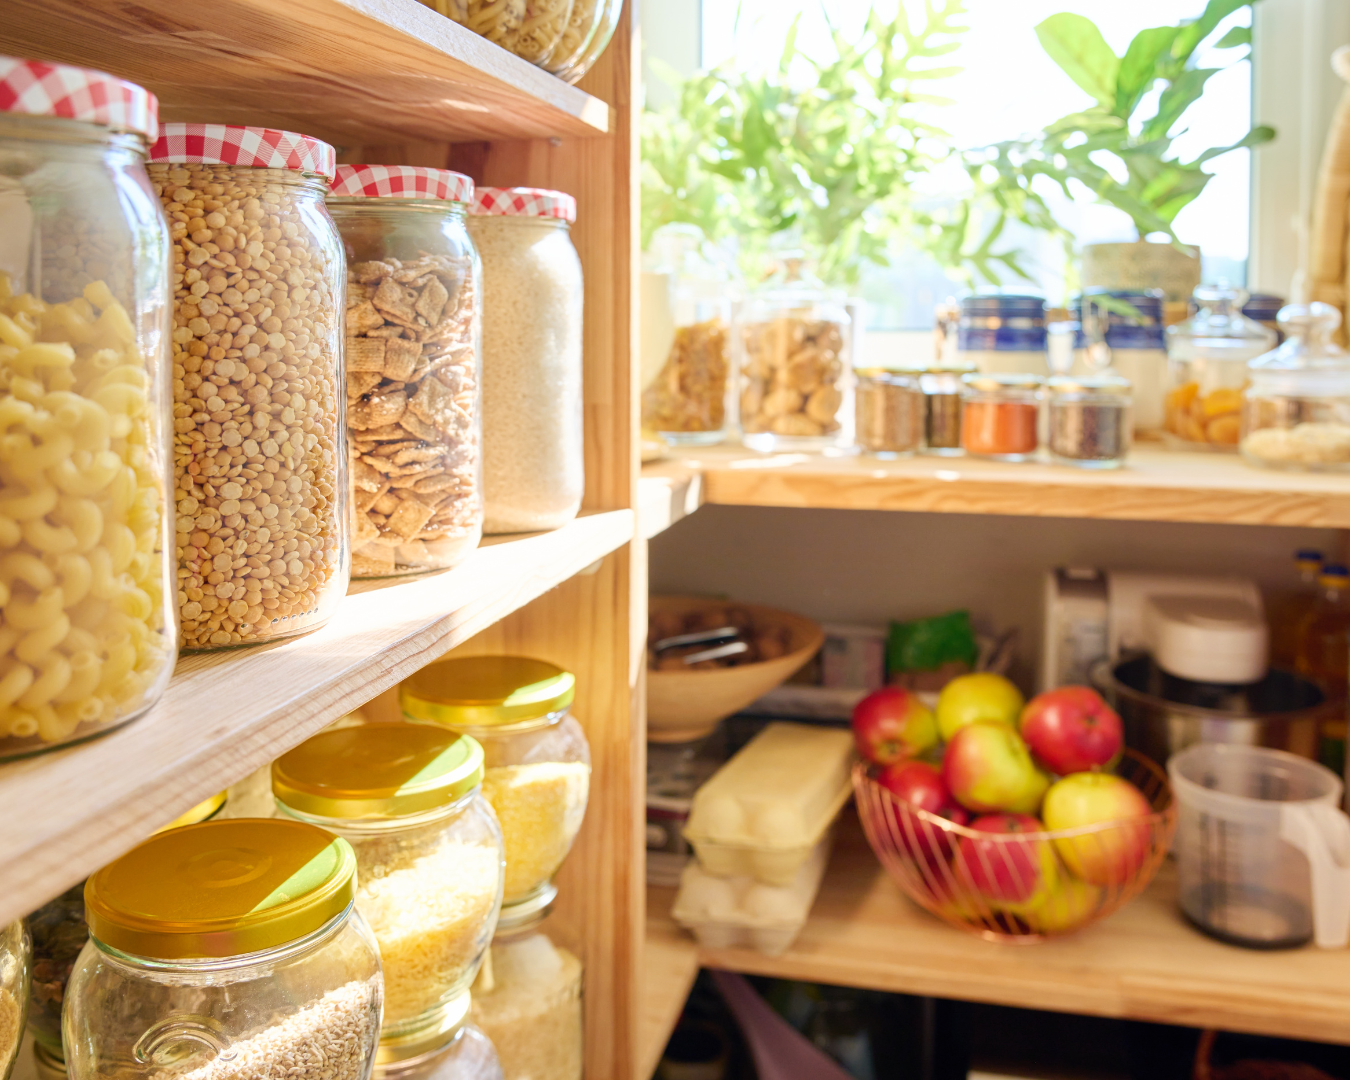
Getting picky eaters, especially children, to try new foods can be a challenging task for many families. However, with a bit of creativity and patience, you can encourage even the fussiest eaters to expand their palate. Here are some fun and effective strategies to help your family embrace a wider variety of foods. Involve Them in Meal Prep Why It Works: Kids are more likely to try foods they’ve helped prepare. How-To: Invite your children to join you in the kitchen. Let them wash vegetables, stir ingredients, or even help with simple chopping (under supervision). When kids are involved in the cooking process, they feel a sense of ownership and curiosity about the food they’ve helped create. Make Food Fun Why It Works: Presentation can make new foods more appealing. How-To: Use cookie cutters to create fun shapes out of fruits, vegetables, and sandwiches. Arrange foods into smiley faces or animals on the plate. The playful presentation can make mealtime more enjoyable and enticing for picky eaters. Create a Food Adventure Why It Works: Turning mealtime into an adventure can make trying new foods exciting. How-To: Introduce a theme night, such as “Around the World,” where you explore cuisines from different countries. Use maps or stories to explain the origins of the dishes. The educational element can pique children’s interest and make them more willing to try new flavors. Offer a Dip Why It Works: Dipping can make unfamiliar foods more palatable. How-To: Provide a variety of healthy dips like hummus, yogurt-based dressings, or guacamole. Let your child dip vegetables, fruits, or new foods into their favorite sauce. The familiar taste of the dip can help ease the introduction of new foods. Sneak in the New Why It Works: Gradual introduction can help children get used to new tastes. How-To: Mix small amounts of new foods with their favorite dishes. For example, add finely chopped vegetables to pasta sauce or blend fruits into smoothies. Gradually increase the amount of the new ingredient over time as they become accustomed to the taste. Be a Role Model Why It Works: Children often imitate the eating habits of adults. How-To: Show enthusiasm for trying new foods yourself. Eat a variety of healthy foods and express enjoyment. When kids see you enjoying different foods, they are more likely to follow suit. Introduce One New Food at a Time Why It Works: Avoiding overwhelming choices can make the process smoother. How-To: Introduce new foods one at a time alongside familiar favorites. This approach allows your child to focus on and assess the new food without feeling pressured by too many options. Encourage Taste Tests Why It Works: Small, pressure-free bites can build acceptance. How-To: Set up a “taste test” where your child is encouraged to take just one bite of a new food. Praise them for trying, regardless of whether they like it. Sometimes it takes multiple exposures before a child accepts a new food. Use Positive Reinforcement Why It Works: Rewards can motivate children to try new foods. How-To: Offer praise or small rewards for trying new foods. Create a sticker chart where they can earn a sticker for each new food they try, and offer a small prize when they reach a certain number of stickers. Make it a Family Activity Why It Works: Group experiences can reduce resistance. How-To: Plan family activities around food, such as visiting a farmers’ market or going on a pick-your-own produce outing. Let your child choose new fruits or vegetables to try at home. The involvement and choice can make them more open to trying new foods. By incorporating these creative strategies into your mealtime routine, you can help your picky eater become more adventurous with their food choices. Remember, patience and persistence are key. Celebrate small victories and continue to introduce new foods in a fun and positive way.