air fryer baking

National Chocolate Chip Cookie Day: Why Your Air Fryer Makes the Best Cookies You’ve Ever Baked at Home

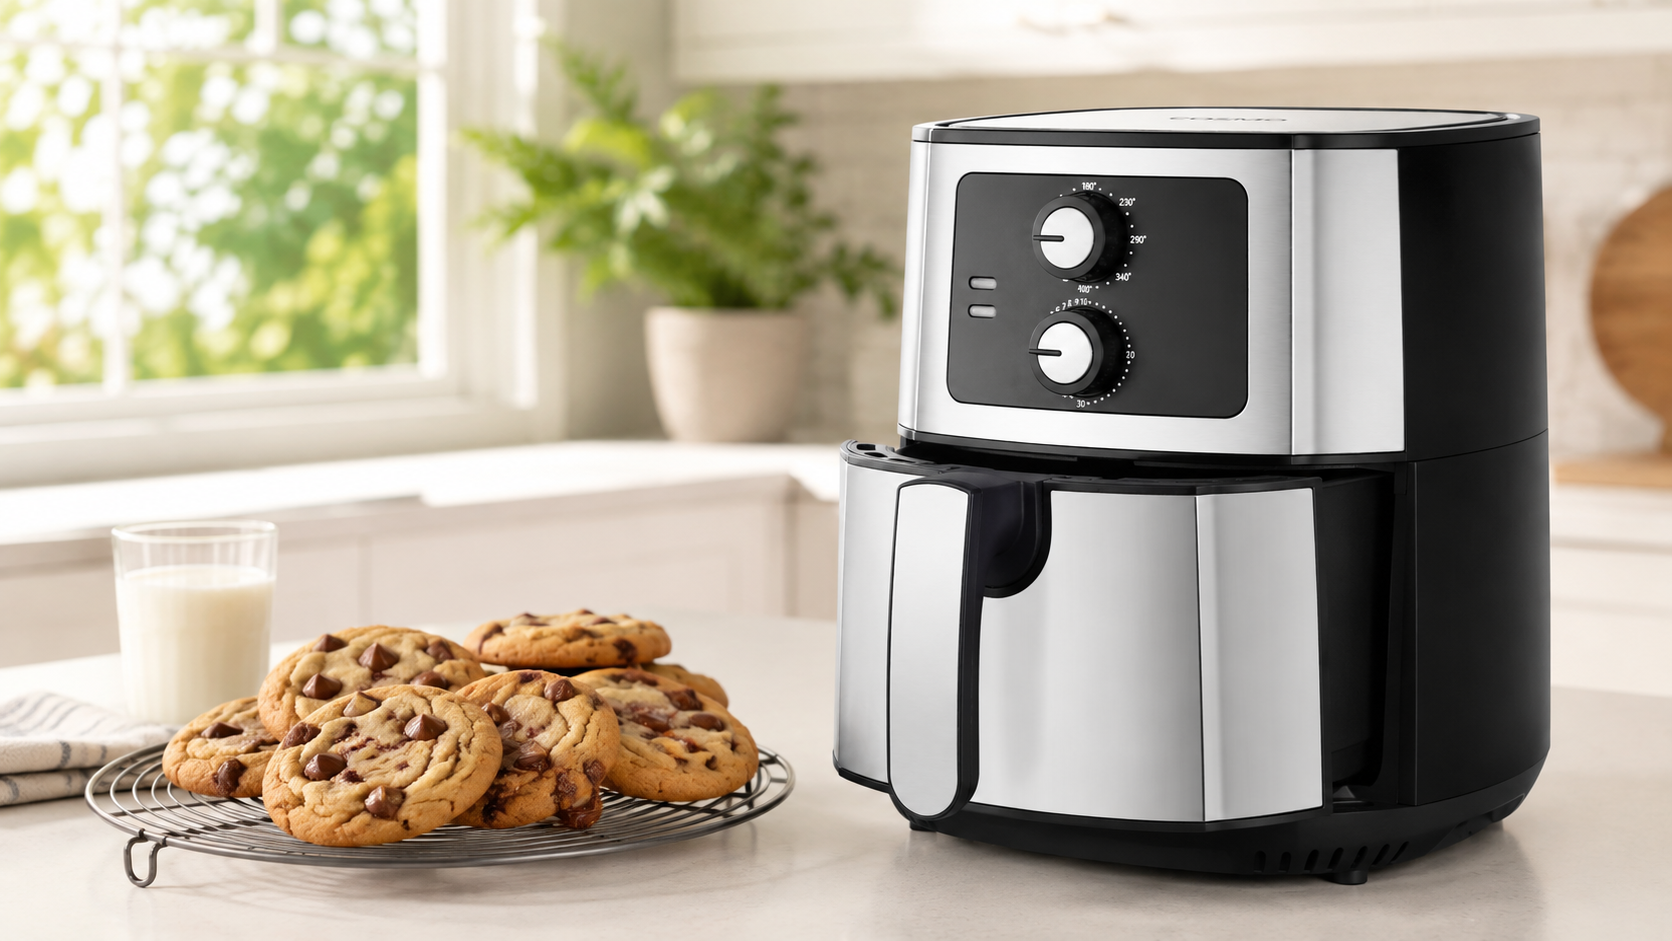
National Chocolate Chip Cookie Day lands on August 4th, and it deserves a better response than pulling a bag of pre-made dough from the refrigerator and waiting 12 minutes for the oven to do something predictable. The chocolate chip cookie is the most beloved baked good in American culture for reasons worth honoring properly — and properly, in this context, means making cookies that are genuinely extraordinary rather than merely good. The unexpected way to do that in 2026 is the air fryer. Not because air fryers are a novelty, and not because oven cookies are bad — but because the air fryer’s specific cooking environment produces a chocolate chip cookie with a particular combination of qualities that conventional oven baking struggles to achieve consistently: deeply caramelized, slightly crispy edges that give way to a center that stays soft, gooey, and almost molten at the core even after the cookie has cooled. The high-speed circulating air that makes the air fryer excellent for chicken and fries applies equally well to cookie baking — and the results, once you’ve experienced them, make the air fryer your default cookie appliance going forward. Why the Air Fryer Produces a Different Cookie Than Your Oven Before the recipes, understanding what the air fryer actually does to cookie dough that a conventional oven doesn’t explains why the results differ so meaningfully. Faster Surface Heat Means More Caramelization: The air fryer’s circulating hot air transfers heat to the cookie’s surface more rapidly and more evenly than conventional oven radiant heat. This faster surface heating accelerates the Maillard reaction and caramelization at the cookie’s edges and bottom before the interior has fully set — creating the deeply golden, slightly crispy edge texture that defines a great cookie. The oven can achieve this too, but it requires more precise timing and the result is less forgiving because the heat transfer is slower and less even. Small Batch Advantage: A conventional oven preheats for 10-15 minutes to bake a full sheet pan of 18-24 cookies. The air fryer reaches temperature in 3-5 minutes and bakes 4-6 cookies at a time in 8-10 minutes. For National Chocolate Chip Cookie Day — or any occasion where you want fresh hot cookies without committing to producing two dozen — the air fryer’s small batch capability is genuinely transformative. Fresh cookies on demand in under 15 minutes from cold start to eating. Heat From All Sides Simultaneously: The oven heats primarily from below (bottom element) and above (top element or convection fan), with significant variation between the two. The air fryer’s circulating air heats the cookie from all sides simultaneously — the bottom, the top, and the sides all develop color and texture at comparable rates. The bottom doesn’t over-brown while the top stays pale, which is a common oven baking frustration. Summer Kitchen Advantage: Preheating a conventional oven to 375°F and running it for 30-45 minutes of cookie baking adds significant heat to your kitchen during summer months when you’re already fighting ambient heat. The air fryer heats a compact cavity to temperature in minutes and generates a fraction of the kitchen heat for the same result. National Chocolate Chip Cookie Day falls in early August — peak summer — which makes the air fryer’s lower heat output not just convenient but genuinely comfortable. The Fundamentals of Air Fryer Cookie Baking Before the recipes, the technique principles that determine success in the air fryer. Temperature Is Lower Than the Oven: Most cookie recipes written for conventional ovens call for 350-375°F. In the air fryer, reduce this to 320-340°F. The more efficient heat transfer of circulating air means the cookie’s exterior browns faster at equivalent temperatures — a 375°F air fryer cookie is typically over-browned on the outside before the center sets properly. Starting at lower temperatures produces the right balance. Time Is Shorter Than You Think: Air fryer cookies bake in 7-10 minutes rather than the 11-14 minutes most oven recipes specify. Check at 7 minutes. The cookies will look underdone — they should. They continue cooking from residual heat for 2-3 minutes after you remove them from the air fryer. Pulling them at apparent underdone is what produces the soft, gooey center that sets to the right texture on cooling. Parchment Is Essential: Cookie dough in contact with the air fryer basket’s mesh surface sticks and tears when you try to remove it. Parchment paper cut to fit the basket — with small holes poked through it to allow air circulation beneath — allows cookies to release cleanly and produces better bottom browning than a solid parchment layer would. Pre-cut air fryer parchment liners with perforations are widely available and worth keeping on hand. Don’t Crowd the Basket: Air fryer cookie baking requires leaving significant space between cookies — they spread during baking and need room to expand without merging. Four cookies maximum in a standard 5-6 quart air fryer, spaced well apart. Crowding produces merged flat sheets rather than individual cookies. Chill the Dough: Cold dough spreads more slowly during baking, which gives the exterior more time to set before the cookie flattens completely — producing a thicker cookie with better texture than room temperature dough. Rest your dough in the refrigerator for at least 30 minutes before baking. Chilled dough also handles more easily for portioning. The Classic Chocolate Chip Cookie The baseline recipe that everything else builds from — made for the air fryer from the ground up rather than adapted from an oven recipe. Ingredients: Brown Butter First: Melt the butter in a light-colored saucepan over medium heat, stirring occasionally. Continue cooking past the point where it melts — the butter will foam, the foam will subside, and the milk solids will begin turning golden brown and producing a nutty aroma. This takes 5-7 minutes. Pour immediately into a large mixing bowl and let cool for 15 minutes. Browning butter removes water content and adds a nutty, caramel complexity that makes the cookie’s flavor noticeably more

Air Fryer Blonde Brown Sugar Brownies: The Chewy Bar No Oven Required

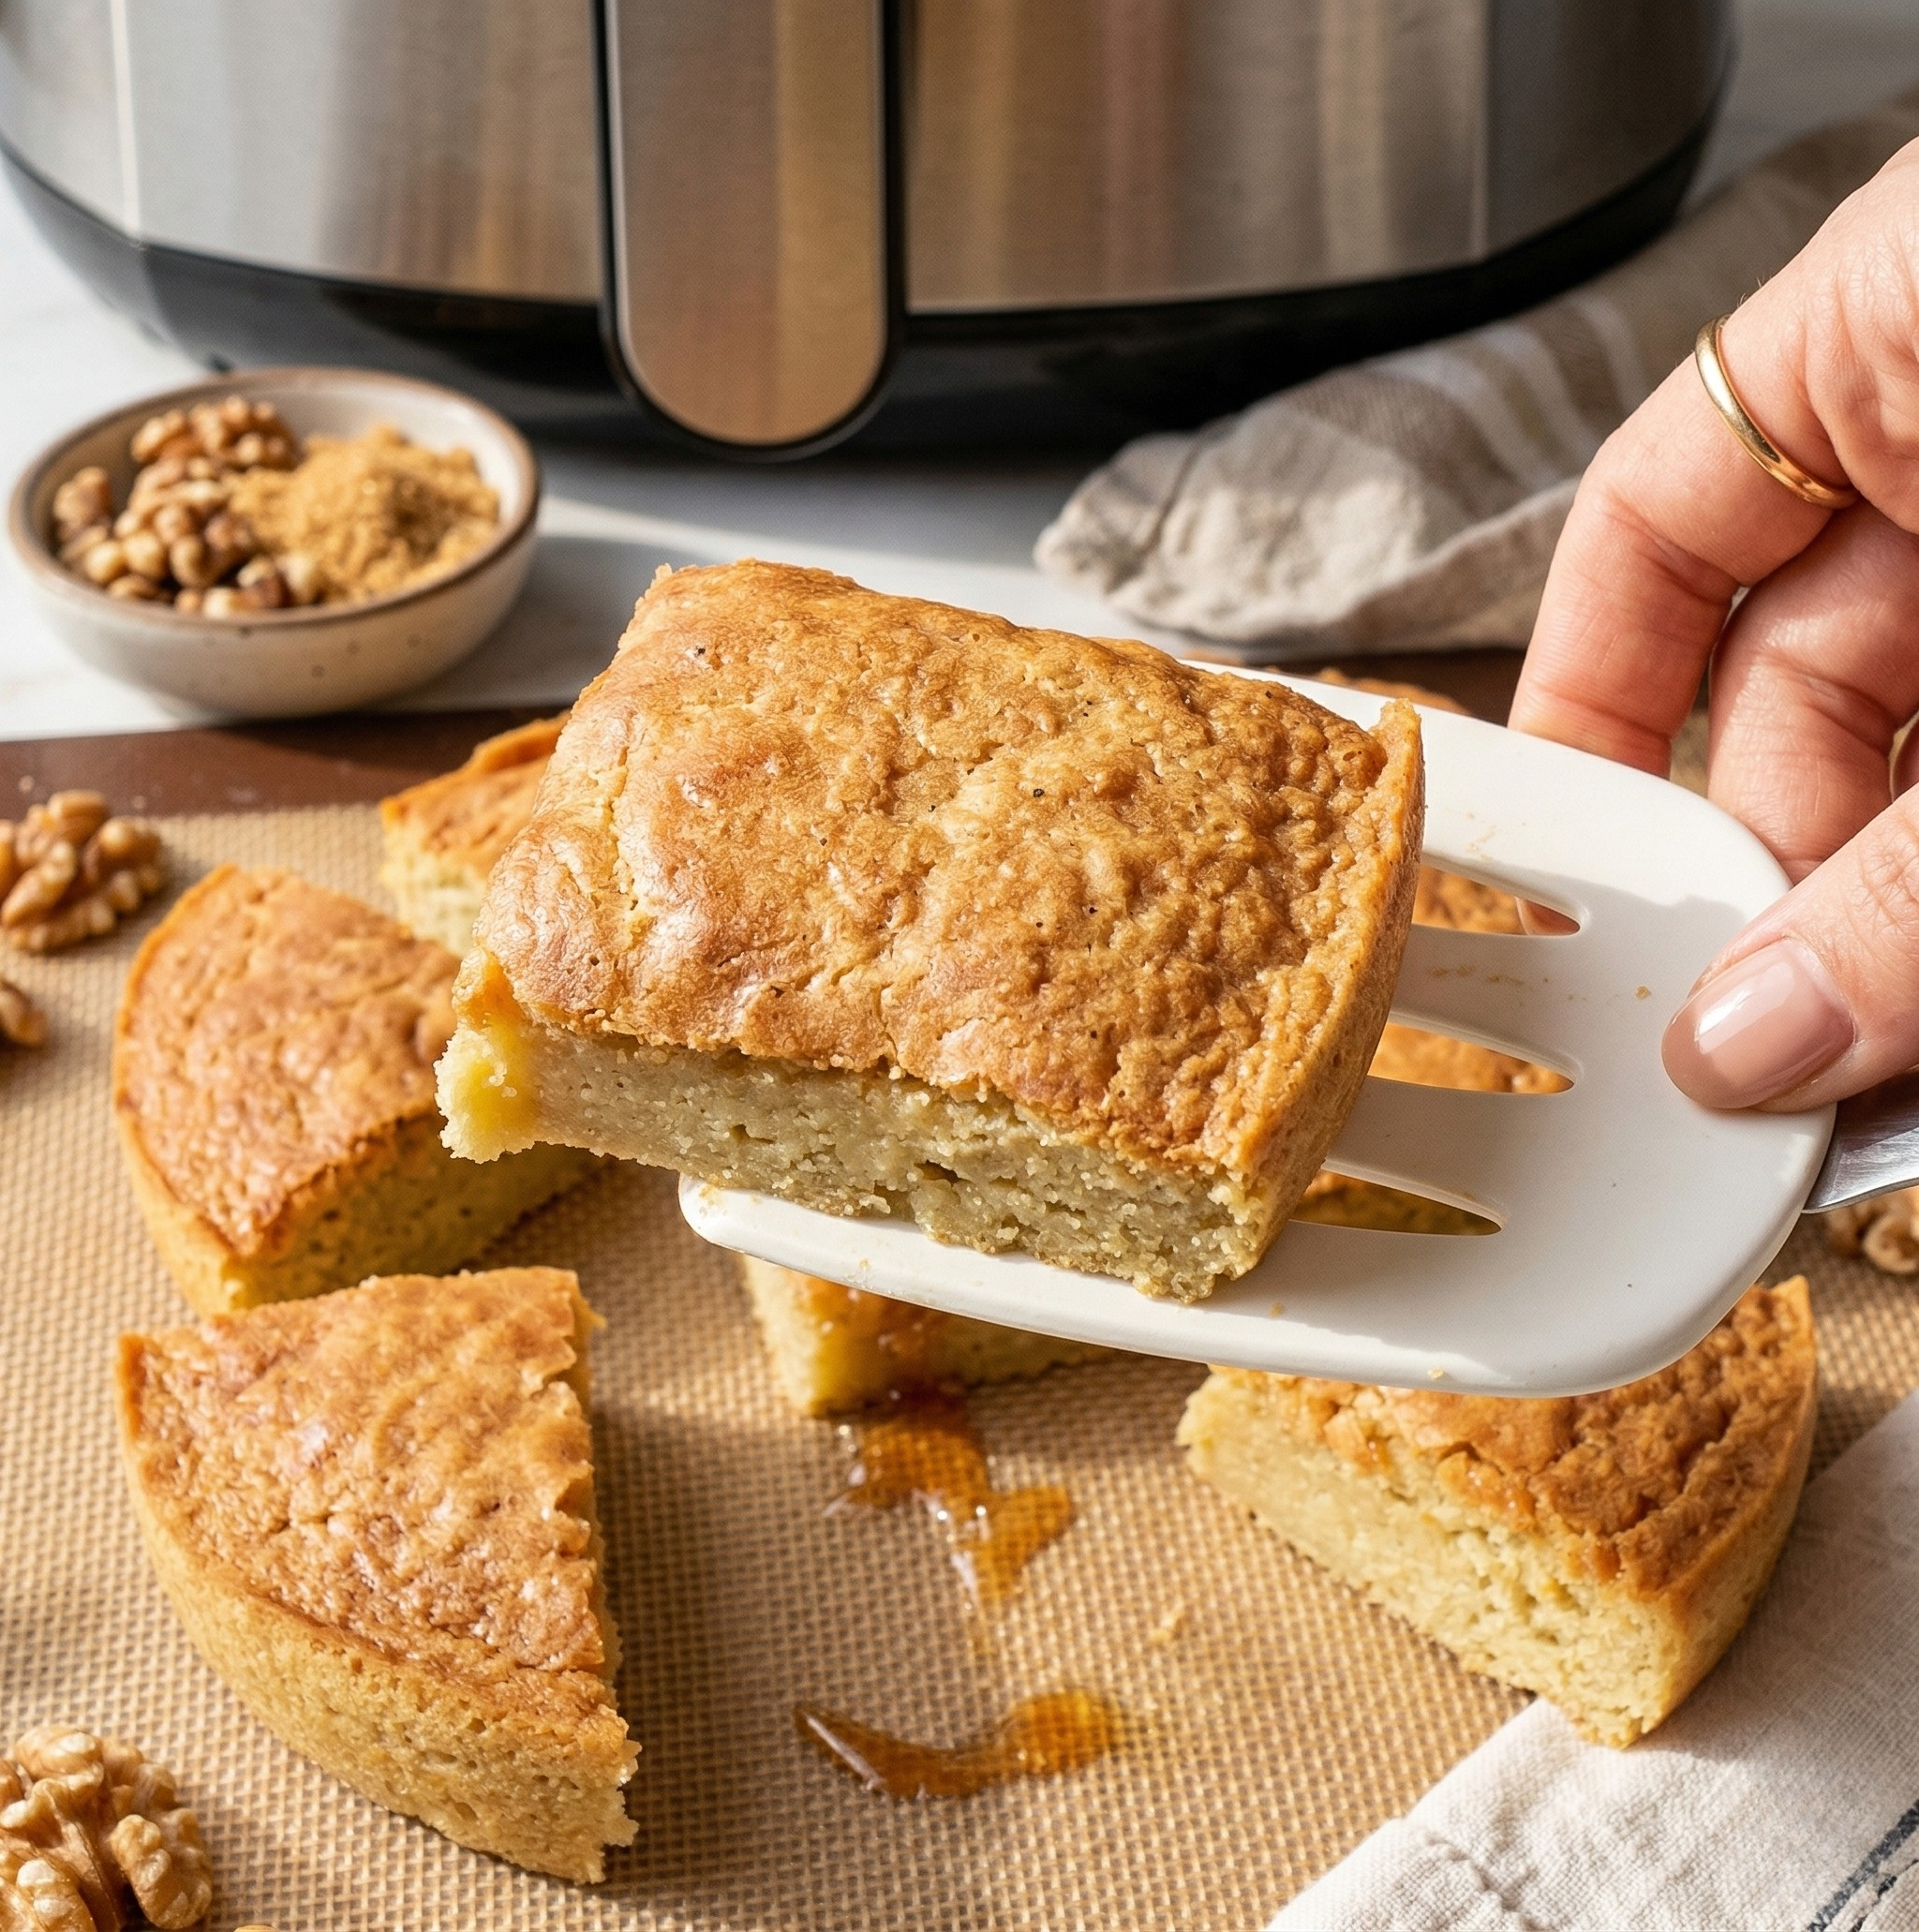
Brownies without chocolate sound wrong until you taste blondies. These brown sugar bars deliver chewy edges, soft centers, and butterscotch-like flavor without needing your oven. Air fryer blondies cook faster than traditional oven versions, creating golden tops and gooey middles in about ten minutes. The circulating heat produces even baking in a fraction of the time. Here’s how to make rich, chewy blonde brownies in your air fryer with simple pantry ingredients and minimal cleanup. What You’ll Need Dry Ingredients: Wet Ingredients: Equipment: Step-by-Step Instructions Step 1: Mix the Dry Ingredients In a mixing bowl, combine 1 and 2/3 cups flour, 1/2 teaspoon salt, and 1 teaspoon baking powder. Whisk together until evenly distributed. Set aside. Step 2: Combine the Wet Ingredients In a separate bowl (or the same bowl if you mixed dry ingredients first and set them aside), mix 1 cup brown sugar, 2 tablespoons melted butter, 1 large egg plus 1 egg yolk, and 1 teaspoon vanilla extract. Whisk until smooth and sugar dissolves into the mixture creating thick, glossy batter. The extra egg yolk adds richness and creates fudgier texture compared to using only whole eggs. Step 3: Combine Wet and Dry Add the dry ingredient mixture to the wet ingredients. Stir with spatula until just combined. Don’t overmix—stop when you no longer see dry flour streaks. Overmixing develops gluten creating tough brownies instead of tender ones. The batter will be thick and somewhat sticky, which is correct consistency for blondies. Step 4: Prepare the Pan Grease your shallow air fryer-safe pan with butter or non-stick spray. Pour the blondie batter into the prepared pan, spreading it evenly to the edges with spatula. Use shallow pan rather than deep pan. Shallow pans allow better air circulation creating even cooking. Deep pans trap heat unevenly leaving undercooked centers. Step 5: Air Fry Place the pan in your preheated air fryer. Cook at 340°F for 10 minutes. The blondies are done when the top is golden brown and edges pull away slightly from the pan sides. Check at 8 minutes if your air fryer runs hot. Different models vary in cooking speed, so first batch may require timing adjustment. The center should look set but still slightly soft. Blondies continue cooking from residual heat after removal, so slightly underdone center becomes perfectly chewy after cooling. Step 6: Cool and Serve Remove the pan from the air fryer and let cool for at least 10 minutes before cutting. Cutting immediately creates crumbly mess. Cooling allows structure to set making clean cuts possible. Slice into squares and serve. These blondies taste great warm or at room temperature. Why Brown Sugar Makes the Difference Brown sugar contains molasses creating deeper flavor than white sugar. The molasses adds butterscotch notes and caramel undertones that define blondie taste. The moisture from brown sugar also contributes to chewy texture. White sugar creates crisper baked goods, while brown sugar produces softer, chewier results. Packed brown sugar versus loose brown sugar affects texture. The recipe assumes packed brown sugar measured by pressing firmly into measuring cup. Loose brown sugar reduces sweetness and changes texture. Light brown sugar works fine, but dark brown sugar intensifies the molasses flavor creating more robust taste. Choose based on your preference. Texture Troubleshooting If blondies turn out too cake-like rather than chewy, reduce baking powder to 1/2 teaspoon next time. Less leavening creates denser, fudgier texture. If edges burn before center cooks, lower temperature to 320°F and extend time by 2-3 minutes. Slower cooking prevents edge burning. If center stays gooey after cooling, they needed another minute or two. Air fryer models vary—adjust timing based on your first batch results. Dry, crumbly blondies mean overbaking. Pull them one minute earlier next attempt. Remember they continue cooking after removal. Customization Ideas Add 1/2 cup chocolate chips to batter before baking for chocolate chip blondies. Fold in gently to avoid overmixing. Stir in 1/2 cup chopped nuts (walnuts or pecans) for added crunch and flavor depth. Add 1/4 teaspoon cinnamon to dry ingredients for warm spice notes complementing brown sugar. Drizzle cooled blondies with melted chocolate or caramel sauce for extra indulgence. Press mini chocolate candies or toffee bits on top before air frying for decorated presentation. Storage and Reheating Store leftover blondies in airtight container at room temperature for up to 3 days. They stay chewy when properly sealed preventing moisture loss. Refrigerate for up to one week if kitchen is very warm or humid. Bring to room temperature before serving or warm briefly in microwave. Freeze individual squares wrapped in plastic wrap then placed in freezer bag for up to 3 months. Thaw at room temperature or microwave for 15-20 seconds. Reheat individual portions in microwave for 10-15 seconds to restore warm, gooey texture. Serving Suggestions Serve blondies with vanilla ice cream for simple dessert upgrade. Pair with coffee or cold milk for afternoon snack. Cut into smaller squares for party dessert platters or bake sales. Top with whipped cream and fresh berries for dressed-up presentation. Watch the Video Tutorial Air fryer blondies deliver bakery-quality results in ten minutes without heating your whole kitchen. The brown sugar creates rich butterscotch flavor, the extra egg yolk adds fudgy texture, and the air fryer handles the baking while you handle everything else. Mix ingredients, pour into pan, set timer. Chewy blonde brownies without the oven hassle.

Easy Air Fryer Pumpkin Cookies: Fall Baking Made Simple

Fall baking doesn’t have to heat up your entire kitchen or take hours of your time. These air fryer pumpkin cookies deliver all the warm spices and soft texture you love about pumpkin treats without turning on your oven. Ready in under 15 minutes from start to finish, this recipe proves that air fryers aren’t just for savory foods – they’re secret weapons for quick, delicious baking projects. The beauty of air fryer baking lies in its speed and efficiency. Your air fryer preheats in minutes, bakes faster than a conventional oven, and keeps your kitchen cooler during those early fall days when you’re craving pumpkin flavor but don’t want the heat. These cookies come out soft, flavorful, and perfectly spiced every single time. Why Air Fryer Cookies Work So Well Air fryers circulate hot air around food rapidly, creating an environment similar to a convection oven but in a much smaller space. This concentrated heat means faster baking times and often more consistent results, especially for smaller batches of cookies. The compact cooking chamber of an air fryer maintains temperature more consistently than large ovens that can have hot and cold spots. Your cookies bake evenly without needing to rotate pans halfway through, simplifying the entire process. Energy efficiency becomes a real benefit when you’re baking small batches. Heating a full-size oven for a dozen cookies wastes energy, while an air fryer uses significantly less power and heats only the space needed for your batch. Temperature control in modern air fryers has improved dramatically, allowing for precise baking temperatures that rival conventional ovens. The 350°F setting works perfectly for these cookies, providing gentle heat that bakes them through without burning the edges. Quick preheating means you can go from cookie craving to finished cookies in about 15 minutes total. No waiting 10-15 minutes for your oven to reach temperature – most air fryers are ready in 2-3 minutes. Choosing the Right Ingredients Simple ingredients make these pumpkin cookies accessible to everyone, but making smart choices about each component can significantly improve your results while accommodating different preferences and dietary needs. Flour Selection: All-purpose flour provides the structure for these cookies. Measure accurately using the spoon-and-level method rather than scooping directly from the bag, which can compact flour and lead to dry cookies. Leavening Agents: Both baking soda and baking powder work together to create the perfect texture. Baking soda reacts with the acidity in brown sugar and pumpkin, while baking powder provides additional lift for soft, tender cookies. Spice Quality: Fresh spices make a noticeable difference in flavor. Cinnamon and ginger lose potency over time, so replace spices that have been sitting in your pantry for over a year for the best flavor. Pumpkin Puree: Use plain pumpkin puree, not pumpkin pie filling which contains added sugar and spices. Check the ingredient list – it should say only “pumpkin” with no other additives. Brown Sugar: Packed brown sugar provides moisture and deep, caramel-like sweetness that complements pumpkin beautifully. Light or dark brown sugar both work, with dark providing slightly more molasses flavor. Butter Quality: Real butter creates better flavor and texture than margarine or spreads. Softened butter should be pliable but not melted – leave it at room temperature for about an hour before baking. Ingredients You’ll Need Dry Ingredients: Wet Ingredients: Optional Toppings: Step-by-Step Preparation Technique Success with these cookies comes from proper mixing technique and understanding how the air fryer environment affects baking. Following these steps ensures soft, flavorful cookies every time. Dough Preparation: In a large mixing bowl, whisk together all dry ingredients until well combined. This distributes the leavening agents and spices evenly, preventing pockets of baking soda or concentrated spice in your finished cookies. Creaming Butter and Sugar: In a separate bowl, cream the softened butter and brown sugar together for 2-3 minutes until light and fluffy. This process incorporates air that helps create tender cookies with better texture. Adding Wet Ingredients: Beat in the egg until fully incorporated, then add pumpkin puree and vanilla extract. Mix until smooth and well combined. The mixture may look slightly separated – this is normal and will come together when you add the flour. Combining Wet and Dry: Add the dry ingredients to the wet ingredients gradually, mixing just until the flour disappears. Avoid overmixing, which develops gluten and creates tough cookies instead of soft, tender ones. Portioning: Use a cookie scoop or spoon to portion dough into balls about 1-2 tablespoons each. Smaller cookies work better in air fryers because they cook more evenly in the compact space. Chilling: Place portioned dough on a plate and refrigerate for 10-15 minutes. Chilled dough holds its shape better during baking and prevents excessive spreading. Air Fryer Preparation: Preheat your Cosmo air fryer to 350°F. Line the basket with parchment paper cut to size, or use perforated parchment designed for air fryers to prevent sticking. Arrangement: Place 4-6 cookies in the air fryer basket depending on size, leaving at least 1 inch between each for proper air circulation. Overcrowding prevents even cooking and browning. Baking: Air fry at 350°F for 10-12 minutes until edges are set but centers still look slightly soft. Check at 10 minutes – they’ll firm up as they cool. Cooling: Transfer cookies to a cooling rack immediately using a spatula. Handle gently as they’ll be soft when hot. Let cool at least 5 minutes before frosting. Recipe Variations and Flavor Combinations The basic pumpkin cookie recipe serves as an excellent foundation for numerous variations that can accommodate different tastes and dietary preferences while maintaining the simple preparation method. Chocolate Chip Addition: Fold 0.5-1 cup chocolate chips into the dough for extra sweetness and texture contrast. Semi-sweet or white chocolate chips both work beautifully with pumpkin spice flavors. Nutty Enhancement: Add 0.5 cup chopped pecans or walnuts for crunch and flavor depth. Toast the nuts first for even better taste and texture that complements the soft cookie base. Spice Adjustments: Increase cinnamon to 1 tablespoon

Air Fried Chocolate Brownies: Gooey, Decadent Treats in Under 30 Minutes

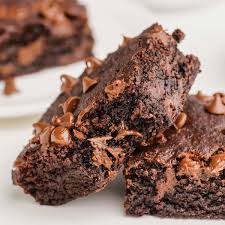
Chocolate brownies are the ultimate comfort dessert, but traditional baking can heat up your kitchen and take considerable time. Air fried chocolate brownies solve both problems by delivering the same rich, fudgy texture you love in a fraction of the time while keeping your kitchen cool. Whether you’re craving a quick dessert for unexpected guests or want to satisfy a chocolate craving without waiting for the oven to preheat, this air fryer method produces consistently delicious results. The air fryer’s rapid air circulation creates a perfectly cooked brownie with crispy edges and a gooey center that rivals traditionally baked versions. Using a standard brownie mix makes this recipe accessible and foolproof, while the air fryer cooking method provides convenience that fits into busy schedules. These brownies prove that you don’t need traditional baking methods to achieve bakery-quality desserts at home. Why Air Frying Brownies Works So Well Air frying brownies might seem unconventional, but the technology actually provides several advantages over traditional oven baking for this particular dessert. Understanding these benefits helps you appreciate why this method produces such excellent results. Even heat distribution from the air fryer’s circulating hot air ensures consistent cooking throughout the brownie, eliminating common problems like undercooked centers or overdone edges that can occur in conventional ovens. Faster cooking time means you can have fresh brownies ready in 25-30 minutes total, including prep time. This speed makes air fried brownies perfect for last-minute dessert needs or when you want fresh-baked treats without extensive planning. No oven preheating required saves time and energy while keeping your kitchen cooler, particularly valuable during warm weather when running a full oven makes the entire house uncomfortably warm. Smaller batch size works perfectly for households that don’t need or want an entire pan of brownies. The air fryer capacity naturally creates portion control that prevents overindulgence while still satisfying chocolate cravings. Consistent results come from the air fryer’s precise temperature control and even heat circulation. Once you find the right time and temperature for your specific air fryer model, you can replicate perfect brownies every time. Easy cleanup with just the air fryer basket to wash beats dealing with multiple baking pans and oven racks. The simplified process makes brownies more accessible for weeknight desserts rather than special occasions only. Choosing Your Brownie Mix and Preparing the Batter While homemade brownie batter works beautifully, using a quality boxed mix provides convenience and consistent results that make this recipe accessible to cooks of all skill levels. Standard brownie mix selection should follow package directions for preparation. Most mixes require eggs, oil, and water, creating a thick batter that holds up well to air frying without becoming too dry or cakey. Fudgy versus cakey preferences can be accommodated by adjusting liquid amounts slightly. Slightly less liquid produces chewier, fudgier brownies while following package directions exactly typically yields balanced texture. Mix-ins and enhancements allow personalization of basic brownie mix. Chocolate chips, nuts, or a swirl of peanut butter transform simple brownies into special treats without complicating the basic recipe. Proper mixing technique matters even with boxed mixes. Stir just until ingredients combine without overmixing, which can create tough, dense brownies instead of the tender texture you want. Batter consistency should be thick and pourable, similar to traditional brownie batter. If your mixture seems too thick, add a tablespoon of water at a time until you achieve proper consistency. Room temperature ingredients combine more smoothly and create better texture. Take eggs out of the refrigerator about 30 minutes before mixing for optimal results. Preparing Your Air Fryer Pan Proper pan preparation ensures your brownies release cleanly while cooking evenly in the air fryer environment. The right pan and preparation make all the difference in final results. Pan selection matters significantly for air fryer brownies. Use a round or square pan that fits comfortably in your air fryer basket with adequate clearance for air circulation. Most 7-8 inch pans work well in standard air fryers. Non-stick options including silicone baking pans designed for air fryers provide easiest release and cleanup. These flexible pans also make removing finished brownies simple without breaking edges. Greasing thoroughly prevents sticking even with non-stick pans. Use cooking spray, butter, or oil to coat all surfaces that will contact batter, paying special attention to corners where brownies can stick. Parchment paper lining creates a foolproof release method. Cut parchment to fit your pan bottom and slightly up the sides, creating handles that make lifting finished brownies from the pan effortless. Pan size affects cooking time significantly. Smaller, deeper pans require longer cooking while larger, shallower pans cook faster. Adjust timing based on your specific pan dimensions. Batter depth should be 1-2 inches for optimal cooking. Too-thin batter overcooks quickly while too-thick batter may not cook through properly in the air fryer timeframe. Air Frying Temperature and Timing Getting the temperature and timing right ensures perfectly cooked brownies with the ideal texture balance of crispy edges and gooey center. Temperature Setting: Set your air fryer to 350°F for optimal brownie cooking. This moderate temperature allows thorough cooking without burning edges before centers set properly. Cooking Time: Air fry for 25-30 minutes, checking after 25 minutes to assess doneness. Different air fryer models and pan sizes affect timing, so start checking early rather than risk overcooking. Visual Cues: Watch for edges that pull slightly away from the pan and a top that appears set rather than wet. The center should still look slightly underdone as it continues cooking after removal from the air fryer. Toothpick Test: Insert a toothpick into the center of the brownies. It should come out with a few moist crumbs but not wet batter. For fudgier brownies, remove when the toothpick has more crumbs; for cakier brownies, wait for cleaner results. No Flipping Required: Unlike some air fryer recipes, brownies cook from all sides due to air circulation and don’t require flipping or rotating during cooking. Carryover Cooking: Brownies continue cooking after removal from the air fryer, so