How to Grill Fish and Seafood | The Underrated Summer BBQ Category Explained
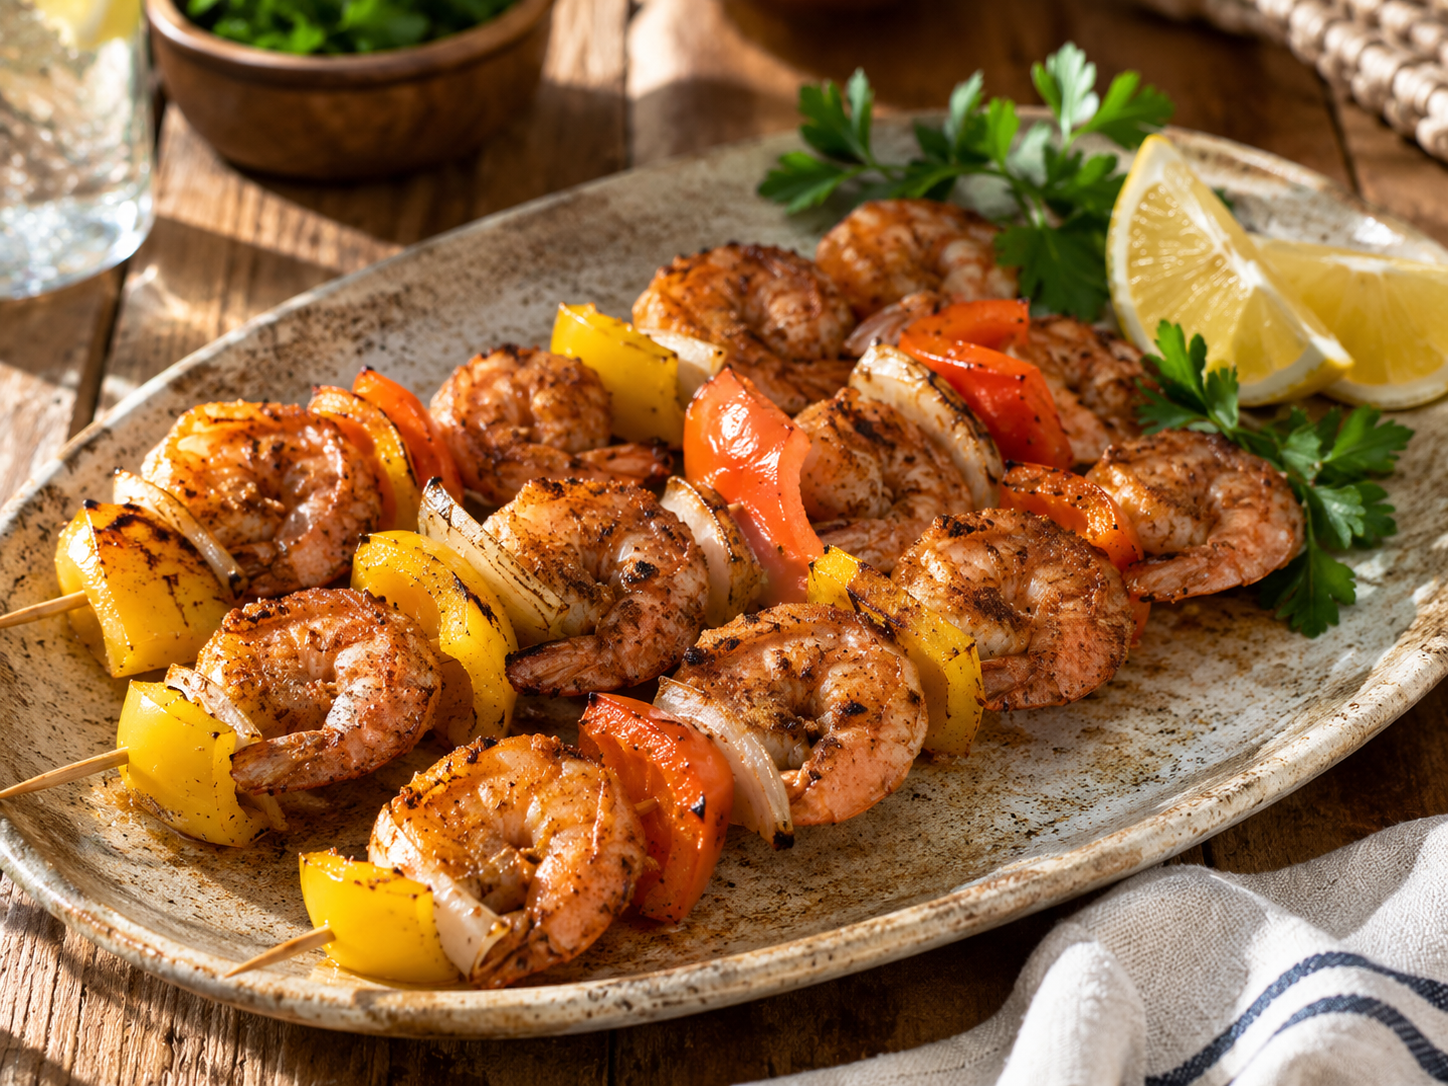
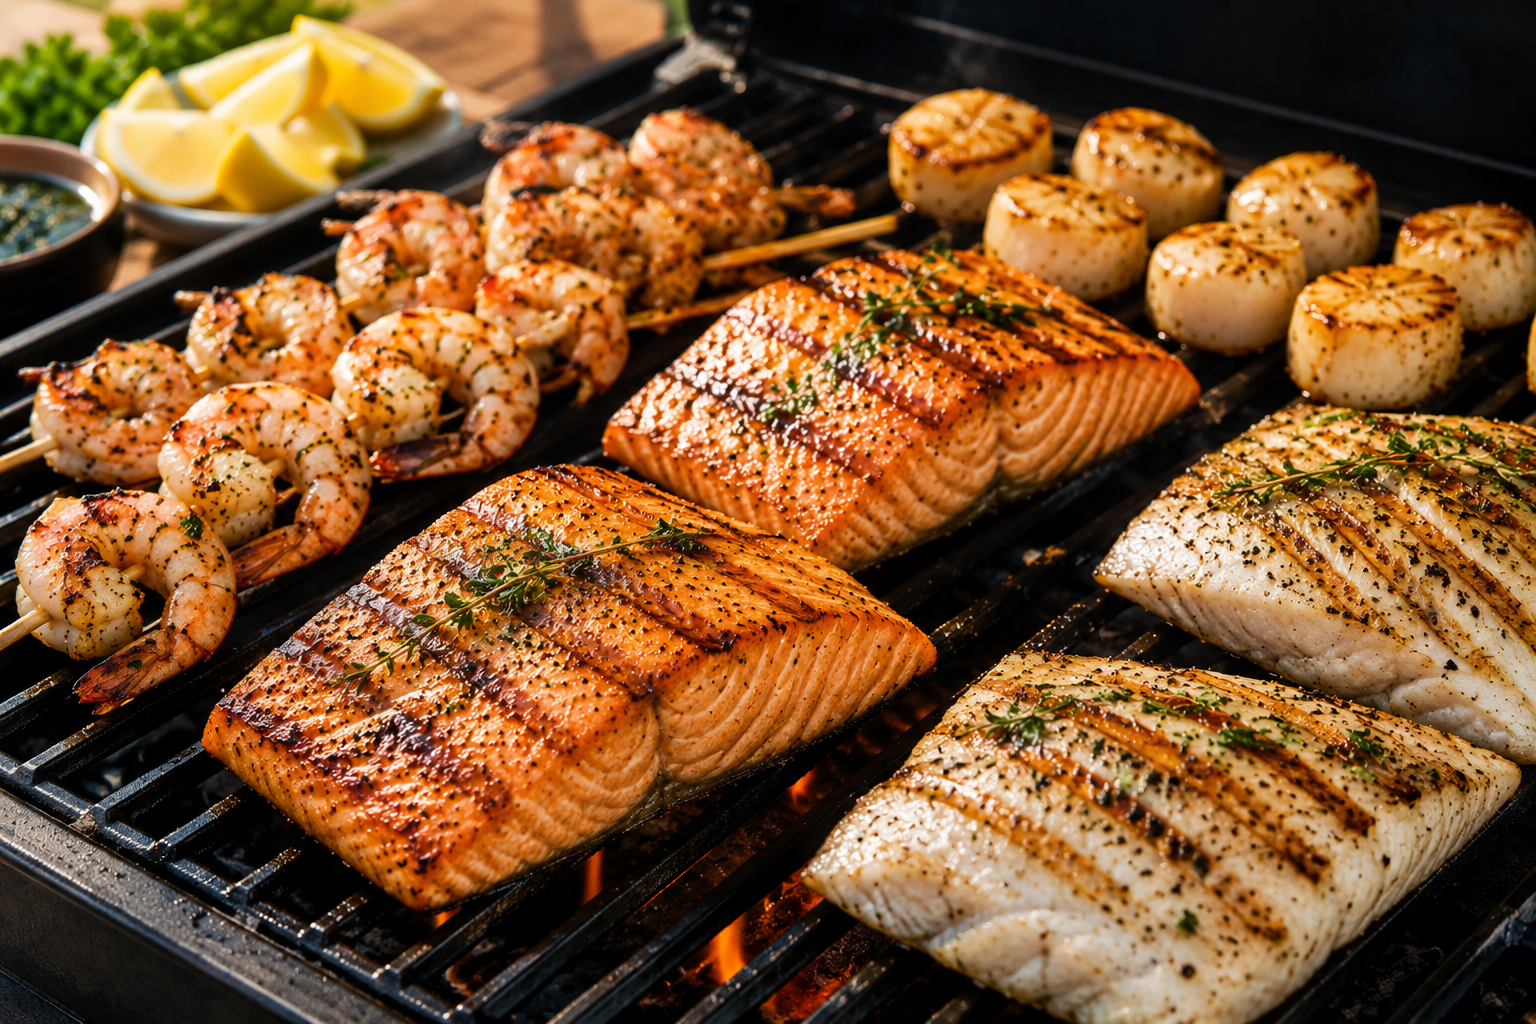
Every backyard cookout follows roughly the same script. Burgers go on first, hot dogs follow, maybe some chicken thighs, perhaps a rack of ribs if someone planned ahead. Fish and seafood almost never appear, and when they do it’s usually as an afterthought — a single salmon fillet for the guest who doesn’t eat red meat, cooked with less confidence than everything else on the grill and served with an apology. This is a missed opportunity of considerable magnitude. Fish and seafood are some of the best things you can cook on a grill — faster than any other protein, genuinely enhanced by high heat and smoke in ways that other cooking methods don’t replicate, and capable of producing results that make everything else on the table feel slightly ordinary by comparison. A properly grilled whole fish, a skewer of charred shrimp, or a swordfish steak with defined grill marks and a smoky, caramelized exterior represents the ceiling of what summer cooking can achieve, and most backyard cooks never get there because the category feels intimidating. The intimidation is understandable but mostly unfounded. Grilling fish and seafood does require different technique than grilling beef — but it’s not harder technique, just different. Understanding what actually makes fish stick, why some seafood species grill beautifully while others fall apart, and how timing works across different types removes most of the anxiety and replaces it with a category of summer cooking that rewards the small learning investment many times over. Why Fish and Seafood Belong on Your Summer Grill Before the technique, the case for making this category a regular part of the summer cooking rotation rather than an occasional experiment. Speed That Changes Dinner: Most fish and seafood cook in 8-15 minutes on a properly preheated grill — significantly faster than chicken, ribs, or any other protein that typically anchors a cookout. Shrimp takes 4-6 minutes total. A fish fillet takes 8-10 minutes. A whole fish takes 15-20 minutes depending on size. This speed makes fish and seafood ideal for weeknight grilling where extended cook times aren’t realistic, and for the later rounds of a cookout when guests are hungry again and waiting 45 minutes for something isn’t appealing. Flavor Enhancement from High Heat: The Maillard reaction that creates browning and flavor complexity on grilled proteins applies as meaningfully to fish and seafood as to beef — arguably more so, because fish and seafood’s lighter inherent flavor makes the contribution of grill char and caramelization proportionally more significant to the overall flavor experience. A seared tuna steak with defined grill marks and charred exterior tastes dramatically different from pan-seared tuna at the same doneness. The grill adds something that no other cooking method provides. Summer Ingredient Alignment: The best fish and seafood of the year is available in summer — not universally, but broadly. Summer is peak season for many shellfish varieties, domestic shrimp supply is abundant, and the overlap between what’s seasonal and excellent in seafood and what summer cooking calls for is significant. Eating grilled seafood in summer is eating what the season actually offers rather than fighting against it. Health Profile: Fish and seafood are among the leanest, highest-protein foods available, with the omega-3 content of fatty fish species adding nutritional value that most other proteins don’t carry. A summer diet that incorporates regular grilled fish alongside typical BBQ fare produces a healthier overall nutritional pattern without requiring any sacrifice in flavor or satisfaction. The Sticking Problem: Why It Happens and How to Prevent It Sticking is the primary reason people avoid grilling fish, and it’s worth addressing directly and completely because once you understand it, it’s almost entirely preventable. Why Fish Sticks More Than Beef: Fish proteins are more delicate than the proteins in beef, chicken, or pork. When fish contacts a grill surface, the proteins bond chemically with the metal in a way that’s more pronounced than with denser proteins. The fish also has higher moisture content than most meats, which creates steam at the contact surface that initially lifts the fish from the grates before the exterior has set — and if you try to move it before the exterior has cooked enough to release naturally, it tears rather than lifting cleanly. The Natural Release Principle: This is the single most important concept in grilling fish. A piece of fish placed on a properly preheated, properly oiled grill will stick initially, then release naturally when its exterior has cooked enough to set. If you try to lift or move the fish before this release happens, it will tear and stick. If you wait until the release happens, it will lift cleanly. The timing of this release — typically 3-5 minutes depending on heat and thickness — is what most people don’t wait for. They try to flip at 2 minutes, the fish sticks and tears, and they conclude that fish is difficult to grill. It isn’t difficult. It requires patience. Grill Temperature Is the Foundation: A properly preheated grill reduces sticking more than any other single factor. Cold or warm grates stick far more aggressively than properly hot grates where proteins set on contact rather than bonding with metal during a slow heat increase. Preheat your grill to medium-high heat with the lid closed for at least 10-15 minutes before placing any fish on it. The grates should be genuinely hot — a drop of water flicked onto them should evaporate immediately on contact. Cleaning the Grates: Residue from previous cooking creates additional sticking surfaces. Clean grates thoroughly with a grill brush immediately before cooking fish — while the grates are hot from preheating — to remove any accumulated residue. Clean grates reduce sticking and prevent old carbon residue from transferring off-flavors to delicate seafood. Oil the Grates, Not Just the Fish: Many cooks oil only the fish before grilling, which helps but doesn’t address the metal contact surface. Oiling the grates themselves — using a folded paper towel dipped in neutral oil, held