refresh your home for spring

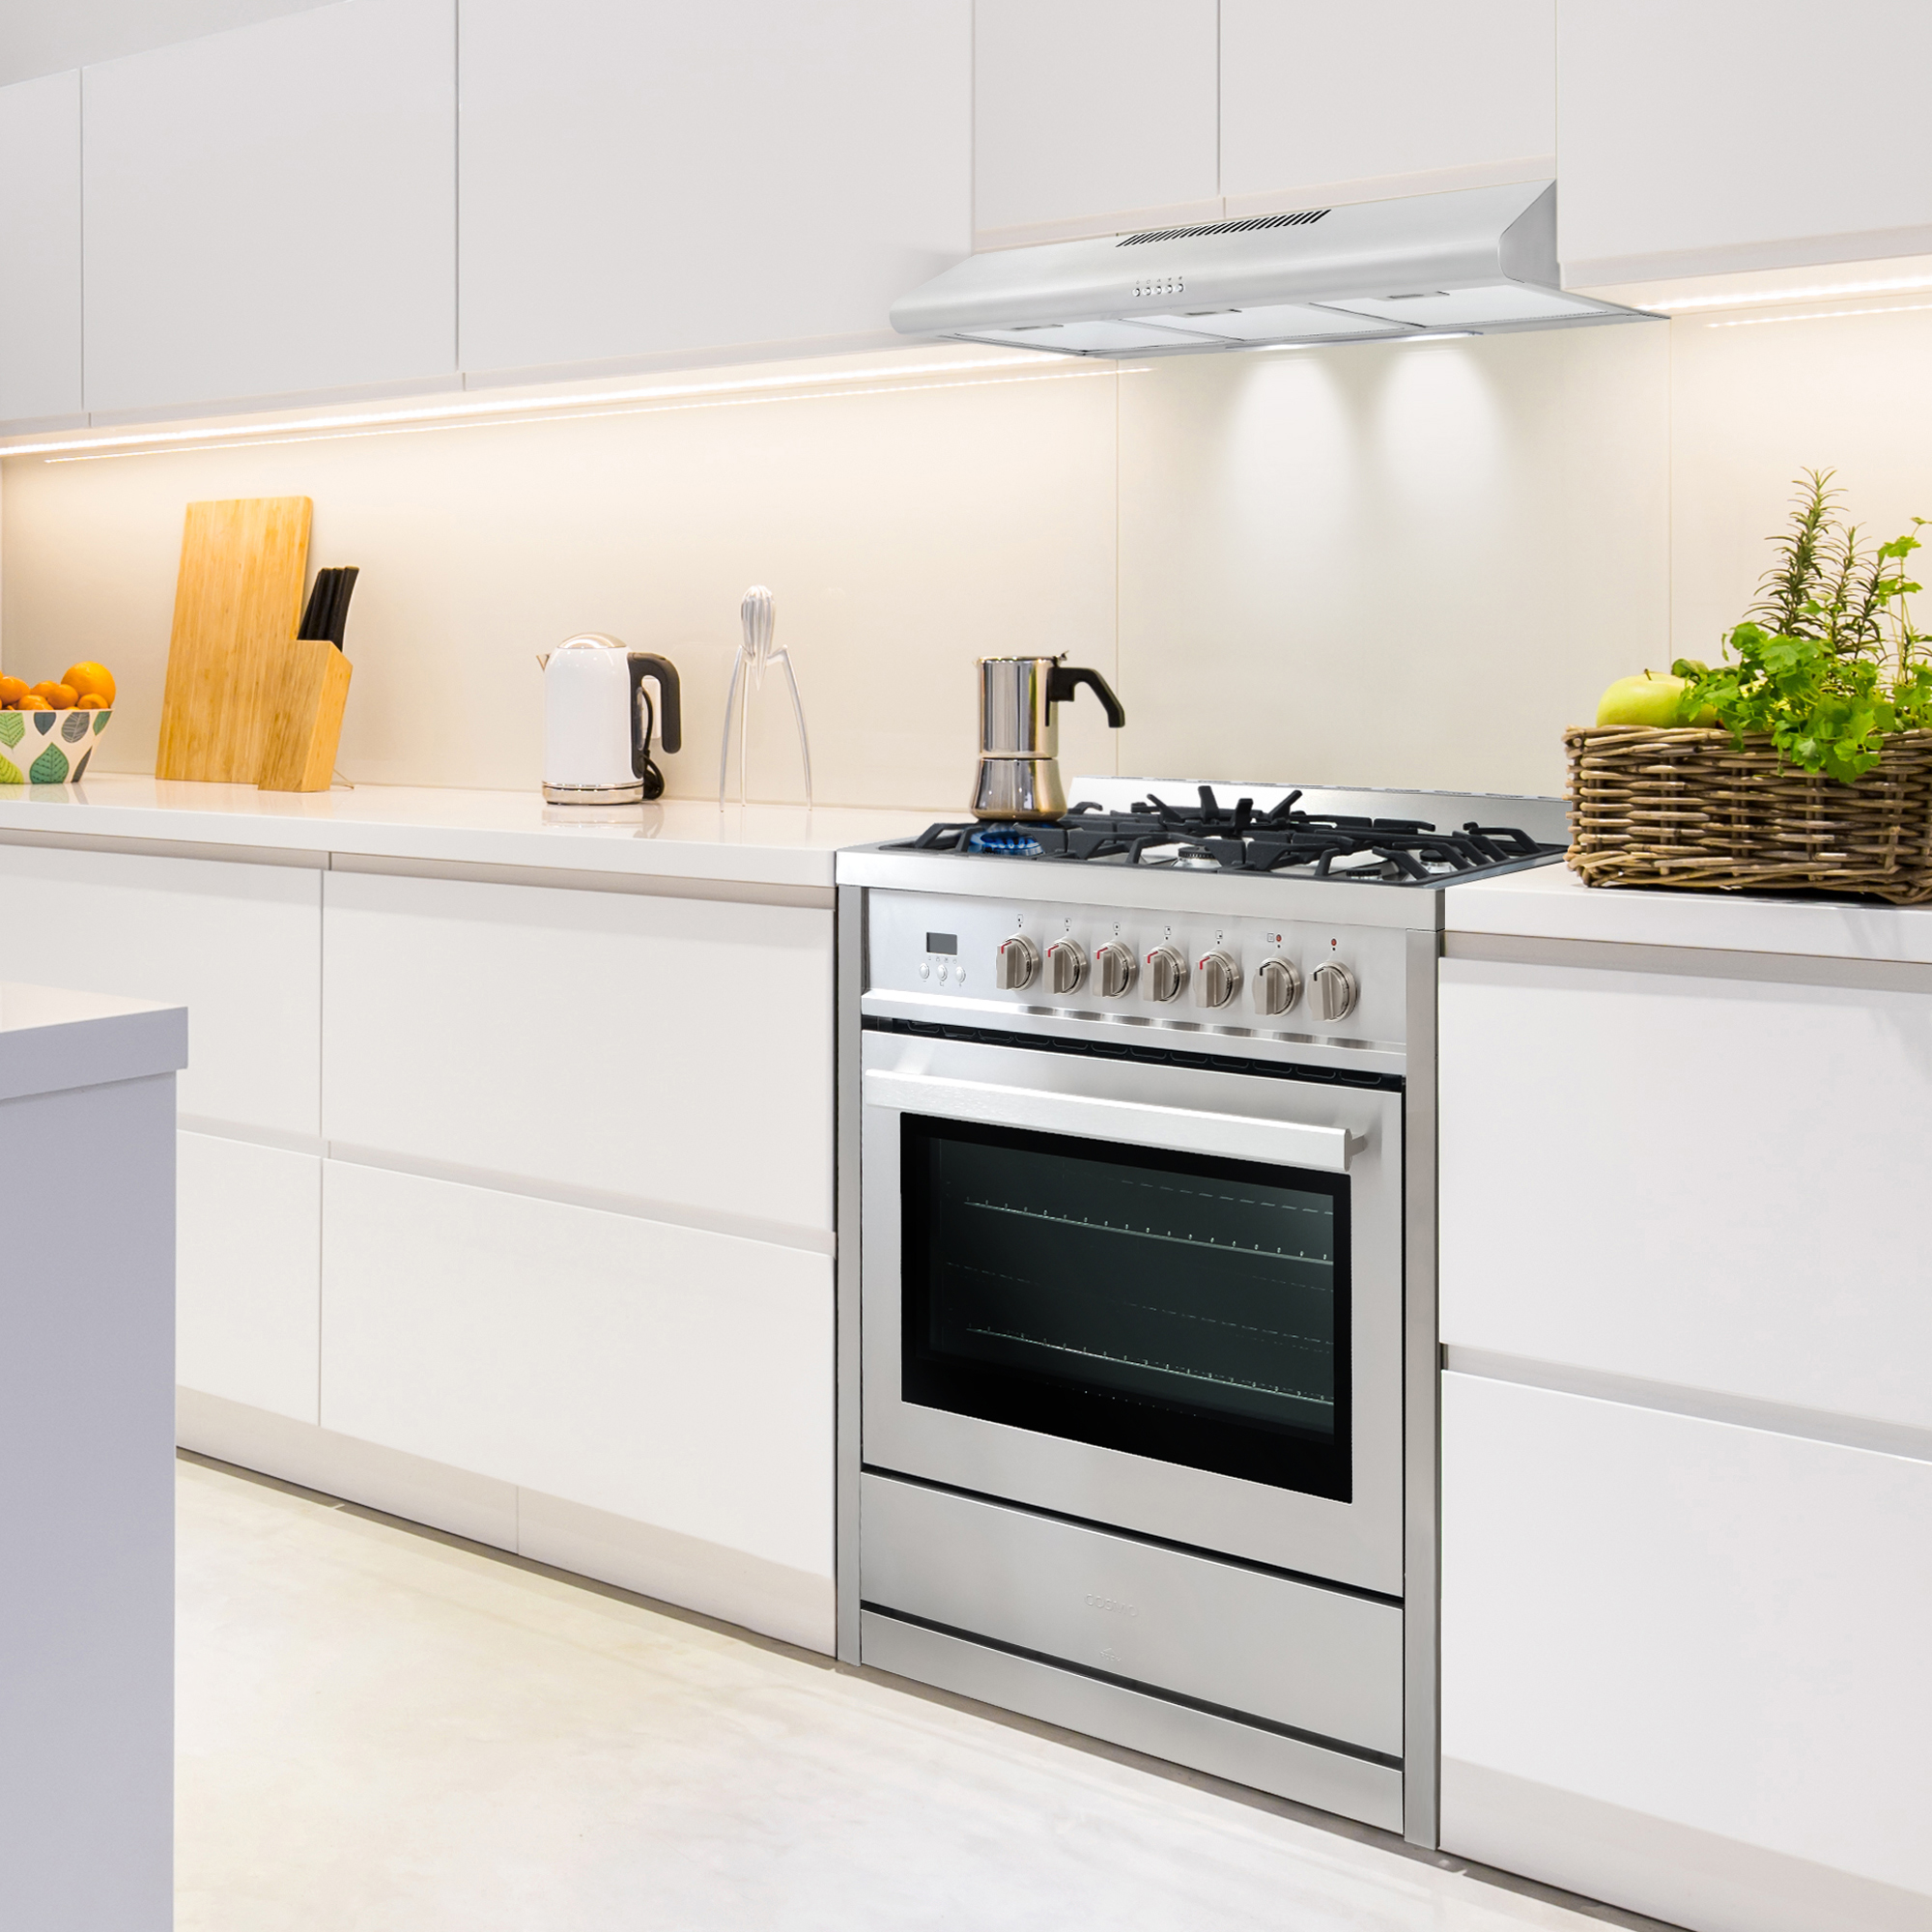
How To Clean Stainless Steel Appliances the Natural Way

Instructions Check the manual: Before you clean a stainless steel appliance, it’s a good idea to check the manufacturer’s recommendations.  Gather your supplies: Cleaning is easier when you have all of your supplies together and ready to go. Determine the direction the grain: Like wood, Stainless steel also has a grain. Look closely. It will either be running horizontally or vertically. To clean your stainless steel, rub in the direction of that grain. To get your stainless steel appliances and fixtures sparkling clean here are some great DIY stainless steel cleaner recipes you can make at home.  Try vinegar: Wet a soft cloth (microfiber works best) with a diluted solution of 2 parts water to 1 part of vinegar. Wipe the entire surface from top to bottom, in a clockwise motion.  Follow with a dry cloth to wipe the area until completely dry. Polish with Olive Oil: To prevent smudges and fingerprints use olive oil. Apply a few drops of olive oil on a soft microfiber cloth. Wipe your stainless steel appliances in the direction of the grain.  A Baking Soda Scrub: Stainless steel pots and pans or countertops typically need a bit more attention. Make a soft paste out of baking soda and water and apply to the stain, allowing it to sit for about 20 minutes. Then, scrub the area with a cloth dampened in a solution of water and dish soap. It’s important to use a soft cloth and work parallel with the grain to avoid scratches. Be sure to fully rinse and dry. Add Shine with Coconut Oil: A small amount of coconut oil will give your stainless steel a nice shine. Use a soft cloth to buff. The Steam Clean: To sterilize stainless steel, you can also use a steam cleaner with a nozzle attachment. The steam will disinfect the surface, which can then be wiped dry with a soft cloth. Stainless steel can scratch easily so avoid using a brush attachment or any stiff cleaning tools.  For more recipes, ideas and inspiration follow our Facebook page For product information visit our website

Spring Cleaning 101: 5 Steps to Deep Clean Your Oven

From bubbled over sauces to burnt cheese, your oven is the canvas for all kinds of spills and splatters. Ovens seem to present the most anxiety when it comes to cleaning kitchen appliance. With the right knowledge and basic tools, oven cleaning doesn’t have to be an overwhelming chore.  So, what is the best way to clean an oven? In the spirit of spring cleaning we have a two safe, natural, and effective methods to get the job done.  How to Clean the Oven: What You Need: Baking soda Water Rubber gloves Magic Eraser Damp dish cloth Spray bottle White vinegar Essential Oil (Optional) STEP ONE: Empty the oven, remove your oven racks, pizza stone, oven thermometer, and anything else you have inside the oven. Set aside. STEP TWO: Start by vacuuming out the dirt, dust, crumbs, and debris. You can use the vacuum hose, or if that feels too powerful, try the crevice attachment. How to clean with Baking Soda  Make a baking soda paste. This is a timelessly classic way to clean your oven. With a little elbow grease your oven will sparkle like new again. In a small bowl, mix a 1/2 cup of baking soda with a few tablespoons of water. If you’re adding any essential oils, 2-3 drops will be sufficient, but add more if desired. Adjust the ratio of both baking soda and water as needed until you have a spreadable paste. Distribute the mixture throughout the interior of the oven, except for the heating elements.   Let mixture sit overnight in the oven for at least 12 hours. The following day, spread vinegar over the surface and allow it to react with the paste, which will make the debris much easier to scrub off.   How to DIY Steam Clean with Water and Vinegar Place a large oven-proof dish, filled with a solution of water and White Vinegar on your bottom rack, then heat your oven to 350°. Bring this solution to a boil.  Turn off the oven and let it cool.  Open the doors and spray the inside with a solution made of water and vinegar and allow this mixture to sit for 30 minutes. Once the oven has completely cooled down, wipe away all food residue. STEP FOUR: Soak racks in dishwashing liquid for a few hours, scrub with a scouring pad, and then rinse well and dry.  If racks need heavy-duty cleaning, apply the paste. Note* Only use stainless steel racks; baking soda can discolor aluminum.  STEP FIVE: Use a magic eraser to easily wipe away grease on your oven glass.  Are you due for a brand new oven?  If your oven is on it’s last legs and cleaning it just won’t do the trick- Cosmo Appliances has a premium selection of wall ovens that are easy to clean and maintain with self cleaning feature.   Making Your Home Appliances Brand New Again With the right cleaning method you can have your oven appliance sparkle like new again. Just remember to always consult the instruction manual with each of your appliances. Although vinegar and other mild detergents are generally safe on appliances, there are always some exceptions to the rule. For more recipes, ideas and inspiration follow our Facebook page. For product information visit our website.

Spring Cleaning 101: 5 Tips for Quick Pantry Organization

Circumstances may have you feeling overwhelmed with a lot of cans and dry goods you wouldn’t normally be dealing with all at once. Conquer your clutter with these five easy tips from Cosmo Appliances to help organize your pantry. Utilize the Door The backs of your pantry doors may all be dead space. If you’ve got a gap between door and shelving, consider hanging a wire rack with smaller items that otherwise get easily lost or shuffled to the back. Stack Food Containers If you can never find the matching lids to your Tupperware, this one’s for you! Take five minutes to organize your storage containers by size on the shelf, then make a vertical rack to store the matching lids.  (Have a lid for a container that’s MIA? you have our permission to repurpose it or get rid of it. We won’t tell anyone.) Sort by Category Keeping shelves to a theme can help you find things faster. Group your granola bars, and stash your salty snacks together so they’re easy to find when you have a craving Cycle your shelves As you’re buying new boxed goods, take the extra second as you’re putting away groceries to pull the oldest boxes forward, and put the new box behind them. That way you’re not left with expired food. Hang it up If you have wire shelving in your pantry, you can use hooks and chip clips to hang up small items and lightweight bagged goods, freeing up shelf space, and, as a bonus, keeping you from accidentally crushing your chips. We hope these tips help you keep your pantry feeling fresh!  For more recipes, tips and ideas, visit us at cosmoappliances.com, and like our Facebook page athttps://www.facebook.com/cosmokitchenproducts