Year: 2020

What to Look for in a Microwave

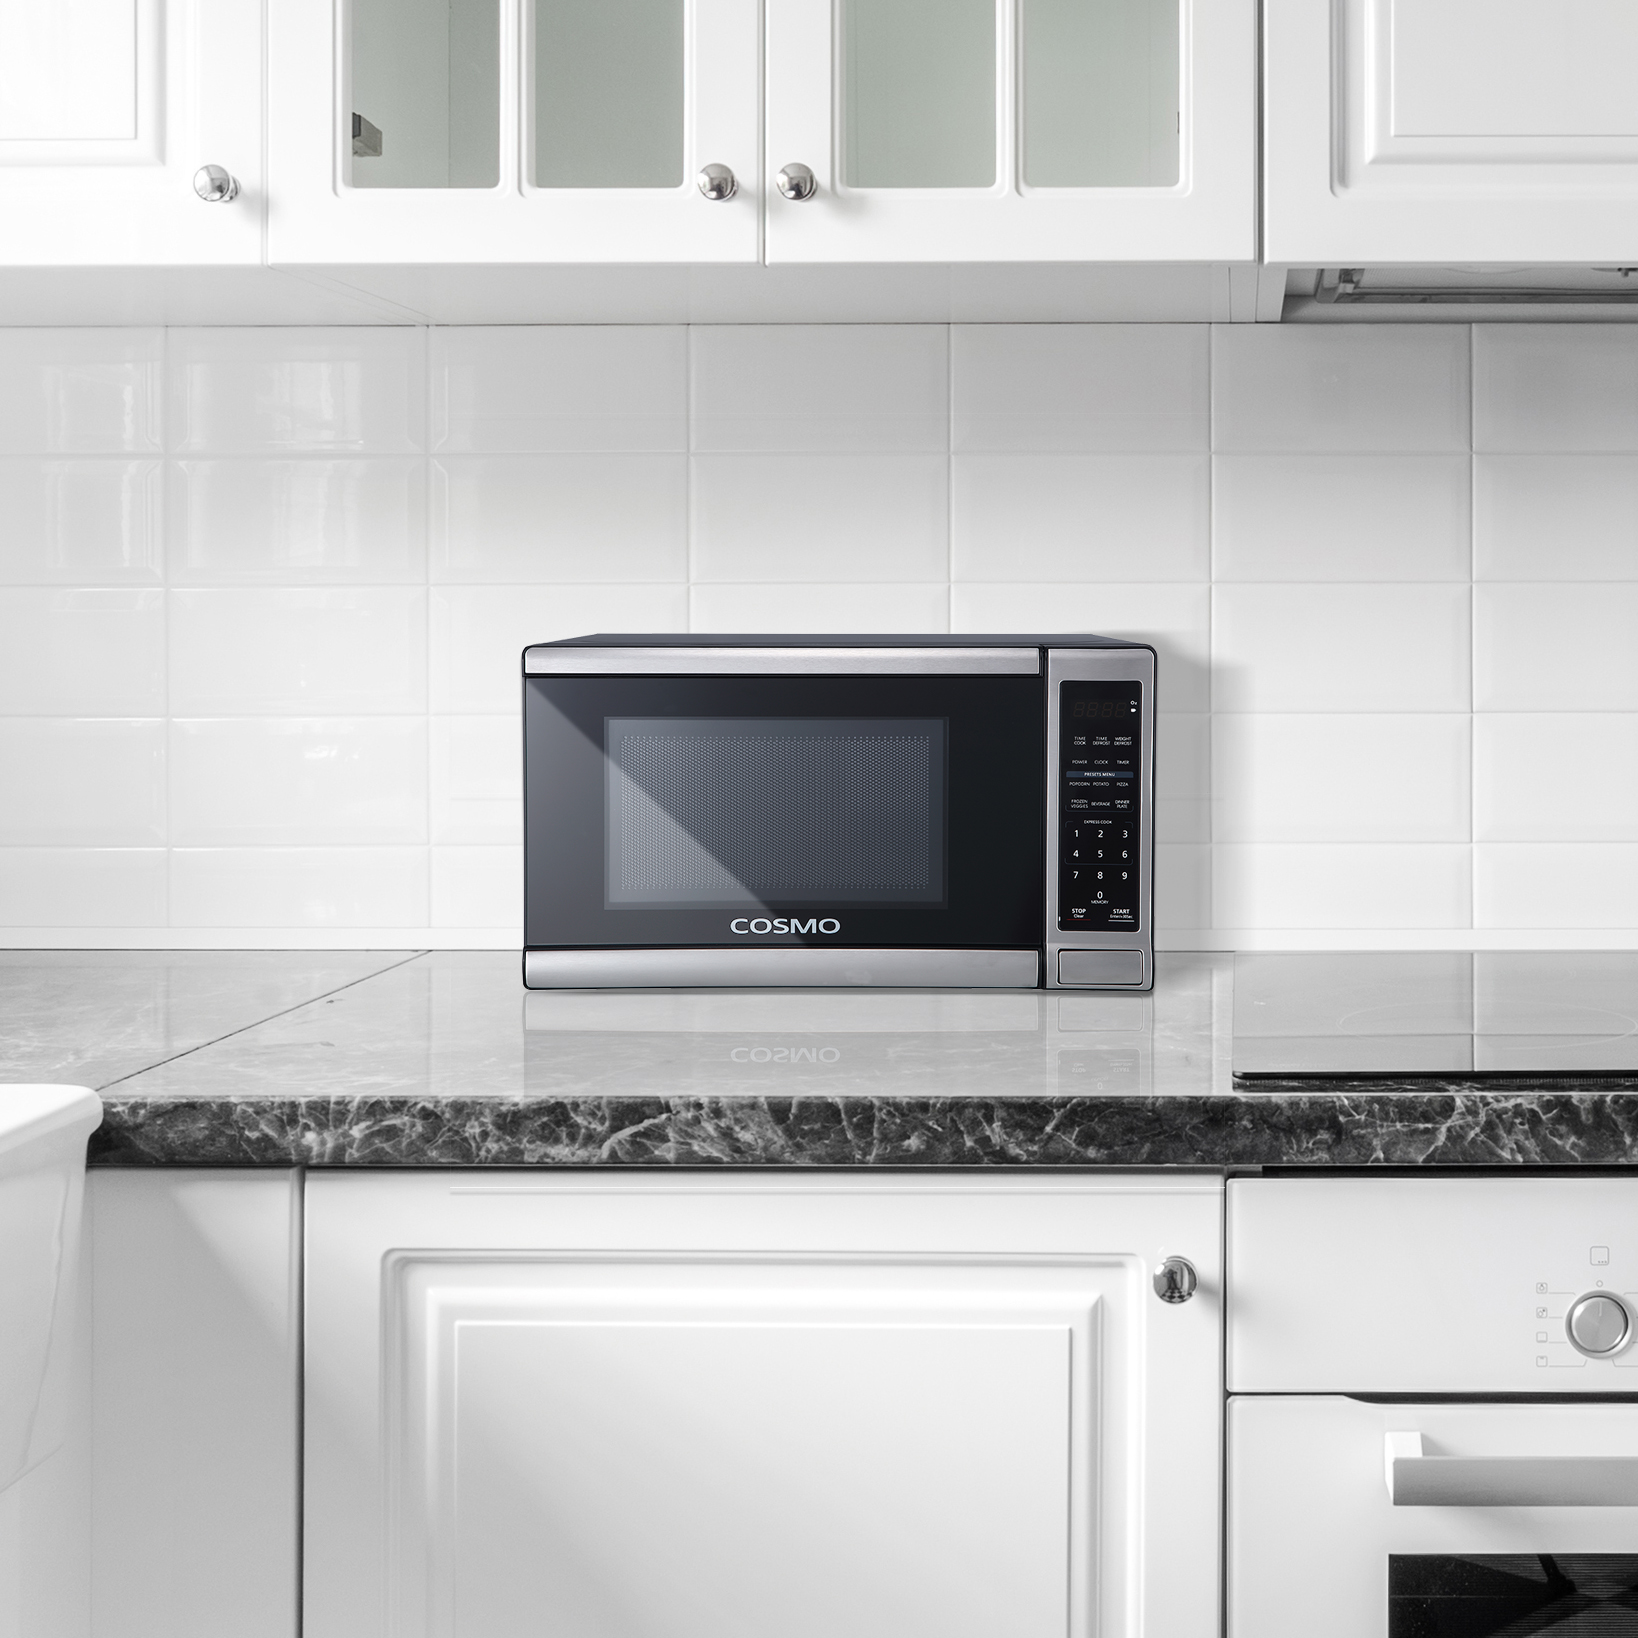
Look no further for a complete rundown on microwaves and what to look for. Whether you’re shopping around for a new one or looking to replace your old one, here’s all the information you’ll need on making your next purchase. Types Microwaves come in three main types: countertop, over-the-range and built-in. Countertop microwaves are the most common for their affordability. These are great to simply take out of the box and plug in for a no-hassle installation. Over-the-range and built-in microwaves on the other hand require some setup time and most likely a professional installer. These kinds of microwaves have additional benefits however. An over-the-range microwave can vent fumes and odor away from a range below. A built-in model will free up counter space and look more sleek in cabinetry. Countertop microwaves can often utilize a trim kit to get the same built in look. Size Once you decide the kind of microwave you’d like you can turn to the size. Establish how you’ll be using the microwave. If you’re just cooking for yourself then maybe you can opt for a smaller capacity model. Be sure to factor in the counter space you’ll be losing with countertop microwaves. Most models will have a 1-2 cubic feet range. External dimensions can also vary so always measure the desired location to make sure it properly accommodates for the size. Wattage For microwaves, wattage directly translates to power. A 1,000 watt microwave is a great baseline to start from. Anything less may result in slower cooking. In general, the higher the wattage the faster the cooking time. Keep in mind a high wattage microwave will be more expensive. Features Automatic defrost and pre-programmed settings can make your life easier when warming up snacks. Sensors can also calculate cook time based on the steam the food emits. This will help ensure your food heats exactly the way you want it to. Pay attention to safety features like a child lockout if there will be young children present. This feature will prompt for a sequence of numbers to operate the appliance. Check the microwave’s buttons and icons. If they are too small or close together you may accidentally press something you didn’t intend to. Smooth control panels will be easier to clean than buttons or knobs. Are you ready for your next appliance upgrade? Learn more about our microwaves here. Sources: Good House Keeping

Range Hood 101: Your Complete Guide

One of our most popular and diverse product lines here at Cosmo are our range hoods. Range hood terms may seem confusing at first, but we’ve compiled a complete guide to master this appliance. These hoods can be a beautiful focal point in your kitchen that provide just as much functionality. Ventilation The main purpose of range hoods is to get odors, smoke and fumes away from your kitchen when cooking. This can be done in one of two ways, ducted or ductless. A ducted range hood should have ductwork from the kitchen all the way to the outside of your home. A non-vented or ductless range hood utilizes a filter and recirculates the air back into the kitchen. Often, the kind of range hood you choose will depend on the kitchen. A ducted range hood completely removes smoke and smells while a ductless build may be less effective in doing so. Installation Types You’ll come across mainly three different kinds of range hoods based on their installation method–under cabinet, wall-mount and island mount. An under cabinet range hood is mounted to the cabinets above a range. The wall mount doesn’t require any cabinetry as they are installed on the wall. Finally, an island mount goes directly to the ceiling and suspends mid-air. All three of these options can be ducted or ductless, depending on the kitchen. Size The standard width of range hoods are 30 or 36 inches wide. There are some pro variations that go wider and can handle larger quantities of smoke and fumes. If your kitchen allows for it you should always have a range hood that is equally as wide as the range underneath. Bigger tends to always be better. Strength & Noise You’ll come across the term CFM when looking at range hood airflow strength. CFM stands for cubic feet per minute and generally the higher the number the more air the hood can vent. A general rule you can follow is you should have 1 CFM per 100 BTU of the gas range underneath. If you do a good amount of cooking try to have a range hood with at least 350 CFM. The downside of a higher CFM would be the noise the hood creates. Features When checking for features, look at fan speeds. You’ll want a range hood with at least 2 speeds for low quieter venting and high but noisier venting. Another useful feature is an exhaust timer which automatically shuts off the hood after a set period of time. Built-in lights come standard in most range hoods, but the type of lights can vary greatly. Look for range hoods with light replacements that are easy to find in the future. At Cosmo, we carry a wide array of range hoods to meet your every need. You can see our complete catalog here. Sources: Apartment Therapy

Everything You Should Know About Replacing Appliances

Kitchen appliances will eventually have to be replaced. If you ever find yourself in the market again, we’ve compiled the tips and tricks you should know when replacing your next appliance. When to Buy You may come across some statistics that say appliances have a lifetime of 10 to 15 years, but this is actually based on when people replace their appliances and not how long they last. If your appliances are humming along just fine, there’s no need to replace them. A clear indicator you need a replacement is if the cost to repair your appliance is half or more than the price tag. What to Check If you ever come across a broken appliance, there’s some things you can check before calling on a repairman. Refrigerator. If your fridge isn’t keeping food cold enough, check the control dial to see if it was accidentally set higher. Next, check the door’s gasket by repeatedly closing the door on a dollar bill in several different spots. If the dollar slips out, you may need to reform the gasket by warming and shaping it. If the gasket is not reformable then you can install a new one. Lastly, clean the coils located behind or below your fridge. Unplug it first, pop off the grates and use a vacuum cleaner hose with crevice attachment or an appropriate long-handled coil brush. Oven. If the oven temperature isn’t accurate start by recalibrating the thermostat. This info can be found in the use and care manual of your appliance. Dishwasher. If your dishes aren’t coming out as clean as they should it could be due to a dirty filter. Check with your product manual to see how you can clean or replace it. Scoring a Deal How and where you buy your next appliance is just as important as the kind you get. If you’re not in a rush, shop around or wait for a sale. A good time to shop is around the holidays, like now! You can also look to see when new models come out if the older ones are put on discount. Take some time to compare prices across retailers and check if they offer any price matches. Don’t forget to take hidden costs into consideration such as delivery, installation and removal of your old appliances. Which Appliances to Get Even if saving the planet isn’t at the forefront of your mind, your wallet should be! Selecting appliances with energy saving features are critical to reduce your electric bill. Look for energy labels and energy star rebates to see how well these appliances will perform. Although retailers may offer you extended warranties, they aren’t always necessary. Manufacturers typically provide you with one that’s more than sufficient. Sources: The Kitchnn

Cleaning Your Single Serve Coffee Makers

Our single serve coffee makers are often the key to success for an easy morning with immediate coffee. Although these convenient and quick machines may seem straightforward, they require maintenance just like any other appliance. Regular cleaning will ensure your coffee maker will provide optimal performance for years to come. Many single serve coffee makers utilize water reservoirs which can be a hotspot for mold and mineral deposits over time. Regardless of the brand you use, there are some signs to look out for when it’s time to clean your appliance. Longer than usual time to brew Filling less than a full cup of coffee Extra grounds or granules in your coffee Unexpected moldy or mildew-y smells Mineral buildup on visible parts of the machine Most of the time a mineral buildup, visible or not, will be responsible for these problems. Here are the steps you can take to get that coffee maker in pristine condition. Empty any water from inside the reservoir. Remove the parts you can, and clean with warm, soapy water in the sink. Some coffee maker brands have dishwasher-safe components. If your coffee maker has any espresso or milk steamer attachments be sure to disassemble and clean those too. Next, take a small cleaning brush and dip it into vinegar. Go around and clean the base of the machine where the reservoir is as well as where the cup pods go. You’ll usually have some grounds trapped here. Reusable filters often have grounds congested in the mesh. Although these filters are usually dishwasher-safe, try soaking them in a cup of vinegar and use a small brush to loosen any granules in the mesh. Next comes the inside of the coffee maker. Reassemble all the parts and components, then fill the dry reservoir with 4 cups of white vinegar and 2 cups of water. Run the machine several times with no filter in place. Once you run a few cups of vinegar, let the machine set for a few hours and then run the rest of the cycles until the solution has run through the machine. Clean out the reservoir and fill with regular water. Run the machine with just the plain water to ensure the reservoir is clean and no vinegar is left behind. Your single serve coffee maker is now clean! Sources: HGTV

Shrimp, Watercress and Farro Salad Recipe

It’s never too early to start the New Year resolutions with some healthy eating. Try this recipe for a delicious farro and watercress salad topped with fresh shrimp. Ingredients: 1 cup farro (emmer wheat) Sea salt ½ cup extra-virgin olive oil 1 ½ pounds fresh shrimp, deveined, thoroughly rinsed an patted dry Juice of ½ lime Freshly ground black pepper 2 tablespoons chopped fresh mint leaves ½ lemon, juiced, seeds removed One 15-ounce can cannellini beans, drained and rinsed well 1 bunch watercress, tough stems removed Directions: Soak the farro in warm water for about 20 minutes. Drain and rinse well. Pour into a medium saucepan with enough water to cover by 1 inch. Cover the pot and bring to a boil, and then reduce to a simmer. Add a pinch of salt and cook for about 30 minutes. The farro should be soft but have a slight chew to it. Drain to remove excess water, and then transfer to a bowl and toss with 2 tablespoons of the olive oil. Set aside. Preheat the broiler. Toss the shrimp with 2 more tablespoons olive oil, some salt, pepper and the lime juice. Spread in an even layer on a baking sheet and broil for 10 minutes, flipping halfway through. Let cool slightly. Make the salad dressing by combining the remaining 1/4 cup olive oil, the mint, lemon juice and some salt and pepper in a small jar. Cover and shake to combine. Toss together the farro, beans and watercress in a large bowl with half of the dressing. Season with salt and pepper. To plate, transfer the salad to a large platter and top with the shrimp. Serve with the remaining dressing on the side. Sources: Food Network

The Pros and Cons of Laminate Countertops

Laminate countertops have come a long way from the typical ones we often think of. These countertops are made from layers of plastic that are bonded to particleboard or kraft paper to create a strong solid countertop surface. The end result is a clean and finished surface that can imitate more expensive counters like granite or marble. The Pros Laminate counters are lightweight in nature making them easy to install. Heavier stone countertops made of granite are much more difficult and expensive to place in kitchens. A laminate counter can be installed without the need for professional help. One of the big pros to a laminate counter is of course the price point. Although it may need to be replaced more often than a marble surface, with the right care it can last for many years. The Cons One of the drawbacks of laminate is the durability. These counters can easily scratch so you don’t want to use any sharp knives directly on them. Hot items such as pots can also cause damage. Laminate is more susceptible to chipping and burns unlike a granite counter would be. Another thing to look out for is delamination. Water damage is difficult to repair and in most cases will call for the entire countertop to be replaced. Overall, these counters will have a shorter lifespan compared to stone, stainless steel or concrete. Sources: HGTV Image by Sarah Jane Christy

A Classic Apple Cake Recipe

Try this delicious apple cake recipe for the festivities ahead. You’ll love the combination of the crisp fruit and cinnamon sugar-flavored pastry. A perfect balance without too much sweetness. Recipe courtesy of Culinary.net Ingredients: 3 cusps Honeycrisp apples, peeled, cored and diced 3 teaspoons cinnamon 6 tablespoons, plus 2 cups, sugar, divided 3 cups flour 3 teaspoons baking powder 1 teaspoon salt 1 cup oil 4 eggs, beaten ¼ cup orange juice 1 teaspoon vanilla Icing (optional) Directions: Heat oven to 350 F. In medium bowl, mix apples, cinnamon and 5 tablespoons sugar until combined. Set aside. In large bowl, mix flour, 2 cups sugar, baking powder and salt until combined. Form well in middle of mixture. Add oil, eggs, orange juice and vanilla; mix until blended. In springform pan, pour half of batter. Add apple mixture. Pour remaining batter over apple mixture. Sprinkle remaining sugar over batter. Bake 40-50 minutes, or until top is golden brown and tester comes out clean and dry. Drizzle with icing, if desired. Connect with us on Facebook and Instagram for more recipes and tips from Cosmo. Sources: Culinary

Tips for Blending the Perfect Margarita

Blending a margarita to the correct balance of frozen and slushy brings an utterly refreshing drink. However, a poorly mixed one can be a runny mess. Here’s some of the steps you can take to ensure a delicious margarita every time. The order you place your cocktail ingredients in a blender makes a difference in taste and texture. Begin by adding all the liquids first such as liquors, juice and mixers. Follow this up with the ice and fruit, if you’re using it. Do your blender and drink a favor by using crushed or cracked ice instead of large cubes. The crushed ice will incorporate into the margarita faster without melting. When blending, start with a low speed then gradually build speed as needed. Be careful to not blend for too long as this will make the drink too thin. Be sure to drink responsibly and send us your cocktail masterpieces on Facebook and Instagram. Sources: The Kitchnn

The Key to Making the Best Holiday Cookies

‘Tis the season to put your baking skills to the test with holiday cookies. Whether you’re a seasoned baker or never touched an oven in your life, these tips from professional chefs are sure to help you make the perfect cookies this holiday season. Before even placing your cookies in the oven, probably one of the most important things you can do is allocate time for the dough to properly sit. Try letting the dough sit for at least two hours before baking. On the other end, let your cookies sit for five minutes before transferring them from the baking sheet. This will allow the cookies to “set up”. Let your dough firm up in the freezer or fridge. Scoop and freeze the dough before baking. Chilled dough is always best but it may be more difficult to scoop. The amount of time required will vary depending on the dough and the cookies you’re trying to make, so do research beforehand on what is best. When it comes to making the cookies themselves, less is more sometimes. Cut back on the different kinds of cookies you are trying to tackle at once. There are many varieties you can make with the same dough base to make things less complicated. Having the right tools in the kitchen can make all the difference. A bench knife can be used to slice dough and cut butter into flour. Try obtaining different sized cookie scoops, a small offset spatula and a baking mat. Sources: Insider

Appliances You Should Upgrade Before Selling Your Home

While we may not all be moving in the immediate future, it’s always good to know what would increase your home’s resale value. There are three appliances in particular that are worth investing; it also doesn’t hurt that you can enjoy them meanwhile. First, begin researching your home and the current state of the market. There is a point of diminishing returns where upgrades won’t keep increasing your home value. Check in with some licensed real estate professionals to find out what the market looks like and more importantly what upgrades are considered valuable. Refrigerators. When looking into refrigerators aim for French door models with built-in water and ice dispensers for the greatest return on investment. Stainless steel usually has a higher resale value. It may also be smart to look for refrigerators with an Energy Star logo to note its eco-friendliness–be sure to leave the tag on! Stoves. A built-in stove often brings in more money when it’s time to sell. Some other features to consider are flat tops for the minimal mess and self-cleaning functions. Washers. Look for high-efficiency washers and dryers as these appliances are often a part of price negotiations. Common favorable models are top and front-load washers paired with a matching dryer. Are you looking for an appliance upgrade for your home? We have a wide range of appliances to match every one of your needs at budget friendly pricing. See our complete catalog here. Sources: Apartment Therapy