Month: January 2021

How to Solve 8 Common Kitchen Problems

Kitchen appliances may cause issues down the road. It’s useful to know the common problems you can easily fix before calling on a professional. Here’s 10 of the most common problems you can fix in your kitchen. A Warm Fridge or Freezer. If your appliance can’t stay cool, check the doors are closing completely and the seal is tight. Pay attention to any unusual heat, drips or noises. A refrigerator condenser will generate heat but it shouldn’t be excessive. Odors in a Fridge or Freezer. This is often caused by food that has gone bad. Wash the bins and shelves with dish soap and let the unit air out, and clean the evaporator. Adjust the temperatures inside between 0 and 40 degrees F to prevent any frost build, mold growth or odors. Under or Overcooking Oven. Every oven operates differently. Investing in an oven thermometer to check temperature settings can prevent food from taking too long or burning quickly. If the issue persists, look into recalibration. Microwave Doesn’t Heat Up. A faulty magnetron could be the cause of a malfunctioning microwave. These parts can burn out if the microwave is turned on while empty. Look for a replacement of the part. Microwave Tray Isn’t Turning. If the plate doesn’t turn, look for any obstructions such as large crumbs. The motor could also be worn out, which is easily replaceable with a manufacturer part. Dripping Sink or Faucet. If your sink is leaking, clean the faucet screen. If you notice any mold under the sink check for any leaks near the drain line and pea-trap. Check the garbage disposal and water lines leading to other appliances as well. Garbage Disposal Doesn’t Work. Try the reset button first. Next, you can try grinding an ice cube or two. If you suspect the garbage disposal is blocked with food or silverware, unplug it first before trying to clear it. Range Hood Isn’t Clearing Smoke. One cause of a faulty range hood is the motor or clogged ductwork. Replacing air filters is a quick fix if there’s an excess of grease build up. Ductwork can be tricky and should be performed by a professional for any suspected blocks. Source: The Spruce

A Smoky Paprika Shrimp Skewer Recipe

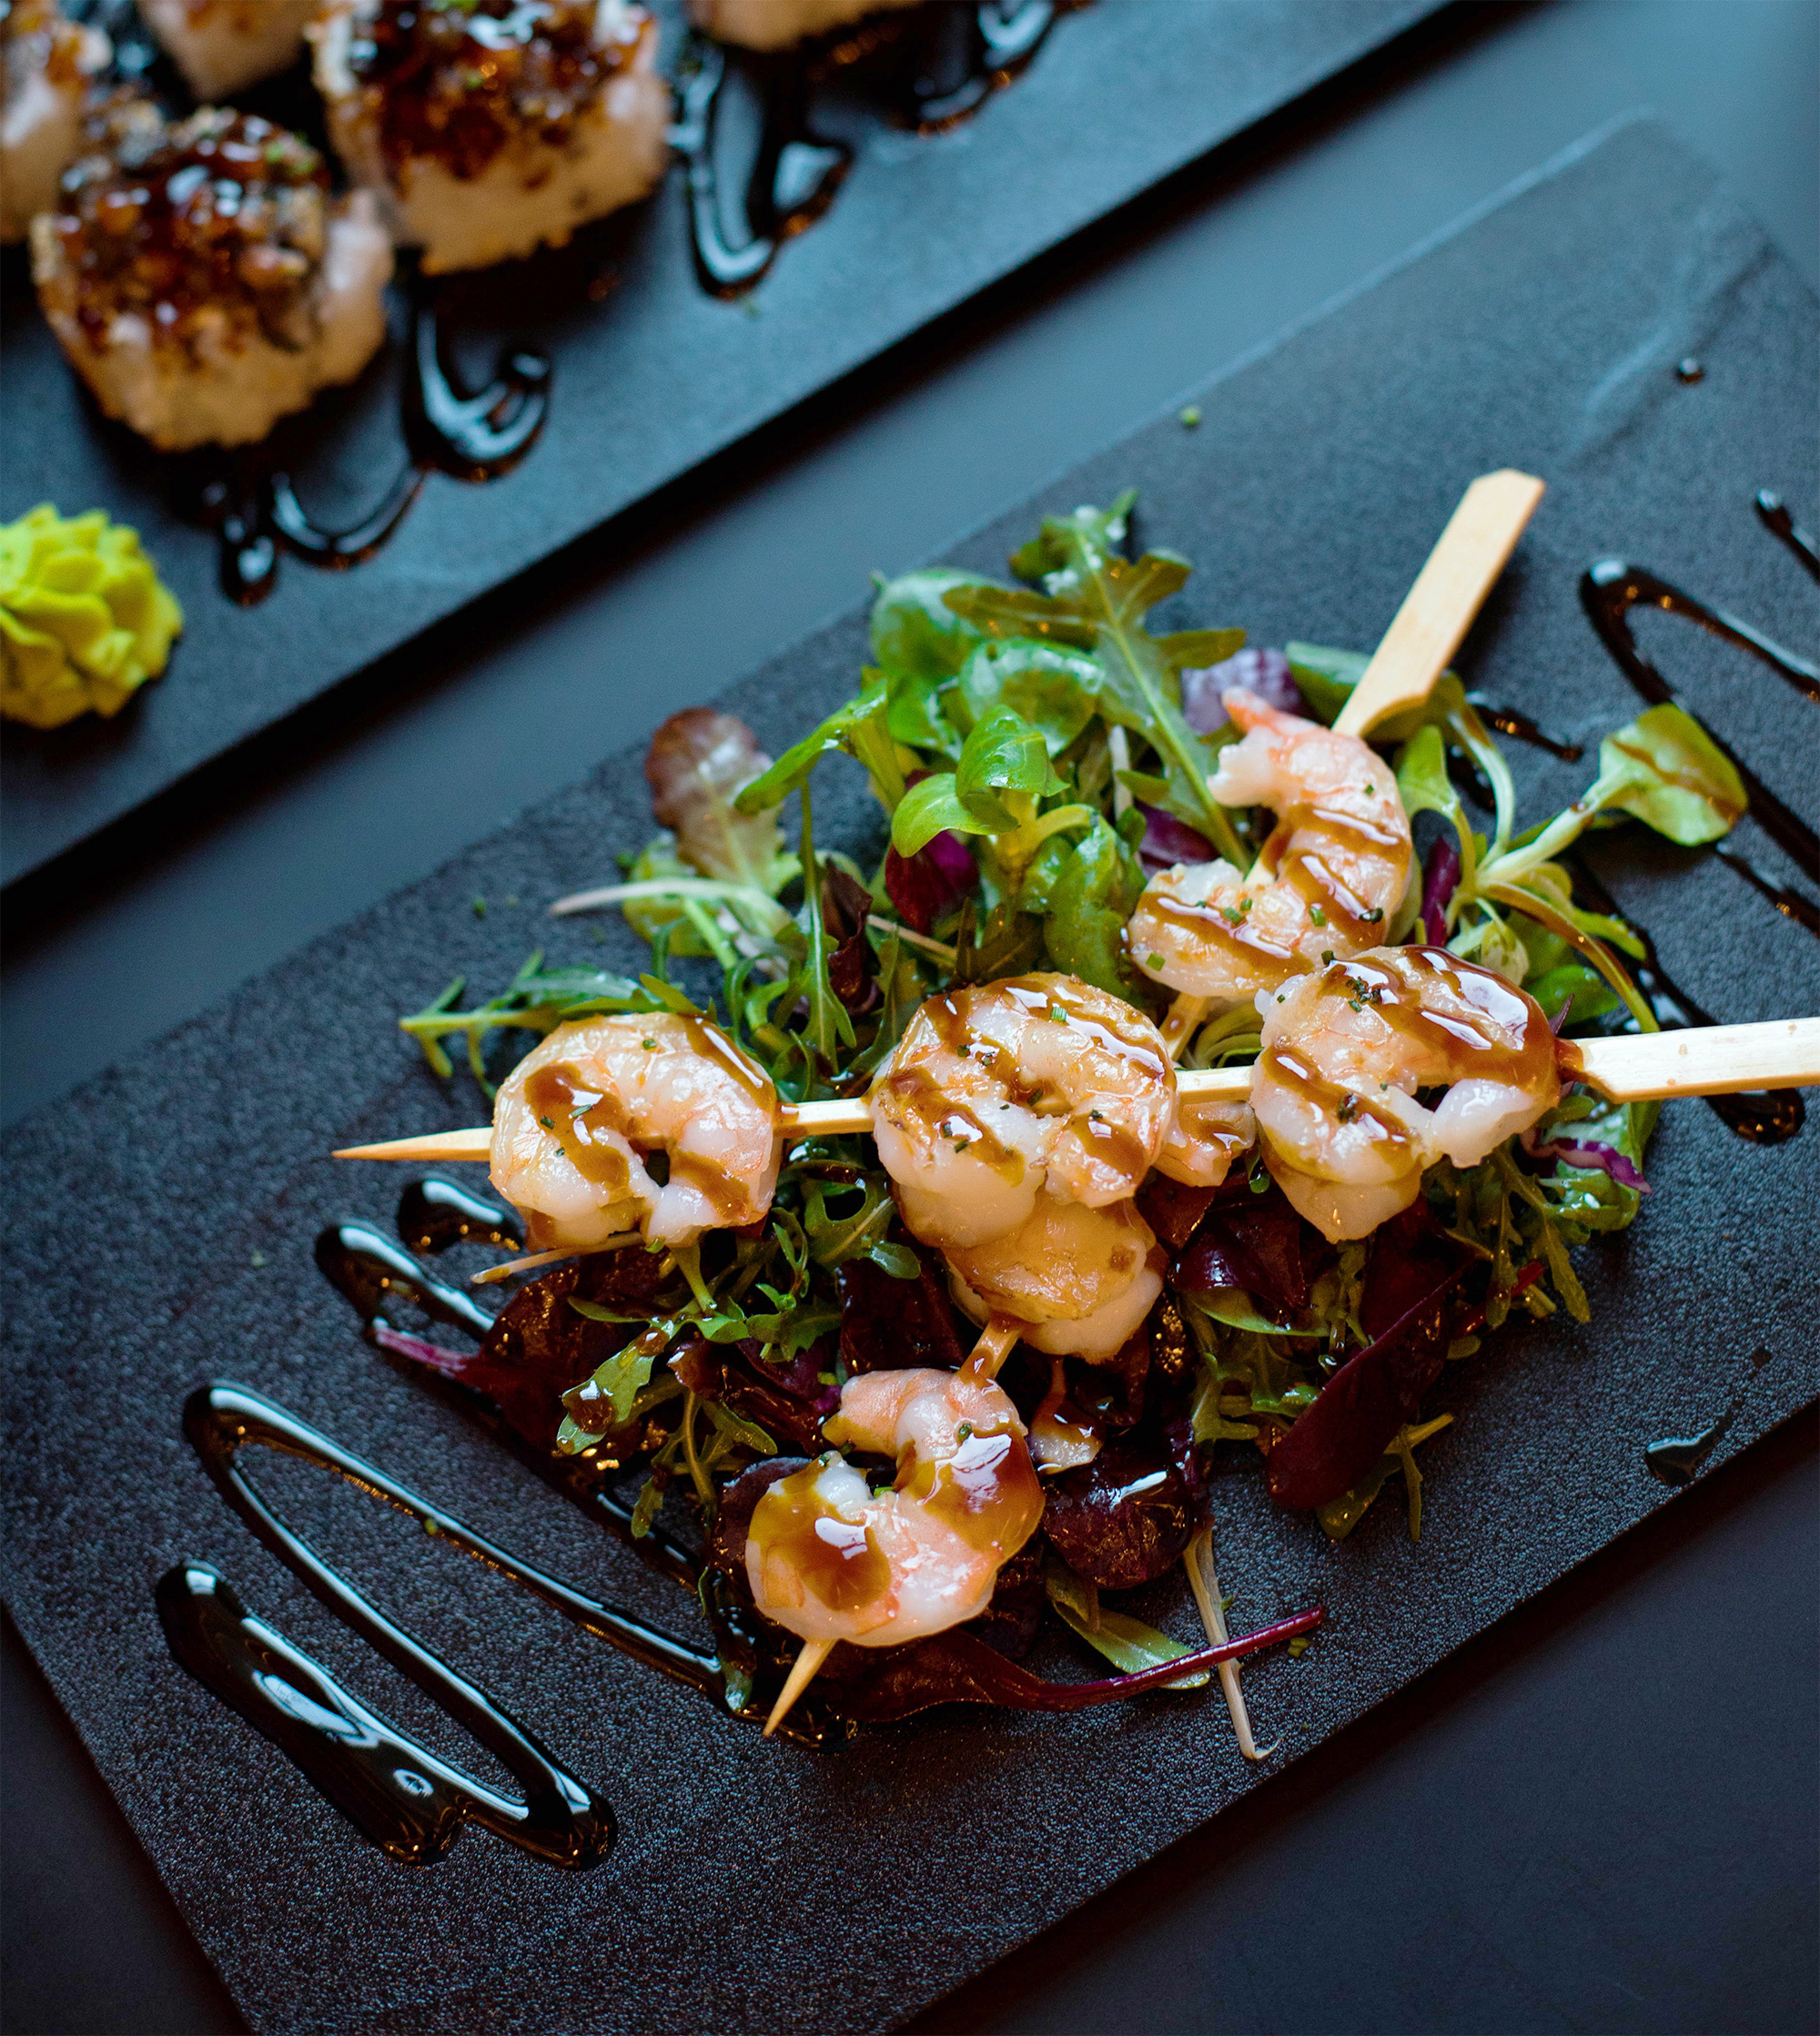
Try out this recipe for a delicious dinner meal packed with flavor and smokiness. The best part? It’s quick and easy! Prep time: 40 minutes Cook time: 8 minutes Yield: Serves 4 Ingredients: 2 tablespoons sweet paprika 2 tablespoons smoked paprika 1/2 teaspoon ground cumin 2 garlic cloves, minced 1/2 teaspoon Kosher salt 1/2 teaspoon freshly ground black pepper 2 Tbsp lime juice 1/3 cup extra virgin olive oil 1 pound of large shrimp, cleaned and peeled, tails on Bamboo skewers Directions: Soak the skewers in water for at least a half an hour before grilling. Marinate the shrimp: In a large bowl whisk together the spices—the paprikas, cumin, garlic, salt, and pepper—and the lime juice and olive oil. Add the shrimp and toss to coat with the marinade. Keep chilled for half an hour to an hour. Grill the shrimp: Prepare grill for medium-high direct heat, or heat a grill pan. Thread the shrimp onto skewers (it helps to double thread with two skewers at a time to make it easier to turn over on the grill). Baste the grill grates with some olive oil so that the shrimp don’t stick to the grill. Grill or cook the shrimp a few minutes per side (2-4, depending on the size of the shrimp), until the shrimp are just cooked through. Remove from grill and serve immediately. Sources: Simply Recipes

How to Clean a Tiled Backsplash

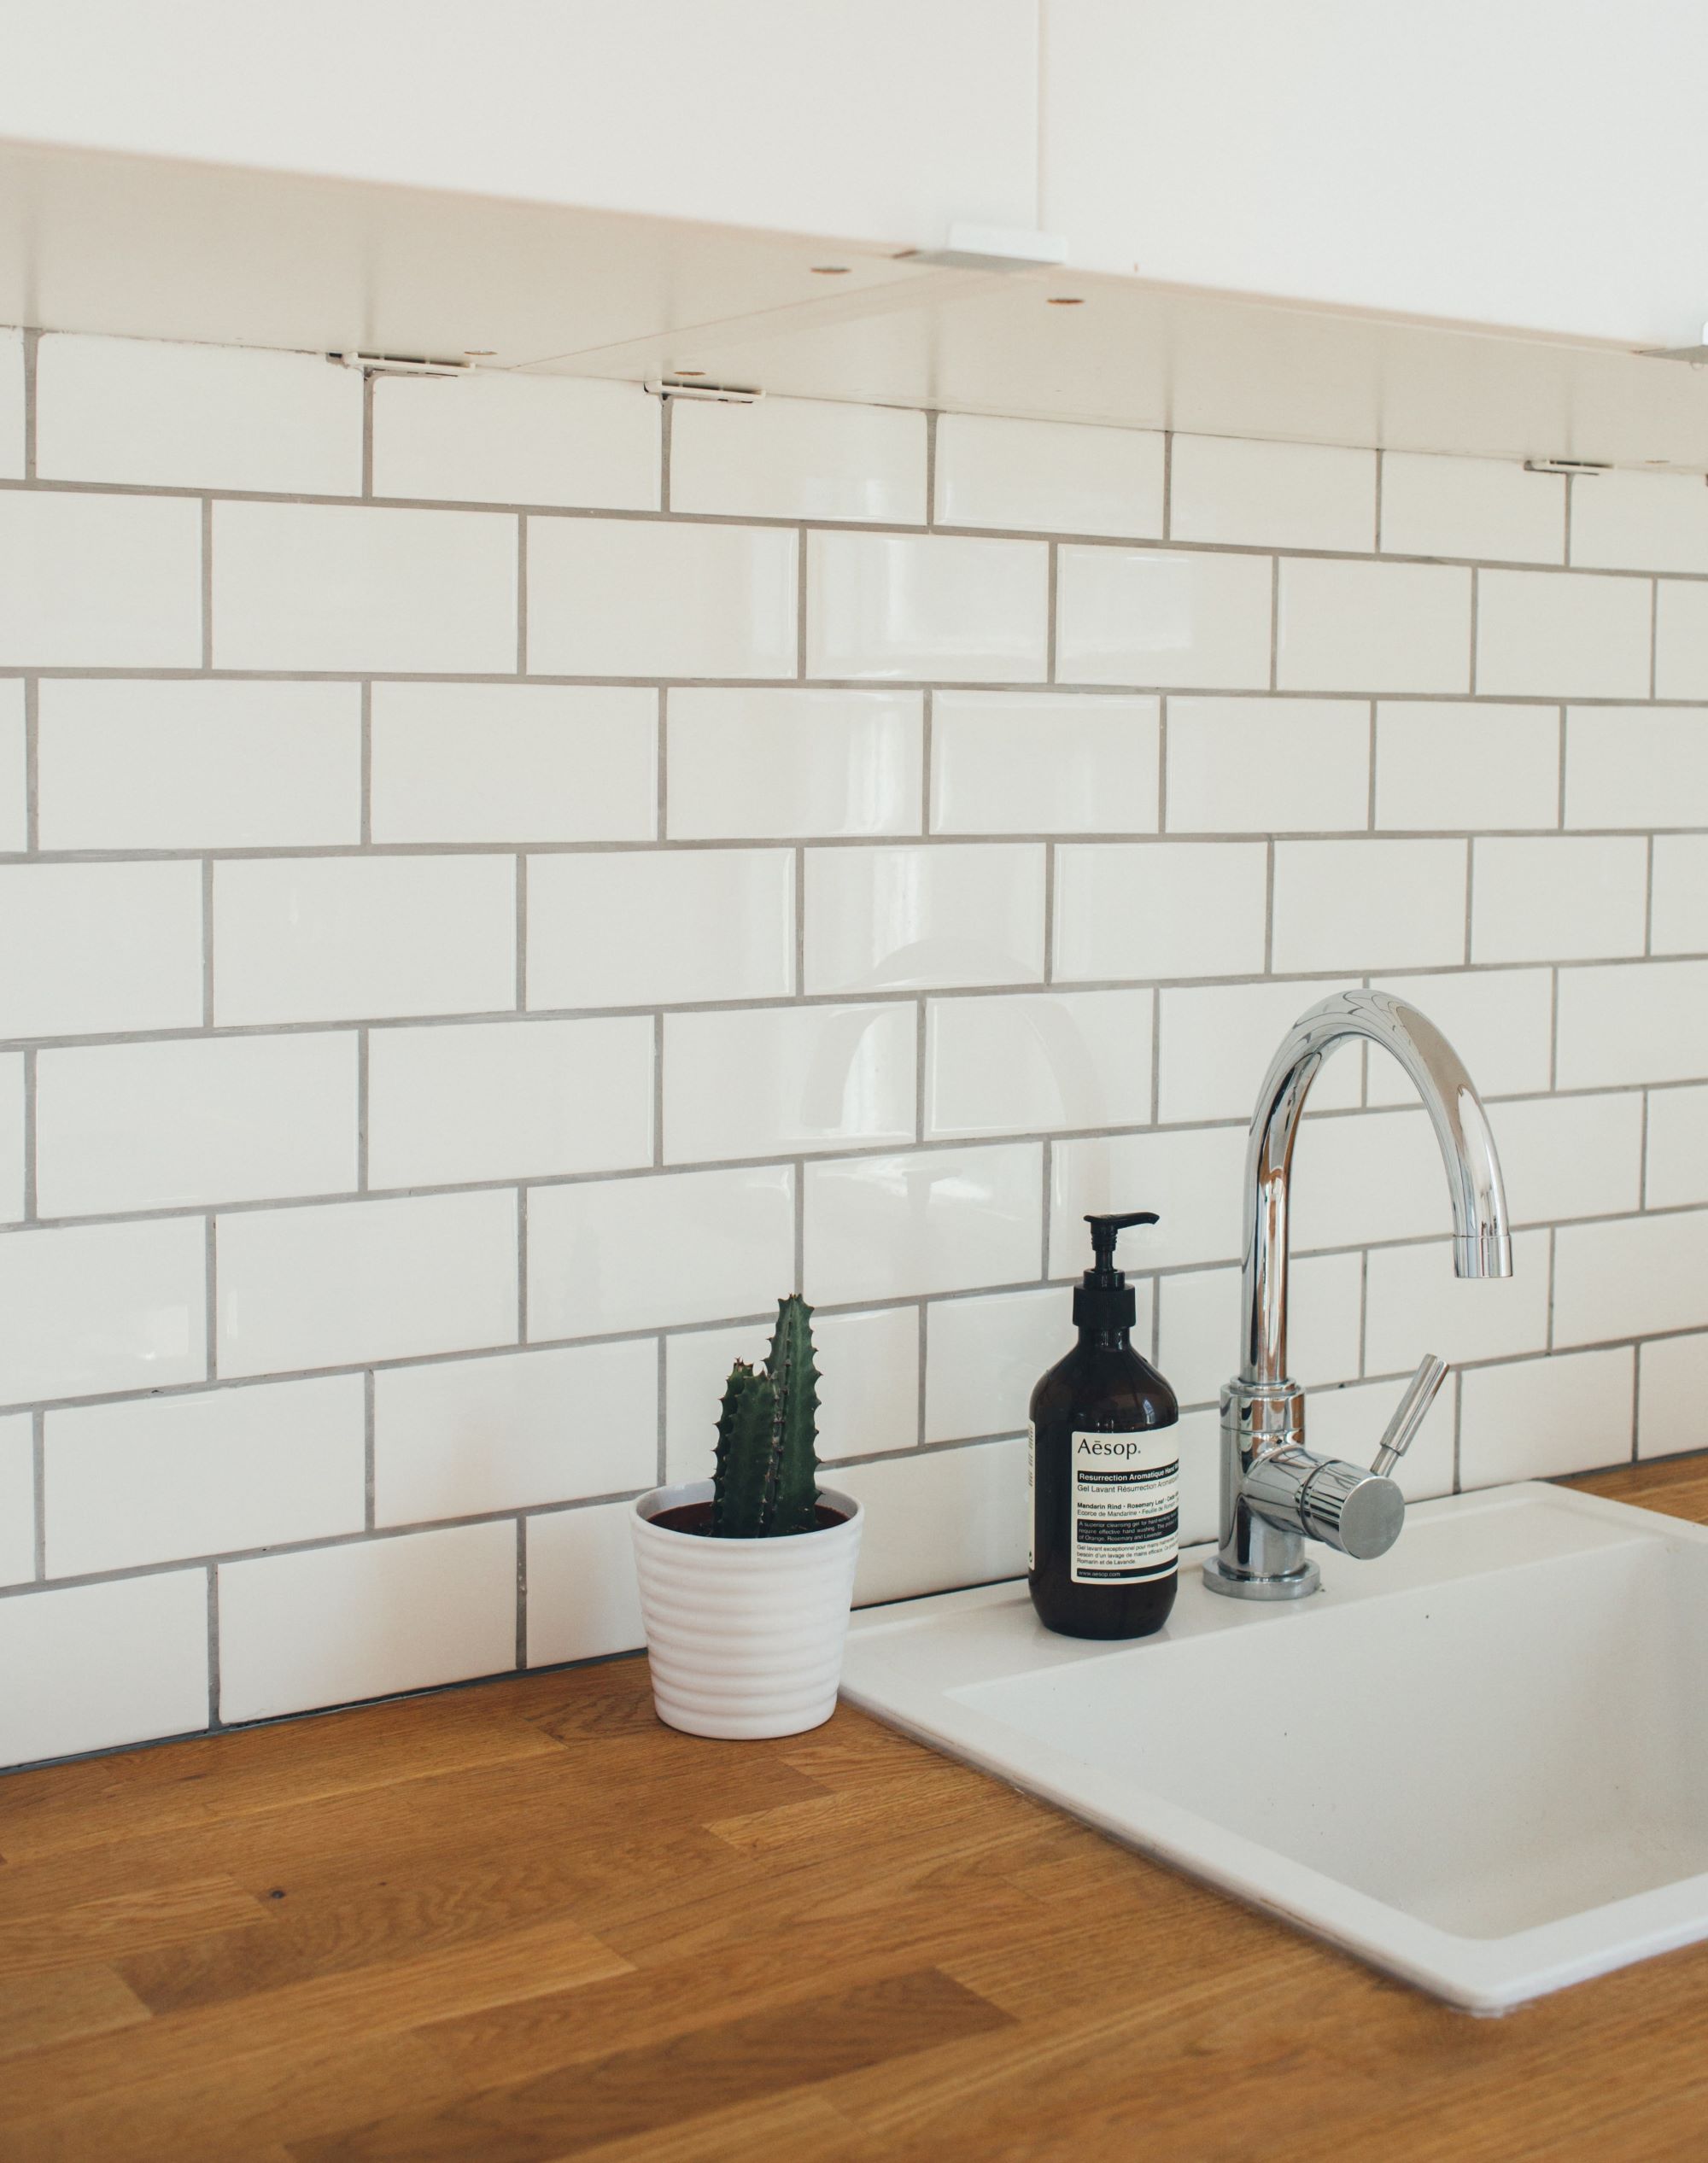
A subway tile backsplash is bound to build up grease. Follow this step by step guide on how to get those tiles shining again. What You’ll Need: Sponge Dish soap Dish cloths Lemons Vinegar Baking soda Toothbrush Grout sealer Instructions: Use a soapy sponge: With circular motions, clean the backsplash and group with the sponge. Wipe clean: Take a damp dish cloth and wipe the tiles from any soapy residue. Create a paste: For persistent grease, mix a paste with one part lemon, juice, one part vinegar, and two parts baking soda. Scrub the tiles with the paste: Take a toothbrush and apply the paste on the tiles and grout. Scrub with the toothbrush or sponge. Wipe clean: Take a damp dish cloth and wipe the tiles clean. Apply a sealer: Let everything dry completely for a few hours. Apply one or two coats of a silicone-based grout sealer to protect your grout in the future. Sources: The Kitchn

Blueberry Breakfast Cake Recipe

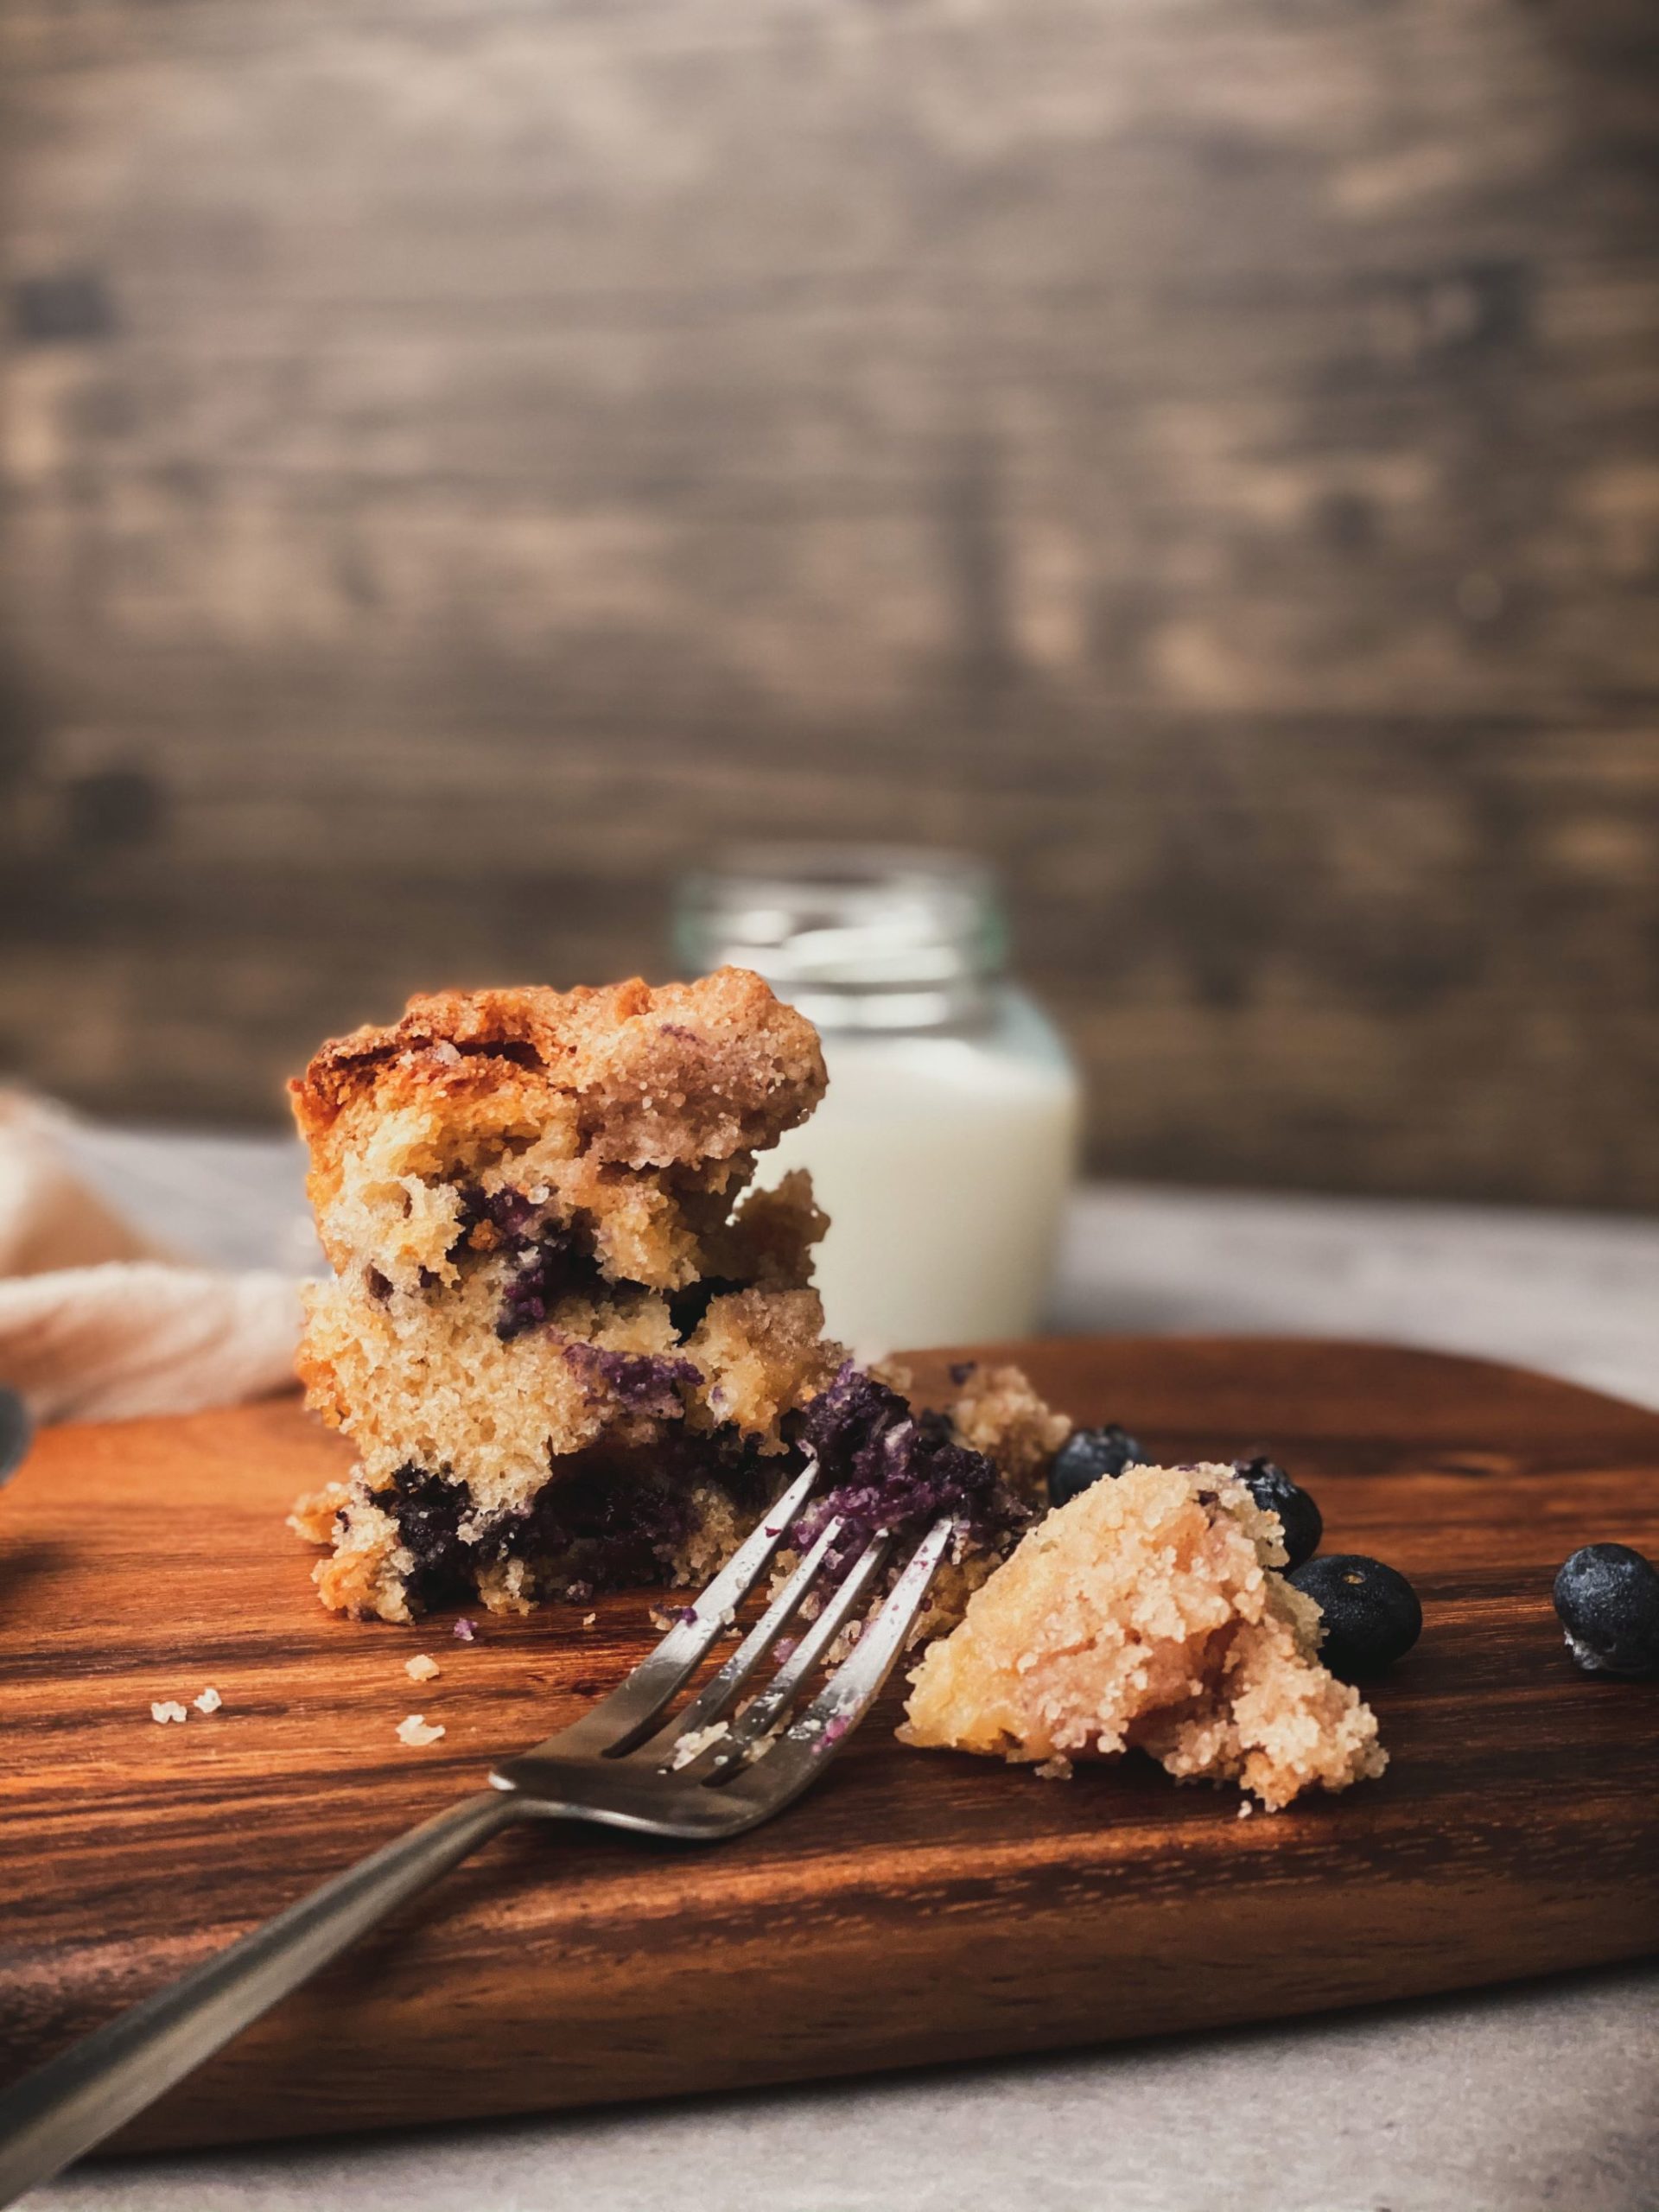
It’s never the wrong time to enjoy cake, even breakfast time. Try this blueberry cake recipe with the same flavor of a great blueberry muffin. Enjoy it with a morning coffee or tea. Time: 2 hr 25 min Active: 40 min Yield: 6 to 8 servings Ingredients: Melted unsalted butter, for buttering the pan 3/4 cup granulated sugar 1/2 cup old-fashioned rolled oats 1 teaspoon baking powder 1/2 teaspoon kosher salt 1/4 teaspoon baking soda 1 1/2 cups plus 1 tablespoon all-purpose flour (see Cook’s Note) 1/2 cup vegetable oil 1/2 cup plain yogurt 1 teaspoon pure vanilla extract 2 large eggs 1 1/4 cups blueberries, plus more for topping Frosting and Filling: 1/2 cup plain yogurt One 8-ounce package cream cheese, at room temperature 1 teaspoon pure vanilla extract 1/2 cup confectioners’ sugar 1/4 cup blueberry preserves, for topping Directions: For the cake: Preheat the oven to 350 degrees F. Butter a 7-by-3-inch round cake pan. Whisk together the sugar, oats, baking powder, salt, baking soda and 1 1/2 cups flour in a large bowl and set aside. Toss the blueberries with the remaining 1 tablespoon flour in a small bowl. Whisk together the oil, yogurt, vanilla and eggs in a medium bowl. Fold the oil mixture into the sugar mixture until just combined. Then gently fold in the floured blueberries. Pour the batter into the prepared cake pan and bake until a toothpick inserted in the center comes out clean, 55 minutes to 1 hour 5 minutes. Cool in the pan on a rack for 30 minutes. Unmold the cake and cool completely on the rack, about 30 minutes more. For the frosting: Meanwhile, beat the yogurt and cream cheese in a large bowl with an electric mixer on medium-high speed until smooth. Beat in the vanilla. Then slowly add the sugar, while beating, until completely combined. Refrigerate until ready to use. Slice the cooled cake in half horizontally to make 2 rounds. Put 1 cake round on a cake stand or round serving platter. Evenly spread half the frosting over the top of the cake, spreading all the way to the edge. Dollop half the blueberry preserves in several small drops all over the frosting layer. Top with the remaining cake round and spread the remaining frosting over the top. The sides of the cake will be unfrosted. Dollop the remaining blueberry preserves in the center of the cake. Sprinkle blueberries on top of the preserves. The cake can be served right away or made the night before and refrigerated. Sources: Food Network

Teriyaki Chicken Breast Recipe

Learn how to make a quick dinner option with this teriyaki chicken recipe. Try your hand at a homemade teriyaki sauce for a healthier choice with great flavor. Cook time: 30 minutesYield: Serves 4 Ingredients: 3/4 cup soy sauce* (or mix tamari** and water in equal proportions to make 3/4 cup) 3/4 cup sake 3/4 cup mirin 4 Tbsp sugar A 1-inch piece of ginger, grated fine 4 skinless, boneless chicken breasts, about 1 1/4 to 1 1/2 pounds total (set out for 30 minutes to come to room temp) 2-3 Tbsp sesame seeds Directions: Gently simmer chicken in sauce made with sake, mirin, soy sauce, sugar, ginger: Mix the grated ginger, sugar, soy sauce, sake and mirin in a pot and bring to a boil. Add the chicken breasts, return to a simmer, then lower the heat to the lowest possible setting (warm if you can), on your smallest burner, and cover.The idea is to cook the chicken as gently as possible, below a simmer. Cook for 20 minutes.If you are working with somewhat large chicken breasts, you may need to cook them longer, or cut them in half before cooking. Toast sesame seeds: While the chicken is poaching, toast the sesame seeds in a dry pan until they begin to brown. Move to a small bowl and set aside. Set aside chicken, cover with foil: Remove the chicken breasts from the teriyaki sauce, set on a plate and wrap with foil. Reduce sauce: Bring the sauce back to a boil and boil vigorously until the sauce is reduced to a syrup, about 8-10 minutes. Keep an eye on the sauce, stirring it occasionally. Slice chicken, cover with sauce, sprinkle with sesame seeds and serve: To serve, slice the chicken breasts, cover with the teriyaki sauce and sprinkle sesame seeds on them. Serve with plain white rice. Sources: Simply Recipes

The COS-C106SIX-PT Oven’s New Look

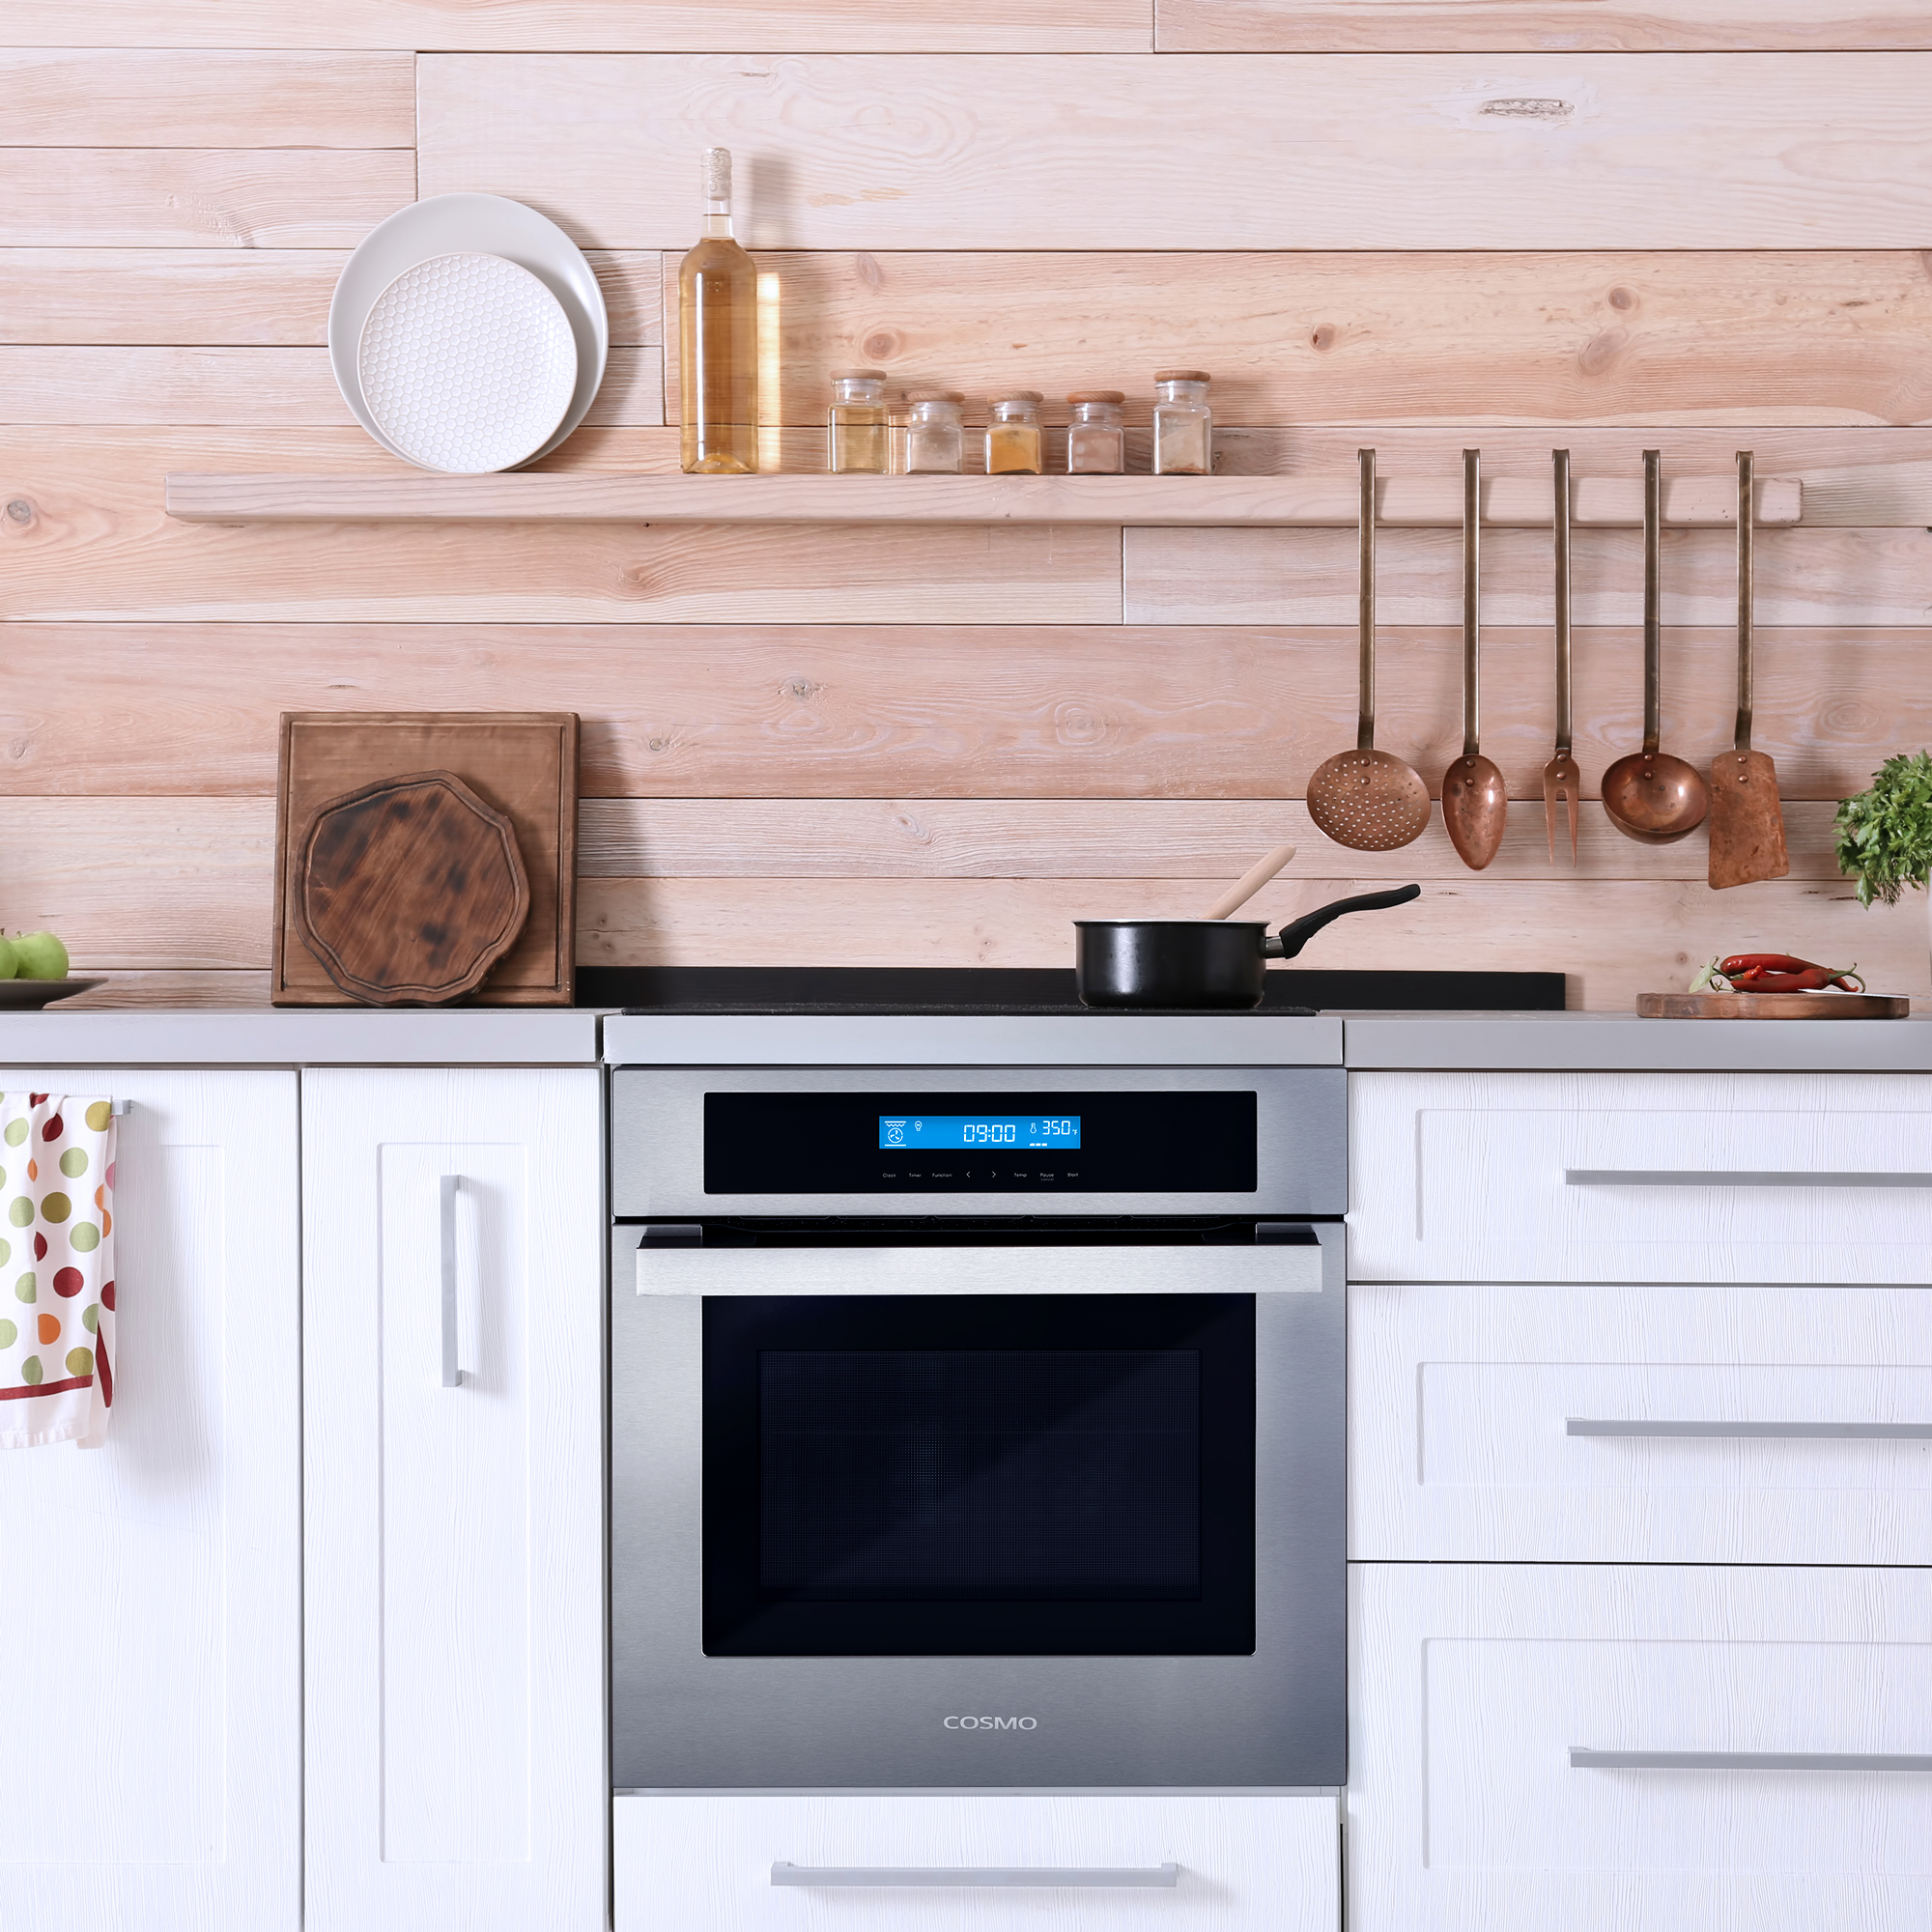
New year new oven. Our 24” wall oven has gotten a visual upgrade for the new year. It’s the same oven you loved with a new modern look. Take a look at all the features you can have with your next kitchen upgrade. Previous Next Features Spacious 2.5 cu. ft. capacity single electric wall oven delivers plenty of space in a compact size Single electric wall oven has 8 oven functions: Defrost, Turbo True European Convection, lower heater, upper and lower heater, upper and lower heater convection, full grill, double grill, double grill convection Integrated touch controls make cleaning the oven exterior easy; surface wipes clean with a soft cloth Turbo True European Convection for fast cooking and even heating Single electric wall oven with 2 racks can be configured between 5 positions for multi-rack cooking Modern cabinet pull style stainless steel handle Child safety control lockout built-in to our single electric wall oven Cavity cooling system dissipates heat from the outer surfaces of the unit, including the oven door Single electric wall oven has a ventilated steam outlet Triple layer glass door with removable inner panel features safe cool-to-touch glass Extra-large oven window with dual lights to easily monitor the progress of your cooking Complimentary drip pan included for your convenience Check it out here!

Seared Ahi Tuna Recipe

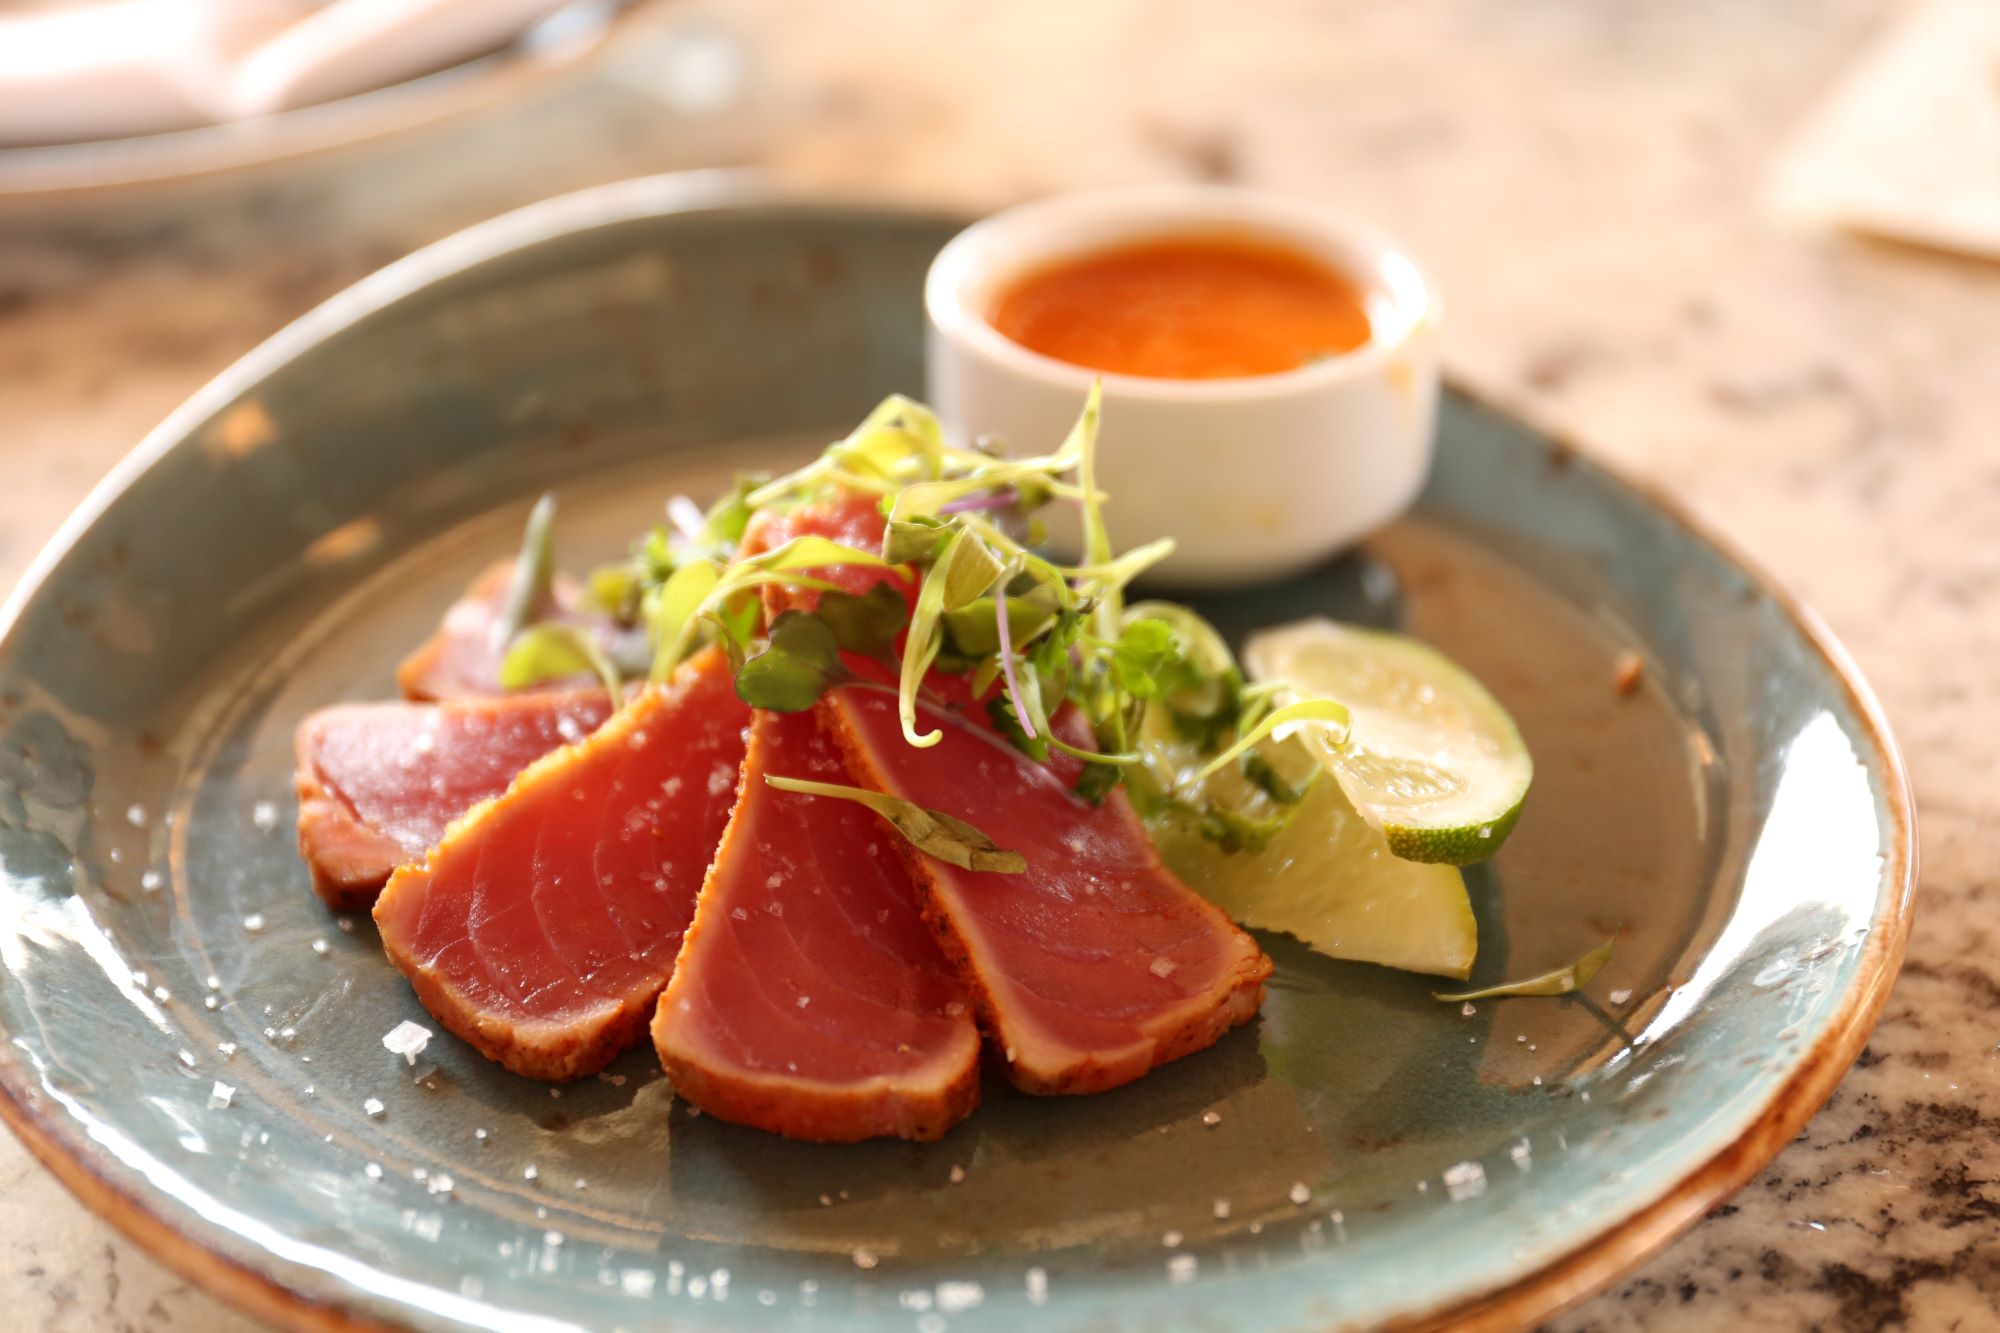
Create a delicious plate of freshness and flavor with this recipe. Ahi tuna also known as yellowfin tuna can be prepared with a side of white rice, shoyu, radish sprouts and nori. When shopping for your tuna the freshness and quality of the fish makes a big difference. Look for a higher grade tuna. Prep time: 5 minutesCook time: 5 minutesMarinating time: 1 hourYield: 2 servings Ingredients: 2 (6-8 ounce) ahi tuna steaks (3/4 of an inch thick) For the marinade: 2 tablespoons dark sesame oil 2 tablespoons soy sauce (or 2 teaspoons of wheat-free tamari for gluten-free option) 1 tablespoon of grated fresh ginger 1 clove garlic, minced 1 green onion (scallion) thinly sliced (a few slices reserved for garnish) 1 teaspoon lime juice Directions: Marinate the tuna steaks: Mix the marinade ingredients together and coat the tuna steaks with the marinade, cover tightly, and refrigerate for at least an hour. Sear the tuna: Heat a non-stick skillet over medium high to high heat. When the pan is hot, remove the tuna steaks from the marinade and sear them for a minute to a minute and a half on each side ( even a little longer if you want the tuna less rare than pictured.) Slice and serve: Remove from pan and slice into 1/4-inch thick slices. Sprinkle with a few green onion slices. Serve plain, with white rice, or over lettuce or thinly sliced cabbage or fennel. Sources: Simply Recipes

How to Clean a Scorched Pan

Pans are bound to be neglected at times. Leaving something in for too long leaves food burned and your pan scorched. While there are popular store-bought cleaners, try these other easy solutions if you ever find yourself short on money or time. Vinegar & Baking Soda Vinegar is a great multi-purpose cleaner that can save your pans. Pour a small layer of equal parts water and white vinegar on the bottom of the pan. Next, heat the solution on the stovetop until it comes to a boil. Once it boils for a minute, remove and drain it down the sink. Add a tablespoon of baking soda to the empty pan. Finally use a scouring pad to massage the baking soda and combat any burn marks. Rinse clean. Salt Coarse Kosher salt is another solution to scorch marks on pans. Pair it with a dish detergent and hot water. Massage it into the pan with the juicy core of a cut lemon. Cream of Tartar Try using cream of tartar as an abrasive substitute for baking soda. Mix a tablespoon of it in a cup of water and bring it to a boil on a scorched pan. Let the water cool and then scrub the pan to combat any marks. Dryer Sheet Take soap, water and add a dryer sheet into a mix on the burnt pan. Allow it to sit for an hour. The sheet will loosen the burnt food and leave you with a shiny pan. Alka Seltzer Add 1-2 tablets to hot water in your pan and allow it to sit. The solution will take action against any stubborn burns. Sources: HGTV

An Easy Hummus Recipe

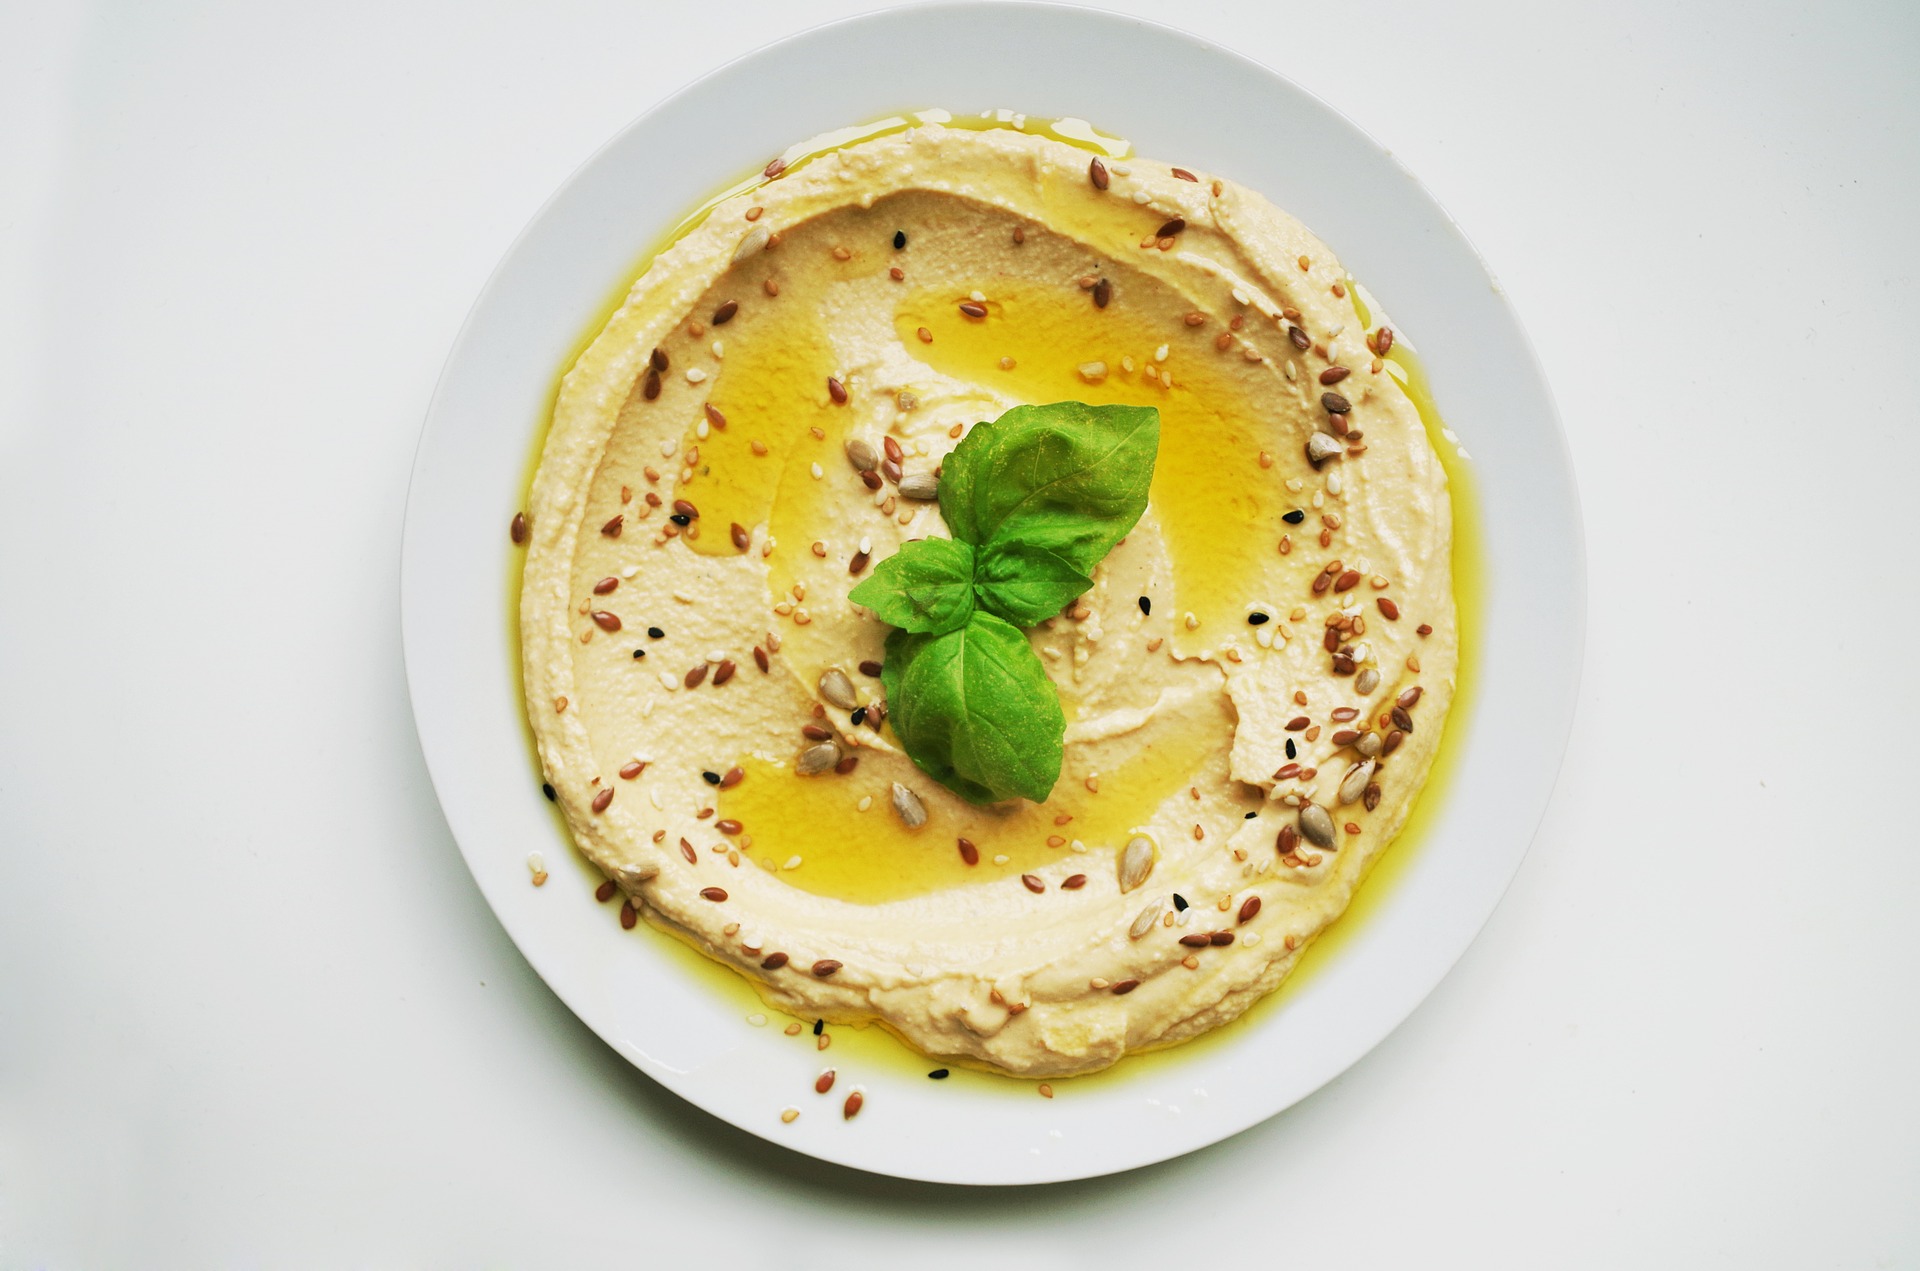
There’s nothing else quite like homemade hummus. Try this easy recipe to enjoy all the flavor in about just five minutes! Ingredients: ½ cup of tahini (roasted, not raw) ¼ cup extra virgin olive oil (plus more for garnishing) 2 garlic cloves, mashed and roughly chopped 2 15-oz cans of chickpeas (garbanzo beans), drained ¼ cup freshly squeezed lemon juice ½ cup water ½ teaspoon of salt Garnishes: A sprinkling of paprika, a swirl of olive oil, toasted pine nuts, and/or chopped parsley Directions: Process tahini and olive oil: In a food processor, combine the tahini and olive oil and pulse until smooth. Blend the oil and tahini first when making hummus. Blending the oil and tahini first helps it blend into the chickpeas better Add remaining ingredients, process until smooth: Then add the garlic, garbanzo beans, lemon juice, 1/2 cup water and 1/2 teaspoon of salt. Process until smooth. The longer you process in the food processor, the smoother the hummus will be. Add more salt or lemon juice to taste. Add the chickpeas to the blender Blend the chickpeas, tahini, and olive oil until the hummus is creamy Serve: Spoon into serving dish, swirl a little olive oil over the top and sprinkle with garnishes—a little paprika, toasted pine nuts, or chopped fresh parsley. Serve with crackers, raw dip vegetables such as carrots or celery, or with toasted pita bread. To toast pita bread, cut the pita bread into triangles, brush with olive oil and toast for 10 minutes in a 375°F oven, turning them over half-way through the cooking. Source: Simply Recipes

Sheet Pan Pizza with Roasted Cauliflower and Greens Recipe

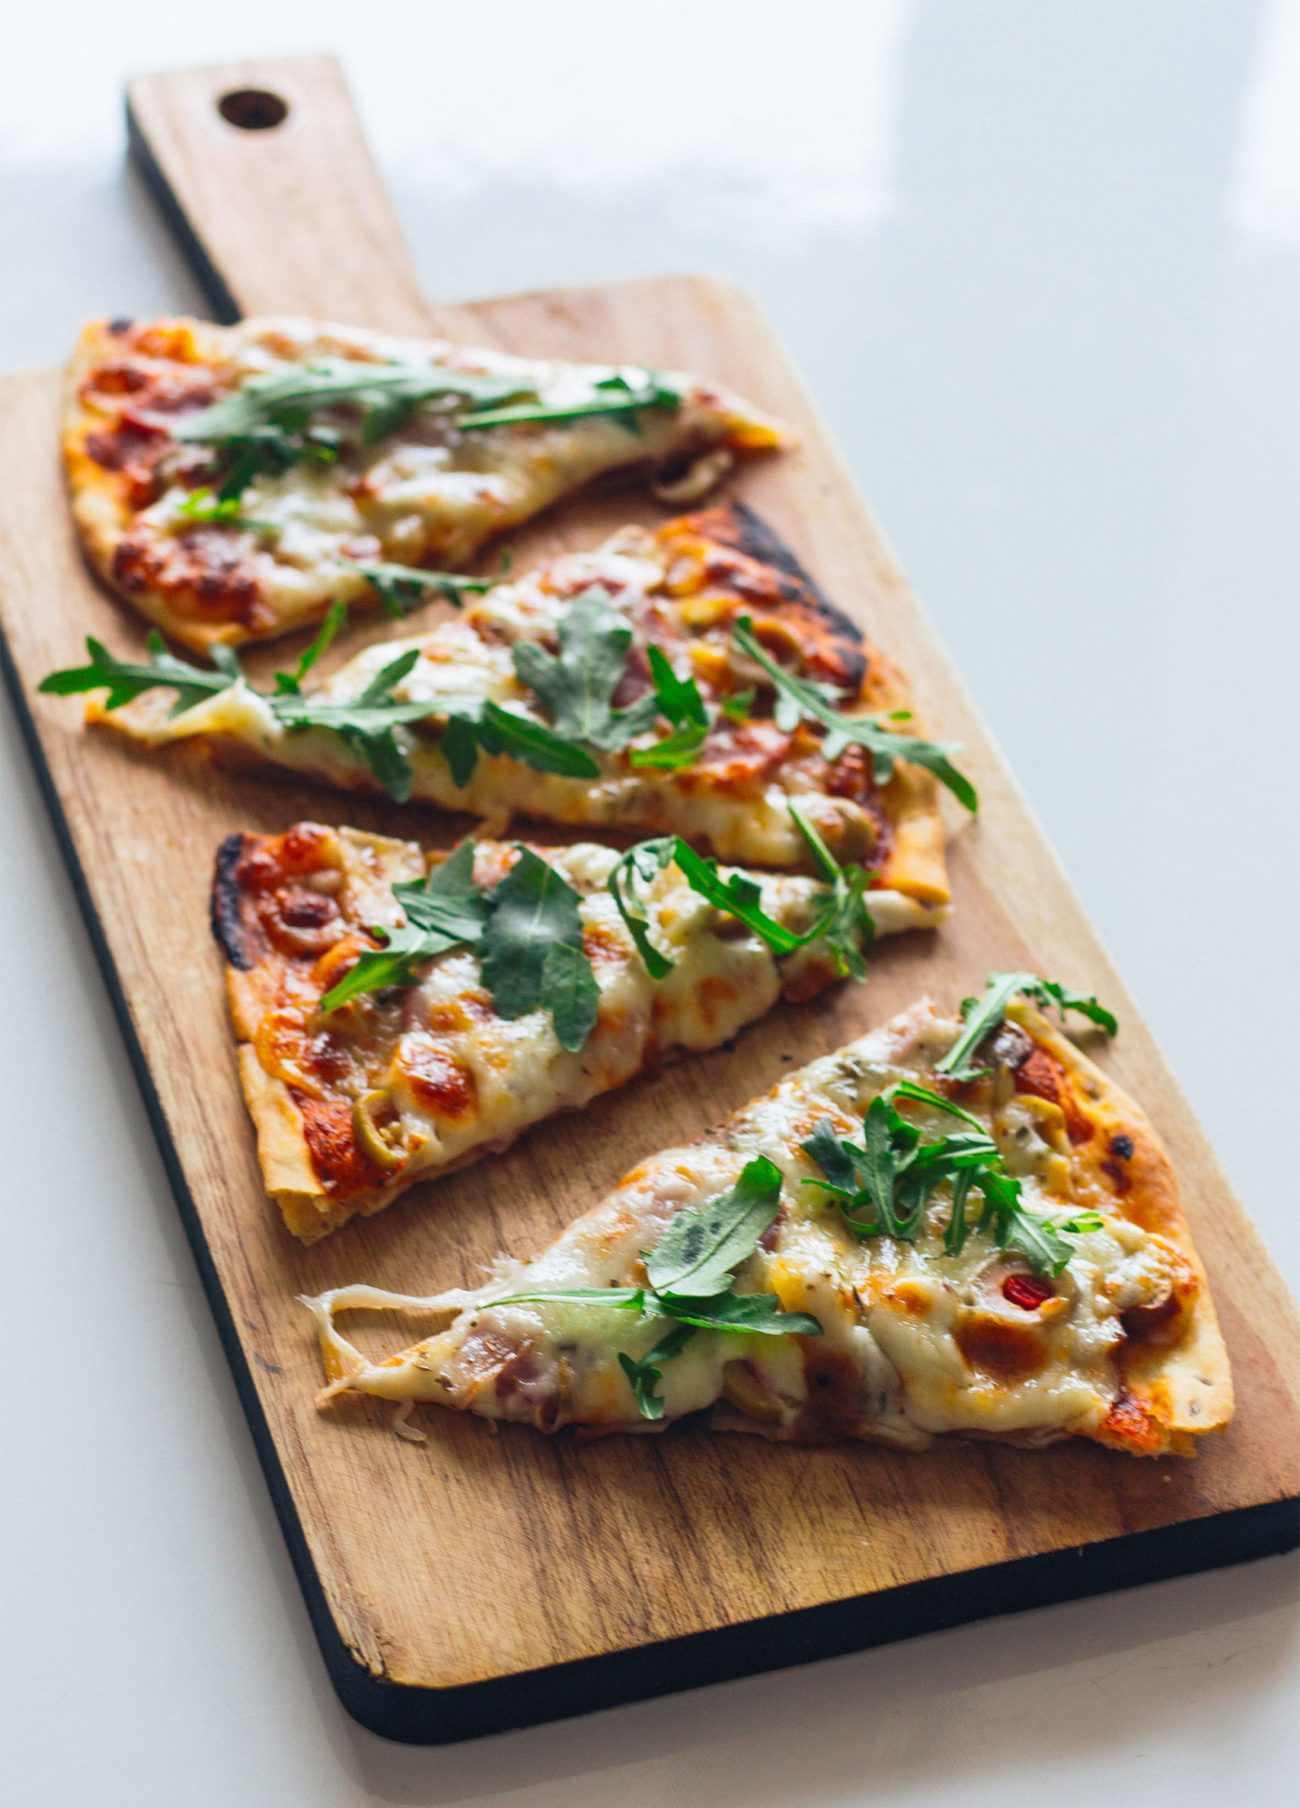
Try this delicious new pizza recipe that can be prepared on a sheet pan. Combine cauliflower and other greens for a large and unique pizza everyone will love. Prep time: 35 minutes Cook time: 15 minutes Yield: 12 pieces Ingredients ½ large head cauliflower 6 tablespoons olive oil, divided ½ teaspoon salt ¼ teaspoon pepper 1 recipe (about 1 ½ pounds) dough 1 cup (2 ounces) grated Parmesan 12 ounces fresh mozzarella, torn into pieces 2 tablespoons drained green peppercorns in brine, or drained capers 3 handfuls baby greens such as arugula, kale or spinach 1 tablespoon balsamic vinegar Equipment: 2 (13 x 18) rimmed baking sheets Directions: Preheat the oven to 450ºF. Place a rack in the lowest position. Prepare the cauliflower: Trim away the outer leaves and cut the cauliflower in half. Cut one half into slices about 1/4-inch thick, and reserve the other half for another use (or roast it all now and save half for another meal.) Some smaller florets will fall away; this is fine. Spread the cauliflower slices and any florets that have fallen off on a rimmed baking sheet. Drizzle with 2 tablespoons of the oil. Using your hands, rub the oil into the cauliflower, coating both sides. Sprinkle with 1/2 teaspoon salt and 1/4 teaspoon pepper. Roast the cauliflower: Place the cauliflower on the lower rack of the oven. Roast for 20 minutes, or until tender. Let the cauliflower cool slightly on the pan and break or cut it into smaller pieces. At this point, the cauliflower can be kept refrigerated for up to 5 days. Stretch the dough onto the baking sheet: Wipe clean the baking sheet used to roast the cauliflower. Place the dough in the center of the baking sheet and drizzle with 2 tablespoons of the oil. Turn the dough to coat it well, spreading some of the oil over the baking sheet. Gradually stretch the dough until it reaches the edges of the baking sheet. If it springs back or is difficult to stretch, cover with plastic wrap and let rest for 10 minutes before continuing. Turn the oven to 500ºF. Top the pizza: Brush the top of the dough with 1 tablespoon of oil and sprinkle with the grated Parmesan. Top with the mozzarella, followed by the cauliflower. Sprinkle the peppercorns (or capers) evenly over the dough. Bake the pizza: Set the pan on lowest shelf of the oven and bake for 15 minutes, or until the cheese melts and the pizza is golden brown. Top with greens: In a bowl, toss the greens with the remaining tablespoon of the oil, the vinegar and salt and pepper. Top the cooked pizza with the greens; they will wilt slightly from the heat of the pizza. Cut into squares and serve hot. Sources: Simply Recipes