Month: June 2021

4 Tips to Achieve a Decluttered Kitchen

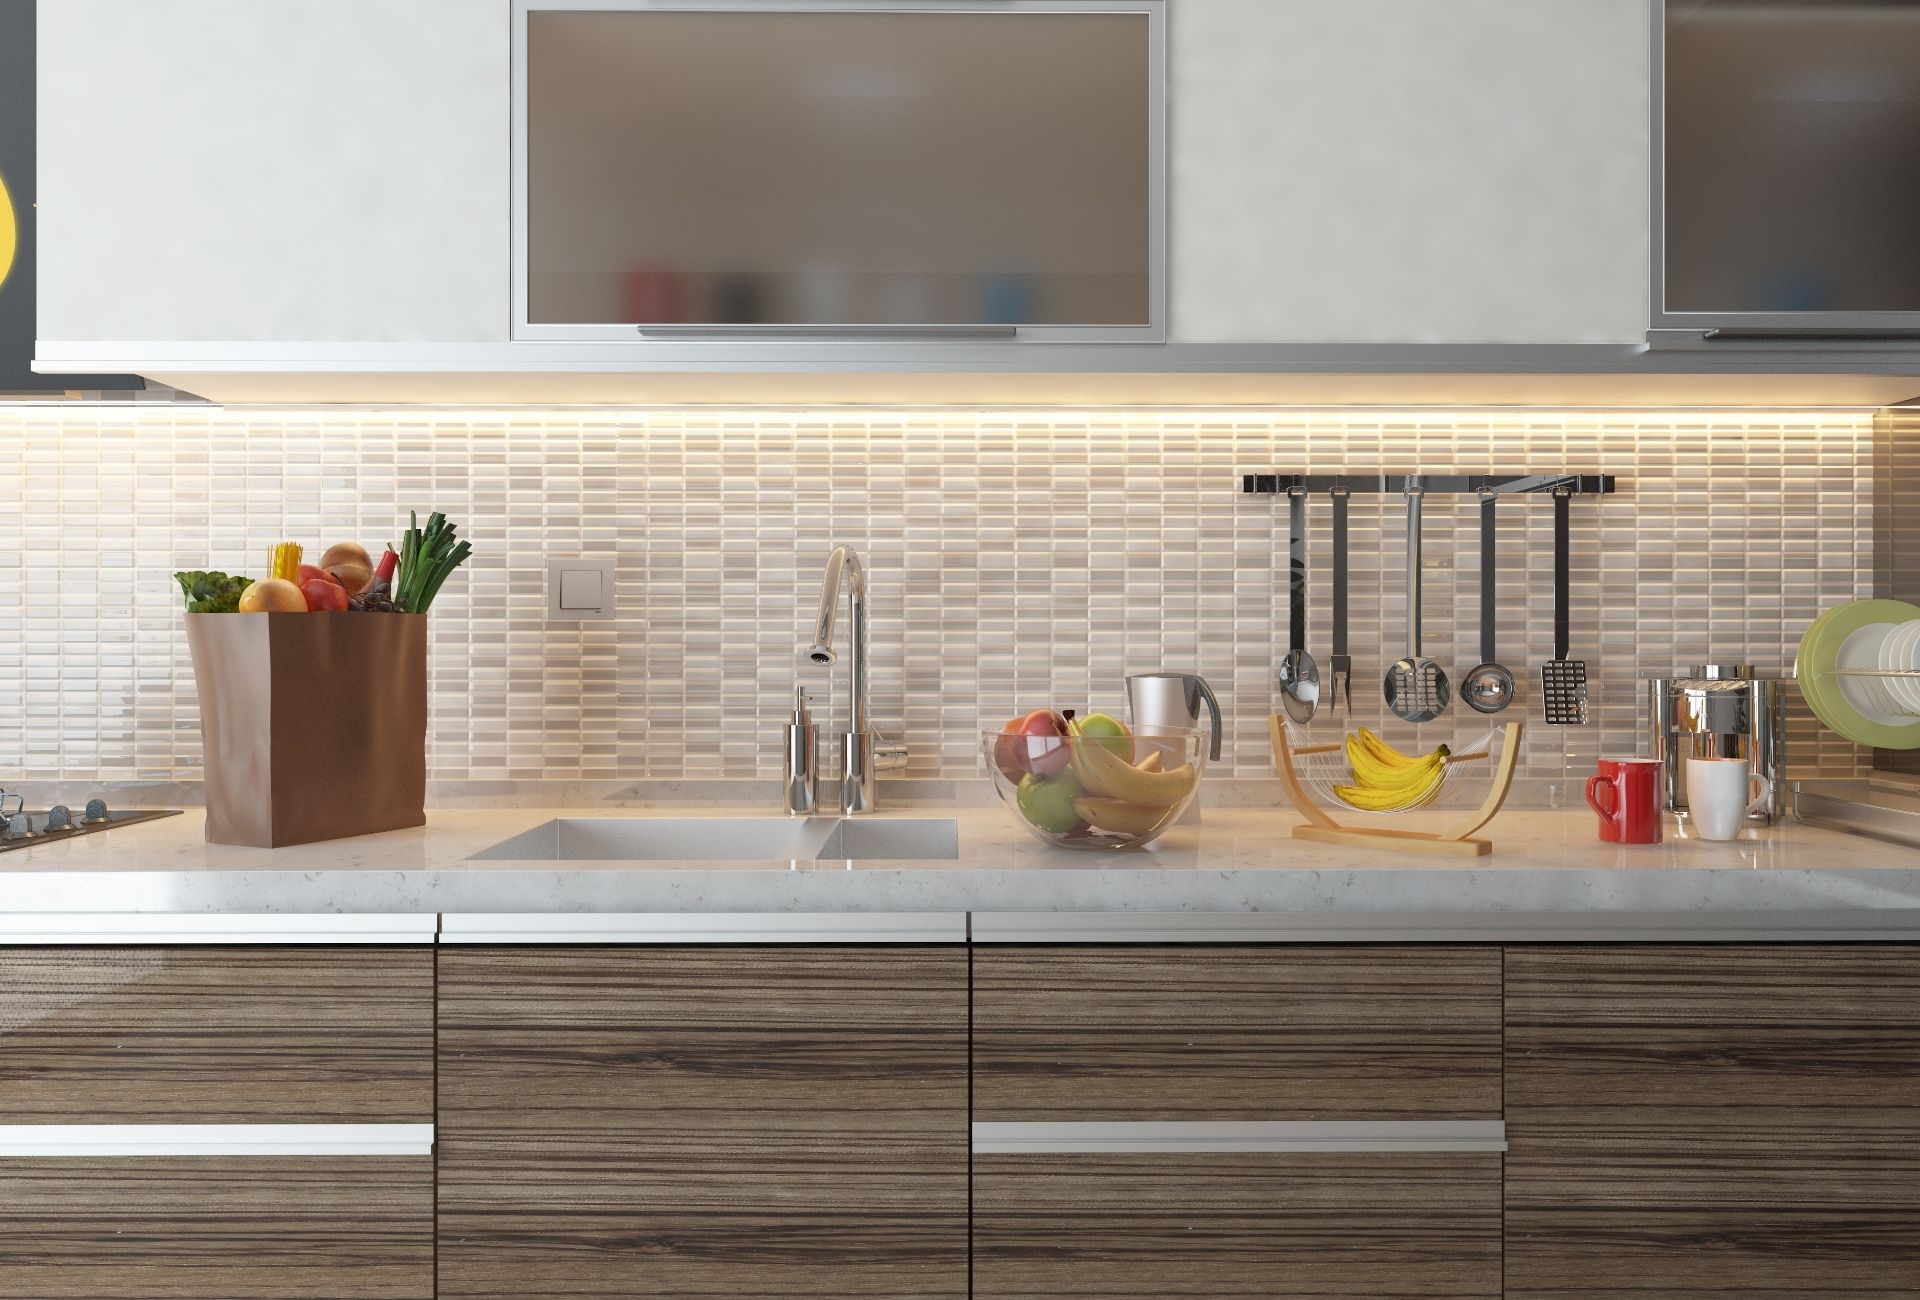
No matter the kitchen design, endless clutter of jars, spices, dishes and meaningless brushes will ruin the aesthetic. Here are a few tools and tricks you can utilize to keep your dishes and cleaning products in an orderly fashion. Go Vertical. An open shelf designed kitchen is on trend, but towering dishware easily ruins the look. Invest in slotted organizers that will hold everything vertically. This file system easily shows you what you have and can also help to cut down on things you may no longer need. It’s a great way to clear out the clutter in the furthest corners of your cupboards. It also looks far more appealing whenever your baking sheets are standing next to each other instead of in a tower. Cut Down the Kitchen Sink Tools. Your skin may be cluttered from all those various bottles and sponges that are continuing to pile up over time. Look for a multi-purpose tool such as a dishwand that can dispense detergent while also scrubbing. You’ll no longer need several sponges crowding around your sink’s edge and will optimize your dishwashing process. Uniform Storage. A busy pantry with loads of different colors, bags and packages can be an eye-sore. Try investing in quality matching canisters that you can store dry goods such as pasta, nuts and flours. It also helps you visually determine what’s available more quickly. You’ll save money instead of accidentally purchasing the same bag of almonds you missed in the back of the drawer. Label these canisters with matching labels for the perfect finishing touch. Cooktop Cleaners. Induction cooktops are becoming more common as a popular cooking option. These cooktops are prone to spills that can cook-on stains or leave marks over time. There are many internet solutions out there that can leave your kitchen cluttered with tools. Look for cooktop pads that have a special texture that won’t scratch the glass surfaces for a quick one-stop solution. Source: House Beautiful

Air Fried Sweet Potato French Fries

Looking for a quick and easy snack for your air fryer? Try these delicious sweet potato french fries. Be sure to mix in cinnamon and brown sugar for an extra level of sweetness. Ingredients: Large sweet potato Brown sugar Cinnamon Non-stick cooking spray Frosting (optional) Directions: Peel and chop up a large sweet potato Place in a bowl and add cooking spray Add brown sugar and mix well. Add cinnamon and repeat. Place fries in air fryer basket in a single layer for even cooking. Bake at 350 degrees F for 20 minutes. Shake every 5 minutes. Optional: drizzle frosting of your choice

How to Clean a Juicer

Juicers have come a long way, and are best to extract juice from firmer fruits and vegetables. There are three basic types of modern juicers– centrifugal force, masticating or cold press, and triturating. A centrifugal force juicer contains blades in a spinning container. These are the fastest, loudest and least expensive types. A masticating or cold press uses a single spiral auger to masticate the produce. It will mimic the action of chewing. It’s much slower but extracts more juice. The triturating is a professional type that uses two augers to grind the fruit and vegetables into small particles. Cleaning is essential for any kind of juicer, regardless of the type. Without regular upkeep, small bits of pulp can get trapped in the components and decay leading to bacterial and mold growth. Many of these components are dishwasher-safe and can be kept clean with just a few items. Every juicer should be cleaned after every use. Bits that are trapped can harden quickly, making them more difficult to remove later. If the juicer is being used daily, make sure to give it a deeper cleaning weekly. What You’ll Need: 1 Non-abrasive sponge 1 Soft-bristled bottle brush 1 Toothbrush 1 Spatula 1 Microfiber cloth 1 Dishwasher 1 Dishwashing liquid 1 Dishwasher detergent 1 Baking soda 1 Distilled white vinegar Directions: Before you begin the cleaning process, turn off and unplug the juicer from the wall outlet. Remove the juice and pulp collection containers. Disassemble the juicer to access the grinding mechanism, strainer, lid, and plunger. Use a spatula to scrape out the pulp container. The pulp can be used in some recipes, composted, or placed in a trashcan. Fill a sink with hot water and add a few drops of dishwashing liquid. Place the components in the sink and let them soak for two or three minutes. Use a non-abrasive sponge to wash the plastic containers. Use a soft-bristled bottle brush or toothbrush to clean the strainer and around the grinding components. Rinse the clean pieces well with hot water and allow to air-dry or dry with a microfiber cloth to help prevent water spots.Even if you plan to place the parts in the dishwasher, give them a quick rinse to flush out the pulp particles. This is particularly important for the fine mesh of the strainer. Dampen a non-abrasive sponge with water and wipe down the base of the juicer. Never submerge the base that contains the motors in water! Dry with a microfiber towel. Once every component is clean and dry, reassemble the juicer and you’re ready for the next use. Weekly Deep Cleaning: If pulp has been allowed to dry and harden in the juicer components, fill a sink with hot water and a few drops of dishwashing liquid, add the components and allow them to soak for 15 minutes.Dip a toothbrush or bottle brush in dry baking soda and gently scrub the components. The baking soda will act as a gentle abrasive. Rinse the components often and continue scrubbing until they are clean. If the containers have streaks and water spots, fill them with distilled white vinegar and allow them to soak for 15 minutes. Pour out the vinegar and wipe them down with a non-abrasive sponge. Rinse well and dry with a microfiber cloth. Source: the Spruce

Air Fried Cheese Empanadas

Need a quick and easy snack for your air fryer? Try these delicious cheesy empanadas! Be sure to top them with Italian seasoning for the final touch. Ingredients: Goya empanada discs Mozzarella cheese Italian seasoning Egg wash or cooking oil Non-stick cooking spray Directions: Fill empanada disc with mozzarella cheese and fold over in half. Seal edges with a fork. Use egg wash or lather on some cooking oil to the empanada. Coat air fryer pan with non-stick cooking spray. Cook at 350 degrees F for 8 to 9 minutes.

Caramel Brownies Recipe

If you’re searching for another dessert recipe, look no further than these delicious chocolate caramel brownies. They’re topped with a flaky sea salt and are perfect if you ever need a baked good for a holiday event. The brownies can be frozen for up to three months but will lose the creamy texture over time. Prep time: 20 minsCook time: 35 minsTotal time: 55 minsServings: 12 servingYield: 12 brownies Ingredients: 1/3 cup caramel sauce, plus more for drizzling 1 1/4 cup (168 g) all-purpose flour 1/4 cup (24 g) Dutch process cocoa powder 3/4 cup (168 g) unsalted butter 3 ounces unsweetened chocolate, chopped 1 1/4 cups (260 g) granulated sugar 1/4 cup (46 g) brown sugar 1 teaspoon kosher salt 2 teaspoons vanilla extract 3 large eggs 1/2 to 3/4 teaspoon flake salt, for topping (optional) Directions: Prepare the pan: Preheat the oven to 325°F degrees. Coat an 8 x 8 square metal baking pan with cooking spray.Make a parchment sling by lining the pan with parchment paper and leaving an inch overhang on either side. This will make it easier to remove the brownies from the pan. Spray parchment and set aside. Prep dry ingredients: In a small bowl whisk flour and cocoa to break up any cocoa clumps and set aside. Melt butter and chocolate: In a large pot (4 quart), set over medium low heat, add the butter and chocolate. Stir until both are melted and fully combined. Remove from heat. Add sugar, salt, and vanilla: To the pot with the chocolate and butter add the granulated sugar, brown sugar, salt, and vanilla. The batter will look grainy. Add eggs: Add eggs one at a time and stir vigorously after each addition until fully incorporated. The batter will become smooth and shiny. Finish batter: Add flour and cocoa mixture to the batter. Use a spatula to stir it all together. The batter will be thick, and shiny like frosting. Transfer the batter and add the caramel: Scrape batter into the prepared baking dish. Smooth the top with your spatula, if necessary. Measure out about 1/3 cup of caramel sauce into a dish. Your caramel should be able to drizzle off the end of your spoon in thick ribbons. If it’s too cool and thick to drizzle then zap it in the microwave for a few seconds until it is.Using a spoon create nine dollops of caramel evenly over the top of the brownie. Swirl in caramel: Use a knife to swirl the caramel into “S” shapes throughout the batter. The batter is thick, so you are just swirling the very top layer. Leave some pockets of caramel. Sprinkle with flake salt, if using. Bake: Bake for 35-40 minutes or until the brownies reach an internal temperature of 210°F. A toothpick won’t come out clean because of the caramel that melts into the batter and the fudgy nature of these brownies.When baked, the center stays very soft but shouldn’t be wet to the touch. The caramel will look melted and not very visible, but don’t worry, it will firm up as it cools.If you have a glass baking dish, you may need to add 10 to 15 minute to the cook time. Drizzle with more caramel and enjoy: Let brownies cool in the pan on a wire cooling rack until they reach room temperature. Drizzle with 3 to 4 tablespoons of additional caramel and another light sprinkle of sea salt. Serve and enjoy! Source: Simply Recipes