Month: August 2021

The Secret to Better Salad Dressings

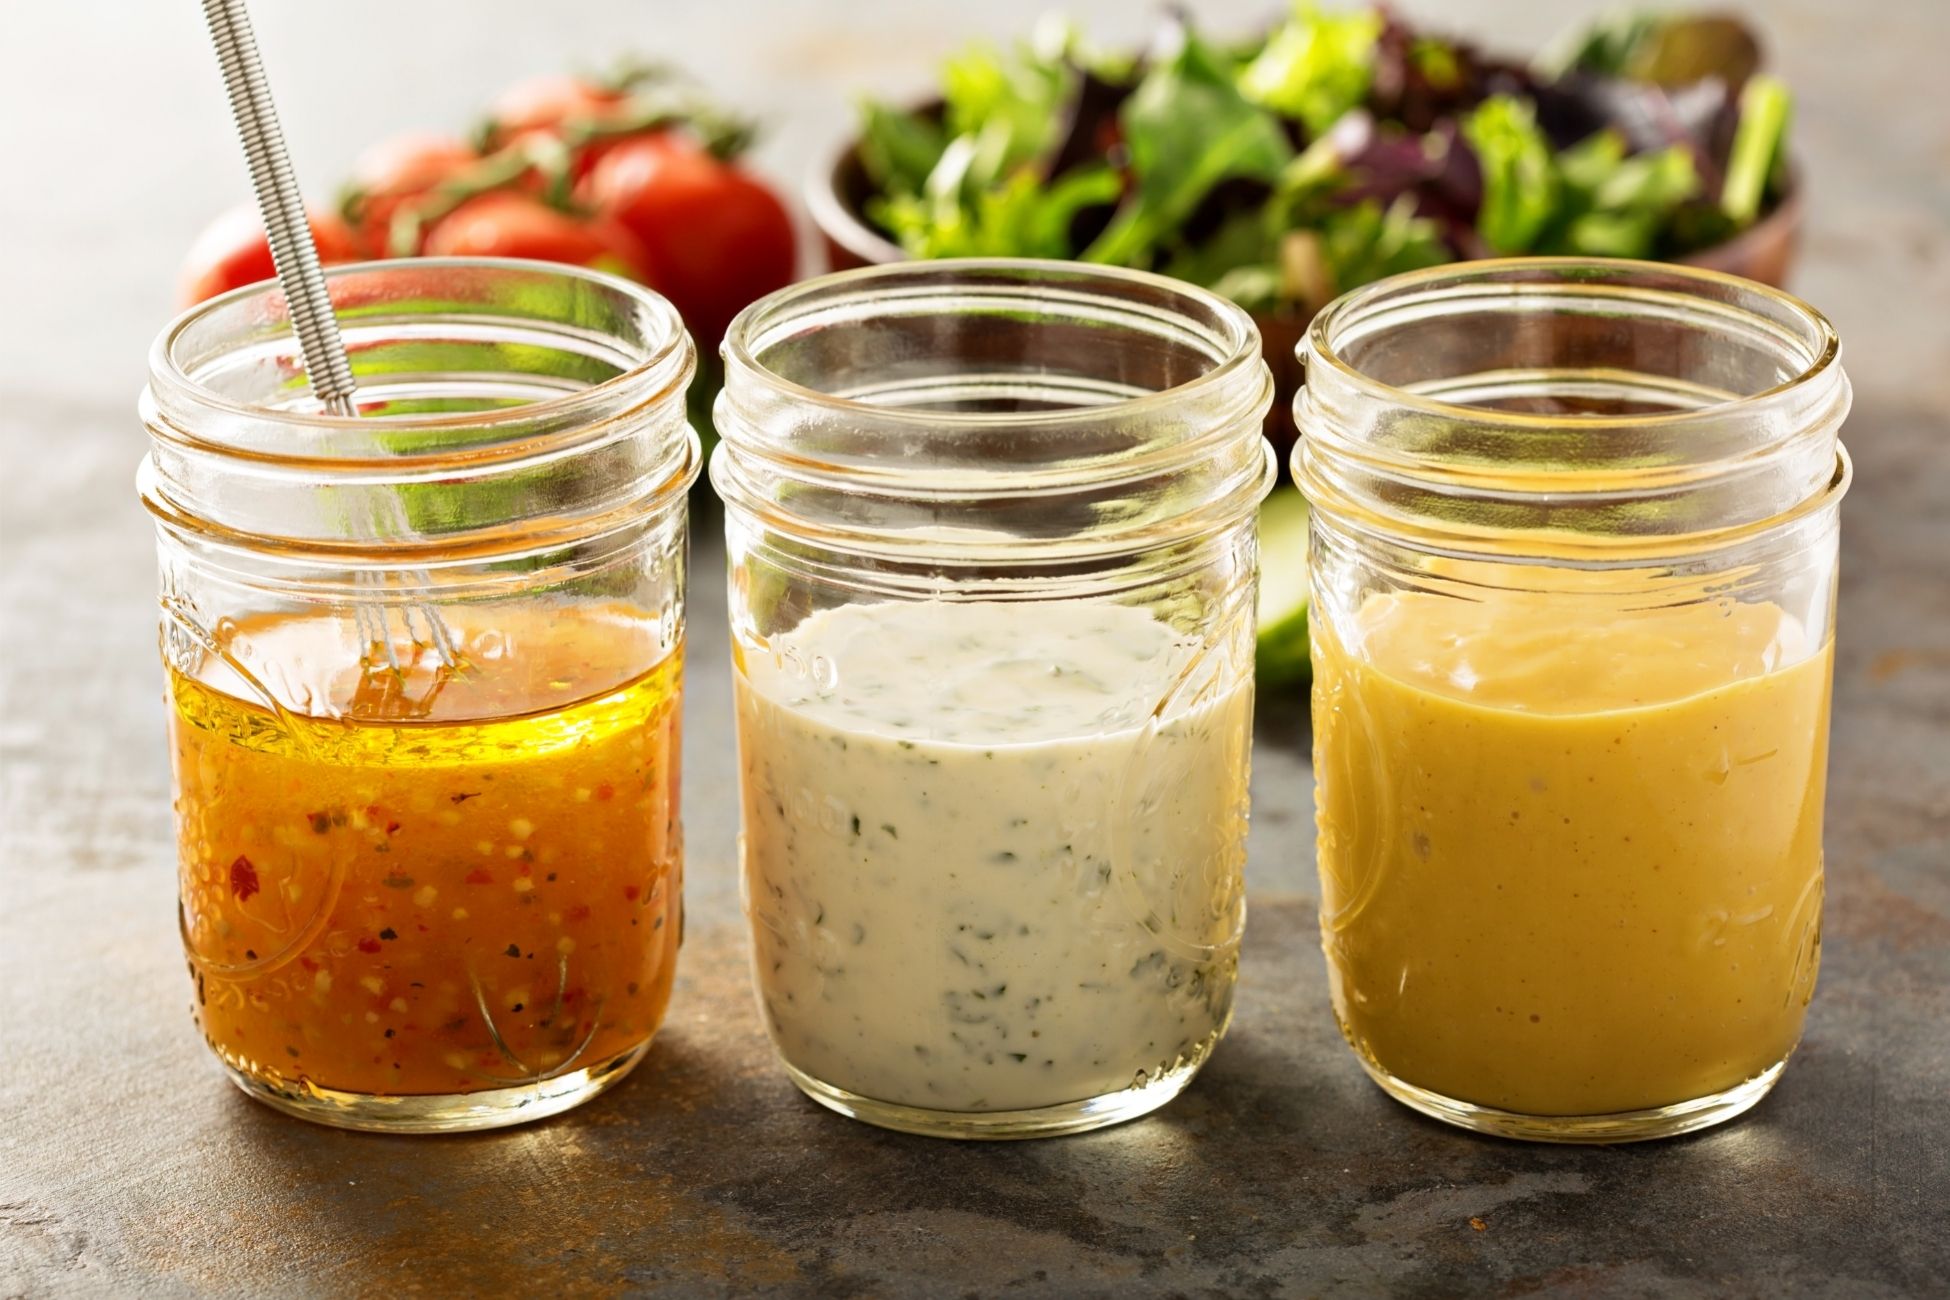
If a salad is lackluster, salad dressing is the one way to take the meal to the next level. Creamy dressings are perfect for chicken and grains, while vinaigrettes boost the flavor of veggies or a pot of beans. While store bought dressings are convenient, homemade dressings can shake up your cooking. There’s one trick to boosting DIY dressings, and that’s vanilla extract. Vanilla extract can improve dressings such as vinaigrettes and savory-leaning dressings. Vanilla lessens the bite of bitterness and tempers acidity while making sweet ingredients taste more like themselves. In baking, vanilla is more a background flavor to other ingredients but makes a difference when absent. The same applies to salad dressings. The sweetness of vanilla enhances the flavor of sweet salad additions like berries or veggies. It tempers pungent flavors like cheeses, garlic and raw red onion. Try it out with your recipes at home by starting with 1/4 teaspoon of vanilla extract. You can increase it from there to suit your taste. Ramp up the vanilla’s flavor by building a basic vinaigrette and opt for a fruit vinegar like Champagne or raspberry. Pair with olive oil or a robust nut oil. The vanilla addition really ties it all together for the perfect DIY dressing. Source: the Kitchn

Cucumber Soup Recipe

A cold and refreshing cucumber soup is great for a hot summer day. It’s super easy to prepare in just under 10 minutes! The chilled soup calls for chopped onion, buttermilk, sour cream, olive oil, dill, salt, pepper and of course cucumbers. Make it ahead of time to enjoy any day. If you don’t have a blender, an immersion blender works for this recipe. Prep time: 10 minsTotal time: 10 minsServings: 3 to 4 servings Ingredients: 2 large cucumbers (about 1 1/2 pounds total) 2 tablespoons chopped onion (white, red, or green) 1/2 cup buttermilk 1/4 cup sour cream 1 tablespoon rice vinegar 1 tablespoon extra virgin olive oil 2 tablespoons fresh dill, chopped 1/2 teaspoon kosher salt Pinch black pepper Directions: Prep the cucumbers, onion, and dill: Peel, seed, and roughly chop the cucumbers. Chop the onion and dill. Blend: Put all of the ingredients into a blender and pulse until completely smooth. Adjust seasonings to taste. Add more salt and pepper if needed.At this point you can make ahead and chill. Chill the soup: Chill in a container in the refrigerator until cold. Serve: Pour into bowls and garnish with a drizzle of olive oil and a feather of dill. Source: Simply Recipes

Air Fried Shish Kebabs Recipe

Take tonight’s dinner to a new level with the help of an air fryer. These Shish Kebabs are prepared with common ingredients such as onions, bell peppers, cucumbers and of course your choice of meat. Season these up with garlic salt, pepper and soy sauce for an extra kick of flavor. If you don’t have any shish kebab sticks on hand use popsicle sticks instead! Ingredients: Onion Bell Pepper Cucumbers Meat of choice Garlic Salt Pepper Olive Oil Spray 1/4 cup soy sauce Shish Kebab Sticks or Popsicle Sticks Directions: Cut an onion, bell pepper, cucumbers and meat into 1-inch squares Spray with olive oil and season with garlic salt, pepper, 1/4 cup soy sauce Stack on a short shish kebab stick or popsicle stick Spray air fryer pan with olive oil and load the tray Cook at 400°F for 10 to 15 minutes

How to Clean Your Range Hood and Filters

A kitchen range hood has taken on more prominence as a focal point in the space. Range hoods are built out of many types of materials such as stainless steel, bronze and copper. Whether you have a range hood as a statement piece or a simple vent, it is important to keep it clean for optimal performance. If you are cooking with and using the hood daily, try to clean it monthly. If you aren’t cooking as often, then seasonal cleaning should be sufficient. Always clean it after a bigger holiday feast. The range hood suctions up grease and food particles that naturally cling to the surfaces. Cleaning is essential not only to keep it looking and smelling better, but to also prevent a house fire. If a pot or pan is left on the stove for too long, flames can appear and if the range hood is greasy it can lead to extensive structural damage. As with any product, you should always reference the manufacturer’s manual before cleaning. This will give you a more specific procedure for taking care of your range hood. What You’ll Need: Baking Soda Degreasing dishwashing liquid Boiling Water Soft nylon-bristle brush Spray-on degreaser Paper towels or cleaning rags Cleaning a Range Hood Filter Range hood filters all help catch grease and food before it enters the ductwork. Some are metal that can be cleaned and reused for many years while others are disposable charcoal filters. Check your manufacturer’s instructions before cleaning. Remove the filter. To remove a reusable filter, either slide it out or find the latch that will pop out the rest of the filter. Prepare a solution. Fill the sink with boiling water or use a large pot or baking dish that is heatproof. Add a tablespoon or two of dishwashing liquid to the water. Check that it contains a degreaser. Add 1/2 cup baking soda and mix the solution. Soak the filter. Submerge the filter into the solution and let it soak for at least fifteen minutes. Try to remove it before the water cools completely or the grease will resettle on the filter. Scrub and Rinse. Use the scrub brush to remove any grease and food particles that are still clinging onto the filter. Rinse with hot water and dry completely before placing in the range hood. Cleaning the Range Hood Interior/Exterior Apply degreaser to interior surfaces. Clear out the stovetop below as you may get drips. Spray on the degreaser and let it work for at least fifteen minutes. Wipe away. Use paper towels to wipe away the cleaner and grime. For stubborn particles, spray a bit of degreaser on a nylon-bristled brush and scrub the area. Rinse well. Dip a clean paper towel in warm water and rinse the interior to remove any remaining cleaner. Cleaning the exterior surfaces. Depending on the material, use an appropriate cleaning product recommended for those finishes. To prevent streaks on stainless steel, use a drop or two of olive oil on a microfiber cloth for a final polish. Follow the manufacturer’s guidelines for other materials such as painted metal, copper and brass. Source: the Spruce

How to Make Homemade Grenadine

Grenadine is a syrup made from the juice of pomegranates. It’s sweet, tart and deeply vibrant. This quick and easy syrup can be added to various cocktails or nonalcoholic beverages. While it is commonly sold in stores, grenadine is super simple to make at home with just basic ingredients like pomegranates, sugar and a flavor or two for complexity. It comes together quickly and can be stored for one to three months depending if you add vodka to it to extend its shelf life. Prep time: 5 mins Cook time: 30 mins Cool time: 60 mins Total time: 95 mins Servings: 1 ⅔ to 1 ¾ cups syrup Ingredients: 2 cups pomegranate juice from 2-3 large pomegranates 1 cup granulated sugar 1/2 teaspoon orange flower water 1 tablespoon pomegranate molasses 1 ounce vodka, optional Directions: Simmer pomegranate juice and sugar: In a small saucepan, combine the pomegranate juice and sugar and whisk until dissolved. Bring the mixture to a boil over medium-high heat, and then reduce the heat to medium-low so that you have a vigorous simmer. The liquid should have lots of little bubbles around the edges, but no big bubbles. Simmer to reduce pomegranate liquid: Continue to simmer until the mixture has reduced to about a third, there should be 1 2/3 cup of liquid remaining. This can take anywhere between 20 to 30 minutes, and the liquid should be viscous and have thickened to the consistency of honey. Let grenadine cool to room temperature: After the mixture has reduced, remove from the heat and let it come to room temperature. Stir in the orange flower water and pomegranate molasses. If using, also stir in the vodka. Store the grenadine: Pour the grenadine into an airtight container or swing top bottle. Store in the refrigerator for 1 to 3 months. Source: Simply Recipes

The One Thing You Should and One Thing You Shouldn’t Do When Decorating Your Kitchen

Designing a kitchen to fit your lifestyle, taste and needs is no easy feat. There are elements that make a kitchen shine, while others can cause more stress later on. Here is the most important thing to do when decorating your kitchen as well as a major mistake to avoid. Attention to Detail Designing a kitchen is all about small touches. Select items that are both beautiful and functional. Usually these can be simple and inexpensive. For instance, glass dispensers or attractive dish towels can complement your style. It’s all about elevating your everyday essentials, making things easier to find and better-looking. Place your sea salt in a pottery bowl, or put your olive oil and vinegar on a cutting board. Plants are also a great way to make your kitchen shine. Warm up the space with plants or flowers and even faux stems which can bring a bit of the outdoors in. Textiles and patterns can bring a layer of softness to a typically hard-surfaced place. Your kitchen is full of counterspaces and cabinets which can be contrasted by a soft and colorful runner. It brings a design flair to an otherwise entirely functional space. Don’t Go Too Trendy Be careful to avoid trendy big ticket items. Ask yourself an important question: will you still love this and can’t do without it in 10 years from now? Your appliances, countertops and floorings are big investments that can’t be easily replaced. If you want to incorporate trends, find items that are easily replaceable and can reflect the same look you’re going for. Bold colored appliances, funky tiles and experimental pieces are best avoided. They will look dated over time and can limit your design options in the future. Try to keep the built-in elements neutral and simple, it’ll be less costly to update an accessory or piece of art than a stove. Colors aren’t the only element that should stand the test of time. Materials and finishes should also make sense for your lifestyle. Don’t make the mistake of purchasing marble counters if you don’t plan on staying on top of the maintenance. You don’t need to completely alter your aesthetic to get the look you want. Try quartz instead of marble! Source: the Kitchn

Dakos Salad Recipe

A Dakos Salad is a specialty Greek salad made with fresh tomatoes, feta, capers, red onions, oregano and basil. It’s a vibrant taste for summer. It can be made either like a bruschetta or deconstructed into a salad. Serve this as a part of a mezze spread, or along a barbeque. The salad is a quick and simple way to throw an easy meal together. Prep time: 15 minsTotal time: 15 minsServings: 4 servings Ingredients: 1 pound ripe tomatoes, cut into 1 1/2-inch chunks 2 tablespoons finely diced red onions 1/4 cup black olives (such as kalamata), pitted and roughly chopped 1 tablespoon capers, roughly chopped Small handful of parsley leaves, chopped Small handful basil leaves, chopped 1 teaspoon dried oregano 2 tablespoons red wine vinegar 4 tablespoons olive oil, plus extra for drizzling 1/3 teaspoon salt, plus more to taste Black pepper, to taste 6 dakos rusks or two thick slices of sourdough cut into chunks and toasted 1/2 cup feta, crumbled Directions: Combine salad ingredients: In a large bowl combine the tomatoes, red onion, olives, capers, parsley, basil, oregano, red wine vinegar, olive oil, salt, and black pepper to taste. Crumble rusks over salad and let sit: Break the rusks into 1-inch pieces. Add to the salad then using a rubber spatula combine the ingredients. Let the salad rest for 10 minutes so the rusks can soften slightly in the tomato juices. Top with feta: Once the salad has rested for 10 minutes, add the feta over top. Finish salad and serve: Check the seasoning and add additional salt and pepper, if needed. Finish with a final drizzle of olive oil. Serve. Source: Simply Recipes

How to Organize Your Kitchen After Moving

After a move, the kitchen should be the first priority to be unpacked so you can begin preparing meals. The space should be functional, organized and comfortable. If you’re moving into a new home, there’s a chance it hasn’t been properly cleaned. Before unpacking, take some time to clean especially where you’ll be putting dishes, cutlery, and glasses. Be sure to also clean your countertops and sinks. Next, go through the space and imagine how you’ll be doing your usual chores and activities. Where would you normally reach for supplies? You’ll get a better grasp of where items should go. Take Inventory. If you haven’t already labeled the contents of each box, go through to see what’s inside. Unwrap larger items and take stock of what you have to sort and organize. Do this first or you may place an item in one place, then have to move it to another later. Start Unpacking. Start with the areas that will be used the most, such as the stove and sink. The storage near these areas will be the most accessible. Anything stored above eye level will be difficult to reach. Start unpacking the essential items you’ll be using everyday in the most accessible spaces. For example, cutlery in the drawer immediately to the side of the sink. Arrange by Frequency. Apply the same method to the rest of your cupboard spaces. Place bowls, cups and plates you’ll be using every day on a shelf that is at eye level or lower. Pots and pans should be near the stove along with their lids. Put items you won’t be using as often in lower drawers such as baking sheets or roasting pans. Keep toxic items in hard-to-reach places especially if there are young children. Organize. Store canned goods and dry food in a pantry space that is separate from dishes. Spices can be closer to the stove since you’ll want those to cook. After you spend some time in your home, you’ll establish a routine for cooking, cleaning and eating. Adjust your items if they don’t work along your routine. Make your kitchen work well for you and your family. Source: the Spruce