Month: December 2021

Mashed Potato Pancakes Recipe

Ring in the new year with these delicious mashed potatoes for breakfast. They’re cheesy and savory with a fluffy interior and a crispy exterior. For frying you can use oil for a crispy pancake or butter for a rich and delicious taste. Be mindful of the butter’s temperature otherwise it will burn. Prep time: 10 minsCook time: 30 minsTotal time: 40 minsServings: 4 servingsYield: 8 potato pancakes Ingredients 2 cups leftover mashed potatoes 1 large egg 1/3 cup all-purpose flour 2 tablespoons minced chives 1 cup grated cheddar cheese 1/2 teaspoon kosher salt 1/4 teaspoon black pepper 1/2 cup neutral oil, or butter, for frying Sour cream, for serving Directions Make the pancake mixture: In a medium bowl, combine the mashed potatoes, egg, all-purpose flour, chives, cheese, salt, and pepper.It’s okay if the mixture is slightly sticky, but it should hold its shape if you form it into a patty in your hand. If it is very sticky or runs at all, then add more flour 1 tablespoon at a time until you reach the desired texture. Set up your cooking station: Place a few paper towels on a large plate. You will transfer the pancakes to the paper towel lined plate as you fry them. Fry the potato pancakes: In a large skillet over medium heat, add the oil.Once the oil reaches 325°F or it sizzles when you sprinkle a little flour into it, start forming your pancakes. You will form and fry as you go.Lightly wet your hands, to prevent the potato mixture from sticking. Measure out about 1/4 cup of the pancake mixture and form it into a disk about 1/2-inch thick in your hands.Place the pancake in the skillet and repeat until you have 4-5 pancakes in the skillet. Fry the pancakes for 3-4 minutes per side until they are browned and crispy.Flip once and cook for an additional 3-4 minutes on the second side. Drain and serve: Transfer the potato pancakes from the pan to the paper towel-lined sheet. Repeat until all the potato pancakes have been formed and fried. Serve warm with a dollop of sour cream. Source: Simply Recipes

The Difference Between Wax Paper and Parchment Paper

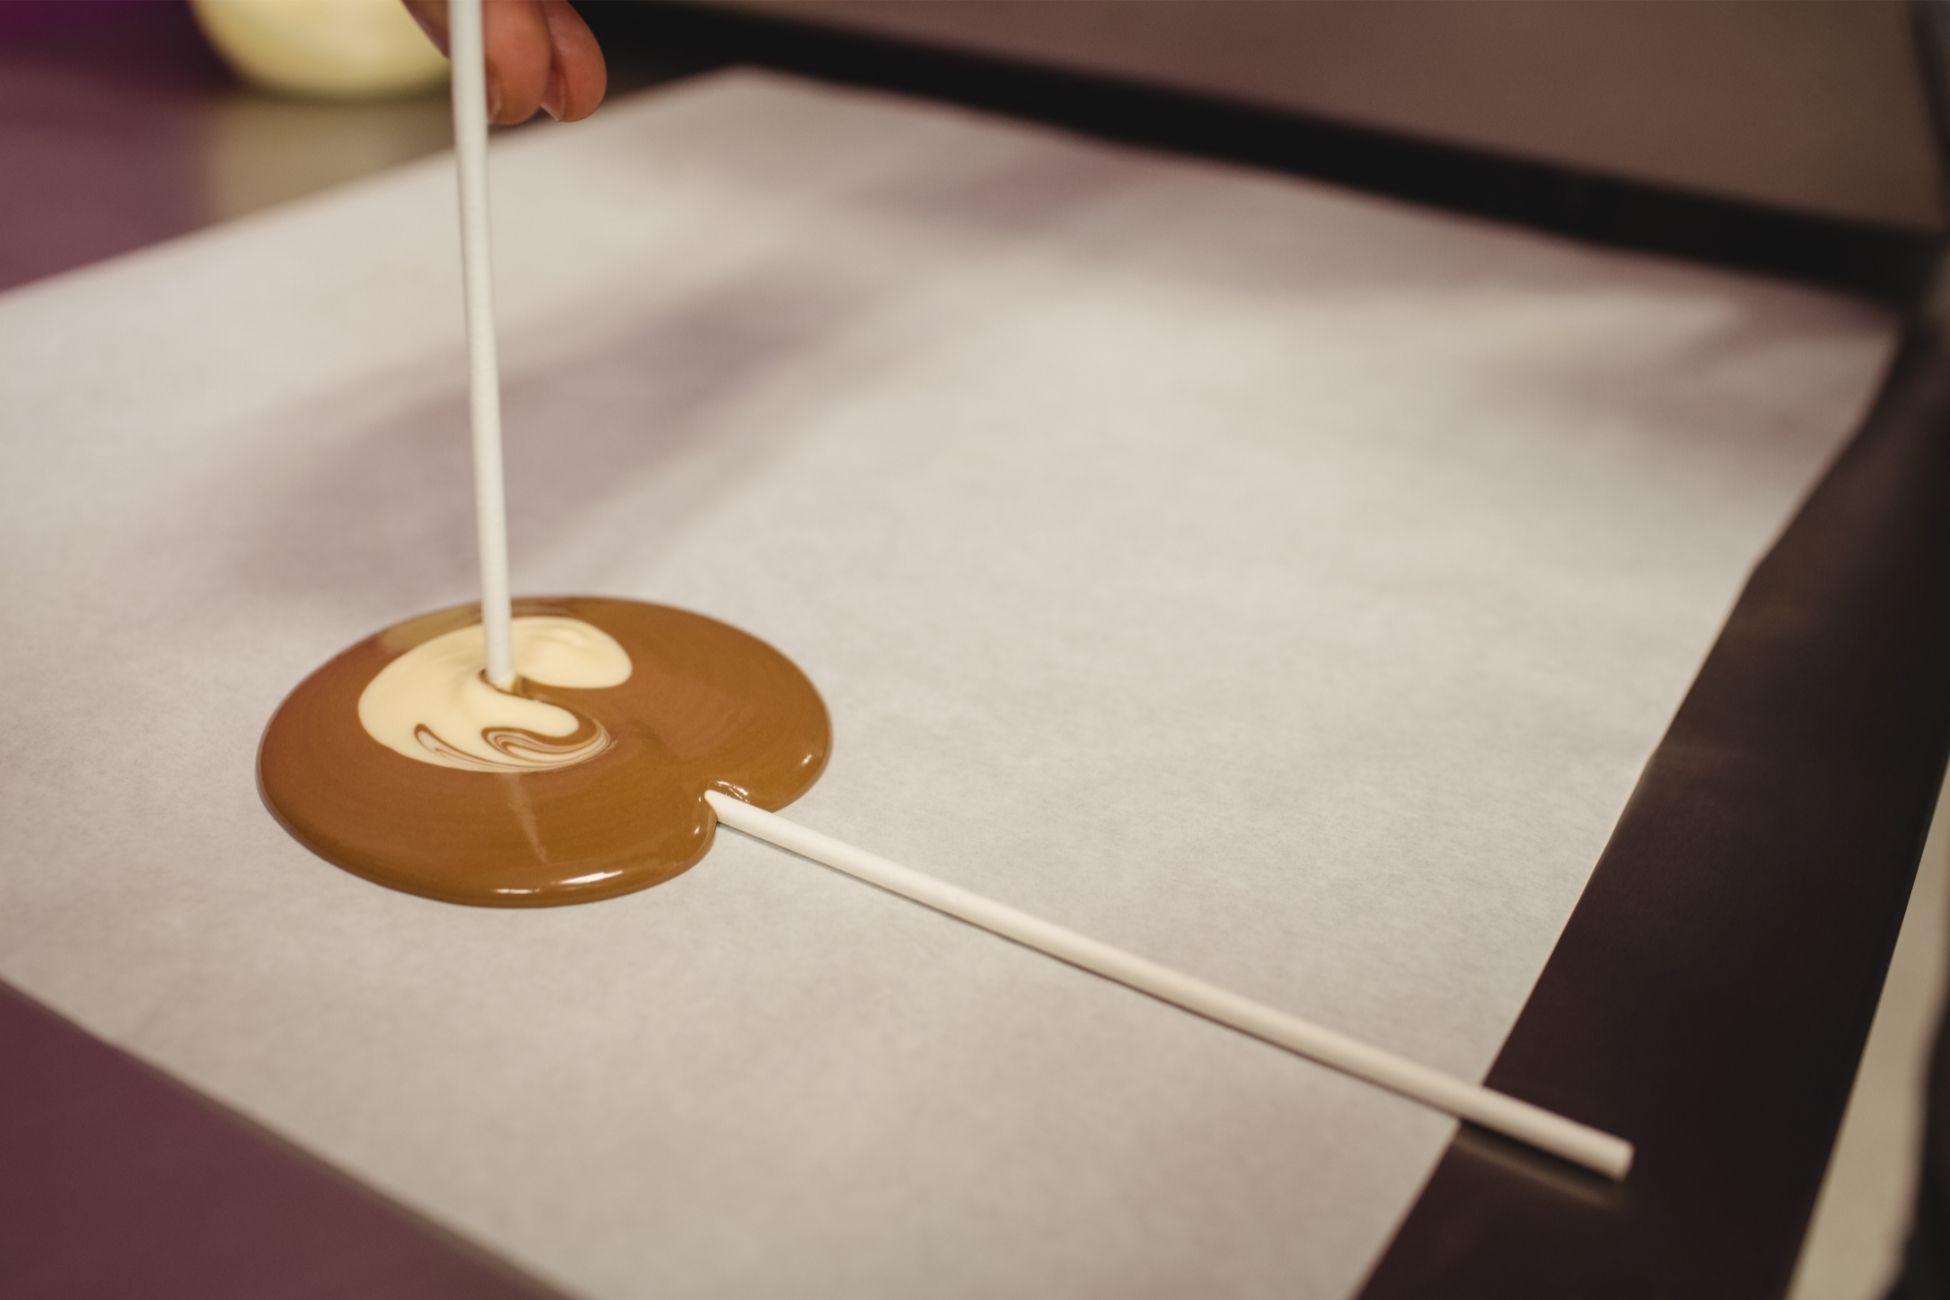
Wax paper and parchment paper are not interchangeable, especially for baking. They both look similar with a dull sheen and serve a similar purpose to prevent sticking. They can be used to line counters or create barriers for sticky doughs. Wax paper is the more cost-effective of two and is ideal for rolling out pie crust, cooking or kneading bread. Wax paper will adhere to items that have moisture such as deli meat or cheese. One critical difference between the two is parchment paper can go in the oven where wax cannot. Parchment paper is treated chemically to withstand exposure to heat, liquids and oils. A wax paper is triple-waxed to be food-safe but isn’t heatproof. This coating will melt if put in the oven, or even catch fire at high heats. Parchment paper can withstand heat up to 420 degrees Fahrenheit, making it appropriate for most baking. It’s also a great substitute for aluminum foil for lining baking sheets. Save your wax paper for lining a countertop or wrapping up foods. You can even curl it up into a cone to funnel excess ingredients to their containers. Source: Simply Recipes

Common Kitchen Items You Shouldn’t Have

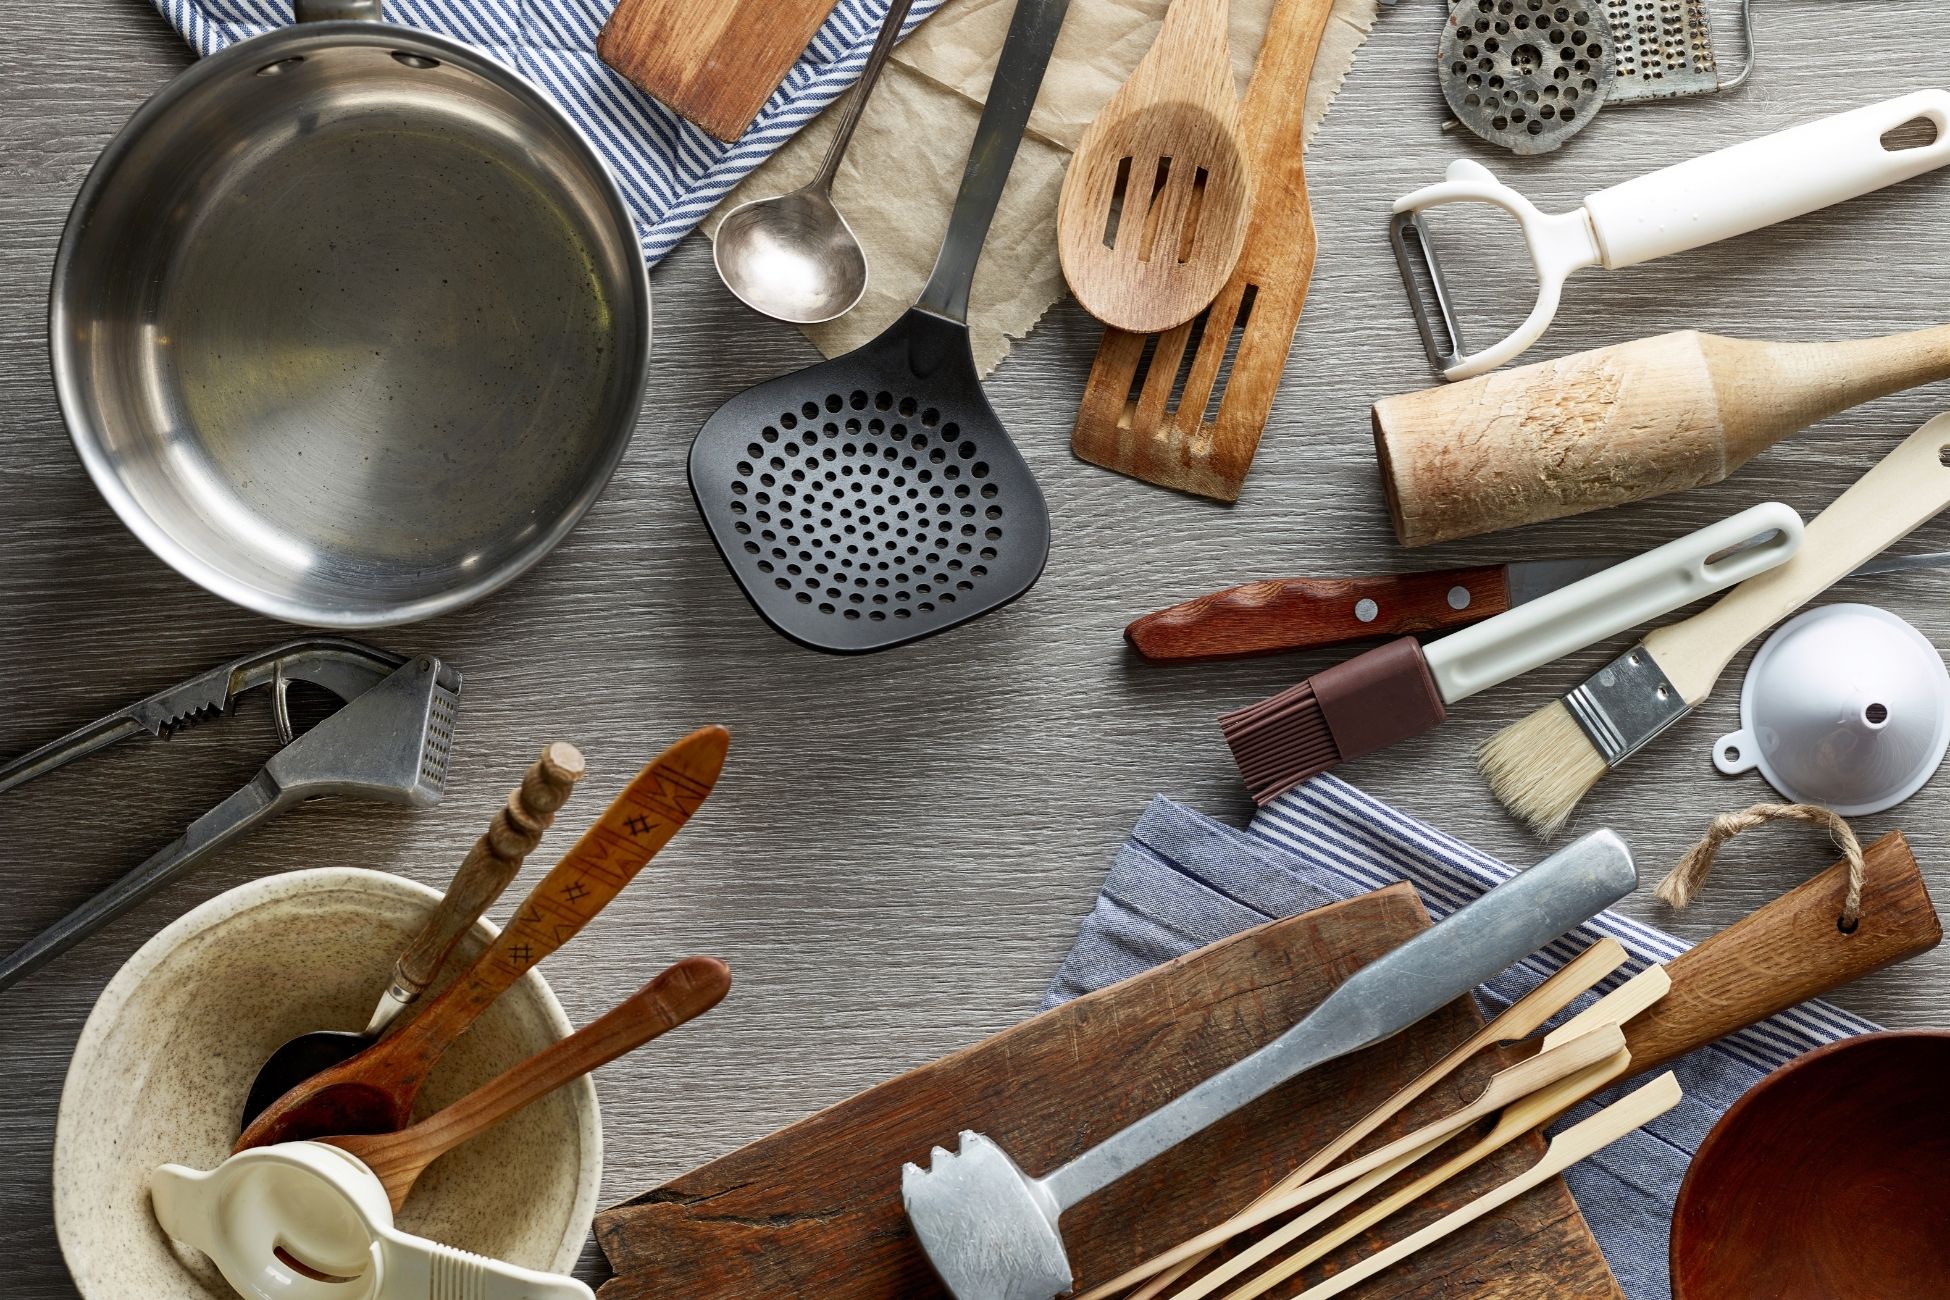
Kitchens are hot spots for culinary tools and gadgets. But you don’t want to end up with a bunch of stuff you’ll regret buying. Here are some of the most common kitchen items that are a waste of cash and what you should replace them with instead. Prefilled Spice. Spices turn your food into masterpieces. But, you’ll have a more difficult time accomplishing that when you settle for a prefilled spice rack. Some herbs such as basil and chives are more flavorful fresh as opposed to dried. Spices lose their zest over time and larger quantities might hurt you in the long run. Look for smaller quantities as you need them. Opaque Food Storage Containers. Food containers are a great way to reduce food waste. However, an opaque container can be an easy way to leave behind spoiled food when you forget what’s in them. Try investing in clear food storage containers or glass so you can clearly see what’s inside. Too Many Mugs. Coffee mugs can be an innocent collection pastime, but eventually your shelves will be buckling under the weight. You don’t need more than a couple mugs in your household depending on the amount of people. Specialty Glassware. You drink many different things like juice, water and wine, but you don’t really need a special glass for each. Look for multipurpose glassware that can be used for any kind of refreshment. Your wallet will thank you later. Source: the Spruce

Ramen Corn Dog Recipe

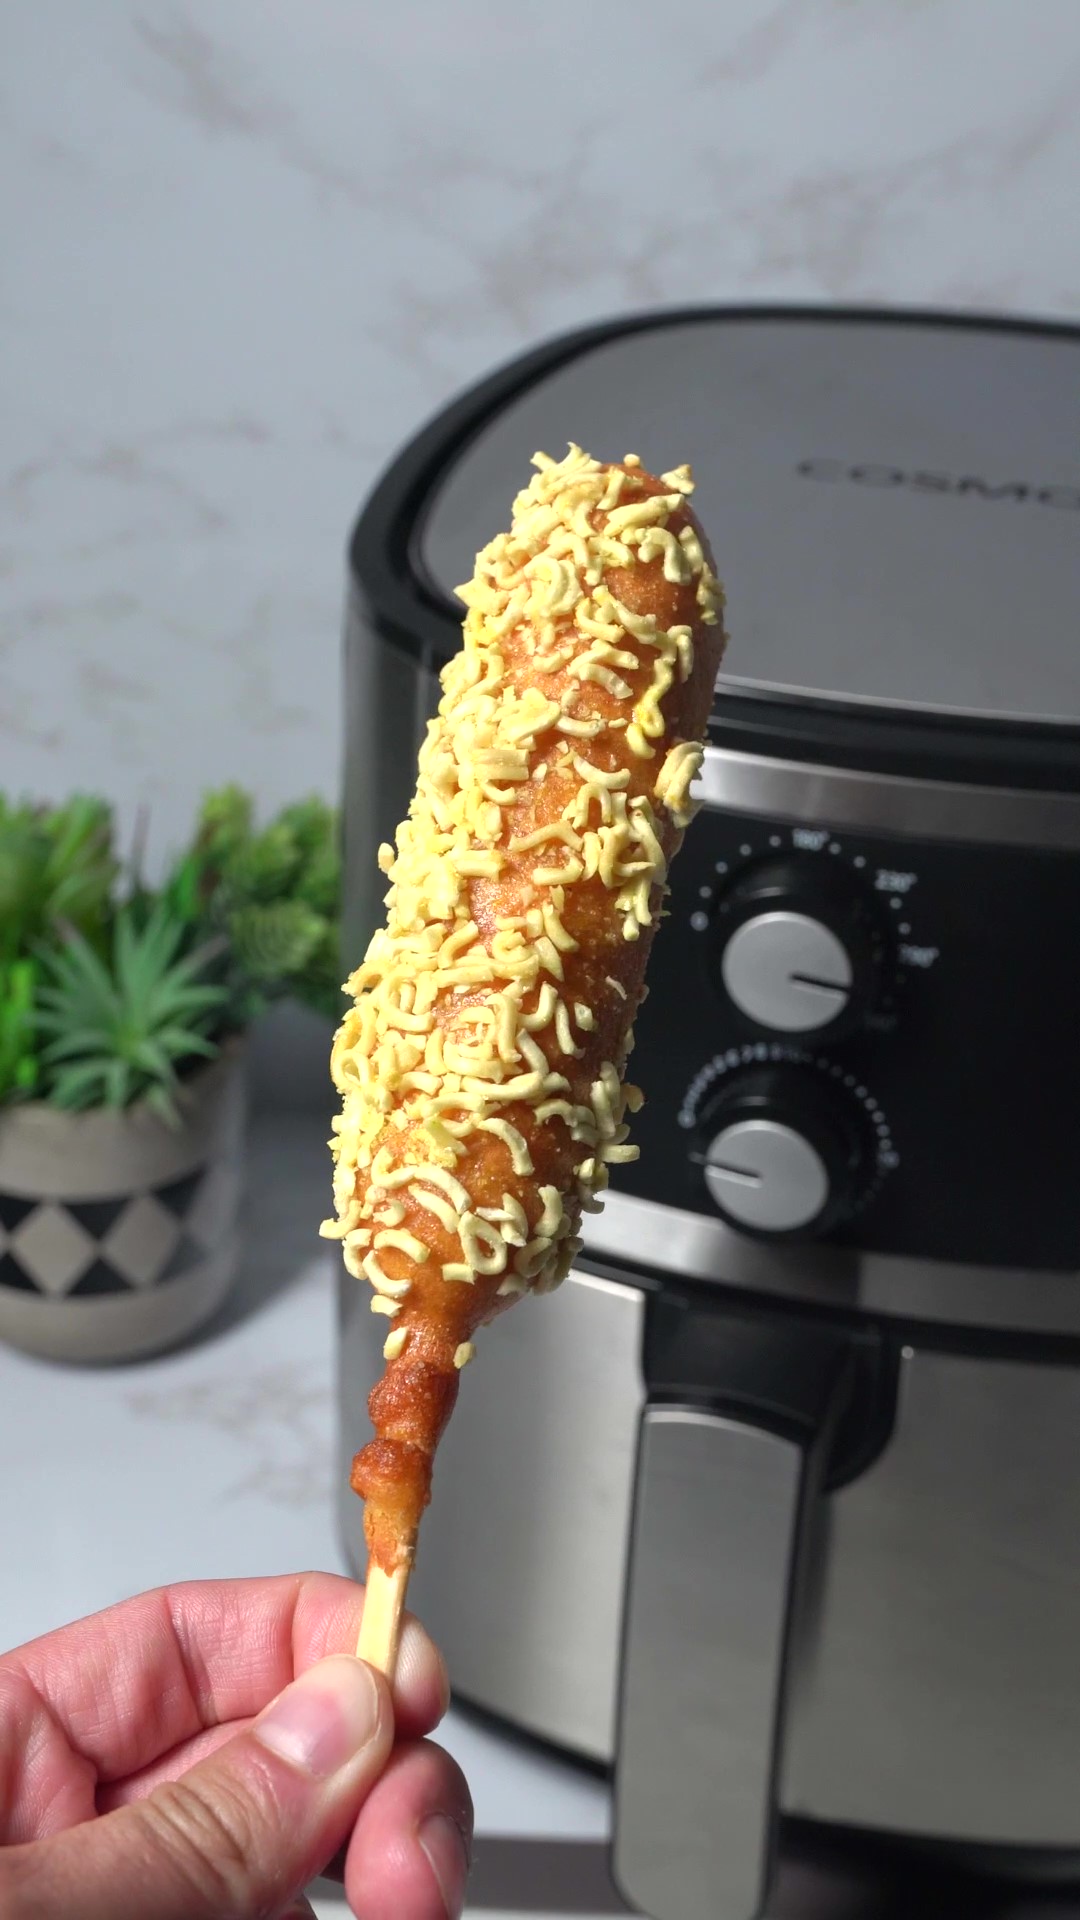
Combine the best of ramen with corn dogs. This recipe adds the crunch of ramen with an all time classic snack. Look for ramen that has a seasoning pack inside as this will add to the flavor. Crush up the ramen to smaller pieces as they will stick easier to the corn dog. You can have this easy snack ready in just a few minutes. Ingredients: Ramen Corn Dog Egg Directions: Crush the ramen and mix in the seasoning packet Dip the corn dog in egg wash and then cover while pressing in the ramen pieces. Smaller pieces will stick easier Air fry at 300­°F for 6 minutes Serve and enjoy! Shop Our Air Fryers Air Fryer Giveaway

How to Keep a White Kitchen Clean

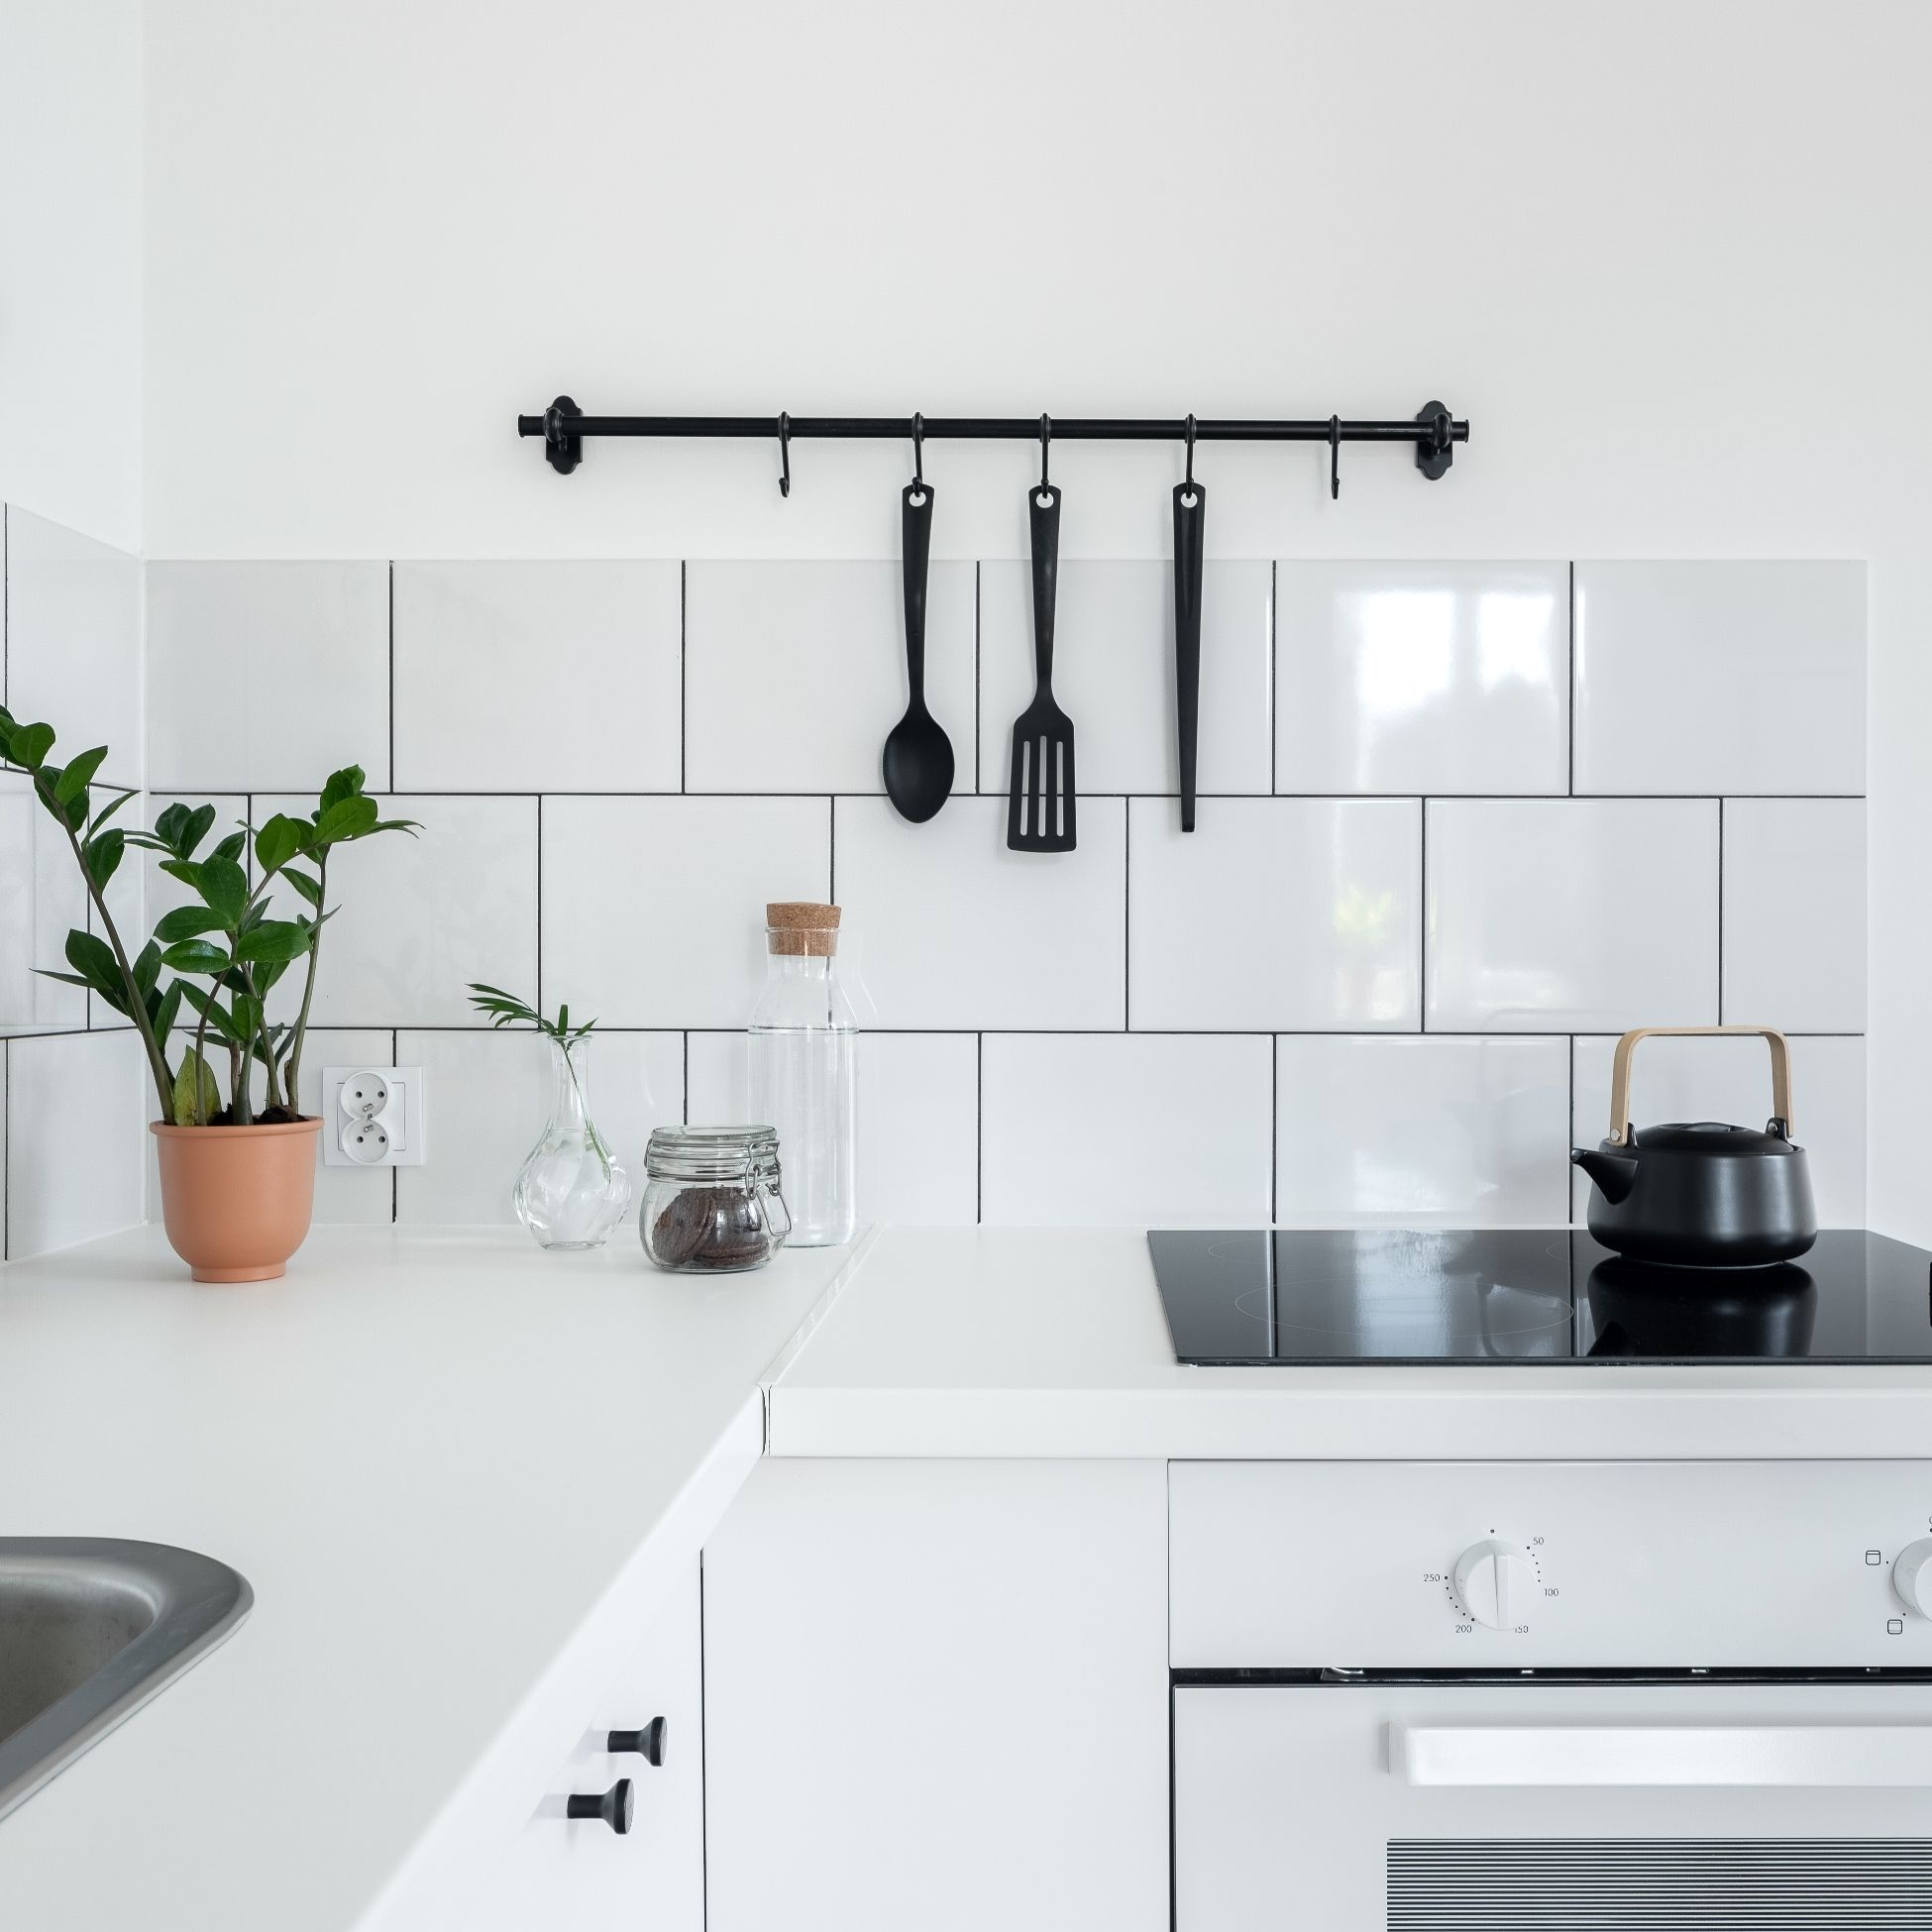
Knowing how to keep a white kitchen clean can be tough. You may wonder what the best tools are or the best techniques to keep an all-white kitchen bright. Here’s how to keep them as clean as possible and what to avoid. Keep the Exhaust Fan Running. For an all-white kitchen, prevention is one of the best approaches. It’s easier to keep things looking clean if they don’t make a mess in the first place. One way to accomplish this? Keep the exhaust fan on anytime you cook. It’ll absorb the cooking smell while also keeping greasy buildup off your backsplash and surrounding areas. Use Magic Erasers. Keep a few magic erasers on hand to remove dirt, scuffs and other marks from walls, counters and cabinets. They’re able to clean many surfaces for everyday maintenance. Just use a gentle pressure as scrubbing hard can damage certain surfaces. Clean After Every Meal. Small droplets from food can land on your cupboards and countertops which can permanently stain a white surface. Try to clean these messes up as soon as possible after every meal. Avoid Harsh Cleaners. Skip out on the hard-bristle brushes when cleaning a white kitchen. White tends to emphasize scratches, so stick to a gentler soft-bristled brush or a microfiber cloth when working on stains. Clean Grout Regularly. Keep those lines clean with a combination of baking soda, vinegar and warm water to form a paste. Apply it to grout and use a toothbrush to scrub. Rinse afterwards with plenty of water. Source: Apartment Therapy

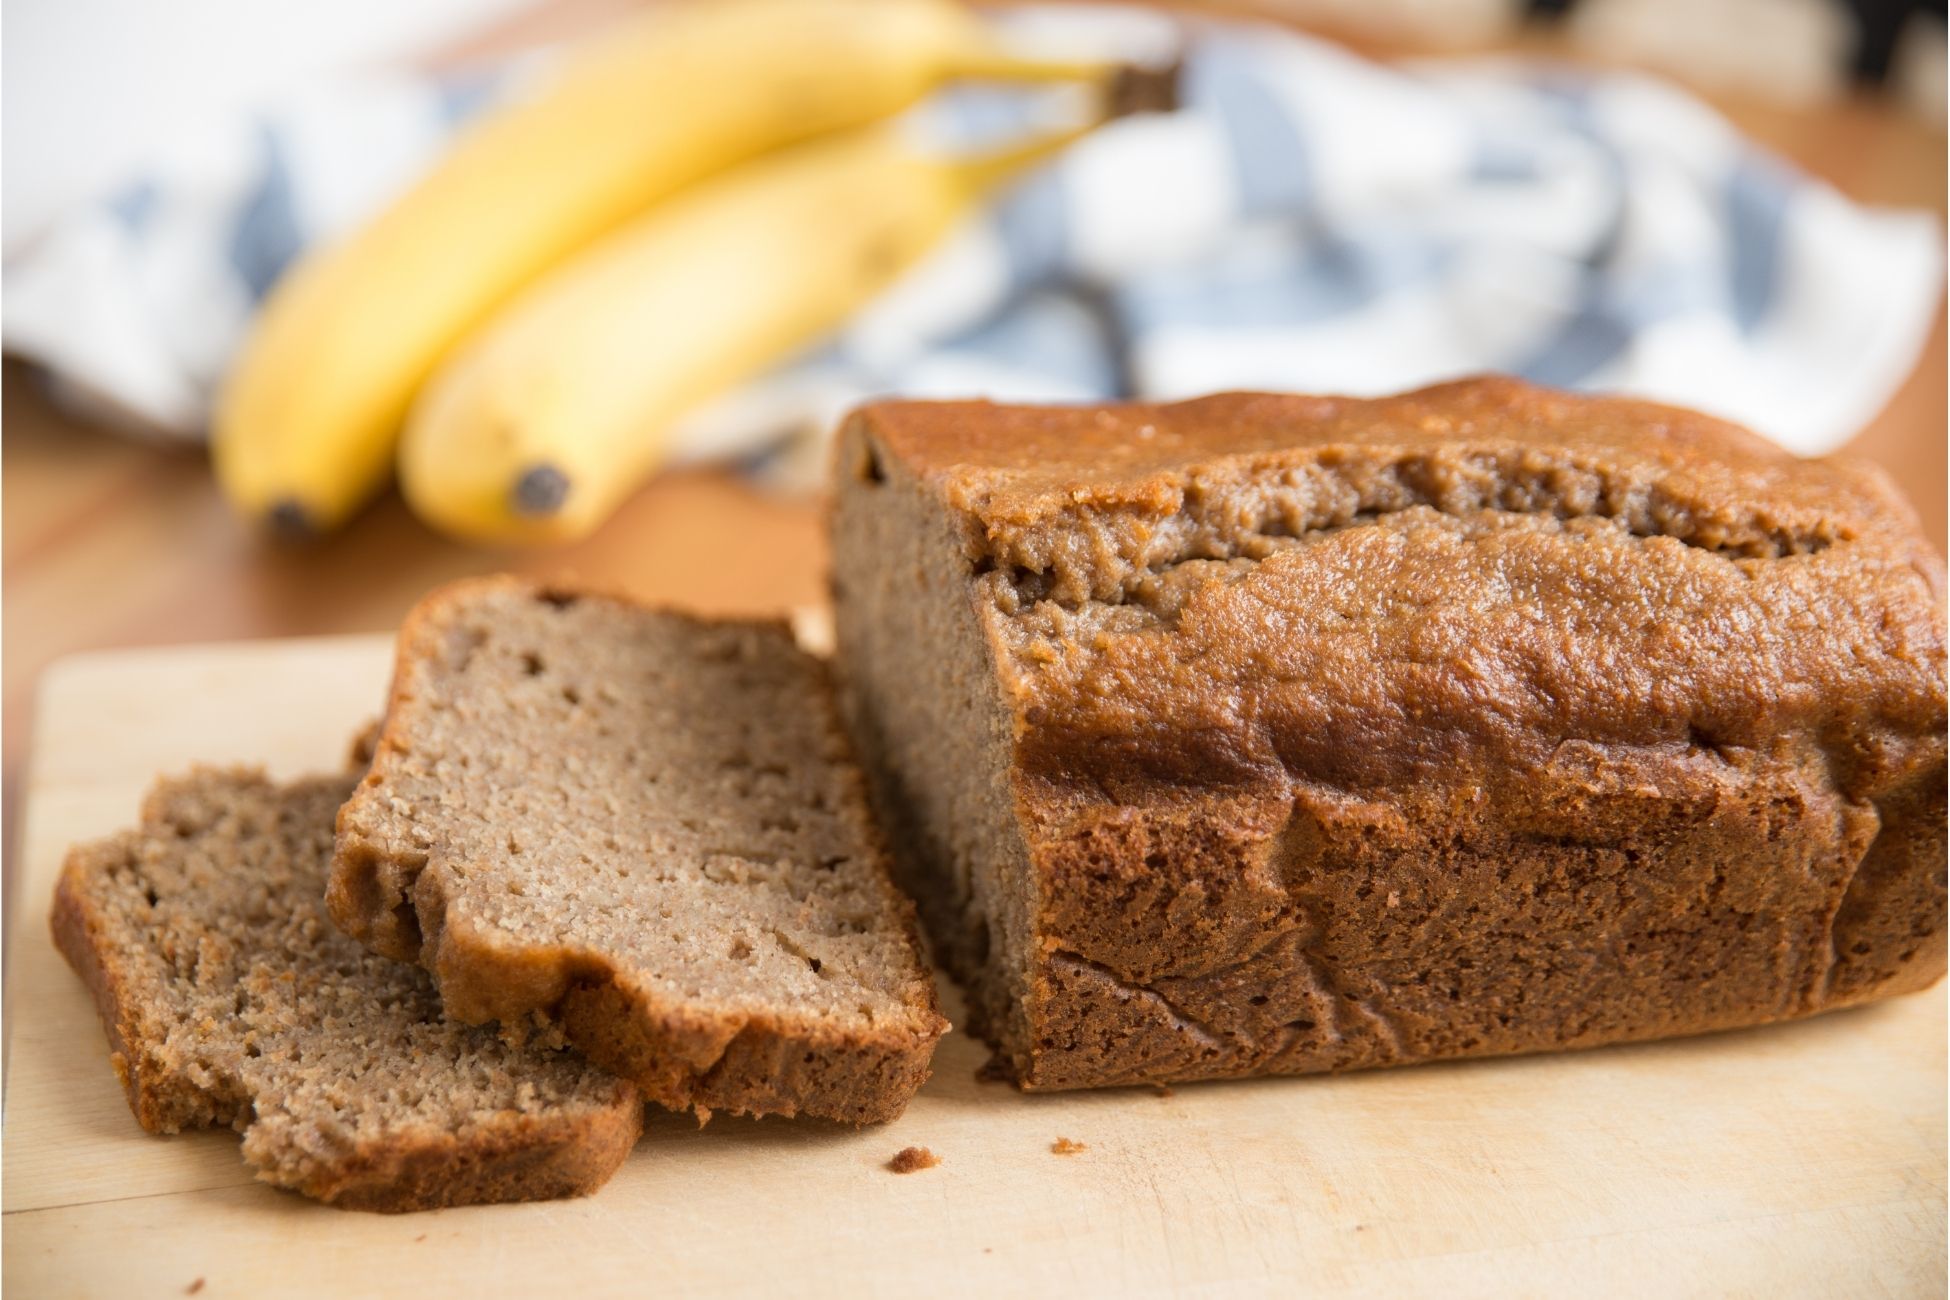
Banana Bread Recipe

Moist and delicious, this banana bread is easy to make and doesn’t need a mixer. You can prepare everything in one bowl. The secret ingredient? Melted butter! You can add in a cup of chopped nuts, raisins or chocolate chips if you’d like to make a banana nut variation instead. Prep time: 10 minsCook time: 55 minsTotal time: 65 minsServings: 8 to 10 servingsYield: 1 loaf Ingredients 2 to 3 medium (7″ to 7-7/8″ long) very ripe bananas, peeled (about 1 1/4 to 1 1/2 cups mashed) 1/3 cup (76g) butter, unsalted or salted, melted 1/2 teaspoon baking soda 1 pinch salt 3/4 cup (150g) sugar (1/2 cup if you would like it less sweet, 1 cup if more sweet) 1 large egg, beaten 1 teaspoon vanilla extract 1 1/2 cups (205g) all-purpose flour Directions Preheat the oven to 350°F (175°C), and butter a 4×8-inch loaf pan. In a mixing bowl, mash the ripe bananas with a fork until completely smooth. Stir the melted butter into the mashed bananas. Mix in the baking soda and salt. Stir in the sugar, beaten egg, and vanilla extract. Mix in the flour. Pour the batter into your prepared loaf pan. Bake for 50 minutes to 1 hour at 350°F (175°C), or until a toothpick or wooden skewer inserted into the center comes out clean. A few dry crumbs are okay; streaks of wet batter are not. If the outside of the loaf is browned but the center is still wet, loosely tent the loaf with foil and continue baking until the loaf is fully baked.. Remove from oven and let cool in the pan for a few minutes. Then remove the banana bread from the pan and let cool completely before serving. Slice and serve. (A bread knife helps to make slices that aren’t crumbly.)Wrapped well, the banana bread will keep at room temperature for 4 days. For longer storage, refrigerate the loaf up to 5 days, or freeze it. Source: Simply Recipes

How to Freeze Cake Like A Pro

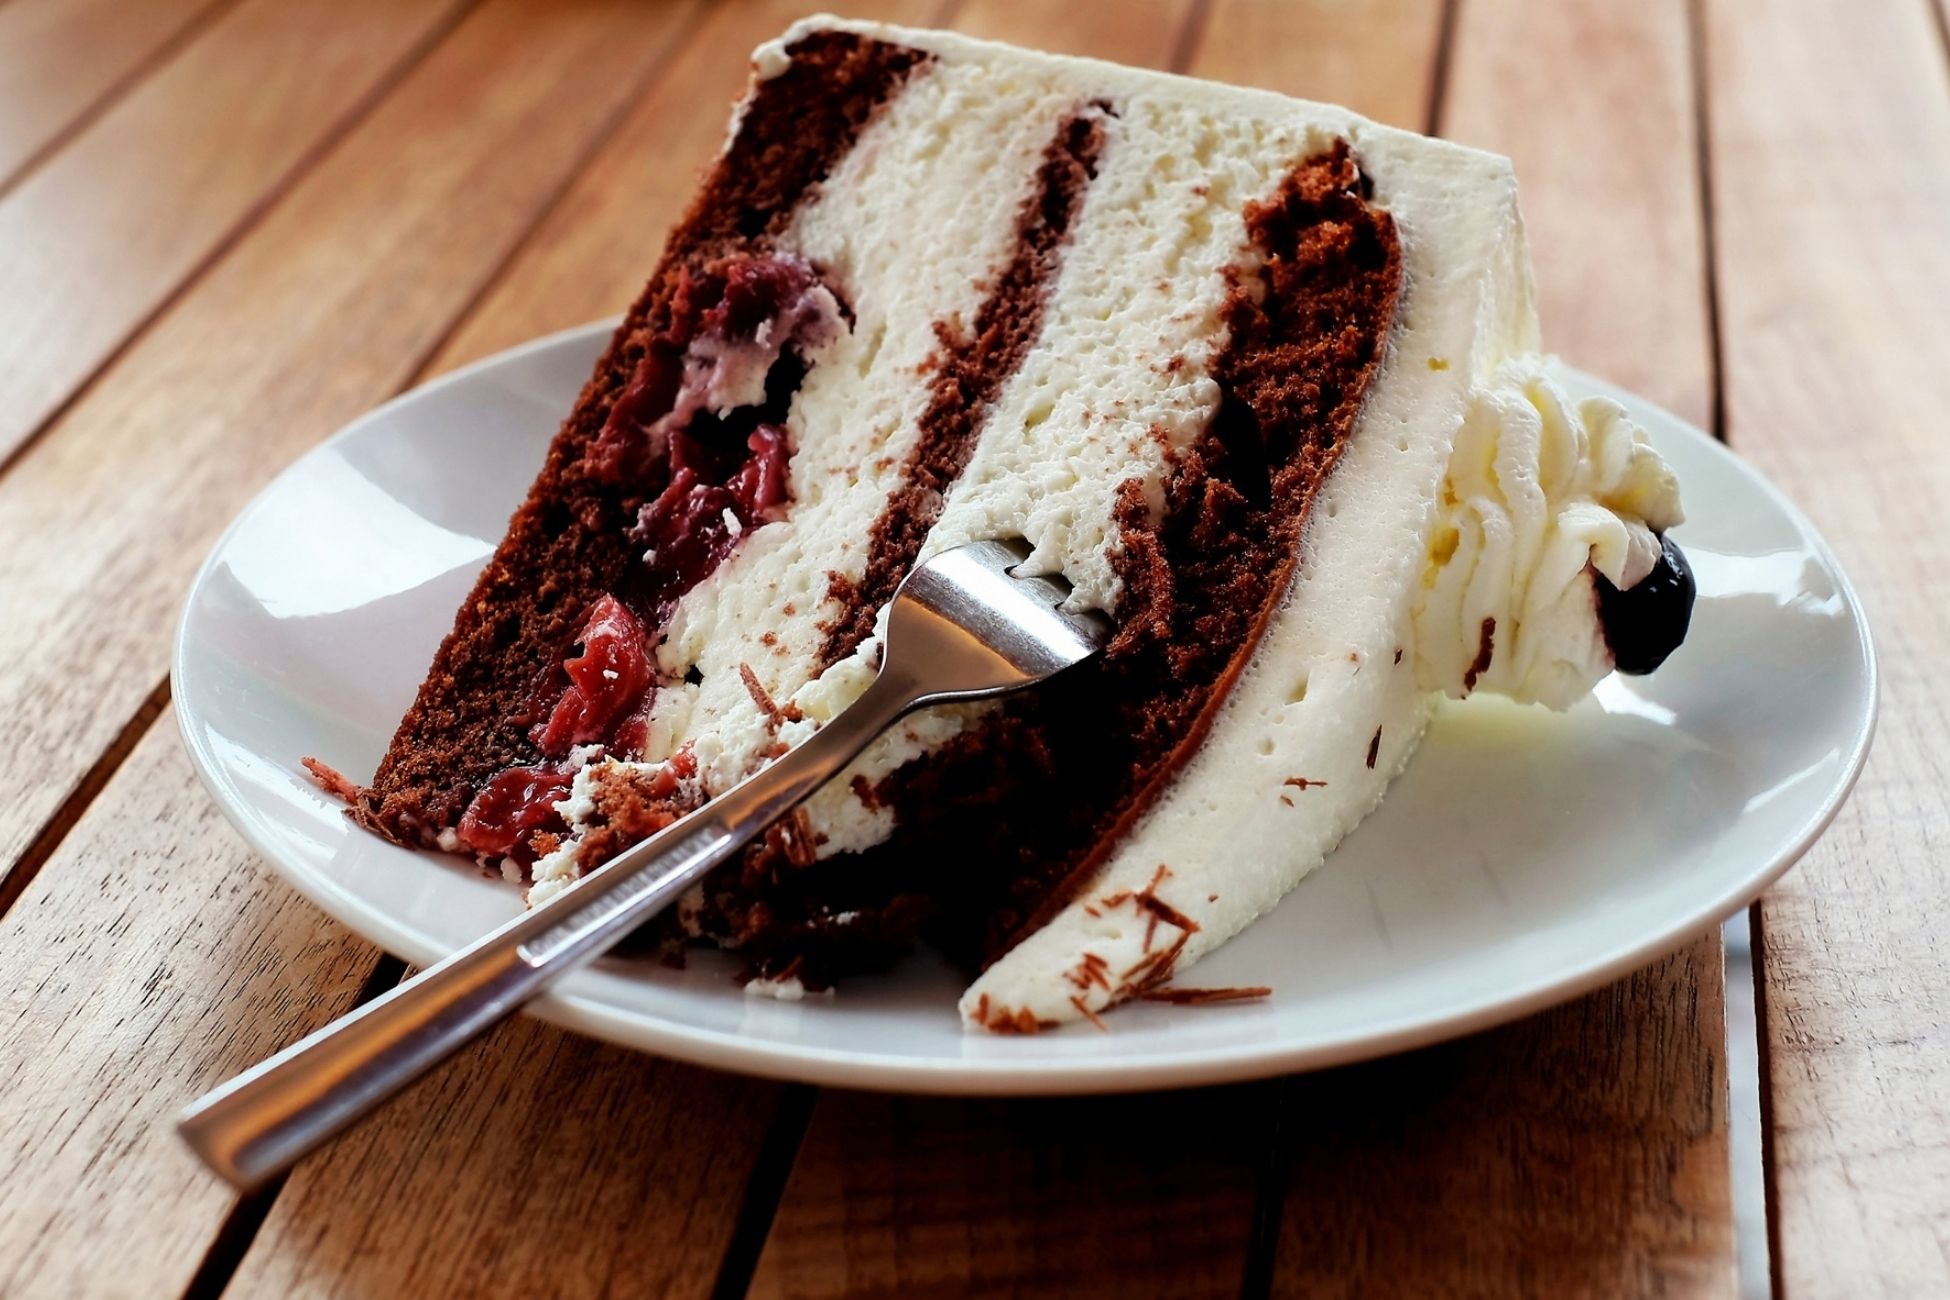
There’s nothing like enjoying a slice of cake, with or without an occasion. You can prepare those recipes you love whenever you like instead of waiting around for a moment to celebrate. Simply freeze the cake in individual servings to pull out and eat anytime a craving strikes. Here’s how to do it. Keep your layer cake fresh by using a technique involving parchment paper or waxed paper. You’re going to want to press the paper directly onto the cut sides of the cake. This will hold in the moisture to prevent the cake from drying out. Freeze the slices like this on a baking sheet until the frosting is firm. Some frosted cakes will freeze faster than others but try leaving it overnight to protect decorative layers. On the next day, you can wrap the pieces in plastic wrap, then stack to save space. When you’re ready to enjoy a slice, simply plate the frozen slices right out of the freezer. The less you move the cake around as it starts to thaw, the better. Individual slices will thaw out more quickly but you can enjoy it even mid-thaw. If you’d like to freeze larger chunks of cake, instead of individually, you can apply the same method. Protect cut ends with parchment paper, freeze overnight, and wrap in plastic wrap until ready to serve. Source: the Kitchn

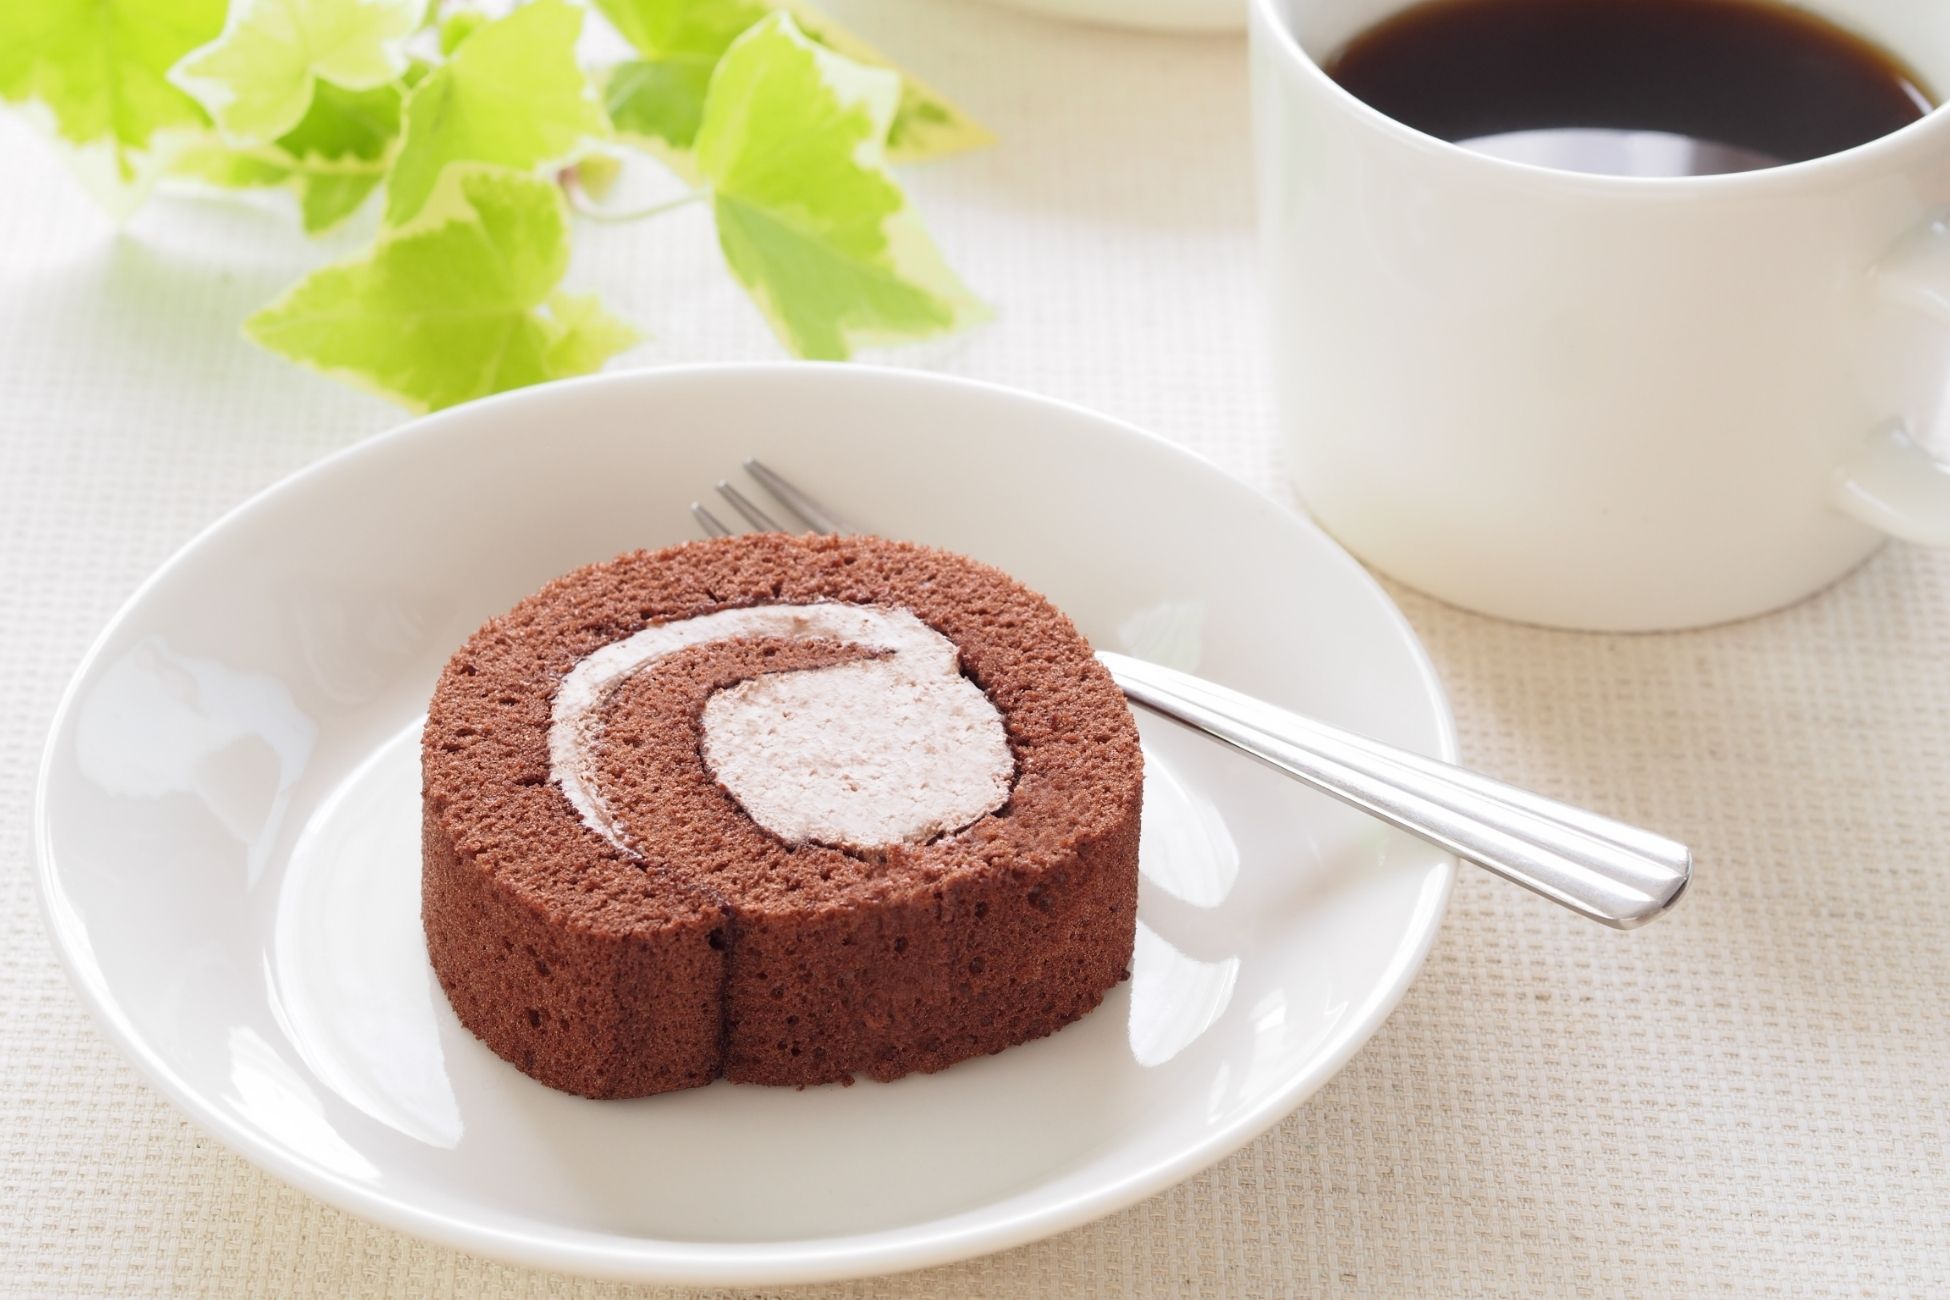
Chocolate Swiss Roll Cake Recipe

A sponge cake filled with whipped cream and a thin layer of ganache for the perfect swiss roll. It’s the best parts of your childhood dreams. This homemade version is worth a few hours of time to prepare, bake and chill. You can take the recipe a step further and add different extracts to the whipped cream such as almond, peppermint or berry. Sprinkle chopped fruits, coconut flakes or nuts to the cream before rolling up to the cake to make the recipe truly unique. Prep time: 30 minsCook time: 10 minsChill time: 2 hrs 45 minsTotal time: 3 hrs 25 minsServings: 10 to 12 servings Ingredients For the chocolate sponge cake 3/4 cup (100g) cake flour 1/2 cup (56g) cocoa powder 3 1/2 tablespoons (26g) cornstarch 3/4 cups (170g) granulated sugar 6 large eggs, room temperature 1/2 teaspoon (3g) kosher salt 4 tablespoons (58g) melted unsalted butter 1 teaspoon vanilla extract 2 tablespoons cocoa powder (for dusting the tea towel) For the stabilized whipped cream 1 1/2 tablespoons cold water 1 teaspoon plain gelatin powder 1 1/2 cups heavy cream 1/2 cup (50g) powdered sugar 1 teaspoon vanilla extract For the chocolate ganache 1 cup (170g) semi-sweet chocolate chips 1/2 cup heavy cream 1 teaspoon vanilla extract, optional Directions Sift the dry ingredients: Into a large bowl, sift together the cake flour, cocoa powder, and cornstarch three times. Set the dry ingredients aside. Warm sugar in the oven while it preheats: Line the half-sheet pan with parchment paper, then sprinkle the sugar onto the paper in an even layer.Place the pan in the oven. Set the oven to 400°F. You’ll have the sugar in the oven while it preheats and remove it from the oven when it is warm to the touch, in step 4. Whisk the eggs in a stand mixer: While the sugar is warming, use a stand mixer fitted with the whisk attachment to lightly beat the eggs, at low speed, until they look foamy with small bubbles, for 30 to 45 seconds. Add the sugar to the eggs: By now, the sugar should be warm to the touch. Remove the pan from the oven, hold the parchment paper by the sides and, while the mixer is still running, sprinkle the warm sugar into the eggs, followed by the salt.Once all of the sugar has been added to the eggs, increase the mixer’s speed to medium-high. Whip the mixture, until lemon-yellow and very thick, about 8 minutes. Prepare the sheet pan: While the eggs are whipping, lightly spray the cooled half-sheet jelly roll pan with baking spray (be sure to not spray the sides). Line the bottom of the sheet pan with the sheet of parchment paper you used to hold the sugar (or a new one). Sift in the dry ingredients and add the butter and vanilla: Once the eggs have finished whipping, remove the bowl from the stand mixer and sift the dry ingredients into the mixer bowl with the eggs.Use a large rubber spatula, to gently fold the flour into the eggs. To fold in the eggs use the rubber spatula to scrape around the sides of the bowl, in toward the center of the bowl to encapsulate the flour in the eggs. You want to lift the egg mixture over the flour. Continue doing this gently, to avoid deflating the eggs too much, until no streaks of flour remain.When most of the flour has been folded in, add the melted butter and the vanilla. The mixture will go from voluminous to deflated but will still look thick and glossy after you’ve folded in the flour and butter. Pour batter into prepared sheet and bake: Pour the batter into the prepared sheet pan. Use an offset spatula to evenly spread and level out the batter in the pan. Give the pan three or four gentle taps against the countertop to expel any large bubbles. Bake the cake for 10 to 12 minutes. The cake will have doubled in size and will feel spongy when you press gently on the center. Sift cocoa powder over a tea towel: Lightly dust a clean tea towel by sifting the cocoa powder over it. Flip cake out onto tea towel: Once the cake has finished baking, remove the pan from the oven. Use a knife to separate the cake from the sides of the pan and immediately flip the cake onto the cocoa-dusted towel. Holding the pan from a low position will minimize cocoa spraying everywhere when you flip the cake out. Roll the cake and cool on rack: Quickly, but carefully, it is still hot, starting with the long edge, roll the cake into a tube shape. You don’t need to remove the parchment paper. Allow the cake to cool in this shape on a cooling rack for 45 minutes. Combine water and gelatin to make stabilized whipped cream: Toward the end of the cooling time, prepare the stabilized whipped cream. In a 1-cup microwave-safe bowl, combine the cold water and powdered gelatin.Heat the mixture in the microwave for 15-20 seconds on high. Once the mixture bubbles, remove it from the microwave and allow it to cool, but not firm up. The mixture will be runny and the gelatin will have dissolved. Whip the heavy cream: Pour the heavy cream into a mixing bowl. Use an electric hand mixer fitted with the whisk attachment. Set it to medium speed for 2 minutes or until the beater leaves behind ribbons in the cream. Add in the gelatin, powdered sugar, and vanilla: Reduce the mixer’s speed to low and drizzle the gelatin in slowly. Once all of the gelatin has been added, add in the powdered sugar and vanilla. Stop the mixer and scrape down the bowl. Finish the whipped cream: Begin mixing again, this time on medium-high for another 3 to 4 minutes, or until the whipped cream holds stiff peaks when the beaters are removed from it, the cream should stand straight up.If the cake


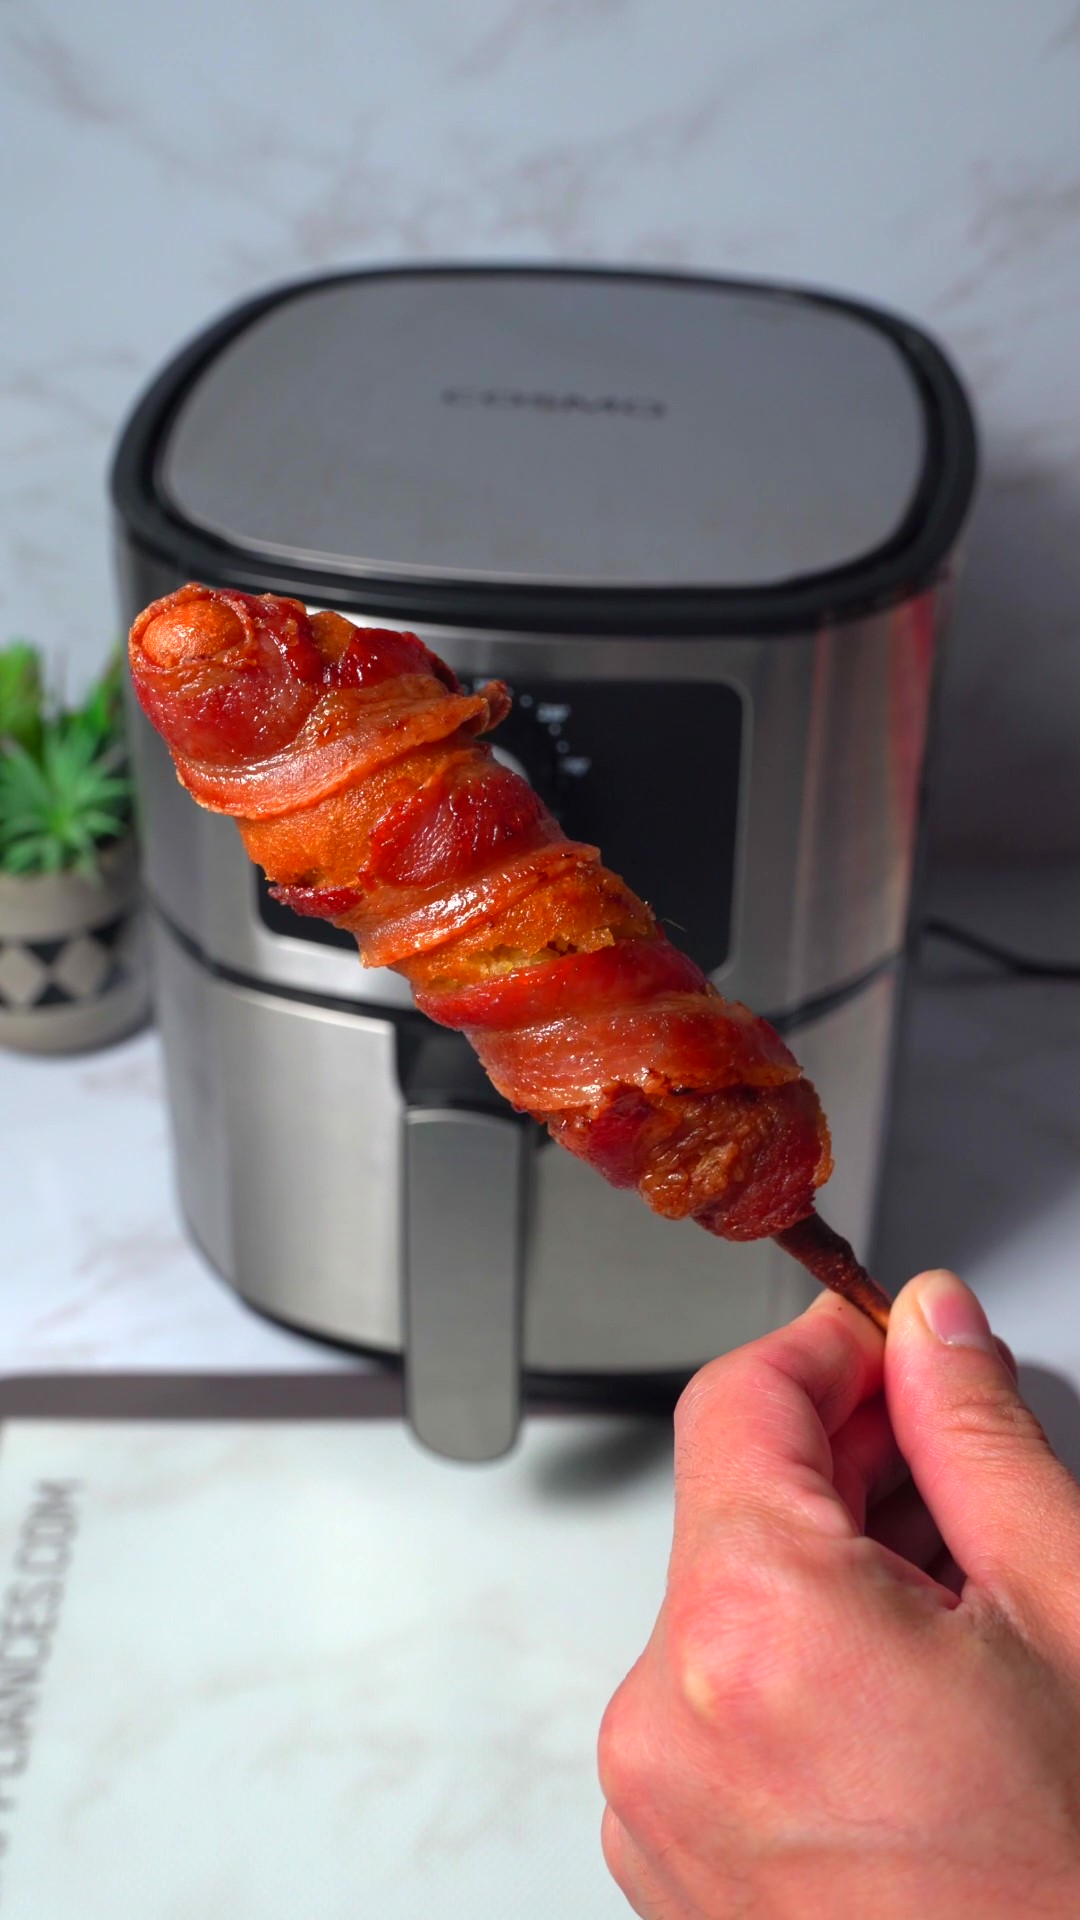
Candied Bacon Corn Dog Recipe

It’s always better sweet! A candied bacon corn dog adds the perfect amount of sweetness to a typically savory treat. The secret ingredient? Brown sugar! It takes just a few minutes to prepare these and with little to no mess. They’re perfect for a weekend treat the whole family will love. Be sure to stock up on some skewers to easily secure the bacon around each corn dog. Ingredients: Brown Sugar Bacon Strips Corn Dogs Skewers Non-stick Cooking Spray Directions: Add brown sugar to the bacon strips Skewer one end of the bacon strip to the bottom of the corn dog and wrap to the top. Skewer the other end of the bacon to the top Sprinkle more brown sugar to the outsideSpray the air fryer pan with non-stick cooking oil. Air fry at 350­°F for 6 minutes on each side Serve and enjoy! Shop Our Air Fryers Air Fryer Giveaway

How to Bake the Perfect Potato

A baked potato can seem like an easy meal, but all the butter and sour cream can’t fix a dry and flat tater. There are a few tips you can utilize to perfect a tender and fluffy potato. If you want a crispy skin on the potatoes, be sure to cover them in oil for the last 10 minutes. Use russet potatoes. These potatoes are the best for baking among the rest. You’ll want to use medium sized potatoes about 1/2 pound. Poke Them. Use a fork to poke each potato about six or seven times. This will prevent them from bursting in the oven. Avoid Foil. Resist the urge to wrap the potatoes. Potatoes baked with foil will turn out soggy, rather than fluffy. Fire Up the Oven. A higher oven heat will produce the best texture. Try baking potatoes at 450°F for 45 minutes to an hour. Source: the Kitchn