Chocolate Swiss Roll Cake Recipe
Posted on Posted in Recipes
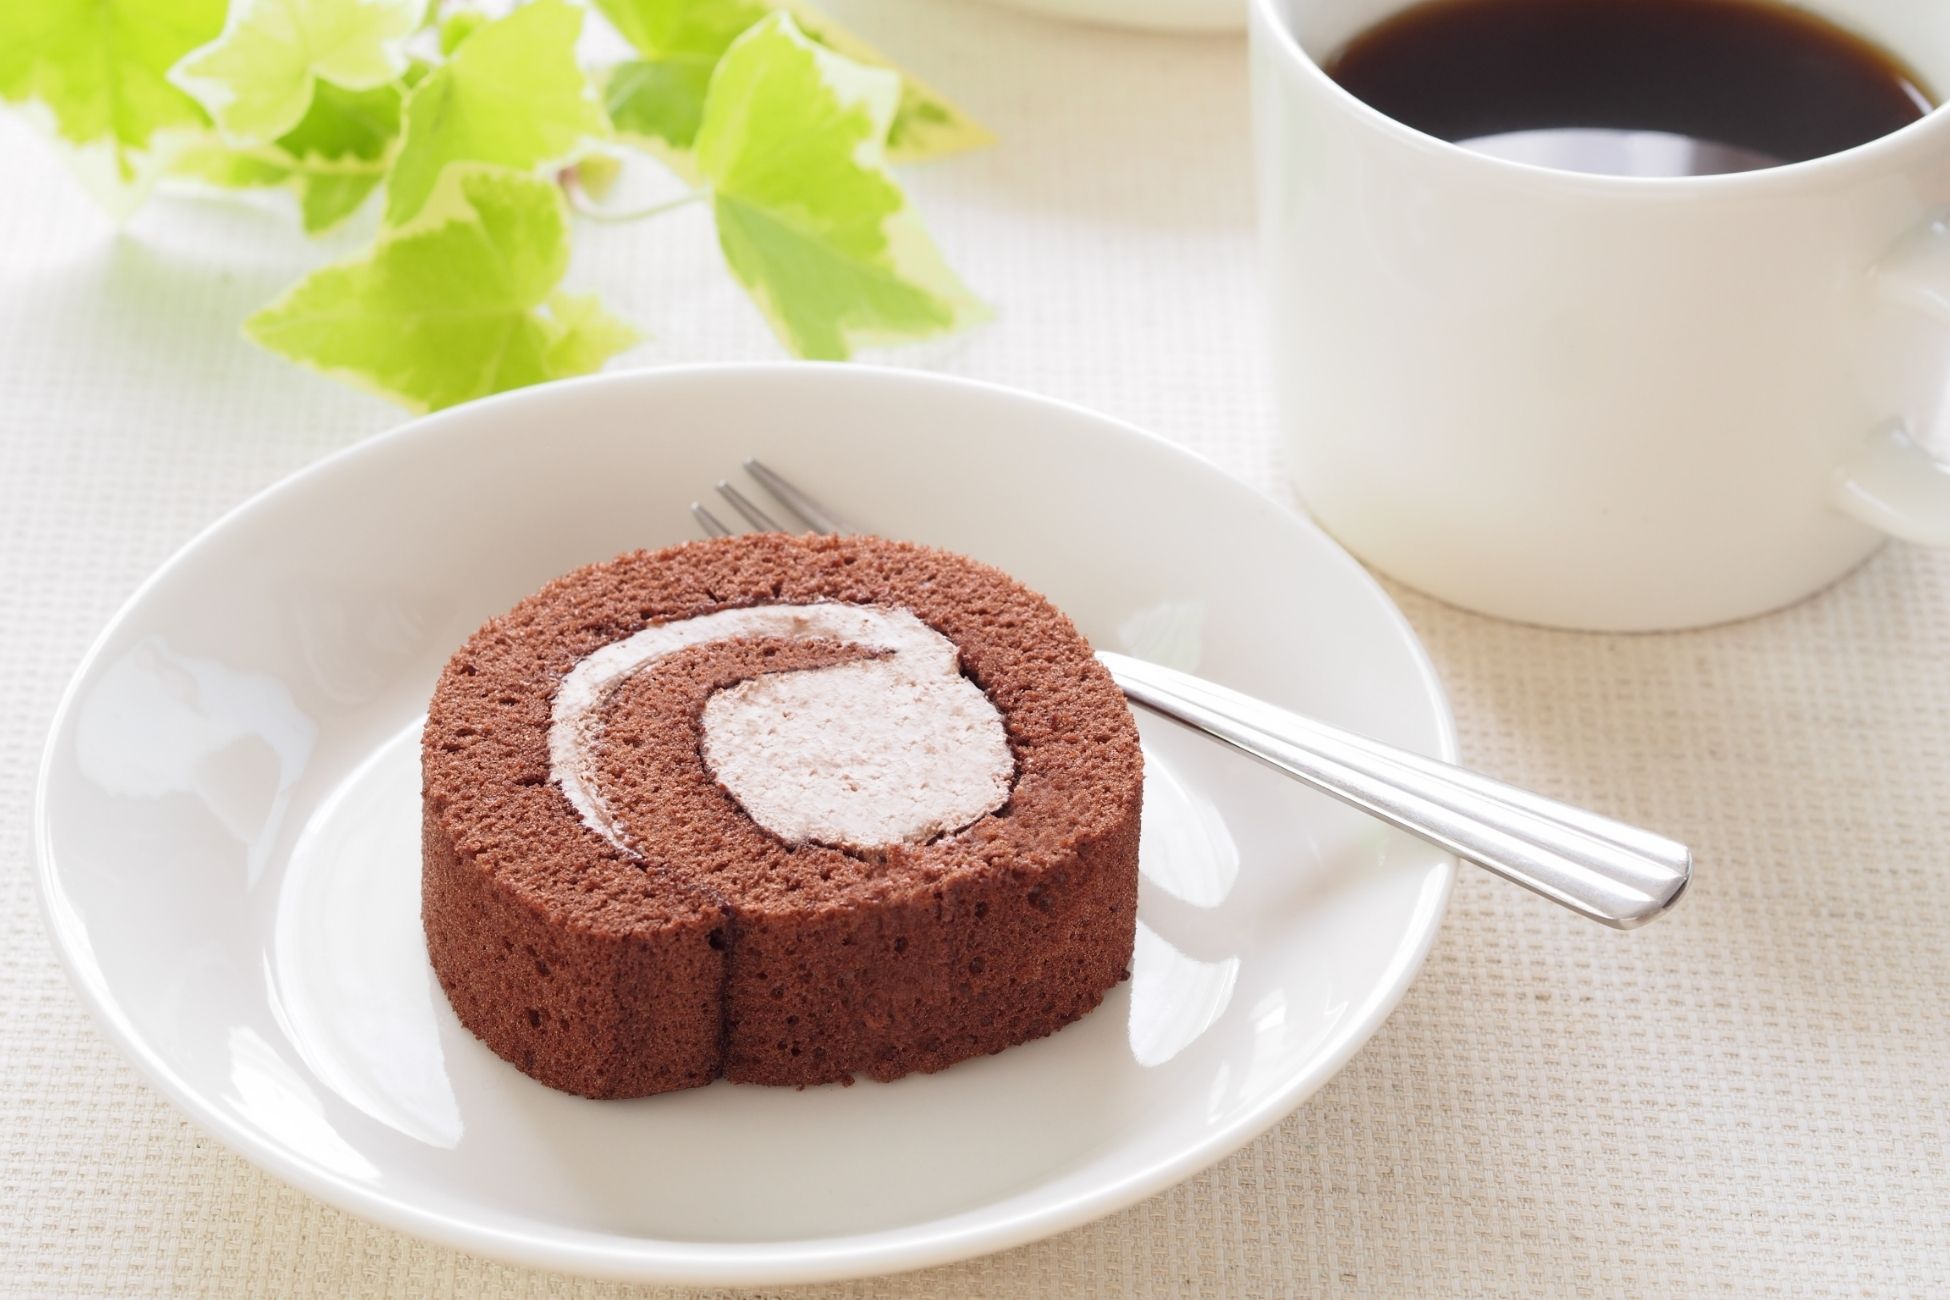
A sponge cake filled with whipped cream and a thin layer of ganache for the perfect swiss roll. It’s the best parts of your childhood dreams. This homemade version is worth a few hours of time to prepare, bake and chill. You can take the recipe a step further and add different extracts to the whipped cream such as almond, peppermint or berry. Sprinkle chopped fruits, coconut flakes or nuts to the cream before rolling up to the cake to make the recipe truly unique.
Prep time: 30 mins
Cook time: 10 mins
Chill time: 2 hrs 45 mins
Total time: 3 hrs 25 mins
Servings: 10 to 12 servings
Ingredients
For the chocolate sponge cake
- 3/4 cup (100g) cake flour
- 1/2 cup (56g) cocoa powder
- 3 1/2 tablespoons (26g) cornstarch
- 3/4 cups (170g) granulated sugar
- 6 large eggs, room temperature
- 1/2 teaspoon (3g) kosher salt
- 4 tablespoons (58g) melted unsalted butter
- 1 teaspoon vanilla extract
- 2 tablespoons cocoa powder (for dusting the tea towel)
For the stabilized whipped cream
- 1 1/2 tablespoons cold water
- 1 teaspoon plain gelatin powder
- 1 1/2 cups heavy cream
- 1/2 cup (50g) powdered sugar
- 1 teaspoon vanilla extract
For the chocolate ganache
- 1 cup (170g) semi-sweet chocolate chips
- 1/2 cup heavy cream
- 1 teaspoon vanilla extract, optional
Directions
- Sift the dry ingredients: Into a large bowl, sift together the cake flour, cocoa powder, and cornstarch three times. Set the dry ingredients aside.
- Warm sugar in the oven while it preheats: Line the half-sheet pan with parchment paper, then sprinkle the sugar onto the paper in an even layer.
Place the pan in the oven. Set the oven to 400°F. You’ll have the sugar in the oven while it preheats and remove it from the oven when it is warm to the touch, in step 4. - Whisk the eggs in a stand mixer: While the sugar is warming, use a stand mixer fitted with the whisk attachment to lightly beat the eggs, at low speed, until they look foamy with small bubbles, for 30 to 45 seconds.
- Add the sugar to the eggs: By now, the sugar should be warm to the touch. Remove the pan from the oven, hold the parchment paper by the sides and, while the mixer is still running, sprinkle the warm sugar into the eggs, followed by the salt.
Once all of the sugar has been added to the eggs, increase the mixer’s speed to medium-high. Whip the mixture, until lemon-yellow and very thick, about 8 minutes. - Prepare the sheet pan: While the eggs are whipping, lightly spray the cooled half-sheet jelly roll pan with baking spray (be sure to not spray the sides). Line the bottom of the sheet pan with the sheet of parchment paper you used to hold the sugar (or a new one).
- Sift in the dry ingredients and add the butter and vanilla: Once the eggs have finished whipping, remove the bowl from the stand mixer and sift the dry ingredients into the mixer bowl with the eggs.
Use a large rubber spatula, to gently fold the flour into the eggs. To fold in the eggs use the rubber spatula to scrape around the sides of the bowl, in toward the center of the bowl to encapsulate the flour in the eggs. You want to lift the egg mixture over the flour. Continue doing this gently, to avoid deflating the eggs too much, until no streaks of flour remain.
When most of the flour has been folded in, add the melted butter and the vanilla. The mixture will go from voluminous to deflated but will still look thick and glossy after you’ve folded in the flour and butter. - Pour batter into prepared sheet and bake: Pour the batter into the prepared sheet pan. Use an offset spatula to evenly spread and level out the batter in the pan. Give the pan three or four gentle taps against the countertop to expel any large bubbles. Bake the cake for 10 to 12 minutes. The cake will have doubled in size and will feel spongy when you press gently on the center.
- Sift cocoa powder over a tea towel: Lightly dust a clean tea towel by sifting the cocoa powder over it.
- Flip cake out onto tea towel: Once the cake has finished baking, remove the pan from the oven. Use a knife to separate the cake from the sides of the pan and immediately flip the cake onto the cocoa-dusted towel. Holding the pan from a low position will minimize cocoa spraying everywhere when you flip the cake out.
- Roll the cake and cool on rack: Quickly, but carefully, it is still hot, starting with the long edge, roll the cake into a tube shape. You don’t need to remove the parchment paper. Allow the cake to cool in this shape on a cooling rack for 45 minutes.
- Combine water and gelatin to make stabilized whipped cream: Toward the end of the cooling time, prepare the stabilized whipped cream. In a 1-cup microwave-safe bowl, combine the cold water and powdered gelatin.
Heat the mixture in the microwave for 15-20 seconds on high. Once the mixture bubbles, remove it from the microwave and allow it to cool, but not firm up. The mixture will be runny and the gelatin will have dissolved. - Whip the heavy cream: Pour the heavy cream into a mixing bowl. Use an electric hand mixer fitted with the whisk attachment. Set it to medium speed for 2 minutes or until the beater leaves behind ribbons in the cream.
- Add in the gelatin, powdered sugar, and vanilla: Reduce the mixer’s speed to low and drizzle the gelatin in slowly. Once all of the gelatin has been added, add in the powdered sugar and vanilla. Stop the mixer and scrape down the bowl.
- Finish the whipped cream: Begin mixing again, this time on medium-high for another 3 to 4 minutes, or until the whipped cream holds stiff peaks when the beaters are removed from it, the cream should stand straight up.
If the cake is not yet cool to the touch, store the cream in a covered container in the fridge until you’re ready to fill the cake. - Unroll the cake: Once the cake has cooled and is no longer warm to the touch, carefully unroll it and remove the parchment paper.
- Spread whipped cream on cake and reroll the cake: Spread a 1/8 to 1/4-inch layer of the whipped cream onto the cake, leaving a 1-inch margin on one of the short ends. Beginning on the cream-covered short end, tightly roll the cake back into a tube. Use the towel to roll the tube tightly toward the other end.
- Wrap cake in plastic wrap and refrigerate: Wrap the tube snugly in plastic film. Twist the ends of the wrapping to create a tight cylindrical shape. Refrigerate the chocolate swiss roll for at least 2 hours to allow it to set.
- Prepare the chocolate ganache: An hour before you plan to serve the Swiss roll, prepare the chocolate ganache. To make the ganache add the heavy cream to a 1-quart microwave-safe bowl. Place in the microwave for 1 minute 30 seconds, or until it begins to steam. You can also do this in a pot on the stove. You just want it to warm through, not boil. Add the chocolate chips and vanilla to the bowl and shimmy the bowl slightly so that all of the chips are covered by the cream. Allow the chocolate to sit in the cream for 3 to 4 minutes.
Whisk the cream and chocolate together until smooth. If chunks remain, heat the ganache in the microwave for 20 seconds, before whisking again. Allow the ganache to cool at room temperature for 12 to 15 minutes and firm up slightly. - Unwrap and glaze the chocolate swiss roll: Remove the swiss roll from the fridge and remove the plastic covering. Place the roll on a cooling rack set over a sheet pan.
Pour the ganache over the top of the roll and use an offset spatula or the back of a spoon to cover the roll evenly in the chocolate. If you want to double the ganache, to use up all of the ganache, scoop up the excess from the pan underneath and repeat the pouring steps.
Transfer the cake to a platter and refrigerate it until the ganache feels slightly tacky to the touch, or 20 minutes. - Serve: Slice and serve. Store leftovers covered in the fridge and enjoy within 2 days.
Source: Simply Recipes