Year: 2021

How to Get Started with Cosmo Products

You’ve purchased a Cosmo Appliance, and you’ll soon be on your way to upgrading your kitchen with the design and durability it needs. If you’re stuck on the basics, we’ll be rolling out quick start guides to help you along. These videos give an easy visual reference for all the essentials you should know about your product. Our Range Hood series will be the first out. Subscribe to our YouTube Channel for all of our guides and hit the notification bell to be alerted as soon as we post. Subscribe Here YouTube For more from Cosmo, follow us on our Facebook and Instagram to connect with our community. Installed your appliance? Tag us with #cosmokitchenproducts for a chance to be featured on our page!

Kitchen Cabinetry Essentials

If you find yourself replacing your kitchen cabinets any time soon, consider good storage that goes beyond volume. Not all cabinets are providing the intelligent, strategic storage that makes a kitchen work at maximum effectiveness. Here are some of the essentials to bring out your kitchen’s potential. Drawers and Sliding Shelves These drawers are the ultimate storage space for a kitchen for several reasons. They offer an ergonomic design since they pull out towards you, removing the need to squat or reach up high. Anything can be stored in these cabinets and they can be stacked one on top of the other. A drawer will always bring clean lines which fits any kitchen design such as traditional, farmhouse or contemporary. Trash Pull-Out Remove the trash bin from the side of the island and hide it behind a door in your cabinetry. Ideally you should have two bins–one for trash and another for recycling. A double trash unit only takes up 18 inches of space and is available with soft-close mechanisms. Many trash units are short enough to fit into a base cabinet with a top drawer. Vertical Dividers These dividers are great for storing many large, flat objects like cutting boards, cookie sheets or baking pans. They are often placed in the upper portion of tall cabinetry or can fit in narrow base cabinets, 9 to 12 inches wide. Use these dividers to compensate where a drawer stack isn’t practical. Spice Pull-Out Spices will accumulate in your kitchen over time. When spices are stacked behind each other, it can be difficult to organize and find what you need. A great solution is a 12-inch-wide pull out cabinet fitted adjacent to your cooking surface. Tiered shelves are the best to store larger jars where you can view everything at once. Source: The Spruce

Kitchen Remodels: What to Look Out For

A kitchen doesn’t always come as we’d like it to. Remodeling a kitchen can solve many problems with functionality or design. When planning a kitchen remodel, here are some of the potential issues you should consider. Functionality and Service Zones The kitchen could be considered one of the most functional spaces of a home. Focus on the functional areas such as prep areas, cooking, refrigeration and dishwashing. While aesthetics are important, the functionality should always come first. An ideal kitchen remodel is one where major features aren’t moved. You can save yourself a good deal of money and headache if you leave major appliances where they are such as vented range hoods, the sink or dishwasher. Moving these appliances brings on new technical issues with electrical outlets, wiring or plumbing. Instead, move features that are more simple such as a refrigerator or cabinetry. Skip the Island Kitchen islands are on trend, but it actually isn’t as valuable as you may think. Before opt-ing for an island, ask yourself if your kitchen has the space needed. It takes a rather large kitchen for an island to work as intended. Trying to force it in could leave the rest of your areas cramped and harder to navigate. Invest in Quality Countertops Your kitchen counters are an essential part you will be using day in and day out. It’s worth the extra cost to invest in materials like granite, quartz, laminate or solid-surface. A countertop is one of the largest visual elements in a kitchen, it’s best to get this part right. It’ll also play a valuable role if you ever need to sell your home. Looking for more from Cosmo? Follow us on Instagram and Facebook! Source: The Spruce

Sweet Strawberry French Crêpes Recipe

A French crêpe is surprisingly easy to make using a simple blender batter and a nonstick skillet. They are versatile, ranging from sweet to savory. Try this strawberry crêpe recipe for a quick yet fancy breakfast. Prep time: 5 minutes Cook time: 20 minutes Yield: 6 servings (about 12 crêpes) Ingredients: 3 large eggs 2 1/3 cups milk 1/4 cup sugar 1 teaspoon vanilla Pinch of salt 2 1/3 cups (290g) flour 2 cups of hulled ripe strawberries 3 tablespoons of strawberry jam Vanilla ice cream (if desired) Butter for the pan Directions: Make the crêpe batter: In a blender, pulse the eggs, milk, sugar, vanilla, salt and flour for 7 to 10 seconds, or until the batter is smooth. Pour into a bowl. (The batter can be refrigerated, covered, for up to 3 days. If the batter thickens too much, add additional milk before cooking to thin it to the consistency of heavy cream.) Heat and grease the pan: Heat an 8- or 10-inch non-stick skillet or well-seasoned crêpe pan over medium heat until hot. Using one end of a stick of butter, coat the bottom of the pan with a thin layer of melted butter. Start cooking the crêpes: Pour 1/3 cup of batter into the center of the pan. Immediately pick up the pan and tilt and swirl it to spread the batter evenly over the bottom. Cook for 1 to 2 minutes, or until the crêpe is golden on the bottom. Flip the crêpe: Use a rubber spatula to loosen the edge of the crêpe all around. Hold the edge with your fingertips and gently, but quickly, flip the crêpe to the other side (or use a spatula if that feels more comfortable). Cook for another 30 seconds, or until the crêpe is golden on the bottom. Slide the finished crêpe onto a plate. Repeat until all the batter is used, stacking the crêpes on top of each other on the plate. Assemble the crêpes: Place one crêpe on a plate and fill it with your filling of choice. For strawberry crêpes, blend 2 cups of hulled ripe strawberries with 3 tablespoons of strawberry jam to make a smooth sauce (add additional water as needed to thin). Serve crêpes with a scoop of vanilla ice cream, some fresh sliced strawberries, and a few spoonfuls of sauce drizzled over top. If you’re not eating them right away, let the crêpes cool, then cover the stack with plastic wrap and refrigerate for up to 3 days. Reheat in a buttered skillet. Source: Simply Recipes

Vitamin C Foods to Add to Your Diet

Your body’s immune system relies on vitamin C to boost its strength while helping reduce the risk of several chronic diseases such as cardiovascular disease. Vitamin C pills or supplements leave out other health benefits found in whole foods with high vitamin and mineral content. The recommended daily dietary allowance for healthy adults is 75mg for women and 90mg for men. Here are the foods you should incorporate into your diet to get the best benefits of vitamin C. Oranges. Probably the one fruit that everyone thinks of when it comes to vitamin C, oranges are abundant in the micronutrient. One medium sized orange contains 70mg of vitamin C, thus providing 78% of the recommended daily value. If you prefer juice, look for 100% orange juice with no added sugar varieties. Broccoli. Just ½ cup of raw broccoli offers up to 39mg vitamin C, which is 43% of the daily value. Not to mention all the other health benefits such as fiber and calcium. Kiwi. A single medium kiwi serving contains 64mg or 71% of the daily value vitamin C. Other varieties of kiwis such as golden kiwis have even more vitamin C, making them a great source of the micronutrient. They’re also a great source of fiber and digestive enzymes. Strawberries. This fruit is packed with vitamin C. A ½ cup of sliced strawberries provide 49mg or a bit over 50% of the daily value. They have a rich antioxidant capacity with a great dose of filling fiber too. Red Bell Pepper. These peppers contain 95mg of vitamin C, which is over the 100% recommended daily value in just half a cup. One of the richest sources of vitamin C, red bell peppers have a slew of health benefits and flavor. Try incorporating them in a salad or a red pepper hummus. Source: Good Housekeeping

Everything You Should Know About Garbage Disposals

Garbage disposals are essential to any kitchen to quickly grind down solid food waste. When you turn on the disposal a spinning disc turns rapidly, forcing waste against the outer wall of the grinding chamber. This turns food into tiny bits which can then be washed down. A common misconception is that disposals have sharp blades. Avoid Putting This in a Garbage Disposal Not everything’s meant to go into a garbage disposal. Putting tough or fibrous food scraps, potato peels, grease or oil can cause clogs and jams. Hard objects should be tossed in a garbage can instead. Garbage Disposal Troubleshooting Most of the time, a garbage disposal malfunctions when it’s jammed. This doesn’t require an entirely new unit, but ignoring it could cause the unit’s motor to burn out. A clog can occur when the wrong kinds of food go down the garbage disposal. Clogs can be in the disposal itself but usually they appear in the drainpipe downstream of the disposal. There are plenty of garbage disposals on the market that can be as simple or as detailed as you’d like. Models can include stainless steel grinding chambers or extra insulation for sound reduction. Decide on what kind of garbage disposal fits your kitchen best. When it’s time to install, be sure you understand the basics of plumbing and electrical wiring. Most homeowners can have a disposal installed within a few hours. Source: The Spruce

Air Fryer Chinese Egg Rolls

Fry delicious egg rolls with less oil and in less time with this air fryer recipe. We love the health benefits with air frying and the extra crispiness you can achieve. Serve these as a delicious appetizer along with the perfect dipping sauce. Prep time: 20 minutesCook time: 25 minutesYield: 12 egg rolls For the egg rolls: 1 tablespoon olive oil1 pound ground pork or chicken1 clove garlic, minced1 tablespoon grated fresh ginger1 medium carrot, shredded3 scallions, chopped3 cups shredded green cabbage1 tablespoon soy sauce1 tablespoon rice wine vinegar12 egg roll wrappersOil, for brushing For dipping: Duck saucePlum sauceSoy sauce Directions: Cook the filling: In a large skillet over medium heat, add the olive oil along with the ground pork or chicken. Break apart the meat with a spatula or wooden spoon as it cooks. Cook until the meat is cooked through, 6 to 8 minutes.Add garlic, ginger, carrot, scallions, and cabbage. Continue to cook until cabbage wilts down and is soft, another 3 to 4 minutes, stirring regularly. Season the filling with soy sauce and rice wine vinegar and take off the heat to cool. (This filling can be made in advance.) Assemble the egg rolls: Place a single egg roll wrapper on a dry surface with one point of the square facing you (like a diamond). Place about 1/4 cup of the egg roll filling mixture in the middle of the wrapper.Dip your fingers in water and run around the edges of the wrapper. Then fold the edges of the wrapper over the center and start rolling the egg roll away from you to form a tight cylinder. Place on a plate and repeat until you are out of filling. You should get at least a dozen egg rolls. Air fry the egg rolls: Place the egg rolls in the basket of your air fryer. Spray or brush them lightly with oil. Add as many as you can without stacking the egg rolls, making sure they don’t touch. Air needs to circulate around them. Brush the egg rolls lightly with oil.Place the basket in the air fryer and turn the air fryer to 350°F. Cook for 6 to 7 minutes, then flip the egg rolls, spray or brush with oil a second time on the bottom side, and cook for another 4 to 5 minutes.Finished egg rolls should be golden brown and crispy! Serve immediately. Source: Simply Recipes

Delicious Bourbon Chicken Recipe

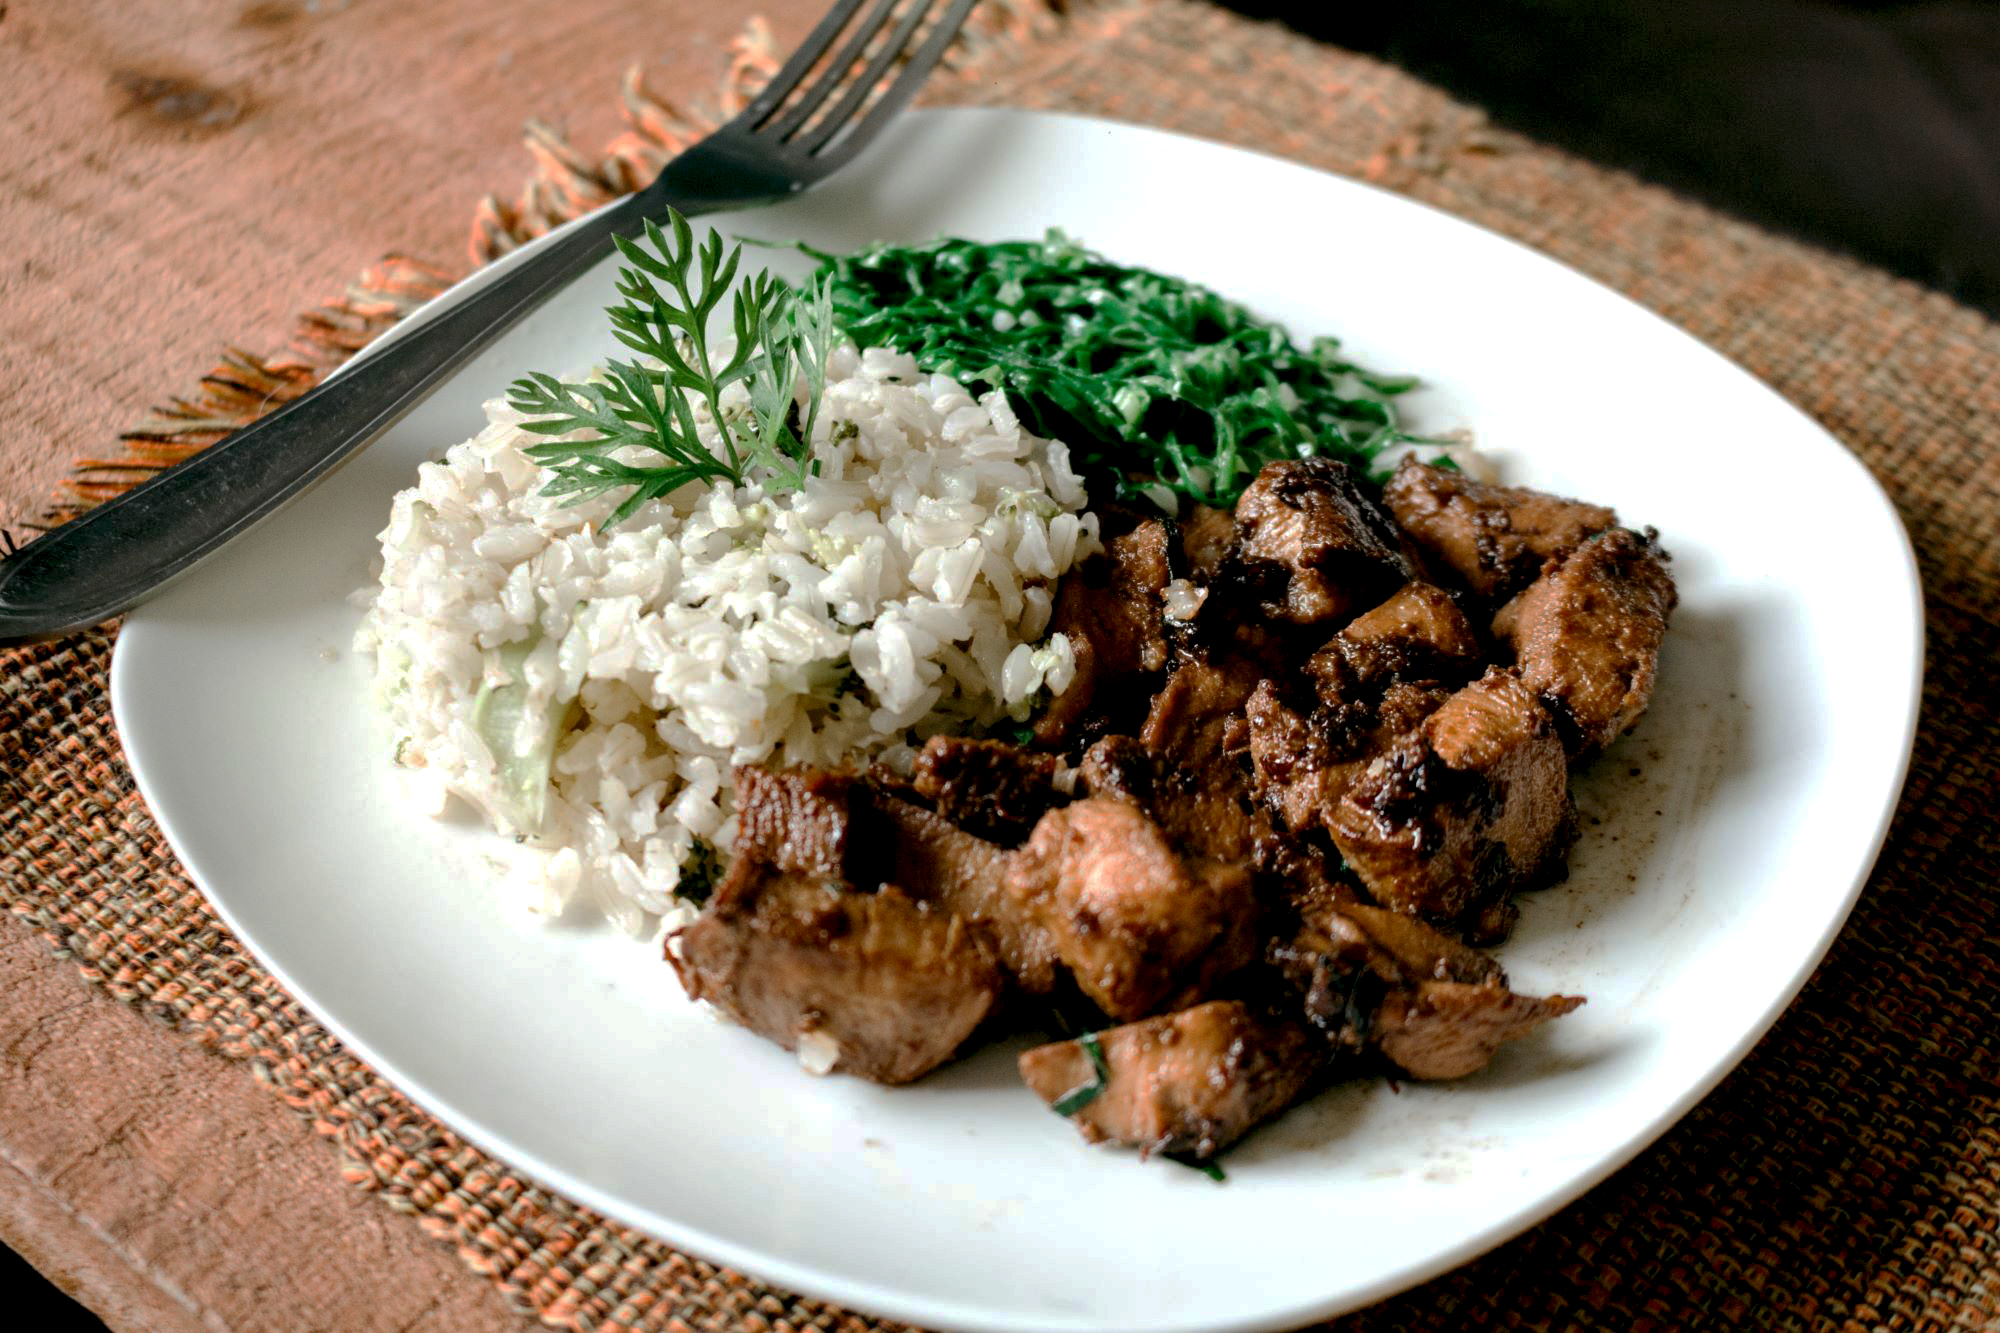
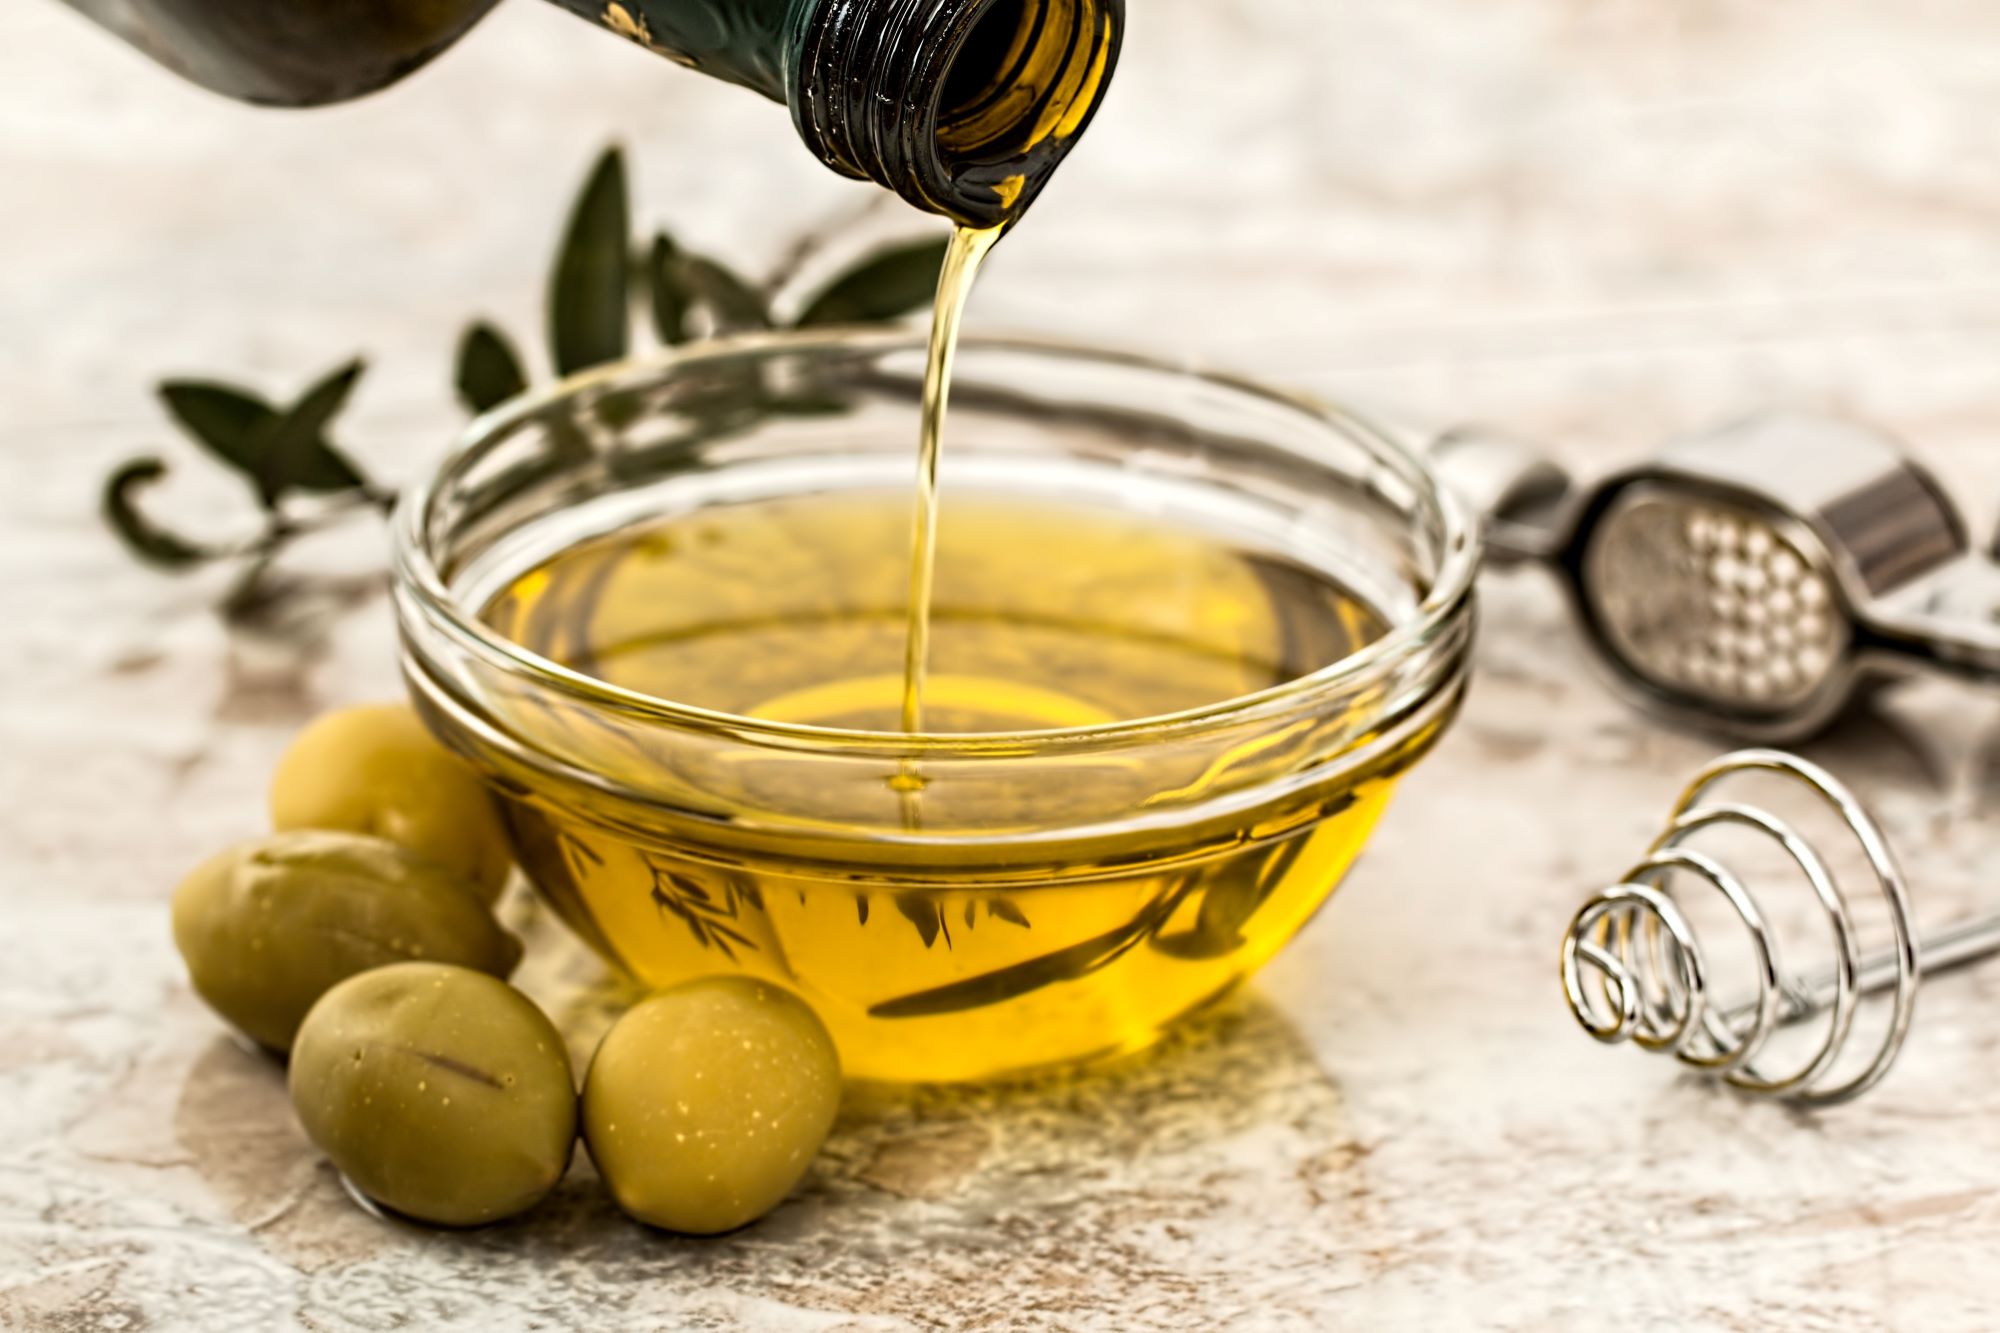
This bourbon chicken recipe combines brown sugar, ginger, soy sauce and of course, bourbon to create a perfect dinner dish. The secret is the high heat, giving the chicken a crunchy, golden sear for a signature smoky flavor. Yield: Serves 6Prep time: 20 minutesCook time: 12 minutes to 18 minutes Ingredients: 3 cloves garlic 1 (2-inch) piece fresh ginger 1/2 cup apple juice 1/4 cup low-sodium tamari or soy sauce 1/4 cup bourbon 1/4 cup packed light or dark brown sugar 3 tablespoons rice vinegar 1/4 teaspoon red pepper flakes 2 pounds boneless, skinless chicken thighs or breasts 2 tablespoons cornstarch, divided 1 teaspoon kosher salt 3 tablespoons canola or vegetable oil 3 tablespoons cold water 2 large scallions Steamed rice, for serving (optional) Directions: Make the sauce. Prepare the following, adding them all to a medium bowl: Mince 3 garlic cloves. Peel and mince a 2-inch piece of ginger until you have 1 tablespoon. Add 1/2 cup apple juice, 1/4 cup low-sodium soy sauce, 1/4 cup bourbon, 1/4 cup packed brown sugar, 3 tablespoons rice vinegar, and 1/4 teaspoon red pepper flakes. Whisk until the sugar is fully dissolved. Coat the chicken in cornstarch. Cut 2 pounds boneless, skinless chicken thighs or breasts into 1-inch chunks, discarding any large pieces of fat, and place in a large bowl. Add 1 tablespoon of the cornstarch and 1 teaspoon kosher salt, and toss until evenly coated. Brown the chicken. Heat a flat-bottomed wok or large frying pan over high heat. Add 3 tablespoons canola or vegetable oil and the chicken and spread into an even layer. (It’s ok if some of the chicken is not touching the bottom of the pan.) Let cook undisturbed until golden-brown and seared on the bottom, 5 to 7 minutes. Simmer in the sauce. Reduce the heat to medium and add the sauce mixture. Stir to thoroughly coat the chicken and let simmer until reduced by half, 6 to 9 minutes. Meanwhile, mix the remaining 1 tablespoon cornstarch and 3 tablespoons cold water in a small bowl, and thinly slice 2 large scallions. Simmer and thicken the sauce. Add the cornstarch mixture to the pan and stir until fully dissolved and combined. Continue cooking, stirring often, until the sauce thickens, is glossy, and coats the chicken, 1 to 2 minutes. Garnish and serve over rice. Serve the chicken over rice if desired and garnish with the sliced scallions. Source: The Kitchn

The Versatility of Olive Oil

Everyone knows olive oil is great for flavor and health benefits when cooking. But did you know that olive oil can be used in many other ways around your home? Here’s a pro tip, keep some oil in a spray bottle. In the Kitchen Protect Wood. After washing your wood cutting boards, salad bowls and utensils, apply a light coating of olive oil. This will nourish the wood and prevent any cracking or discoloration. Let the oil sit on the wood for about five minutes and then buff with a soft cloth. Stops Sticking. If a recipe calls for measuring cups or spoons, place a bit of olive oil on beforehand to easily release sticky foods like honey, peanut butter and mustard. No more hassle or messy clean-ups. Shine Stainless Steel. Your appliances can easily be brought back to life with a dab of olive oil on a soft cloth. Rub it into the appliance to prevent streaks, water spots, tarnish and corrosion. Make sure to buff with a soft cloth afterwards. Around the House Squeaky Doors. A few drops of olive oil will silence a squeaky hinge. Try a few spritz on doors, cabinets, appliances or car doors. Water Rings. If wood in your home has small scratches or water rings, apply oil on a soft cloth and then buff with a dry cloth. Make a furniture polish with one-fourth cup olive oil, four tablespoons of distilled white vinegar and two teaspoons lemon juice. You can store this in a refrigerator to use weekly, just give it a good shake before applying. Revitalize Plants. Help the ferns and palms at your home stay lush year-round with olive oil. Add two tablespoons to the base of the plant about once a month. Source: The Spruce

Baked Salmon with Avocado Mango Salsa Recipe

We’ve got you covered for dinner. A baked salmon recipe is quick and easy with minimal work. It also makes for an easy clean-up! Prep time: 20 minutes Cook time: 10 minutes Yield: serves 4 Ingredients: Extra virgin olive oil 4 6-ounce salmon fillets Salt Freshly ground black pepper 2 small or 1 large mango, not overly ripe (1 to 1 1/2 pounds of mango) 2 just ripe avocados 1/4 cup minced red onion 1 serrano chile, minced (with seeds for more heat, without for less) 2 limes, juiced (about 4 Tbsp lime juice) Directions: Preheat oven to 400°F. Prep the mangos: While the oven is preheating, prep the mangos. Either peel and then cut away the mango flesh from the core seed, and then cut the mango into 1/3-inch cubes, or follow the instructions here on How to Cut a Mango. Set the cut mango aside in a medium bowl. Bake the salmon fillets: Line a roasting pan with aluminum foil. Spread some olive oil on top of the foil. Coat the salmon fillets with olive oil and lay, skin side down, on the foil lined roasting pan. Sprinkle with salt. Place in the 400°F oven and cook for 10 minutes. Make the avocado mango salsa: While the salmon is cooking, prep the avocados. Cut the avocados in half. Remove the seeds. Score the inside of the avocados with a small knife in a cross hatch pattern. Scoop out the avocado pieces and add them to the bowl with the cut mango pieces. Add the minced red onion, serrano chile, and lime juice to the bowl. Sprinkle with a little salt. Gently fold the ingredients together. Serve the salmon fillets with a generous portion of avocado mango salsa. Tried out this recipe? Tag us on Instagram @cosmokitchenproducts! Source: Simply Recipes