What Oils to Use When Cooking
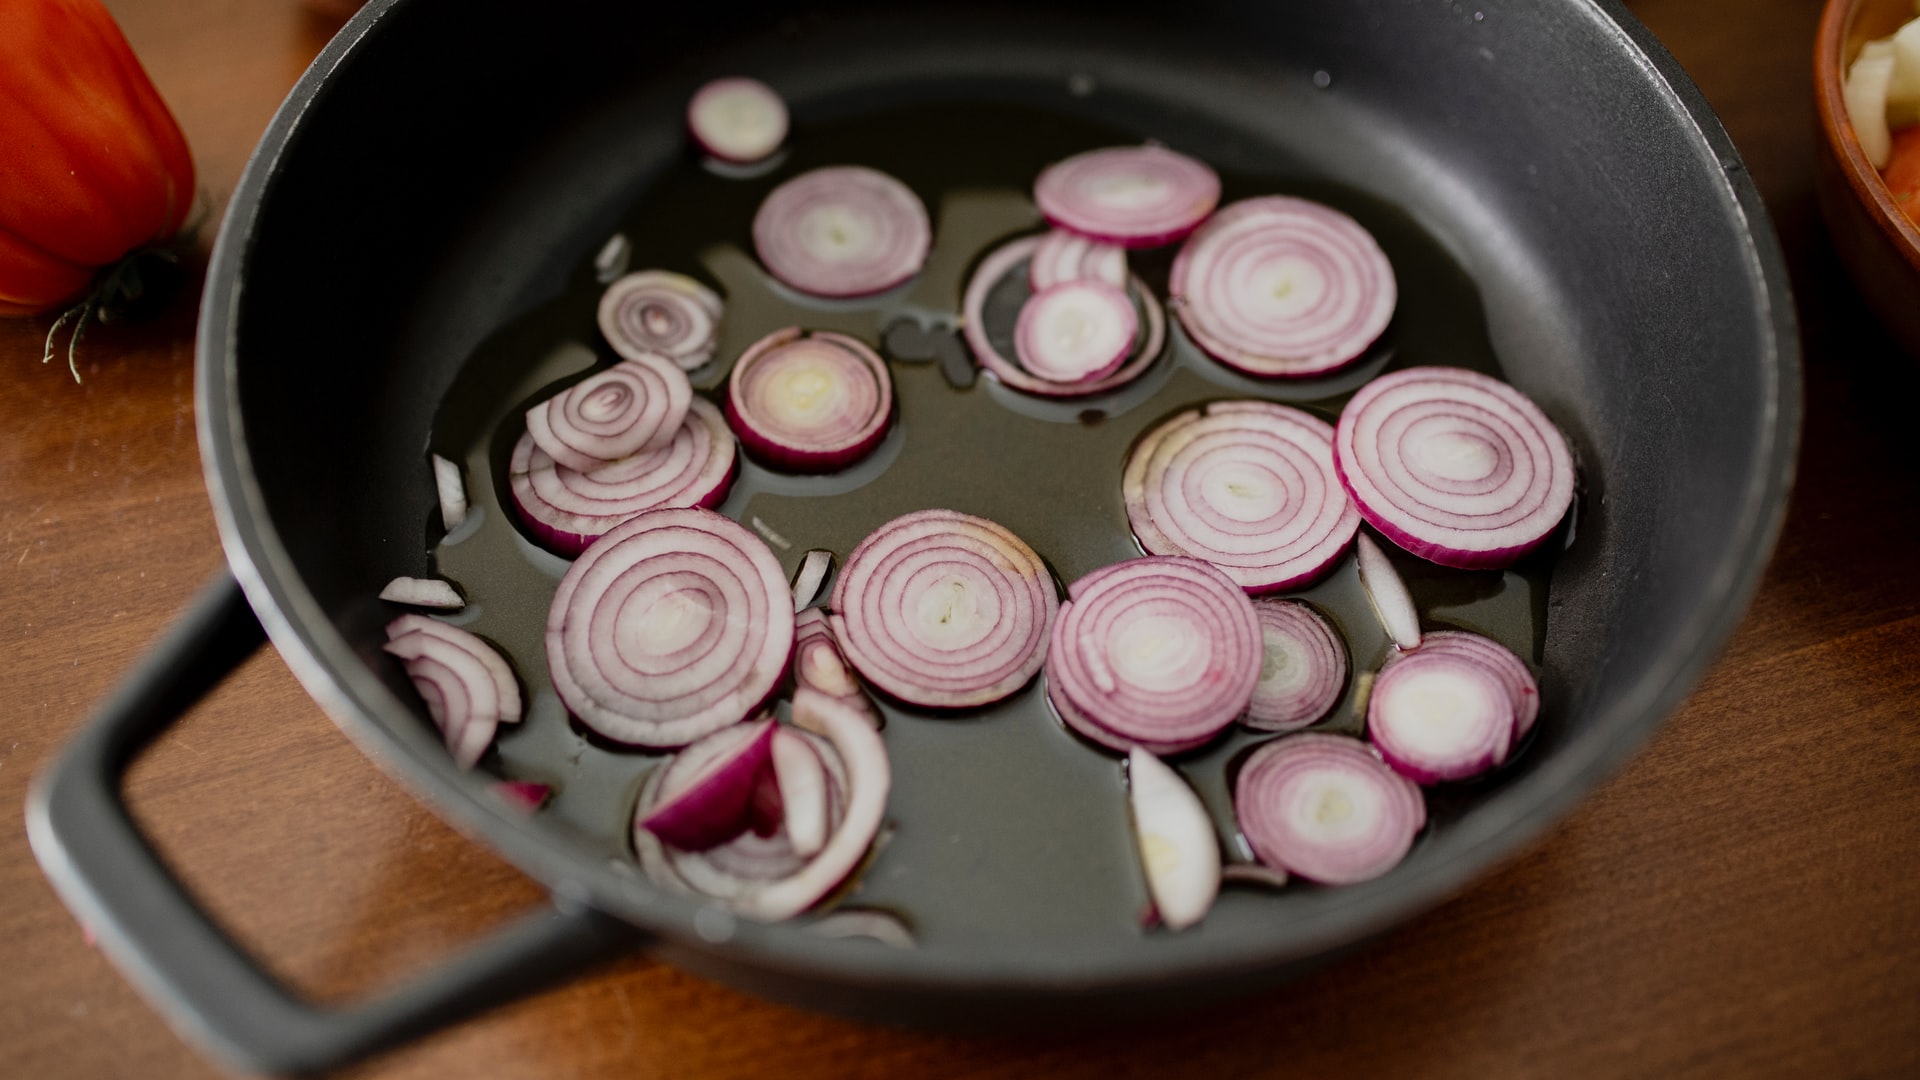
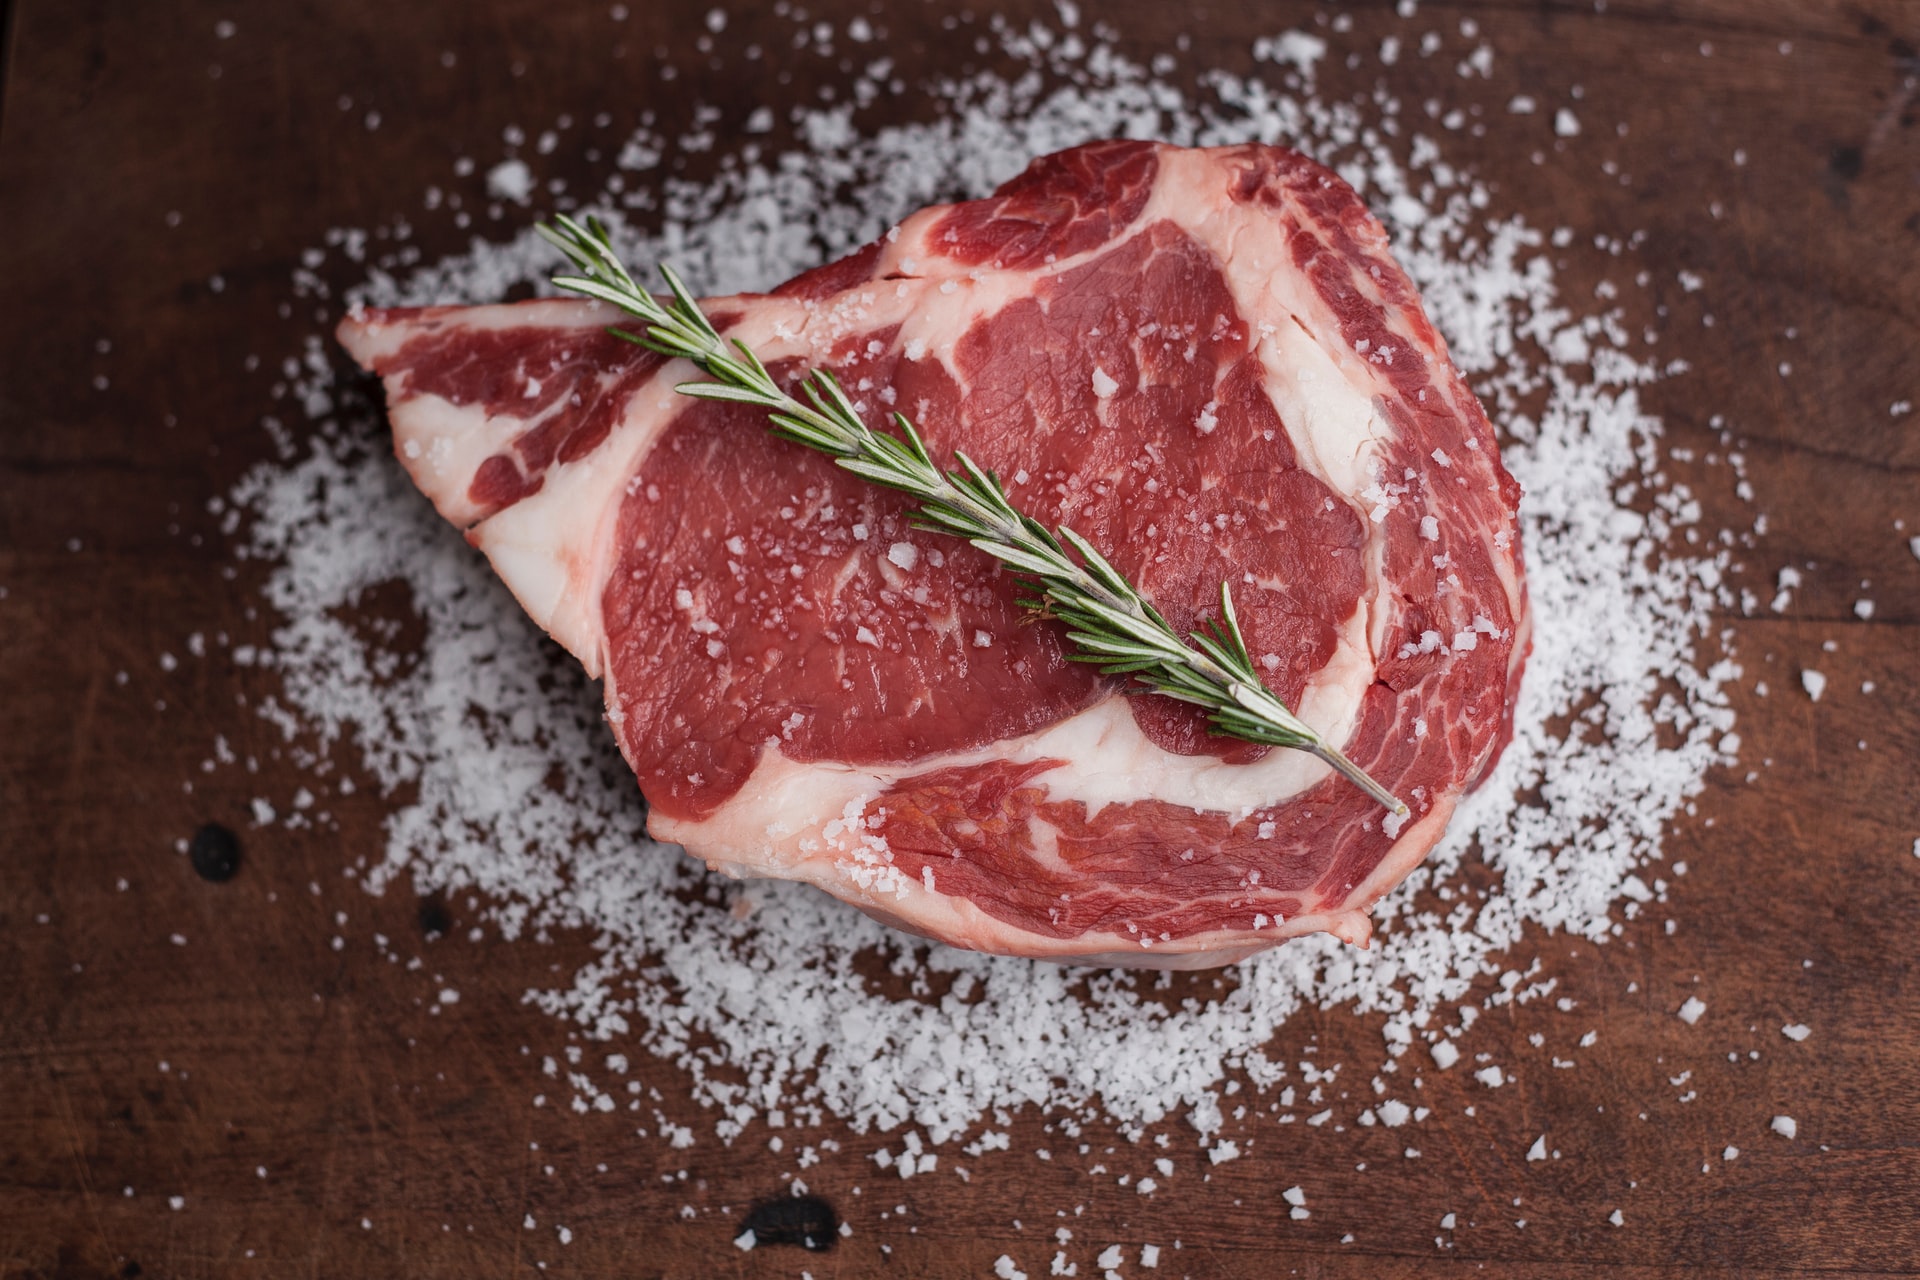
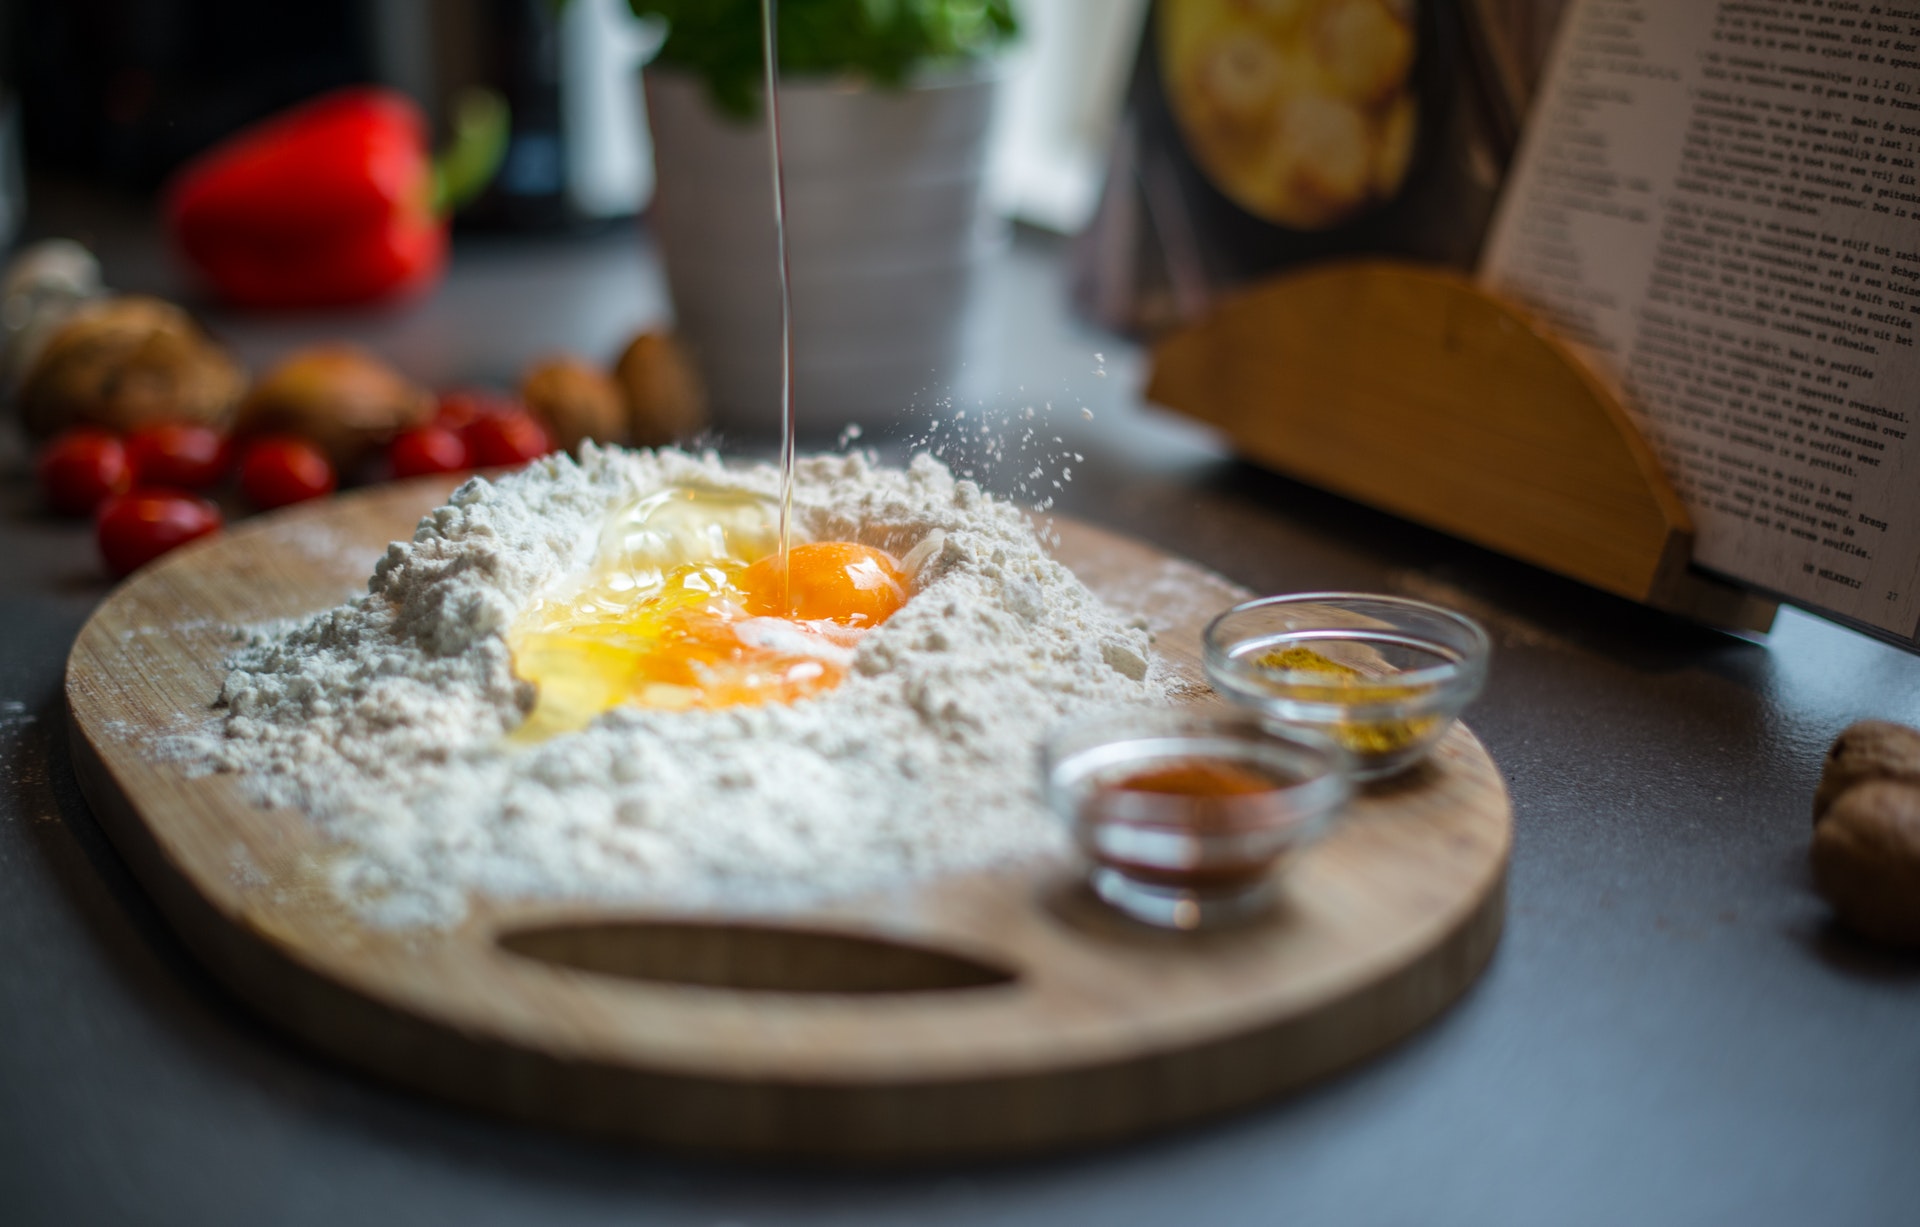
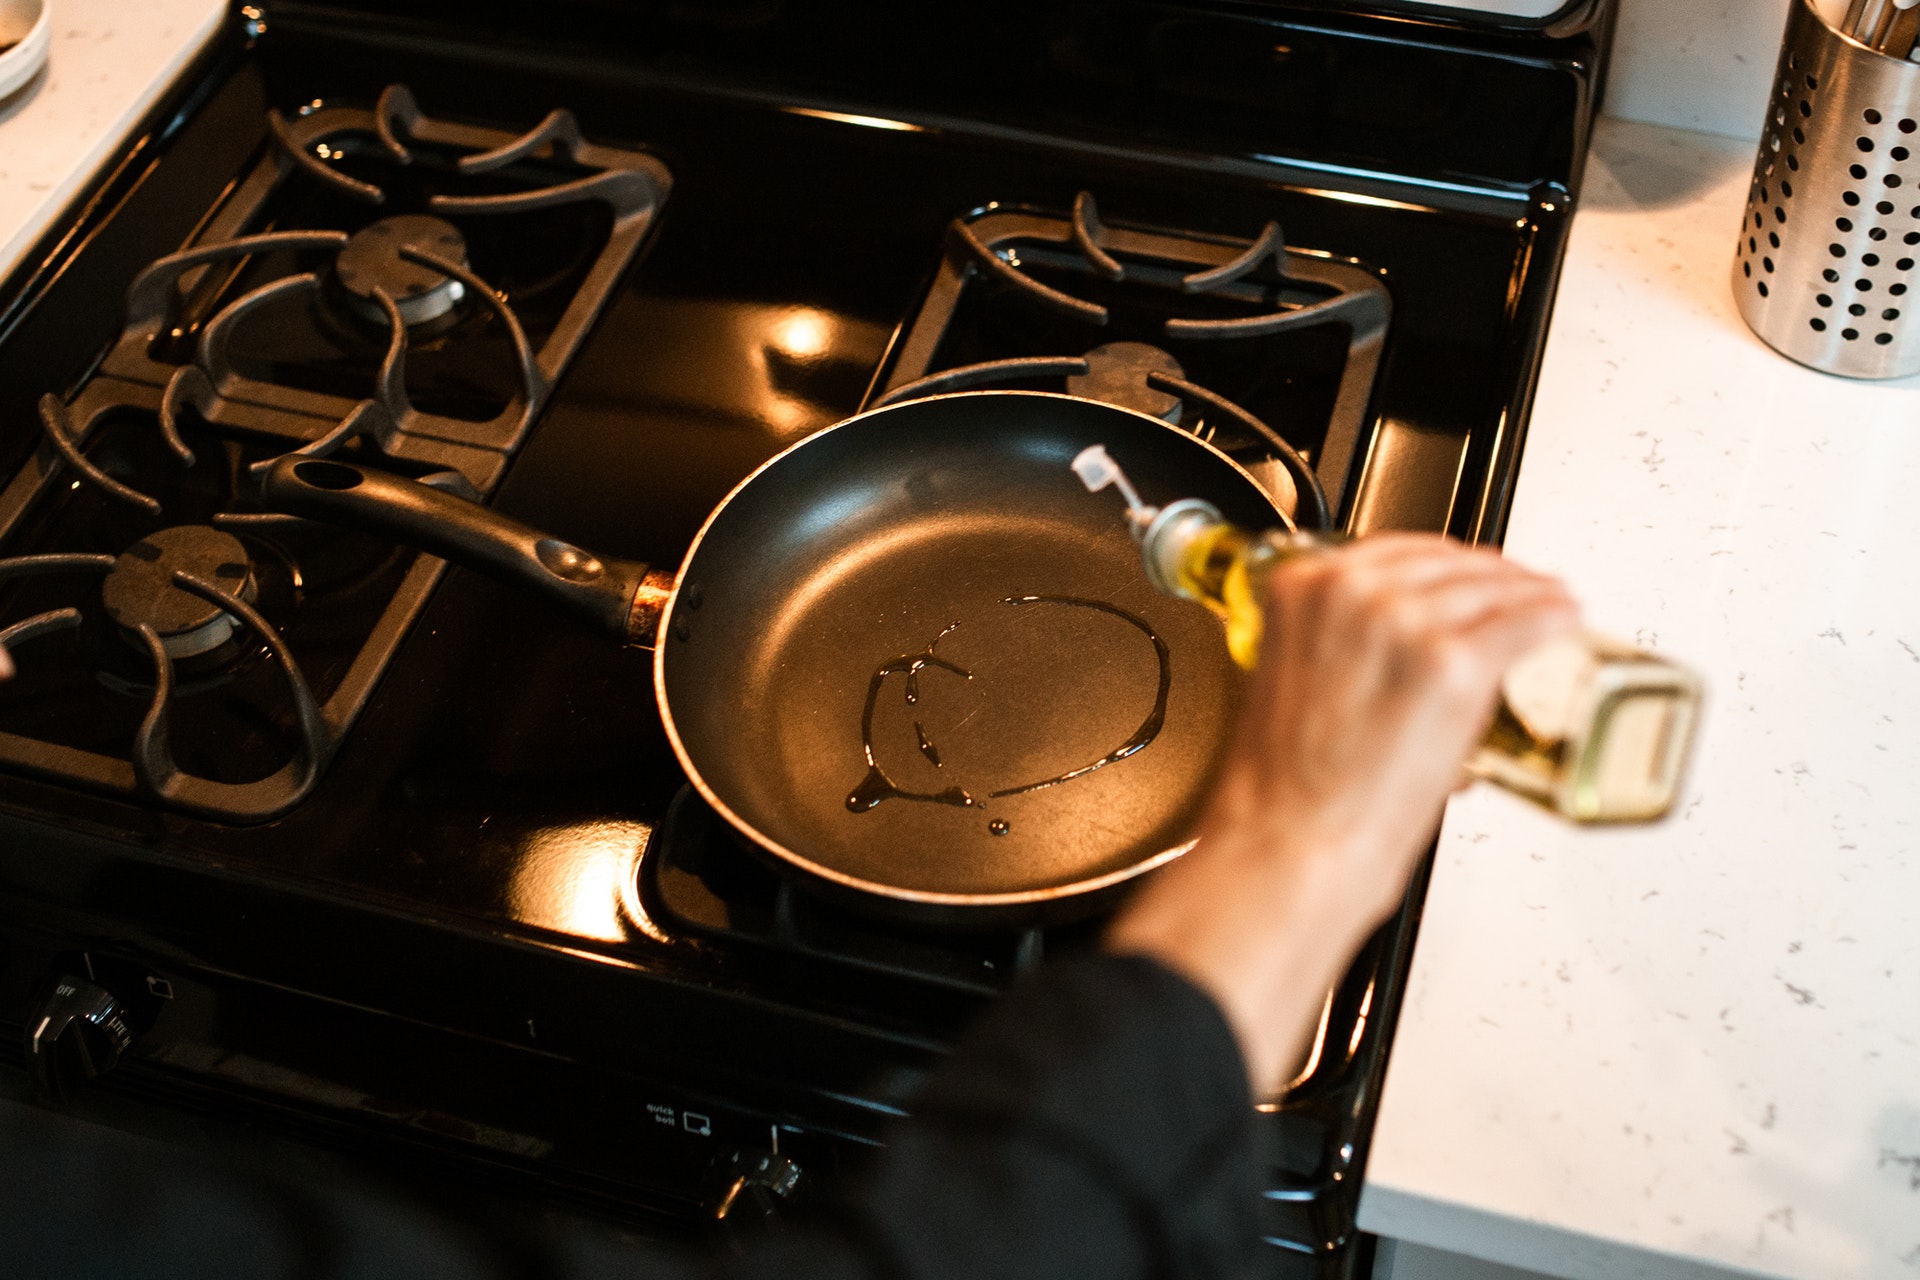
Oil has evolved over time. We have come a long way from shortening, margarine, lard and butter. Our pantries can have oils from all over the world. With all these choices, come more questions. Here’s a guide to cooking oils depending on different cooking methods. Smoke point. This is the temperature an oil will start to smoke. The smoke comes before burning. Not all oils behave the same when heated. Some oils are very stable and can heat to very high temperatures without issues, like avocado oil. Others, like walnut oil, will degrade quickly if heated too high. They will develop unhealthy compounds which shouldn’t be consumed. Unless you’re searing food, you typically don’t want the oil to be smoking hot for very long. Doing so can result in free radicals, which are not good for your body. When cooking with oils there’s some general guidelines you can follow. The higher the heat, the more stable your oil should be. In general, the lighter the color of the oil, the more neutral its flavor. Unrefined oils taste more like the thing they came from. Unfiltered oils are not lower in quality. They’re just not as good for high heat because they have tiny particles in them that will burn quickly. Searing. Use a refined neutral oil like canola oil, soy oil or vegetable oil. You’ll need the oil to smoke for a short period of time so you’ll need a highly stable kind. Sautéing. Use a flavorful or neutral oil like extra-virgin olive oil, avocado oil or grapeseed oil. You’ll want the skillet on medium to high heat, so a moderate to high smoke point oil is the way to go. Frying. Use a highly stable oil like peanut oil, avocado oil or vegetable oil. The temperature sometimes spikes between batches of food so you’ll need an oil with a higher smoke point. Source: Simply Recipes