Thanksgiving Cooking Without the Stress: How to Actually Enjoy the Day
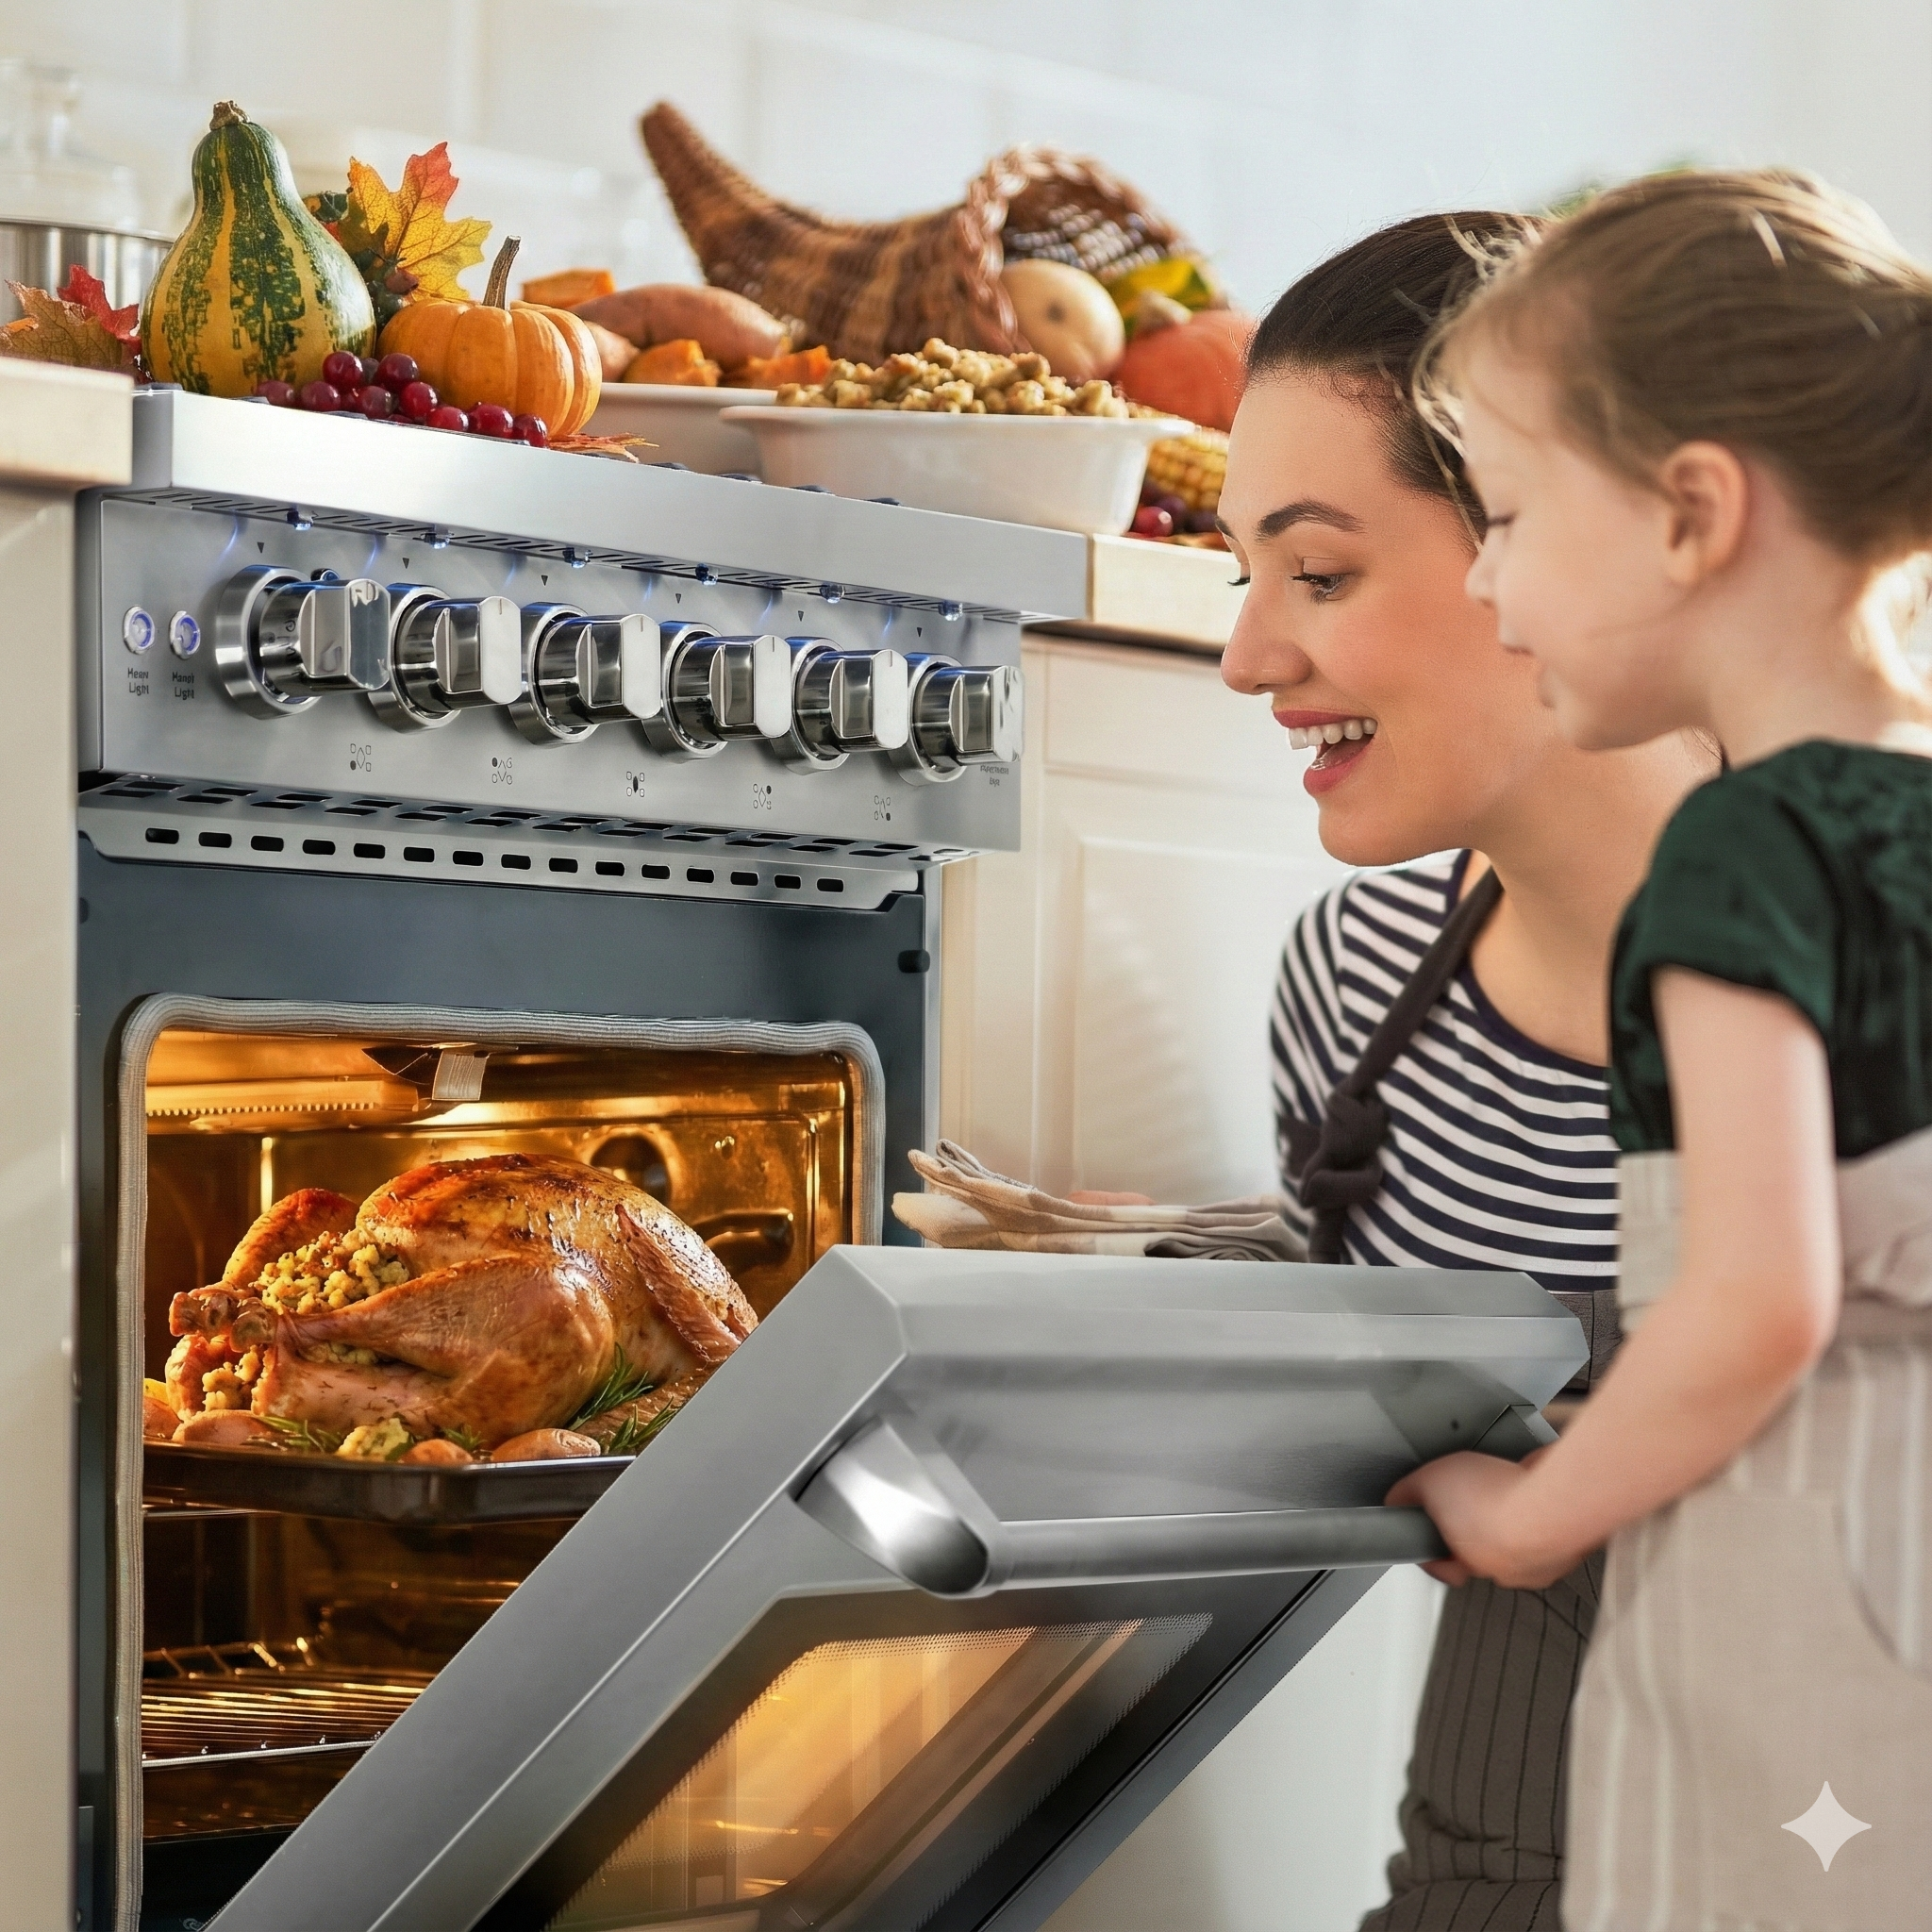
Perfect! Let me create a Thanksgiving-themed non-product blog post that will be posted on Thanksgiving Day itself. Thanksgiving Cooking Without the Stress: How to Actually Enjoy the Day Thanksgiving has earned a reputation as the most stressful cooking day of the year, but it doesn’t have to be. The key to enjoying Thanksgiving lies not in cooking everything from scratch or creating an Instagram-worthy spread, but in planning realistically, letting go of unnecessary expectations, and focusing on what actually matters – sharing a meal with people you care about. This guide strips away the stress and shows you how to approach Thanksgiving cooking in ways that actually work for real kitchens and real people. The cultural pressure around Thanksgiving creates impossible standards that set home cooks up for failure. Magazine spreads featuring twenty dishes, Pinterest-perfect table settings, and cooking timelines that assume you’re a professional chef working in a commercial kitchen all contribute to the anxiety that surrounds this holiday. The reality is that successful Thanksgiving cooking comes from realistic planning, strategic shortcuts, and knowing which traditions actually matter to your family versus which ones you’re maintaining out of obligation. Start With Realistic Expectations The first step toward stress-free Thanksgiving happens before you even write your menu – it involves honest assessment of your actual cooking skills, available time, kitchen capacity, and the preferences of people who’ll actually be eating this meal. Your kitchen has physical limitations that no amount of determination can overcome. One oven can only hold so many dishes at specific temperatures. Your stovetop has a fixed number of burners. Your refrigerator has finite space. Successful Thanksgiving planning acknowledges these constraints and works within them rather than pretending they don’t exist. Cooking skill levels vary enormously, and there’s no shame in being honest about yours. If you’ve never roasted a turkey before, Thanksgiving isn’t the ideal time to wing it with twelve people coming for dinner. Either practice beforehand, choose a simpler main dish, or delegate the turkey to someone with more experience. Time available for cooking matters more than most people admit. If you work Wednesday and have family arriving Thursday morning, you simply cannot prepare fifteen dishes from scratch. Either scale back the menu, prep more earlier in the week, or incorporate quality prepared items without guilt. Family preferences often differ dramatically from Pinterest-perfect Thanksgiving spreads. Your relatives might prefer simple roasted turkey and classic sides over elaborate recipes with artisan ingredients. Ask what people actually want rather than assuming they expect gourmet everything. The number of dishes needed decreases as you focus on quality over quantity. Six well-executed dishes that people actually eat beat twelve mediocre options where half goes uneaten. More isn’t better when it creates stress that prevents you from enjoying your own dinner. Plan Your Menu Around Your Kitchen’s Capacity Smart menu planning considers your kitchen’s physical limitations rather than ignoring them and hoping everything works out through sheer determination. Oven temperature requirements create real conflicts that require planning. If your turkey needs 325°F but your side dishes require 375°F, you need strategies for managing this mismatch. Finish sides before the turkey, use stovetop alternatives, or time dishes to use the oven sequentially rather than simultaneously. Available oven space limits how many dishes can cook at once. A standard oven holds maybe two sheet pans or one turkey with one casserole dish. Plan your cooking schedule around this reality rather than assuming everything will magically fit. Stovetop burner allocation matters when you’re trying to keep mashed potatoes warm while making gravy and reheating green beans. Count your burners and assign them specific jobs in your cooking timeline to prevent last-minute burner shortages. Refrigerator space for prep and storage becomes critical in the days before Thanksgiving. Make room by using coolers for drinks, clearing out unnecessary items, and being strategic about when you prep various ingredients. Counter space for cooling, resting, and staging dishes often gets overlooked until you’re trying to find somewhere to set a hot roasting pan. Clear and assign counter areas for specific purposes before you start cooking. The cooking schedule should account for resting time, reheating needs, and last-minute assembly rather than assuming everything will be ready simultaneously and stay hot perfectly. Build in buffer time for the inevitable delays and complications. Master the Make-Ahead Strategy The difference between stressed and relaxed Thanksgiving cooking often comes down to how much you accomplish before Thursday morning. Dishes that improve with time represent your best make-ahead candidates. Cranberry sauce, dinner rolls, pie crusts, and even some desserts actually taste better when made a day or two ahead, eliminating last-minute work while improving results. Prep work that doesn’t compromise quality saves enormous time on Thanksgiving day. Chopping vegetables, measuring ingredients, making stock, and preparing casserole bases the day before means Thursday cooking involves assembly more than starting from scratch. Strategic freezer use extends your make-ahead window beyond just the day before. Pie dough, cookie dough, bread, and even some casseroles freeze successfully, letting you spread work over weeks rather than days. Room temperature items eliminate refrigerator crowding while being perfectly safe. Pies, rolls, some desserts, and certain sides don’t require refrigeration, freeing up precious cold storage for items that actually need it. Knowing what can’t be made ahead prevents disappointing results. Turkey needs to cook the day of, mashed potatoes don’t hold well overnight, and some dishes lose quality when reheated. Focus make-ahead efforts on foods that actually benefit from it. The pre-prep reduces Thanksgiving day to mainly cooking the turkey, finishing a few dishes, and reheating – manageable tasks that let you actually enjoy the morning rather than frantically prepping in a disaster zone kitchen. Simplify Your Turkey Approach Turkey intimidates many cooks unnecessarily, but it’s actually one of the more straightforward parts of Thanksgiving when you strip away the complicated techniques and focus on basics that work. Turkey size matters more than most people consider. Bigger isn’t better when it barely fits your oven, takes forever to cook,