cooking

Five Weeks Out From Thanksgiving: Decide What Can Leave the Oven

Thanksgiving falls on November 26 this year, which puts the countdown at exactly five weeks. That is far enough away that the holiday still feels theoretical, and close enough that the decisions made this week will quietly shape how Thursday goes. Most hosts spend this stretch on the guest list and the menu. The more useful question is one that rarely gets asked until the day itself: how many of these dishes actually need the oven on Thursday? The oven is the most overbooked appliance in the kitchen on the fourth Thursday of November. The turkey claims it for hours, and then the stuffing, the rolls, the casseroles, and the vegetables all show up wanting the same space at slightly different temperatures. Hosts who get through the day calmly are rarely the ones with the most oven space. They are the ones who decided, weeks earlier, which dishes could be cooked somewhere else. Start With an Oven Audit Write down every dish on the menu, then note three things beside each one: the temperature it needs, how long it needs it, and whether it has to come straight out of the oven or can sit and wait. This takes about ten minutes, and it shows the real shape of the problem. A turkey, a sweet potato casserole, and a tray of rolls each look harmless on a list. Put them side by side on a timeline and they turn into a traffic jam with only one lane. Once the list is on paper, sort every dish into one of three groups. The first group can leave the oven entirely. The second can be made ahead and finished or reheated on the day. The third truly needs the oven on Thursday. The goal of the next five weeks is to make that third group as short as possible. Dishes That Can Leave the Oven Entirely More of the traditional menu than most people assume does not need an oven at all. Cranberry sauce is a stovetop job and tends to taste better after a few days in the refrigerator, so it can be finished well ahead. Mashed potatoes can be made on the stovetop and kept warm in a slow cooker, which frees a burner and takes one more item off the oven’s schedule. Green beans, glazed carrots, and sauteed greens belong on the cooktop and take only minutes right before serving. Gravy is a stovetop job as well, built from the pan drippings while the turkey rests. Then there are the dishes that never need heat on the day at all. A cranberry relish, a cold salad, a cheese board, and a relish tray all contribute to the table without asking anything of the oven. If guests keep asking what they can bring, this is the category to hand them. A dish that arrives finished and ready to serve is worth more to the host than one that arrives needing ten minutes in the oven. Dishes You Can Make Now Five weeks out is early enough to move some of the work further back, and many holiday staples are well suited to it. Pie dough and bread dough are common candidates for making ahead, and plenty of cooks shape and freeze rolls well in advance. Stock and a gravy base can be prepared now so there is one less thing to improvise on Thursday. A pot of soup or a batch of cranberry sauce can also be made early and stored until the week of the holiday. Every recipe has its own rules for storing and finishing, so check the make-ahead notes before committing a dish to the freezer, and make sure there is actually room for it. Freezer and refrigerator space tend to be the hidden constraints in a holiday kitchen. Clearing shelves now and labeling everything with a date makes the final week much easier. The same goes for the turkey itself. Read the package instructions for whichever bird you buy, and put the thawing or pickup date on the calendar next to the menu. Dishes That Bake Ahead and Finish on the Day The second group is where the most oven time is recovered. Casseroles, dressing, scalloped potatoes, and baked pasta dishes are often assembled a day early, then baked on Thursday during the turkey’s resting time, when the bird is tented with foil and the oven is finally free. Pies can often be baked on Wednesday and held until dessert. Some vegetable dishes can be prepped in advance and finished in the oven for a short time on the day. The point is not to avoid the oven altogether. It is to make sure that what goes in on Thursday is there for a reason. A dish that has already been assembled, labeled, and parked in the refrigerator is a dish that can slide into the oven the moment there is room for it. What Is Left for Thursday After the audit, the Thursday list is usually short: the turkey, one or two sides that are truly best fresh from the oven, and the rolls. That is a manageable schedule, and it is the point at which the equipment in your kitchen starts to matter. If you cook in a single oven, you can still run a good day by sequencing carefully. If you are renovating, building a new kitchen, or replacing an old oven before the holidays, this is the moment to think about what two cavities would change. Where the COS-30EDWC Fits Cosmo’s COS-30EDWC is a 30-inch double electric wall oven with 5 cubic feet of capacity in the upper cavity and 5 in the lower. For a host who has already trimmed Thursday’s list down to the essentials, that layout lets the essentials run side by side. The turkey can roast in one cavity while the dressing and a casserole share the other, so nothing has to wait for the bird to come out. The built-in temperature probe in the upper oven
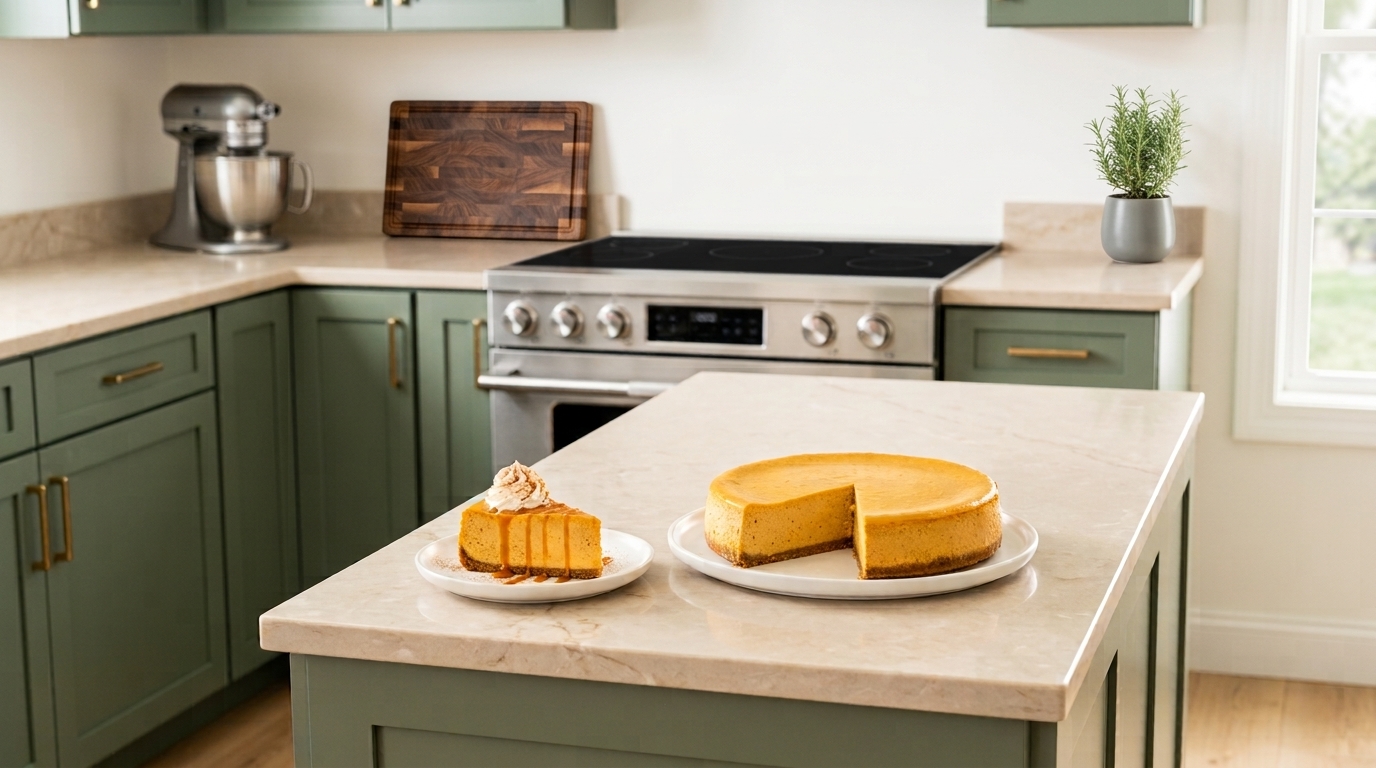
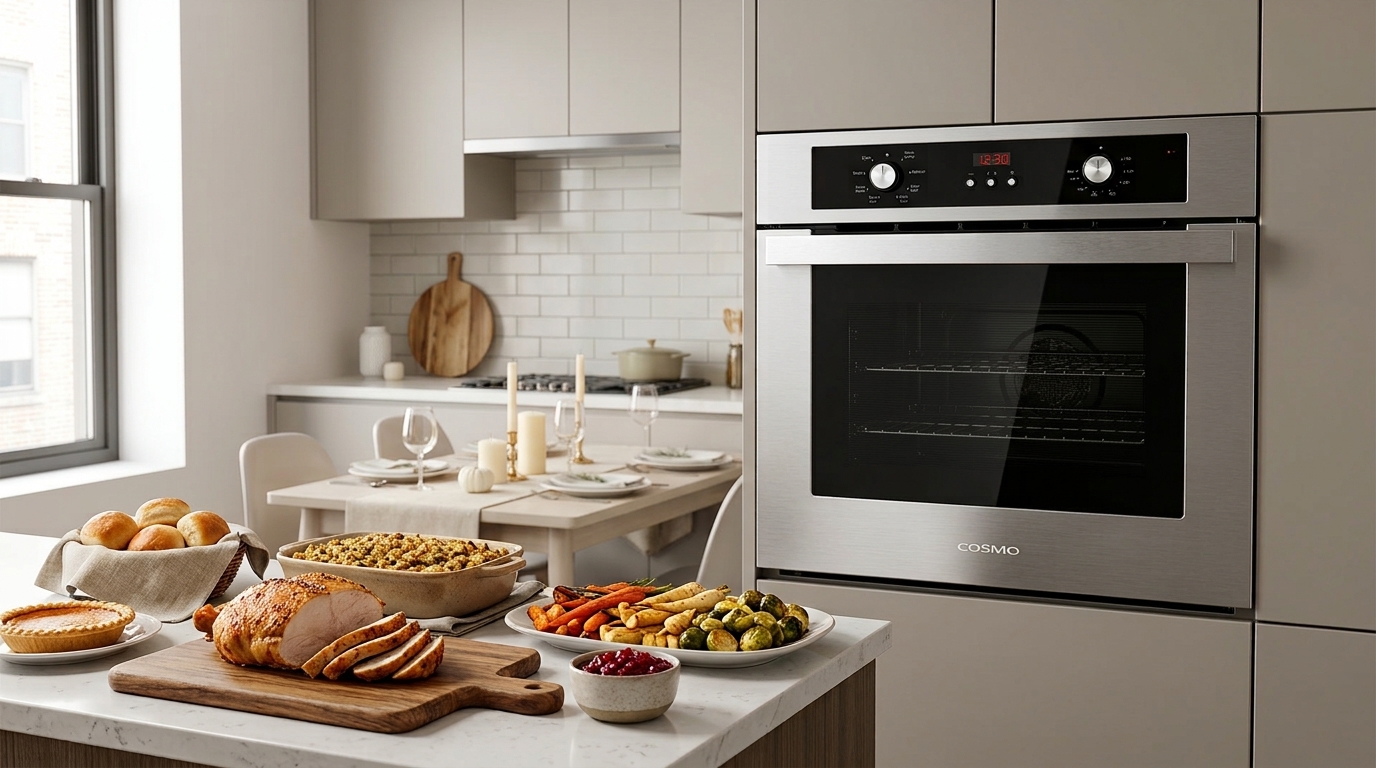
National Pumpkin Cheesecake Day and Why the Top Cracks: What Your Oven Has to Do With It

The crack almost never appears while the cheesecake is in the oven. It shows up an hour later, on the cooling rack, as a thin line that starts near the center and runs toward the edge, and by then the cause is long settled. Most bakers blame the recipe, the pan, or bad luck. The better suspect is the oven, which decides how fast heat reaches a delicate custard and how gently that heat is taken away. Today, October 21, is National Pumpkin Cheesecake Day, an unofficial celebration of one of fall’s most dependable desserts, and a fair moment to look at why so many of them split. A Dessert With a Long History and a Short Temper Cheesecake is far older than the pumpkin version most people bake in October. Early versions are traced to ancient Greece, and cream cheese itself dates to 1872. Pairing it with pumpkin is a more recent habit, and a smart one. Puree and warm spices turn a rich filling into something that suits a November table, and the dessert can be baked days ahead, which matters in a season built around hosting. The trouble is that it is not forgiving. It is a baked custard of cream cheese, eggs, sugar, and puree that has to set without turning tough. The window between underdone and overdone is narrow, and the top is the first place a mistake shows. A crack does not ruin the flavor, but it is a visible record that something about the heat went wrong. What Actually Happens When the Top Splits Eggs are what hold a cheesecake together. As the filling heats, the proteins in the eggs link up and form a network that turns liquid batter into a sliceable cake. Bakers call this coagulation. Like any custard, it has a ceiling. Push past it and the network tightens, squeezes out moisture, and loses its stretch. A filling that has lost its stretch cannot flex as the cake puffs in the oven or settles as it cools, so it tears at its weakest point, the surface. That is why overbaking is the leading cause of cracks, and King Arthur Baking puts numbers on it. The center of a finished cheesecake should read between 150°F and 155°F, since the cake keeps cooking after it leaves the oven. If any part of it reaches 185°F or higher, a cracked top is almost certain. The gap between a perfect center and a ruined one is about thirty degrees, small enough that a few extra minutes or a hot spot in the oven can cross it. Two other habits feed the same problem. Mixing the batter too vigorously can also cause cracking, and cooling the cake too fast encourages it to shrink before the structure has time to relax. Both are easier to control once the oven itself is under control. Your Oven Is the Variable Nobody Checks A recipe says 325°F, and most cooks assume the oven delivers 325°F. Home ovens can run hotter or cooler than the dial says, and a cheesecake in an oven that runs even twenty degrees high will cross the danger line much earlier than the recipe predicts. Baking Bites notes that a cheesecake that cracks or browns unevenly points to an oven that is too hot or has hot spots, and the fix is a lower temperature with a slightly longer bake. Three inexpensive habits take out most of the guesswork. First, hang an oven thermometer from the center rack and compare it with the display. If the two disagree, bake to the thermometer. Second, give the oven a full preheat before the pan goes in, so the cheesecake meets a steady temperature instead of a climbing one. Third, keep the door closed, because every peek lets heat out and cool air in. Placement matters too. Set the springform on the center rack, away from the oven walls, so heat reaches every side evenly. A water bath, which means setting the springform inside a roasting pan of hot water, adds another layer of protection. King Arthur calls it the most reliable method because the water insulates the cake and holds back the edges from overbaking. It has a cost, since the springform must be wrapped carefully against leaks and the oven must be roomy enough to hold a roasting pan without crowding. Where the Cosmo COS-RIS365SS Fits A good oven for this job holds steady heat, offers a plain baking mode, and leaves room for a roasting pan. Cosmo’s COS-RIS365SS, a 36 inch induction range from the Stellar Collection, is one of the brand’s newest models and fits that description. Its 6.1 cubic foot oven gives a springform and a water bath ample room, and two racks across six positions make it easy to place the cheesecake at true center. The oven offers Bake, Convection Bake, Broil, Air Fry, Delay Start, and Keep Warm. For a custard, many bakers prefer standard Bake, since circulating air can dry a surface faster. Convection Bake is still useful when a recipe calls for it. Its fan distributes heat evenly and eliminates cold spots, and Cosmo notes that food cooks at a lower temperature than in a standard oven, so a cheesecake baked that way deserves an earlier check against the 150°F to 155°F target. Smaller details help with the full job. The digital display with a clock and timer keeps the countdown in view, and a large oven window and interior light let the cook judge the jiggle in the center without opening the door. The storage drawer below holds baking pans within reach, and the oven cavity cooling ventilation system and cool to the touch handle make the end of the bake more comfortable. Afterward, the Steam Clean function loosens baked on residue with heat and moisture, which helps when a water bath leaves a few drips behind. No oven, this one included, removes the need to verify temperature. Even a new range deserves a thermometer on the

Hosting Thanksgiving in a 24-Inch Kitchen: How Ten People Eat From an Apartment Oven

Every November, hosts in apartments and condos do the same quiet calculation. The guest list has crept up to ten, the dining table needs a borrowed leaf, and the kitchen offers one cooktop and an oven that is twenty-four inches wide. The traditional Thanksgiving menu was designed for a house with a double oven, a long counter, and a second refrigerator in the garage. Feeding ten people from a compact kitchen is entirely possible, but it asks for a different method, one built around planning rather than square footage. Start With the Math, Not the Menu The USDA suggests planning on about a pound of turkey per person, which puts a party of ten at roughly ten to fifteen pounds of bird once you account for bones and a few leftovers. In a full-size kitchen, that is a shopping decision. In a compact one, it is a scheduling problem, because that bird will claim the only oven for the better part of an afternoon while stuffing, sweet potatoes, rolls, and a green bean casserole all wait their turn. The most useful exercise a small-kitchen host can do is count oven hours instead of dishes. Write down every item on the menu, the temperature it needs, and how long it needs it. Then look for collisions. A turkey at 325 degrees, a casserole at 350, and rolls at 375 cannot share a cavity at the same moment, and in a compact oven they cannot share the racks either. Once the collisions are visible, the solution is usually to move work out of the oven, earlier in the week, or onto another appliance. Build the Menu Around the Oven You Have The biggest single change a compact kitchen can make is the shape of the turkey. A whole bird roasted upright is tall, slow, and awkward to maneuver in a small cavity. A spatchcocked turkey, with the backbone removed and the bird pressed flat, sits low on the rack, roasts more evenly, and typically finishes in a fraction of the time a whole bird needs. Another option is to roast two bone-in turkey breasts, which fit more easily and are simple to carve for a crowd. Either approach frees up hours of oven time without giving up the centerpiece. Stuffing is the next place to save space. Cooked inside the bird, it forces the whole turkey to stay in the oven until the stuffing reaches a safe temperature. Baked as a dressing in a casserole dish, it can be assembled on Wednesday and baked on Thursday while the turkey rests. Cranberry sauce can be made days ahead and served cold. Pies, including pumpkin, should be baked the day before and refrigerated, which removes the heaviest dessert from the oven schedule entirely. Mashed potatoes can hold in a slow cooker, and gravy belongs on the stovetop. One practical check before the week begins: measure. Set your roasting pan and baking dishes inside the oven and confirm they clear the walls and door with the racks where you plan to use them. A casserole dish that does not fit is far easier to fix on Monday than on Thursday. Where the Cosmo C51EIX Fits For condo owners, remodelers, and anyone building a guest house or accessory dwelling unit, the oven itself is part of the equation, and a compact wall oven is designed with exactly this kind of kitchen in mind. Cosmo’s recently introduced C51EIX is a 24-inch built-in single wall oven with 2.5 cubic feet of capacity. Because the 24-inch width needs a smaller cutout than a 27 or 30-inch oven, it fits into cabinetry that a larger oven would never clear, and it requires 240V service like most electric wall ovens. Capacity is modest, and it is worth being honest about that. This is not an oven that will hold a large roasting pan and a sheet pan side by side, which is why the strategy above matters. What it does offer is control, and a holiday schedule depends on control. The C51EIX has eight oven functions: Bake, Convection Bake, Convection Roast, Broil, Convection Broil, Warm, Defrost, and Proof. Several of them map directly onto a Thanksgiving timeline. Turbo True Convection uses a dedicated circular heating element around the fan, which heats the air as it moves and distributes it more evenly than a fan alone. Cosmo notes that convection cooking can reduce cooking times by roughly 20 to 25 percent, a meaningful figure when every minute of oven time is spoken for. Convection Roast suits the spatchcocked turkey or turkey breasts, while Convection Bake handles dressing, roasted vegetables, and pies on a single rack. Many cooks lower the recipe temperature by 25 degrees when switching to convection, and a probe or instant-read thermometer is the safest way to confirm doneness either way. The Warm function is especially valuable for a host with one oven. When the turkey comes out to rest, the oven can heat up for the sides, and once those are finished, Warm holds them at serving temperature while you carve and plate. Proof is the quiet advantage for anyone baking rolls. A gentle, steady environment lets dough rise in a drafty apartment kitchen without taking over counter space, and it can be used earlier in the day before the oven is needed for roasting. The triple layer glass door also helps in a tight space. It lets you check the turkey’s color without opening the door, which matters because every opening of a small cavity drops the temperature and stretches the schedule. A note for renters: a built-in wall oven is an installation, so it is a decision for owners and remodelers. If you are cooking in a rental, every strategy in this post still applies to the range oven you already have. A Timeline That Works for Ten Planning backward from the meal makes a compact oven feel generous. Start with the turkey itself. The USDA recommends thawing in the refrigerator at about twenty-four hours for

Seafood Bisque Day and the Smell That Outlasts the Meal: What Your Range Hood Is Actually Doing

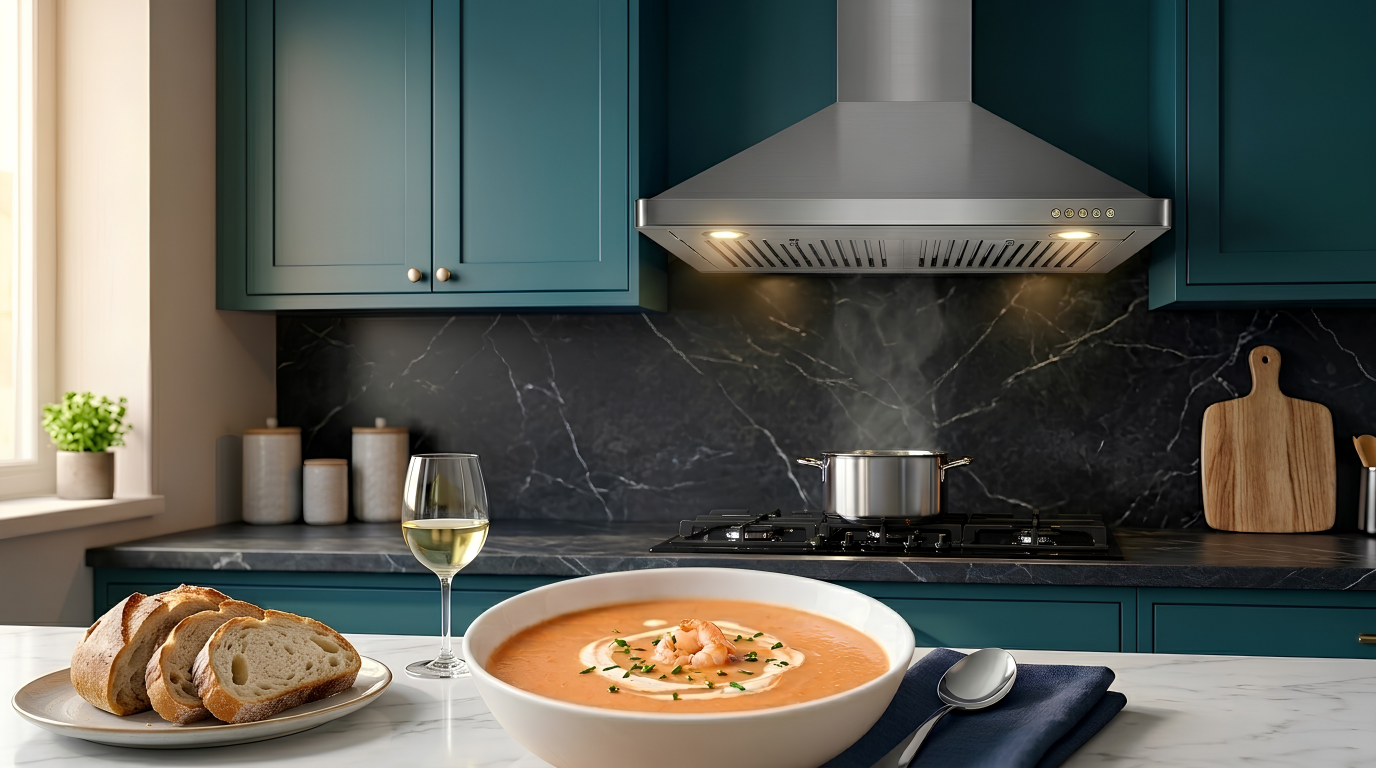
Every October 19, National Seafood Bisque Day invites home cooks to take on one of the most elegant soups in the French repertoire. A true bisque is a slow, layered project. Shells are sautéed until fragrant, deglazed with wine or cognac, simmered with aromatics, strained, and finished with cream. In the classic method, the soup is thickened with a fine purée of crustacean shells, which is where much of its depth comes from. The result is rich, velvety, and unmistakably of the sea. It is also a dish that refuses to leave when dinner ends. Hours after the last spoonful, the scent of shellfish, butter, and brandy can still be found in the dining room, the hallway, and sometimes the bedroom. That lingering presence is not a sign that the recipe was too ambitious. It is a question about how air moves through your kitchen, and how much of the work your range hood is genuinely doing. Why a Bisque Is a Demanding Test of Ventilation Few dishes ask more of a kitchen’s air handling than a bisque. Shells and aromatics are sautéed in hot butter or oil, which sends fine droplets of grease into the air. Wine or cognac is added and reduced, releasing alcohol vapor and concentrated aroma. A stock simmers for the better part of an hour, steadily pushing steam and volatile compounds from the shellfish into the room. Finally, cream is added and the soup is held at a gentle heat, which keeps the process going long after the loudest part of the cooking is over. Shellfish deserve particular mention. Crab, shrimp, and lobster shells release sulfur compounds and amines that are pleasant in a simmering pot and far less welcome on a living room sofa. Those molecules travel on steam and on microscopic grease particles. When they are not captured, they settle onto cabinet faces, window treatments, upholstery, and walls, then release again slowly. That slow release is why a kitchen can smell of last night’s dinner even after every dish has been washed. What Your Range Hood Is Actually Doing A range hood has three jobs, and it helps to separate them, because most homeowners credit it with only one. The first job is capture. A hood creates a zone of moving air above the cooktop that pulls rising steam, smoke, heat, and grease up and away from the cooking surface before it can spread. Capture is a matter of airflow and coverage. Airflow is measured in cubic feet per minute, or CFM, and coverage depends on how wide and deep the hood is relative to the burners beneath it. A hood that is narrower than the cooktop, or mounted too high, will let part of the plume escape around its edges no matter how powerful the motor is. The second job is filtration. Grease filters sit just inside the hood and catch airborne fat before it reaches the fan and the duct. This protects the motor and keeps a sticky film from building up inside the system. The Cosmo COS-63175, a 30 inch wall mount range hood from the 631 Series and one of the brand’s most recent hood introductions, uses two permanent stainless steel ARC FLOW filters to capture grease and cooking odors. They are dishwasher washable, so they are cleaned and reused rather than replaced. The third job is removal, and this is where odor is truly won or lost. A ducted hood carries the captured air outside the home entirely. A recirculating hood, which is installed without a duct, passes the air through a carbon filter and returns it to the room. Carbon can adsorb a good share of odor molecules, but it does not remove moisture or heat, and its capacity fades as it saturates. Ducted or Recirculating: Why It Matters for Seafood For a dish like bisque, the difference between ducted and recirculating operation is not subtle. Much of the odor load in seafood cooking is carried as vapor, so the removal step decides whether the aroma stays in the house. A ducted hood exhausts those compounds outdoors. A recirculating setup relies on carbon to hold them, which works well for occasional cooking but demands discipline about replacing the carbon filter on schedule. The COS-63175 comes standard for ducted use and can be converted to recirculating operation with an optional carbon filter kit, sold separately. If your kitchen layout allows a duct to the exterior, that route is generally the stronger choice for heavily scented cooking. If it does not, a recirculating hood with fresh carbon is a legitimate solution, provided you treat the filter as a consumable and not a lifetime part. Duct design matters as well. A short, straight run with as few elbows as possible lets the fan move air with less resistance and less noise. Cosmo rates the COS-63175 as low as 45 dB on its lowest fan speed, and notes that figures like this are reached under optimal conditions with rigid ducting, which is sold separately. In practice, the installation can be as important as the hood itself. Habits That Help Your Hood Do More Even a well-chosen hood performs better when it is used with intention. A few habits make a noticeable difference on bisque day and every day. Start the fan before the pan heats. Capture is far easier than recovery. If the hood is switched on only after the kitchen already smells of shellfish, it is chasing a plume that has already spread. Use the back burners when you can. Hoods draw most effectively from the rear of the cooktop, so the pot that produces the most vapor belongs there. Keep the fan running after the cooking ends. The aroma outlasts the meal partly because the pot, the cooktop, and the air above them are still warm and still releasing it. Leaving the fan on for ten to fifteen minutes after you turn off the heat clears the residual cloud, and a lower speed keeps the noise modest. Manage

World Food Day Asks the World to Innovate, and the Smallest Place to Start May Be a Basket of Yesterday’s Leftovers

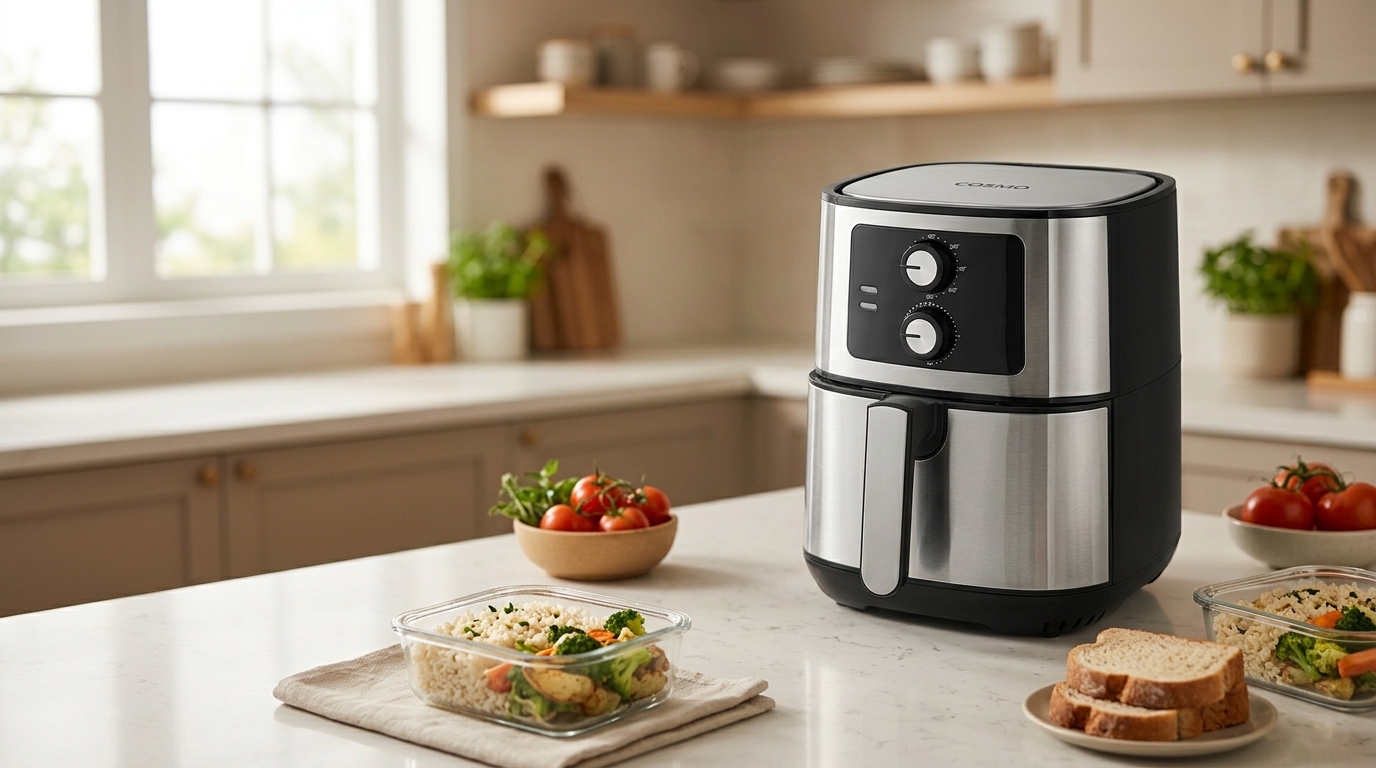
Every October 16, the world pauses to consider a question that sounds simple and never has been: does everyone have enough to eat? World Food Day, observed today in more than 150 countries, marks the anniversary of the founding of the Food and Agriculture Organization of the United Nations in 1945. This year’s theme, “Innovate today. Nourish tomorrow.,” asks governments, businesses, researchers, and ordinary households to put workable ideas to use now. Most of the headlines will go to large-scale solutions. But innovation also has a quiet, practical form in a home kitchen: making yesterday’s dinner good enough that someone actually eats it tomorrow. A Day Built on an Anniversary FAO member states established World Food Day in November 1979, at the organization’s 20th General Conference, and asked countries to begin observing it on October 16, 1981. The date honors the agency’s founding and a mission that has not changed: improving nutrition, raising agricultural productivity, and supporting rural communities. This year’s theme puts innovation in the lead and defines it broadly, taking in advanced technology as well as traditional knowledge and the kind of practical improvement that reaches people where they live. What the Latest Numbers Say The most recent snapshot comes from The State of Food Security and Nutrition in the World 2026, the annual assessment produced jointly by FAO, IFAD, UNICEF, the World Food Program, and the World Health Organization. Its headline is a cautious piece of good news. An estimated 645 million people, or 7.8 percent of the global population, faced hunger in 2025. That is nearly 14 million fewer than the year before and 43 million fewer than at the 2022 peak, the third consecutive year of decline. FAO Director-General Qu Dongyu said the trend shows that hunger is not inevitable. The wider findings keep the celebration in check. About 2.1 billion people experienced moderate or severe food insecurity in 2025, and roughly 2.7 billion could not afford a healthy diet. Africa now has around 309 million hungry people, the first time it has surpassed Asia as the region with the most. On current trends, about 520 million people could still face hunger in 2030, which leaves the world off track for the Zero Hunger goal. Progress is real, and it is not yet fast enough. The Uncomfortable Companion Statistic Set that against a second number. The UN Environment Program Food Waste Index Report 2024 found that the world wasted 1.05 billion tonnes of food in 2022, almost one-fifth of all the food available to consumers. Households were responsible for the largest share, 631 million tonnes, or about 60 percent. That works out to roughly 79 kilograms of food per person each year, and at least one billion meals a day. The United States is no exception. USDA puts food waste at an estimated 30 to 40 percent of the food supply, drawing on a department estimate of 31 percent loss at the retail and consumer levels, equal to about 133 billion pounds and $161 billion worth of food in 2010. USDA and the Environmental Protection Agency have a shared goal of cutting that waste in half by 2030. A fair reading requires one caution. Leftovers scraped into a bin in one city do not travel to an empty table in another, and wasted food is not a direct substitute for aid. But the two sets of figures belong in the same conversation. Both describe a food system that loses a great deal of what it grows before anyone eats it, while hundreds of millions of people go hungry. Why Leftovers Lose the Argument Because households account for the biggest slice of wasted food, the kitchen is where a great deal of the problem can be addressed, and it rarely comes down to a dramatic failure. USDA has pointed out that some food is thrown away simply because consumers are not sure of its quality or safety. The other half of the story is more ordinary. Fried chicken that came out of the refrigerator limp, a pizza crust gone soft, roasted vegetables turned to mush: food that is perfectly safe but unappealing is food that tends to be pushed to the back of a shelf until it is thrown away. The microwave warms food quickly but tends to leave crusts, breading, and roasted edges soft. A household that wants to eat what it has already bought needs a reheating method that treats leftovers as a second meal rather than a penalty. Federal food safety guidance sets the ground rules for any method. Refrigerate cooked food within two hours, use leftovers within three to four days, and reheat them to 165°F. USDA also offers a free FoodKeeper app, which lists refrigerator, freezer, and pantry storage timelines for more than 500 foods and beverages. Those steps settle safety. Appeal is where a small appliance comes in. Where the Air Fryer Earns Its Counter Space An air fryer works by circulating hot air around food in a compact chamber, which is why it can restore the crisp surface that a microwave cannot. Cosmo’s COS-58AFAKSS, a 5.8 quart electric hot air fryer in black and stainless steel, is a good fit for the job. Its 1,400 watt heating system and top grill cook food from all sides at once, and Cosmo lists little-to-no preheating, which matters on a weeknight when the goal is a quick plate of leftovers, not a project. The controls are deliberately simple. Separate knobs set the timer and the temperature, and the temperature runs from 180°F to 400°F. That range is more useful for leftovers than it first appears. The upper end re-crisps breaded chicken, fries, and pizza crusts, while the lower end allows a gentler touch for foods that dry out quickly. Because the basket holds 5.8 quarts, it suits one or two portions of leftovers without firing up a full oven for a single plate. A few examples show how it changes the second-day meal: Habits That Do the Real Work No appliance

National Gumbo Day and the Slow Roux That Needs a Burner You Can Trust

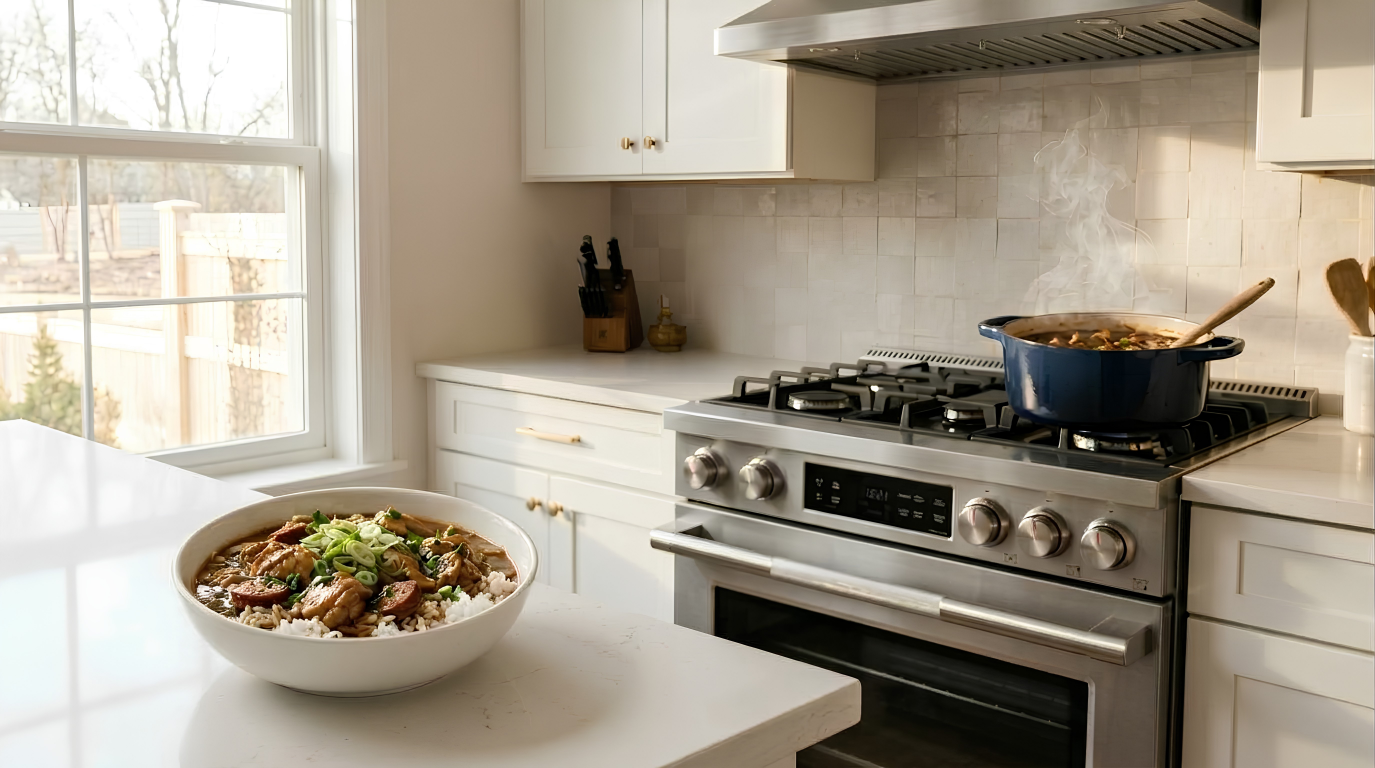
A Holiday Built on Patience Every October 12, cooks across the country mark National Gumbo Day, a food holiday devoted to one of the most storied dishes in American cooking. Gumbo belongs to Louisiana first, but its reach has long since spread well beyond the bayou. It shows up at tailgates in Baton Rouge, church suppers in Houston and Sunday kitchens from Chicago to Southern California, wherever someone grew up with a pot of it on the stove or simply fell for it on a trip to New Orleans. The timing could hardly be better. The second week of October is when evenings finally cool down and a long simmered pot starts to feel like the right way to spend a weekend afternoon. Gumbo is not a weeknight shortcut dish. It rewards patience, and it asks for one thing above all else: a roux cooked slowly, evenly and without a single scorched speck. Where Gumbo Comes From Gumbo is a dish of many hands. Its name is widely traced to West African words for okra, a vegetable that enslaved West Africans brought into Louisiana cooking along with their techniques for slow cooked stews. French settlers contributed the roux, the flour and fat base that anchors so many classic sauces. Choctaw cooks are credited with filé, the ground sassafras leaf that thickens and flavors a finished pot. Spanish, German and Caribbean influences layered in along the way, which is why no two families make it quite the same way. That history explains the long running debates that follow the dish everywhere. Creole gumbo, associated with New Orleans, often includes tomatoes and shellfish. Cajun gumbo, rooted in the rural parishes to the west, tends to skip the tomatoes and lean on a darker roux with chicken, sausage or wild game. Okra or filé, seafood or sausage, rice in the bowl first or last: every answer has its defenders. The one thing nearly everyone agrees on is that the roux decides the gumbo. The Roux Is the Whole Game A roux is nothing more than equal parts flour and fat cooked together, but in gumbo it does three jobs at once. It thickens the pot, it builds a deep toasted flavor, and it sets the color of the finished dish. The longer a roux cooks, the darker and nuttier it becomes, moving from blond to the color of peanut butter, then milk chocolate, then dark chocolate. A darker roux carries more flavor but less thickening power, which is why many Cajun cooks take theirs to a deep brown and rely on okra or filé to finish the body. The challenge is that flour scorches easily. A roux headed toward dark chocolate can take 30 to 45 minutes of steady stirring, and a burner that runs hot in one spot or flares unpredictably can undo that work in seconds. Once a roux scorches, black flecks appear and a bitter, acrid smell rises from the pot. There is no saving it. Nearly every experienced gumbo cook has thrown out at least one batch and started over. That is why the stove matters as much as the recipe. The Range That Makes It Easier Gumbo demands two very different kinds of heat. The roux needs a steady, controllable flame that can be eased down as the color deepens. Later, the pot needs enough power to bring several quarts of stock to a boil quickly before settling into a long simmer. The Cosmo COS-RGS305SS 30 inch Gas Range, one of the newest models in Cosmo’s Stellar Collection, covers both ends of that spectrum. Its five sealed burners run from a 22,000 BTU burner and an 18,000 BTU burner down through 9,000 and 6,000 BTU burners to a gentle 3,500 BTU burner. For a dark roux, the 9,000 or 6,000 BTU burner delivers the even, moderate heat that lets flour toast without scorching, and the heavy duty metal knobs make it easy to ease the flame lower as the roux approaches the color you want. When it is time to add the stock, the 22,000 BTU burner brings a full pot to a boil without a long wait, while the 3,500 BTU burner can hold a side pot of rice warm without drying it out. The cast iron grates matter here too. A loaded Dutch oven is heavy, and stirring a roux constantly for half an hour puts real stress on whatever it sits on. Stable grates keep the pot steady through every pass of the spoon. Once the gumbo is simmering, the range’s convection oven with Air Fry is ready for a pan of cornbread or a loaf of French bread, and its Steam Clean function makes quick work of any splatters left behind from the long cook. Whatever range you use, switch on the range hood before the roux goes in. Browning flour and sizzling sausage both release smoke and strong aromas, and good ventilation keeps the kitchen comfortable through a long afternoon at the stove. Chicken and Andouille Gumbo Serves: 8Prep time: 30 minutesCook time: about 2 1/2 hours Ingredients Method Bringing It to the Table Spoon rice into warm bowls and ladle the gumbo over it, or follow the old Louisiana habit of adding the rice on top. Scatter green onions and parsley over each bowl, and keep hot sauce and extra filé on the table. A scoop of potato salad, sometimes stirred straight into the bowl, is a regional tradition worth trying at least once. Gumbo is famously better the next day, once the flavors have had time to settle. Cool leftovers quickly, refrigerate them within two hours, and freeze extra portions without the rice for up to three months. National Gumbo Day is a reminder that some dishes simply cannot be rushed. Make the roux slowly, keep stirring, and let the pot simmer as long as it needs. With patience and a range that offers real control from the first stir to the last simmer, a pot of gumbo that tastes

Fire Prevention Week Comes to the Air Fryer, and Safer Crisping Starts With Smart Placement

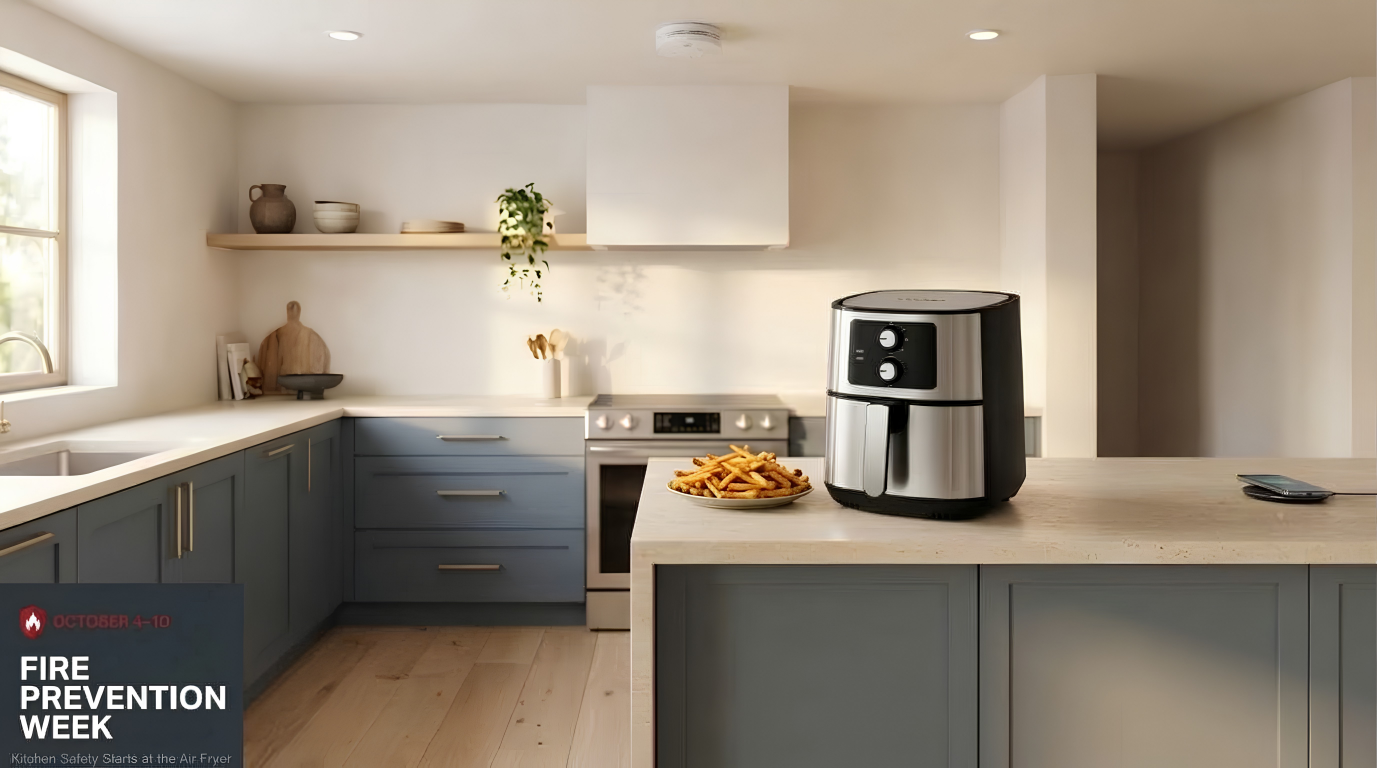
Fire Prevention Week is in its final days, running October 4 through 10, and the National Fire Protection Association has centered this year’s campaign on a habit nearly every household repeats daily. The 2026 theme, Charge into Fire Safety: Safe Charging Is a Superpower, focuses on lithium ion batteries and the everyday choices that keep phones, tablets, and cordless tools from overheating. In most homes, those devices charge on the same counter that holds the appliances that run the hottest. One of those appliances has quickly become an everyday essential. The air fryer now handles weeknight vegetables, frozen snacks, leftovers, and game day wings. Because it sits on the counter, runs hot, and is often used casually, it deserves a place in this week’s conversation. Why the Air Fryer Belongs in the Fire Safety Conversation An air fryer replaces a pot of hot oil with a compact chamber of fast moving hot air, removing one of the most familiar cooking fire risks. That does not make it risk free. Inside the housing, a heating element sits just above the food while a fan circulates air around it, so anything that drifts upward or collects below can overheat. Most air fryer problems follow a few predictable patterns. Grease and crumbs build up in the basket or pan and smoke during the next cycle. Loose parchment or foil is lifted by the fan into the heating element. The unit is pushed against a wall or tucked under a cabinet, trapping the hot air it vents. Each can be prevented with a small adjustment. The broader numbers explain why the counter deserves attention. NFPA estimates that from 2020 through 2024, kitchen and cooking equipment was involved in 48 percent of home structure fires each year, and unattended cooking remains a leading contributing factor. A countertop appliance with a timer can make it tempting to walk away, which is why the habits around it matter as much as the appliance itself. Give the Air Fryer Room to Breathe Placement is the first safety decision. An air fryer draws air in and pushes hot air out, usually through vents at the back or top of the unit, so it needs open space on every side. Set it on a flat, stable, heat resistant surface, away from the wall, the backsplash, and the edge of the counter, and follow the clearance distances listed in the owner’s manual. Avoid running it beneath upper cabinets, where rising heat and steam can collect against the underside of the cabinetry. Keep paper towels, mail, dish cloths, and plastic containers well away from the exhaust while the unit runs. Never operate an air fryer on the stovetop, even when the burners are off, since it is easy for someone to turn on the wrong knob. The power connection matters just as much. NFPA recommends plugging major heat producing appliances directly into a wall outlet, never into an extension cord or power strip. Choose an appliance listed by a qualified testing laboratory, check the cord regularly, and replace the appliance if the cord is frayed, kinked, or damaged. Everyday Habits That Prevent Air Fryer Fires Start with what goes in the basket. Avoid overfilling it, since food pressed against the top of the chamber sits too close to the heating element and cooks unevenly. Liners deserve extra care. Use only parchment or liners the manufacturer approves, never place a liner in the basket during preheating, and always weigh it down with food. A loose sheet can be lifted by the fan into the heating element in seconds. Foil should not block the airflow at the bottom of the basket, and paper towels do not belong inside the chamber at all. Bacon, wings, and sausages release grease that collects below the basket and can smoke heavily. Drain it between batches. Finally, stay in the room. A timer makes it easy to set a cook and walk away, but checking the food, especially toward the end of the cycle, catches problems before they grow. When the cycle ends, pull the basket out slowly and keep your face and hands clear of the steam. Cleaning Is a Fire Safety Step Leftover grease and crumbs are among the most common causes of smoke in an air fryer. Residue that stays in the basket or pan reheats with every cycle until it begins to char. Let the unit cool completely, unplug it, and clean the basket and pan after each use. Every so often, check the inside of the chamber and the area around the heating element for buildup, following the manual’s instructions and keeping water away from the electrical parts. How the Cosmo COS-58AFAKSS Supports Safer Habits Cosmo’s COS-58AFAKSS is a 5.8 quart electric hot air fryer with a stainless steel finish, designed for households that cook for several people at once. Its 1400 watt heating system and high speed air circulation handle frying, baking, grilling, and roasting with little to no added oil, which means one less pot of hot grease on the stovetop. Several of its features connect directly to the habits above. Separate knobs control temperature and time, so settings are easy to read at a glance. The temperature dial adjusts from 180°F to 400°F, allowing gentler settings for reheating and delicate foods instead of defaulting to maximum heat. The timer runs up to 30 minutes, and the auto shut-off feature turns off the heating element when the countdown ends, which helps protect against overcooking if a distraction runs longer than planned. That feature works best as a backup to attention, not a replacement for it. Cleaning is straightforward. The non-stick coated basket and grill pan are dishwasher safe, which makes it easier to clear grease after every use. Cosmo lists the unit as ETL Listed, which aligns with NFPA’s advice to choose appliances tested by a qualified laboratory. At 12.9 by 11.4 by 14.7 inches, plan for that footprint plus the recommended clearance. Charging and the Air Fryer Do Not Share

Fire Prevention Week Starts With Safer Cooking and Clearer Air

In 2026, the National Fire Protection Association is focusing on safe charging for devices powered by lithium ion batteries. Phones, tablets, cordless vacuums, and power tools often share counter space with meal preparation, so charging habits belong in any conversation about a safer kitchen. Cooking brings everyday risks. A hot pan, unattended oil, or a towel too close to a burner can turn a familiar meal into an emergency. A range hood can capture airborne grease, smoke, and odors, helping keep the cooking area comfortable and easier to maintain. It does not prevent or put out a fire, but good equipment and attentive habits can work together. A Familiar Room With Real Fire Risks Cooking is the leading cause of reported home fires in the United States. In its analysis of 2017 through 2021 incidents, the NFPA estimated an average of 158,400 reported home cooking fires each year. Ranges and cooktops were involved in 53 percent of those fires. The same report identifies unattended cooking as the leading contributing factor. These figures describe a real hazard, but they also point to an everyday opportunity: many incidents begin in familiar circumstances that people can learn to recognize. A pan of oil heats while someone answers the door. A pot boils over while a cook steps into another room. A dish towel slides close to a flame. None of these moments means a fire is inevitable, and no single appliance can remove the need for attention. They are reminders to keep the cooking zone clear, stay nearby, and make decisions before a distraction takes over. Stay Present at the Stove Stay in the kitchen when frying, boiling, grilling, or broiling food. If you need to leave, turn off the burner first. For simmering, roasting, or baking, check the food regularly, set a timer, and remain at home. A timer helps with memory, but it is not a substitute for checking on what is cooking. Keep paper towels, packaging, utensils, oven mitts, and dish cloths away from burners. Turn pan handles toward the center of the stove. Wear short or close fitting sleeves, and establish a three foot zone around the cooking area for children and pets. Wipe spills when the surface is cool, and do not use the oven or stovetop as storage. These habits also make ventilation more effective. When cooking creates steam or smoke, switch on the hood before the air spreads through the room. Use a lower setting for gentle simmering and a stronger setting for searing or several active burners. Leave it running briefly after cooking to clear lingering fumes, following the appliance instructions. What a Range Hood Can and Cannot Do Cosmo’s COS-QS48 is a 48 inch under cabinet range hood featured in a recent Cosmo product article. Its two motors provide up to 500 CFM of airflow, and its four speed fan lets a cook adjust ventilation to the meal. A backlit LCD touch panel and wireless remote make it possible to change settings without reaching across hot cookware. Three LED lights illuminate the cooking surface. Three permanent ARC FLOW stainless steel filters capture airborne grease and are dishwasher safe. The hood is designed for top venting, sending captured air through ductwork to the exterior when installed in that configuration. Confirm the hood, duct route, clearances, and electrical setup suit the kitchen, and follow the installation guide. A range hood is ventilation equipment, not a fire suppression system. It cannot make unattended cooking safe, stop a pan fire, or replace a smoke alarm. Grease that collects on filters and nearby surfaces also needs attention. The useful role of the COS-QS48 is more modest and practical: its width suits larger cooking surfaces, its fan offers several ventilation levels, and its removable filters can be cleaned. These features can support a kitchen that is easier to keep clear and comfortable while cooking. Keep Filters and Cooking Surfaces Clean Grease buildup can smoke during later cooking and add fuel to a fire if it catches. Check filters regularly, especially after frequent frying or high heat cooking. Remove and clean them as directed in the owner’s manual, and let them dry fully before reinstalling. Wipe the hood underside, backsplash, and nearby cabinets with a suitable cleaner, keeping moisture away from the controls. Clean the cooktop only after it has cooled, and remove crumbs or spilled food before the next meal. Check that the fan and lights are working as expected. If airflow seems weak, inspect the filter and consult the manual or a qualified installer about the ducting. A hood that is incorrectly sized or installed may not capture cooking byproducts as intended, so measure the cooking surface and verify fit before choosing equipment. Charge Devices Away From Cooking Heat The 2026 Fire Prevention Week theme, “Charge into Fire Safety: Safe Charging Is a Superpower,” calls attention to lithium ion batteries in household devices. A charging phone on a kitchen counter may seem harmless, but charging should happen away from hot appliances, splashes, and clutter. NFPA recommends using the manufacturer’s charger, choosing a hard flat surface, and unplugging the device when it is fully charged. Know the Plan Before a Fire Starts Working smoke alarms provide an early warning. Install them on every level, inside each bedroom, and outside sleeping areas. Test them monthly and replace batteries or units as directed. Keep alarms at least 10 feet from cooking appliances when possible to reduce nuisance alarms, while following local requirements and the alarm instructions. If a small grease fire starts in a pan, turn off the heat if safe and slide a lid over it. Do not move the pan or remove the lid until it is completely cool. Never pour water on burning oil or grease. For an oven fire, turn it off and keep the door closed. If the fire does not go out promptly, or you have any doubt, get everyone outside, close the door behind you, and call 911. Do not reenter. Make Safety Part

National Fried Scallops Day and the Recipe for a Perfect Golden Scallop

A Holiday Worth Cooking For Every October 2, seafood lovers across the country mark National Fried Scallops Day, a food holiday that arrives right at the start of National Seafood Month. Most people celebrate by ordering a basket at their favorite seafood shack. This year, consider making them at home instead. Done with care, homemade fried scallops rival anything served in a paper boat on the New England coast: a crisp, seasoned crust that shatters at first bite, giving way to a sweet, tender center that tastes faintly of the sea. Scallops have a reputation for being temperamental, and it is partly deserved. A minute too long in the oil turns them rubbery, and oil that is too cool leaves them greasy. But the fixes are simple and repeatable. The recipe below has been built around the three things that matter most: dry scallops, a coating that clings, and oil held at a steady temperature from the first batch to the last. Serves: 4Prep time: 45 minutes, including restingCook time: about 15 minutes Ingredients For the scallops For the breading For frying and finishing For the quick remoulade A Note on Buying Scallops The single most important ingredient decision is choosing dry scallops over wet ones. Dry scallops are packed without additives. Wet scallops are soaked in a phosphate solution that helps them hold water, and that water weeps out in the fryer, steaming the coating from the inside and preventing a proper crust. Dry scallops look ivory or slightly off white and feel tacky rather than slick. If only frozen scallops are available, thaw them overnight in the refrigerator, never at room temperature, and drain them well. Equipment and the Stove That Makes It Easier You will need a heavy Dutch oven or deep cast iron pot of at least 5 quarts, a clip on deep fry thermometer, a slotted spoon or spider strainer, three shallow dishes for breading, and two wire racks set over sheet pans, one for resting the breaded scallops and one for draining the fried ones. The most underrated piece of equipment is the burner itself. Each time a batch of cold scallops goes into the pot, the oil temperature drops, and the speed at which it recovers decides whether the next batch fries crisp or soaks up grease. The Cosmo COS-RGS305SS 30 inch Gas Range with 5 Burners and Convection Oven with Air Fry, one of the newest models in Cosmo’s Stellar Collection, is built for exactly this kind of cooking. Its cooktop pairs a 22,000 BTU burner with an 18,000 BTU burner, so the oil climbs back to temperature quickly between batches. Heavy duty cast iron grates hold a full Dutch oven steady, and solid metal knobs make small adjustments easy when the thermometer begins to drift. Meanwhile, its gentle 3,500 BTU burner can keep a small pan of lemon butter warm without scorching it. Whatever stove you cook on, switch on the range hood before you begin. Frying releases steam and airborne grease, and good ventilation keeps the kitchen comfortable. Method The Air Fry Variation Not every cook wants a pot of hot oil on a weeknight, and the Cosmo COS-RGS305SS offers a lighter route. Its 4.8 cubic foot convection oven includes a dedicated Air Fry function and comes with an air fry tray designed to circulate hot air around every side of the food. Follow steps 1 through 4 as written. Arrange the breaded scallops in a single layer on the air fry tray, leaving space between them, and mist them lightly with oil. Air fry until the crumbs are golden and crisp, turning them once halfway through. Begin checking after five or six minutes, since scallops move from perfect to overcooked quickly, and use the same doneness test described in step 7. The result is not identical to deep frying, but it comes remarkably close, with a crisp shell, a tender center and a fraction of the oil. Bringing It to the Table Fried scallops are at their best within minutes of leaving the oil, so have the table set before the first batch goes in. Pile them onto a warm platter with lemon wedges and the remoulade, or a classic tartar sauce if you prefer. Crisp coleslaw, hand cut fries or a simple green salad dressed in lemon vinaigrette round out the plate, and a chilled glass of Sauvignon Blanc or a cold lager makes a fine companion. National Fried Scallops Day is a reminder that some of the best restaurant dishes are well within reach at home. Buy dry scallops, dry them again, keep the oil honest and give each batch room to breathe. With the right technique and a stove that can keep up, the perfect golden scallop is closer than most cooks think.

Leftovers Done Right and What Your Microwave Can Do Beyond Reheating

The Second Meal Nobody Plans For Every kitchen runs on two kinds of cooking. There is the cooking a household plans, shops for, and talks about, and there is the quieter second shift that happens the next day, when a container comes out of the fridge and goes into the microwave with very little thought. That second shift is where a surprising amount of good food gets ruined. The chicken that was juicy on Sunday turns stringy on Monday, the rice goes hard at the edges and stays cold in the middle, and the pasta comes out with a sauce that has quietly separated into oil and something else. October makes the problem more noticeable. Soup season is already underway, braises and casseroles are back in rotation, and the stretch between now and the end of the year is built around big-batch cooking meant to be eaten more than once. A household that cooks one large pot on Sunday is really cooking three or four meals, and how well those later meals turn out depends almost entirely on what happens in the two or three minutes it takes to reheat them. Why Leftovers Go Wrong in the First Place Most reheating failures come from the same habit: treating the microwave as an on-off switch instead of a heat source with a dial. A microwave heats food by agitating the water molecules inside it, which means it reaches the wettest, thinnest, outermost parts of a dish first. Run it at full power for four straight minutes and the edges overcook and dry out long before the dense center catches up. That is how a single plate ends up both scorched and cold. Density and moisture matter as much as time. A mound of mashed potatoes, a thick slice of lasagna, and a stack of chicken thighs all hold cold at their core, while a thin layer of rice or a few spoonfuls of sauce heat almost instantly. When those items share a plate and a single high-power setting, something is always going to lose. The fix is not a better container or a longer timer. It is a slightly more deliberate routine. Leftovers Done Right, One Step at a Time Start with power, not time. Dropping to medium, somewhere around 50 to 70 percent, gives heat time to move inward from the edges instead of cooking the outside while the middle waits. It adds a minute or so, and it is the single change that makes the biggest difference for dense dishes like casseroles, meatloaf, and anything with cheese on top. Arrange the plate before it goes in. Spreading food into an even layer, or pushing it into a ring with an open center, removes the thick cold spot that microwaves struggle to reach. Thicker pieces belong toward the outside edge, where they get more energy, and delicate items toward the middle. Add a little moisture back. Rice, grains, and pasta lose water in the fridge, and a spoonful of water or broth sprinkled over the top before reheating turns into steam that plumps them back up. Covering the dish with a microwave-safe lid or a damp paper towel keeps that steam where it belongs instead of letting it escape and leaving the surface dry. Stir or flip halfway through. Reheating in shorter intervals, with a stir for saucy dishes and a flip for solid pieces, evens out the hot and cold zones that no cavity design fully eliminates. Let it rest before eating. A minute of standing time lets heat keep spreading through the food after the cycle ends, which is often what finishes off a stubborn cold center. For food safety, leftovers should reach 165°F all the way through, and a quick check with an instant-read thermometer on thicker items like chicken or casseroles takes the guesswork out of it. And know when the microwave is not the right tool. Anything that was crisp the first time, fried chicken, pizza crust, roasted potatoes, anything breaded, will come back soft no matter how carefully it is handled. Those are better revived in an oven or air fryer, while soups, stews, curries, grains, pasta, and saucy braises are exactly what the microwave does best. What Your Microwave Can Do Beyond Reheating Once a household starts using power levels deliberately, the microwave stops looking like a leftovers box and starts looking like what it actually is: a precise, low-mess heat source that handles a long list of small prep jobs faster than the stove. Softening butter is the most common one. A stick straight from the fridge can be brought to spreadable, bakeable softness in short bursts at low power, without the melted puddle that full power produces. Melting chocolate works the same way, with short intervals at reduced power and a stir between each giving a smooth, glossy result without a double boiler. Citrus gives up noticeably more juice after 10 to 15 seconds in the microwave, since the gentle warmth loosens the flesh before squeezing. A few seconds also makes garlic cloves easier to peel, as the skins pull away from the heat. Fresh herbs that are about to wilt can be dried instead of tossed. Spread between two paper towels and heated in short bursts, parsley, oregano, rosemary, and thyme dry out in a few minutes and hold their color better than they do air-drying over a week. Nuts, seeds, and breadcrumbs toast surprisingly well in a single layer on a plate, stirred every minute, and they come out evenly browned without the risk of a forgotten skillet on the burner. Stale bread or tortillas wrapped in a damp towel soften back to pliable in seconds. Even cleanup falls within the microwave’s range. A bowl of water with lemon slices or a splash of vinegar, heated until it steams, loosens splatters inside the cavity so they wipe away easily, and it takes care of lingering food odors at the same time. Cosmo’s COS-12MWDSS-NH, a 24-inch built-in microwave drawer