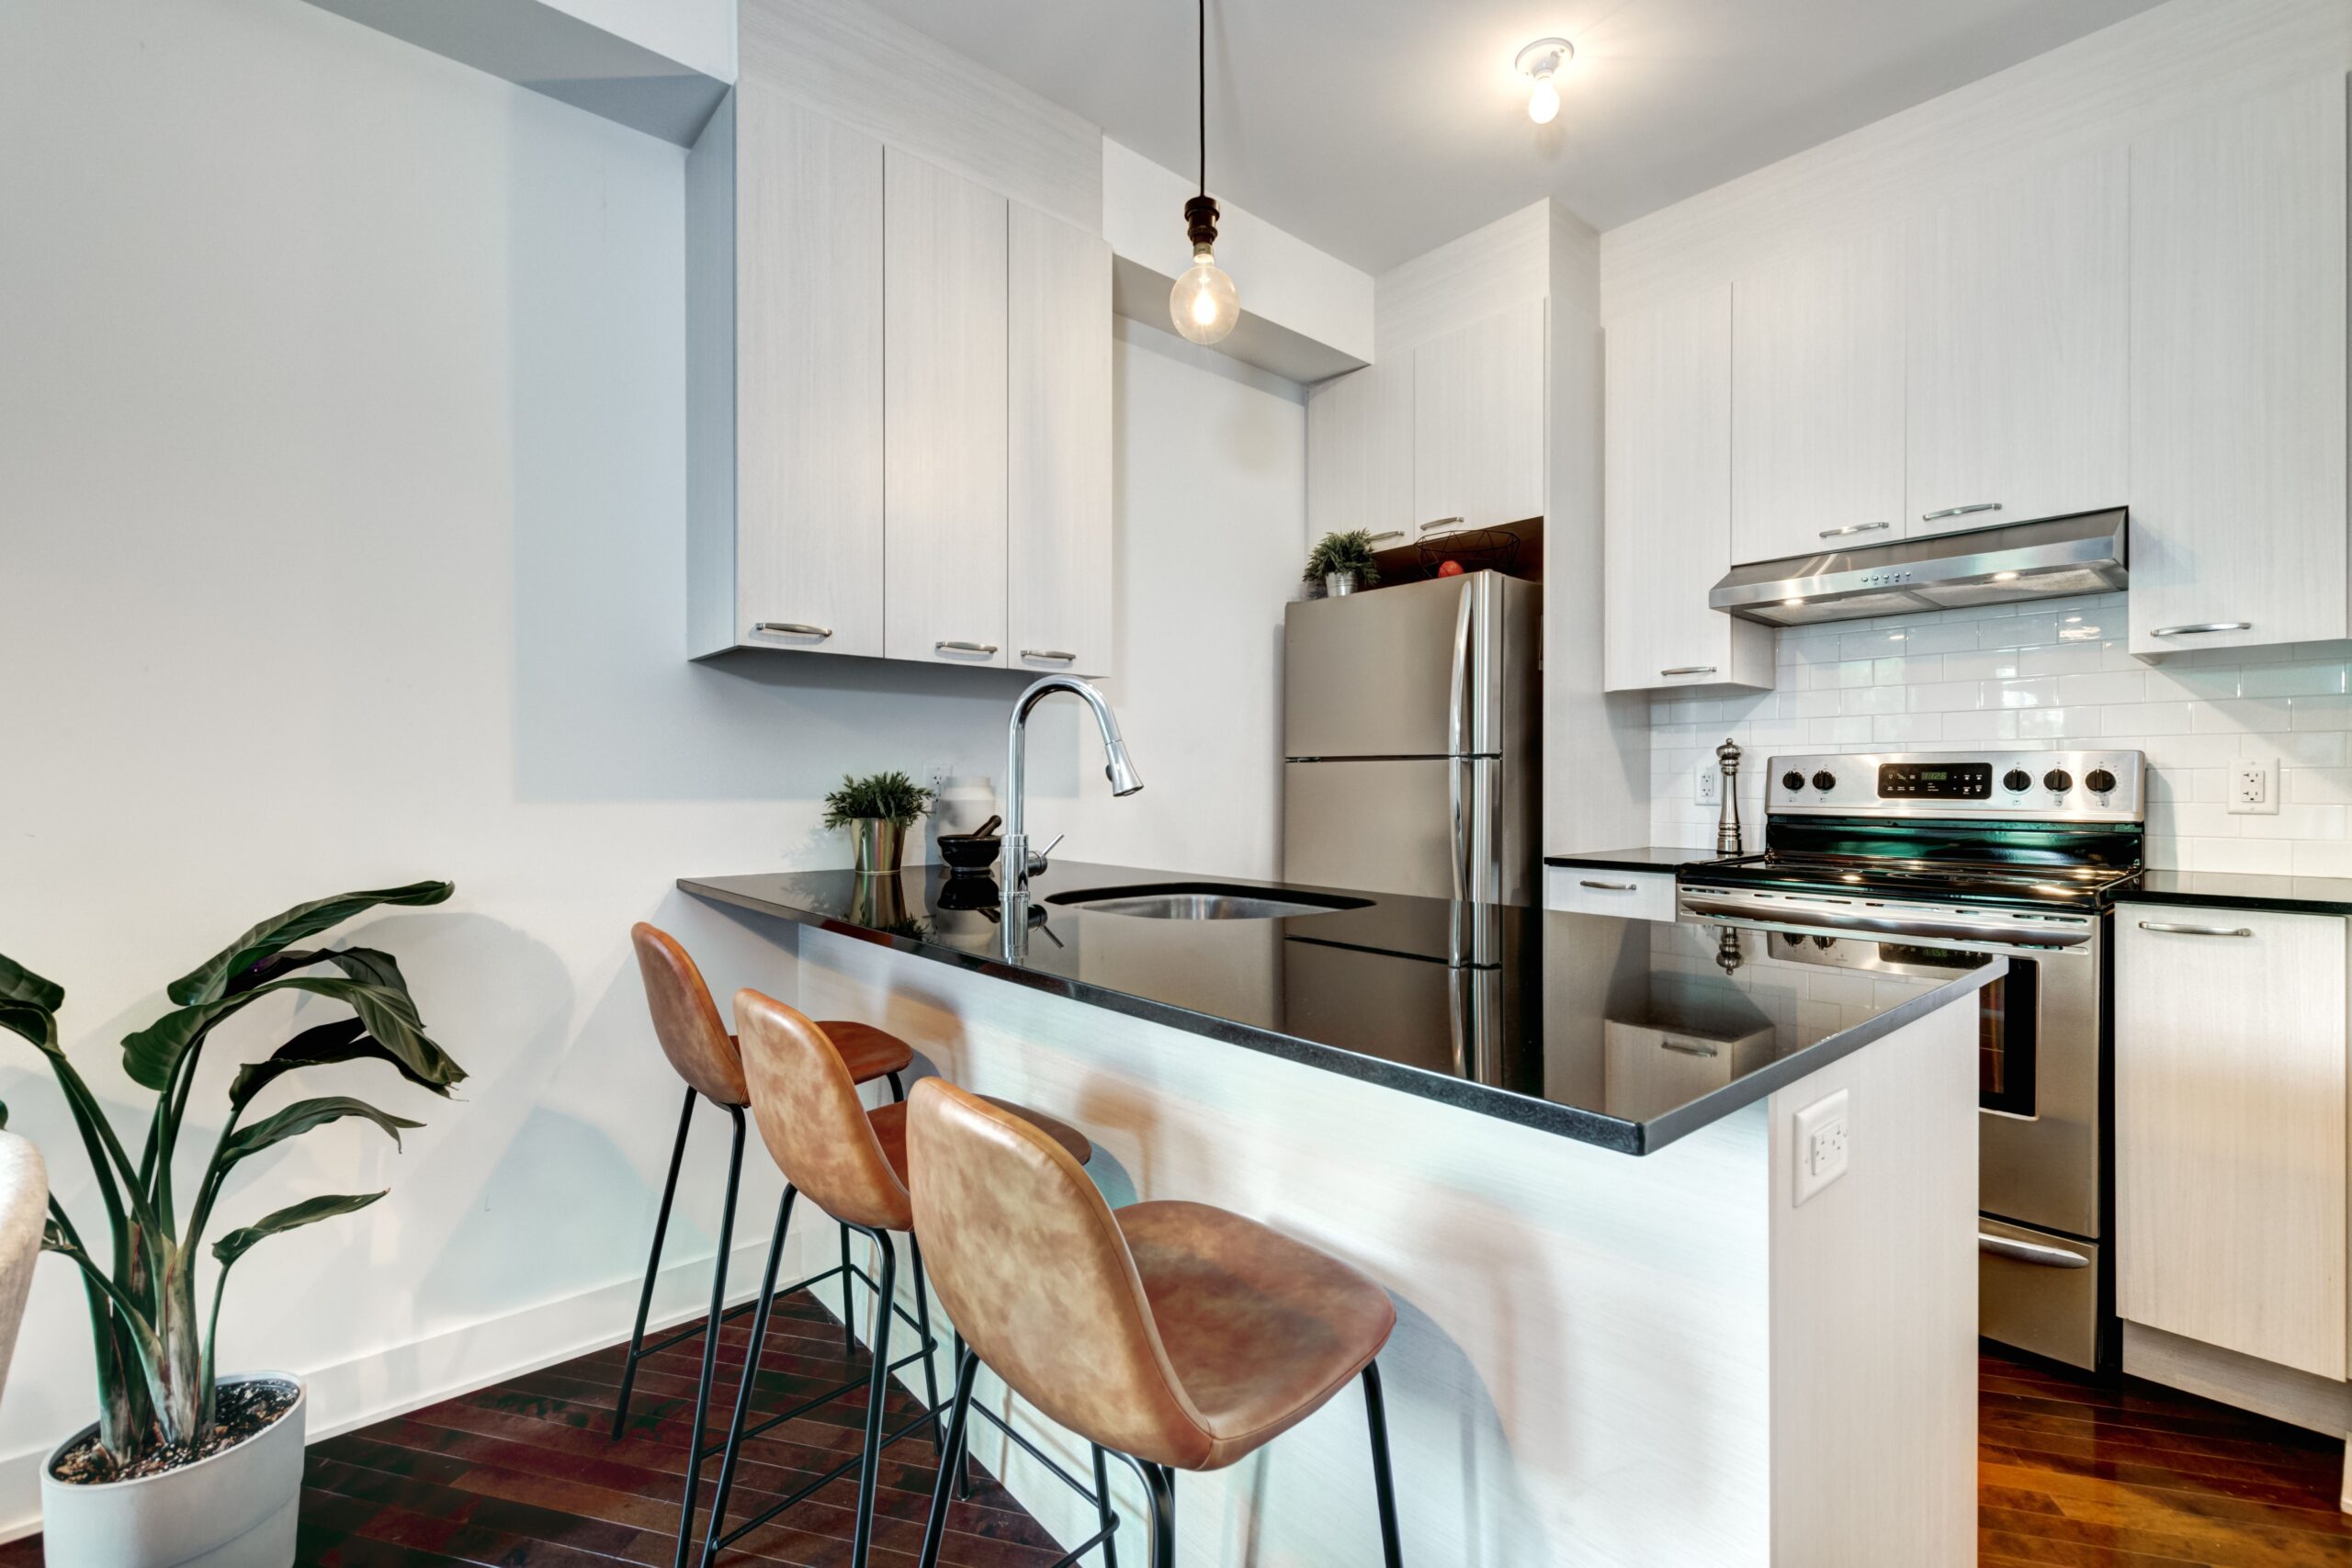
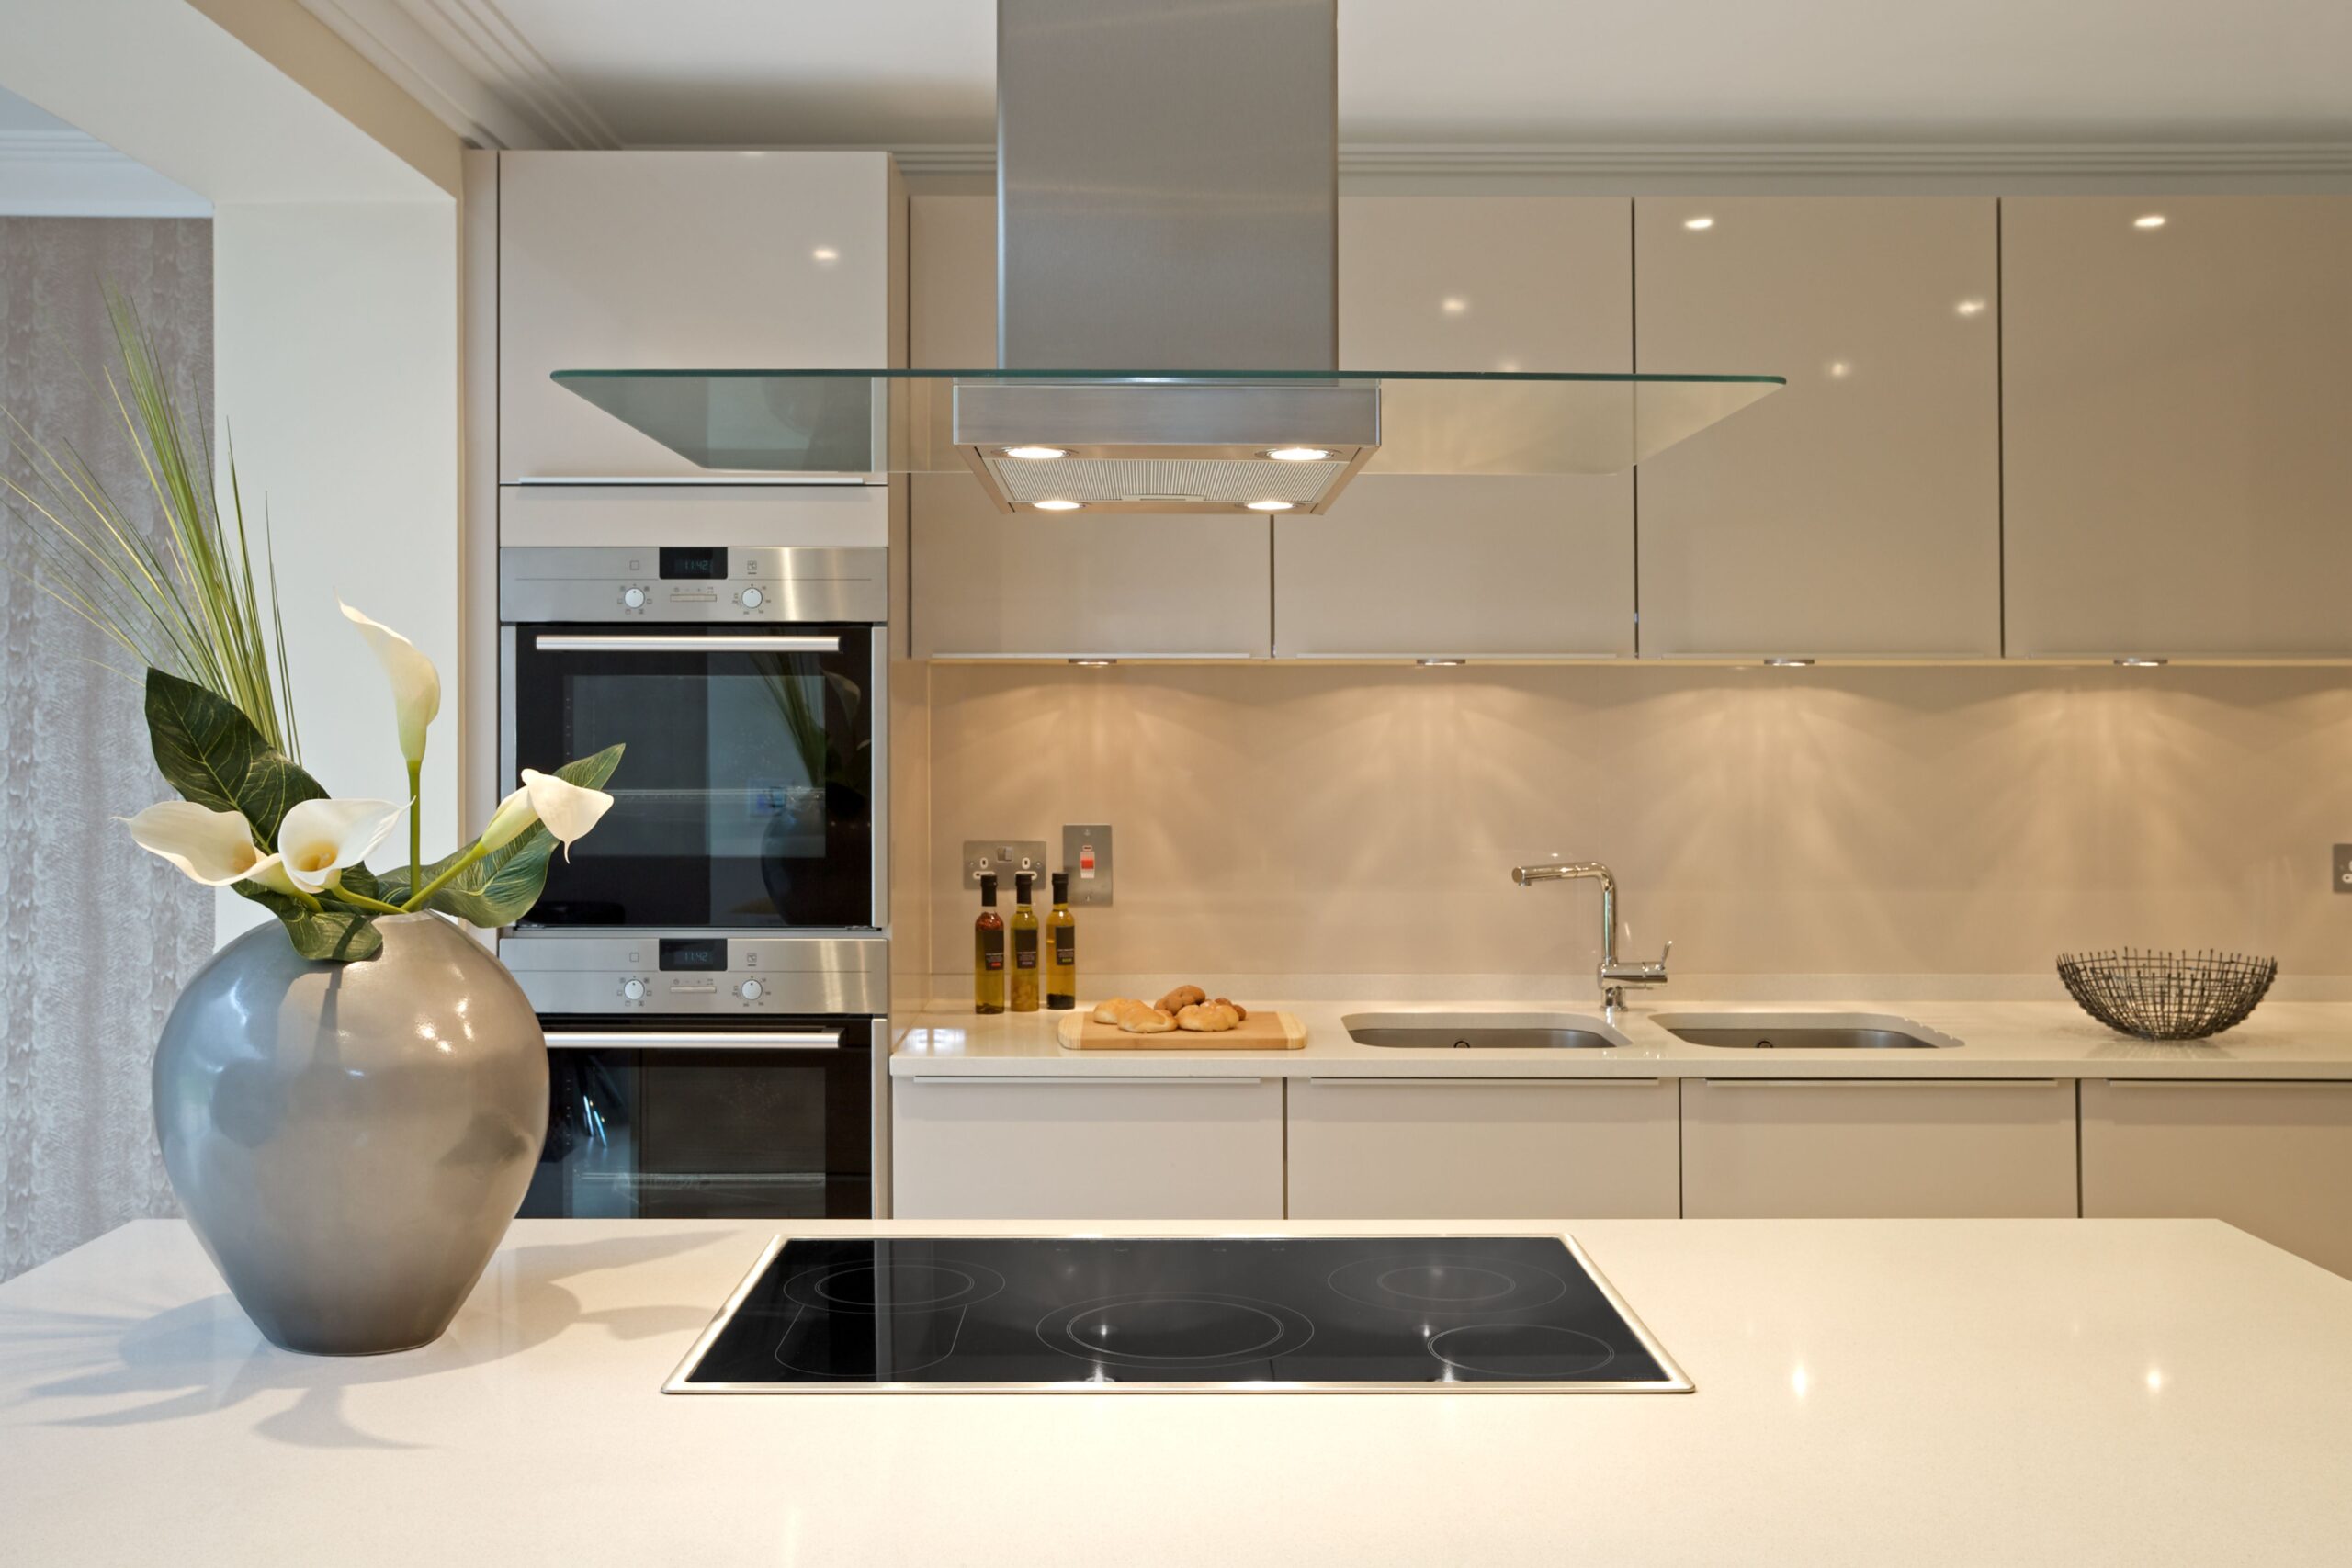
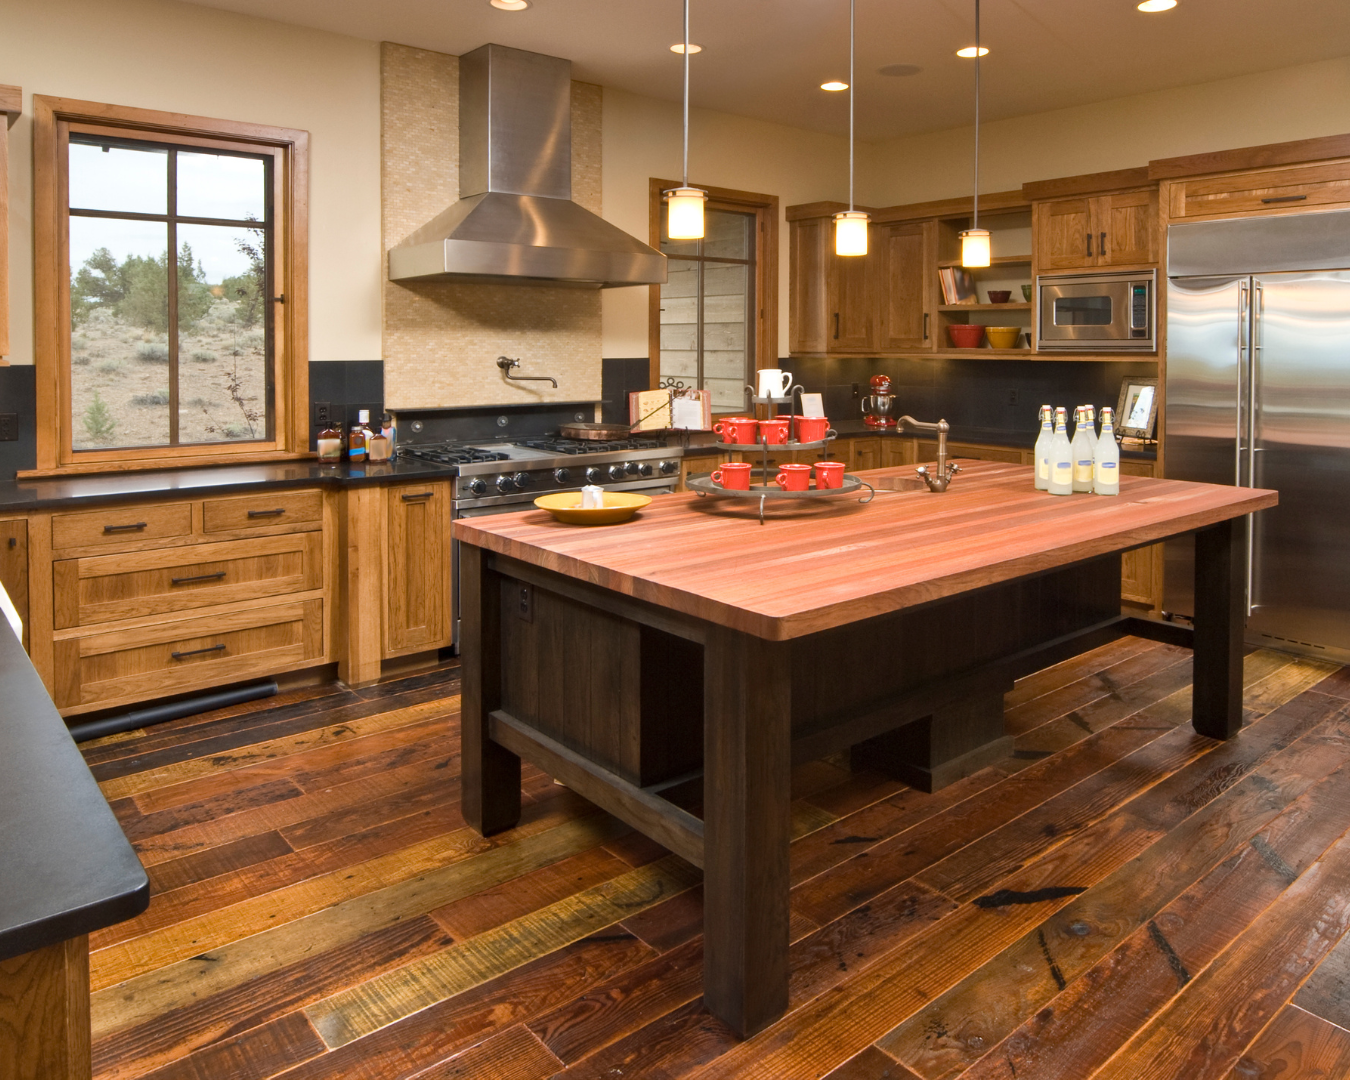
Kitchen

The One Thing You Should and One Thing You Shouldn’t Do When Decorating Your Kitchen

Designing a kitchen to fit your lifestyle, taste and needs is no easy feat. There are elements that make a kitchen shine, while others can cause more stress later on. Here is the most important thing to do when decorating your kitchen as well as a major mistake to avoid. Attention to Detail Designing a kitchen is all about small touches. Select items that are both beautiful and functional. Usually these can be simple and inexpensive. For instance, glass dispensers or attractive dish towels can complement your style. It’s all about elevating your everyday essentials, making things easier to find and better-looking. Place your sea salt in a pottery bowl, or put your olive oil and vinegar on a cutting board. Plants are also a great way to make your kitchen shine. Warm up the space with plants or flowers and even faux stems which can bring a bit of the outdoors in. Textiles and patterns can bring a layer of softness to a typically hard-surfaced place. Your kitchen is full of counterspaces and cabinets which can be contrasted by a soft and colorful runner. It brings a design flair to an otherwise entirely functional space. Don’t Go Too Trendy Be careful to avoid trendy big ticket items. Ask yourself an important question: will you still love this and can’t do without it in 10 years from now? Your appliances, countertops and floorings are big investments that can’t be easily replaced. If you want to incorporate trends, find items that are easily replaceable and can reflect the same look you’re going for. Bold colored appliances, funky tiles and experimental pieces are best avoided. They will look dated over time and can limit your design options in the future. Try to keep the built-in elements neutral and simple, it’ll be less costly to update an accessory or piece of art than a stove. Colors aren’t the only element that should stand the test of time. Materials and finishes should also make sense for your lifestyle. Don’t make the mistake of purchasing marble counters if you don’t plan on staying on top of the maintenance. You don’t need to completely alter your aesthetic to get the look you want. Try quartz instead of marble! Source: the Kitchn

How to Organize Your Kitchen After Moving

After a move, the kitchen should be the first priority to be unpacked so you can begin preparing meals. The space should be functional, organized and comfortable. If you’re moving into a new home, there’s a chance it hasn’t been properly cleaned. Before unpacking, take some time to clean especially where you’ll be putting dishes, cutlery, and glasses. Be sure to also clean your countertops and sinks. Next, go through the space and imagine how you’ll be doing your usual chores and activities. Where would you normally reach for supplies? You’ll get a better grasp of where items should go. Take Inventory. If you haven’t already labeled the contents of each box, go through to see what’s inside. Unwrap larger items and take stock of what you have to sort and organize. Do this first or you may place an item in one place, then have to move it to another later. Start Unpacking. Start with the areas that will be used the most, such as the stove and sink. The storage near these areas will be the most accessible. Anything stored above eye level will be difficult to reach. Start unpacking the essential items you’ll be using everyday in the most accessible spaces. For example, cutlery in the drawer immediately to the side of the sink. Arrange by Frequency. Apply the same method to the rest of your cupboard spaces. Place bowls, cups and plates you’ll be using every day on a shelf that is at eye level or lower. Pots and pans should be near the stove along with their lids. Put items you won’t be using as often in lower drawers such as baking sheets or roasting pans. Keep toxic items in hard-to-reach places especially if there are young children. Organize. Store canned goods and dry food in a pantry space that is separate from dishes. Spices can be closer to the stove since you’ll want those to cook. After you spend some time in your home, you’ll establish a routine for cooking, cleaning and eating. Adjust your items if they don’t work along your routine. Make your kitchen work well for you and your family. Source: the Spruce

How to Prepare a Cheese Board

While there is no rule book on how to put a cheese board together, there are a few guidelines you can follow on how to prepare an interesting and flavorful selection of cheeses for your next course. Utilize this as an elegant appetizer or a cleansing palate in between courses. The choice is yours on how sophisticated you’d like the plate to be. Selecting Cheeses Any cheese plate should have diversity in terms of style, selection, appearance and flavor. Some prefer to differentiate cheeses by hardness and texture. For example, offering a blue, a hard cheese and a soft cheese. The hardness or softness is determined by the amount of moisture present. A hard cheese is generally more gritty, sharp and salty like a Pecorino. A semi-hard cheese will be somewhat smooth with small granular texture such as classic cheddar and gouda. A semi-soft cheese is higher in moisture which keeps them soft and pliable such as mozzarella. Finally, a soft cheese is anything spreadable like brie. These cheeses are practically paste and often sold in cups. Storing Cheese Limit storing cheese as much as possible. Purchase them at their peak ripeness and eat them the day you buy them. Since most of us don’t have access to cheese caves with optimal conditions, store cheese in a vegetable drawer in a fridge. There is typically more moisture there. Wrap hard and semi-hard cheese in wax paper or plastic wrap. Be careful not to store these for long periods of time as the plastic can lead to spoilage. A semi-soft cheese can be wrapped in butcher or wax paper, leaving the rind open so the cheese can breathe. You may need to store blue cheese or other “smelly” cheese in a separate container as the mold can spread to other cheeses. Serving the Cheese Set the cheese out early to allow it to come to room temperature. Harder cheese should be pre-cut beforehand to make it easier to enjoy. Add a few compliments to the plate such as flatbreads, toasts, crackers or rye. You can also add dried and fresh fruits like apricots, plums, pears and dates. Nuts are also popular options for their meaty and woody flavors to contrast the aromas of hard and blue cheeses. There is no standard for how a cheese plate should be developed. Let it reflect your tastes and the event its accompanying. Source: Simply Recipes

Kitchen Items That Could Be Making You Sick

The kitchen is often called the heart of the home. However, there are dangers lurking that can make you sick. Some of these can lead to digestive upset, but others can be more lethal to those with compromised immune systems. Take a look around your kitchen to see if any of these items could be the culprit. Food Handling. How you handle food in the kitchen is a crucial health hazard. If handled incorrectly bacteria can multiply rapidly, leading to foodborne illnesses. Foods should be brought to the proper temperature needed to kill bacteria. Leftovers should be stored at the correct temperatures and never left on the counter for extended periods of time. All fresh produce should be washed before eating or used in recipes. Cross contamination between raw and cooked foods can be as simple as using the same plate. It’s best to keep these separated as much as possible, and never wash raw meat in the sink. Wash your hands frequently when moving through various cooking steps. Kitchen Towels. Fabric towels are essential in a kitchen and a great way to cut back on the use of paper towels. However, the danger comes if you are not washing them frequently leading to cross-contamination. Use separate towels for cleaning, food preparation and hand washing. Wash these towels in hot water after use. Cutting Boards. A cutting board makes food preparation easier and protects kitchen countertops. Using separate cutting boards for meats, fruits and vegetables is a necessity, otherwise cross-contamination can lead to severe health consequences. Wooden cutting boards should be washed after every use with hot, soapy water. Never place these in a dishwasher because they can be damaged. Sponges. Due to their porous structure, sponges are great at absorbing spills but also providing a perfect environment for bacteria to thrive. Sponges should be washed in hot, soap water and placed in a spot with proper air circulation to dry. If a sponge has a peculiar smell after cleaning, discard it instead. These odors can be signs of bacterial growth. Source: the Spruce

How to Store Yeast

There’s nothing worse than dedicating your time and effort to baking bread only to have it ruined by an old, inactive yeast. If you’re looking to stock up on yeast but unsure of how long it’ll last, here’s how to store it so you can count on it the next time you need to make dough. How Long Yeast Lasts Dry yeast that is sealed and unopened will last about 2 years. Chilling extends its life which is why it’s best to store in a refrigerator or freezer. You should always check the best-before-date on the bag before purchasing it in the store. An opened active and instant dry yeast will last four months in the refrigerator and up to six months in the freezer. A fresh yeast, also known as compressed yeast, will last up to two weeks in the refrigerator and should not be frozen. How to Store Open Yeast Keep it Airtight. Air will shorten the lifespan of yeast. If the yeast is in an open envelope, fold down the top and seal with tape, a paper clip or rubber band. If it’s in a bag, press as much air as possible out of the bag, then seal with tape or rubber band. You can also transfer the yeast to a glass jar with a tight-fitting lid. Label the yeast before storing with the date it was opened or the use-by-date. Source: Simply Recipes

Brewing a Better Cup of Coffee

If you’re trying to cut back on running to your typical coffee shop, we’ve got you covered on how to up your coffee brewing game. Whether it’s finding and storing beans, finding the right brewing method or how to add an extra boost of flavor, here’s what you should know to make a better cup of coffee. Learning What Kind of Coffee You Need We all have differing coffee tastes, what tastes good for one person might not be appealing to another. The trick is knowing how to find the best coffee based on your needs and how to properly store it when you get home. If you want complete control, buy whole beans. You’ll be able to grind and brew to your liking. If you want something quick and simple, try a pre-ground coffee instead. When buying whole beans, ask when the beans were roasted. You’ll want to know how fresh the beans are and the best method to brew them. Let your brewing method dictate the grind of the beans, as it’ll affect the final favor of your coffee. You should always store beans in an airtight container, preferably in a cool and dark place like a pantry or cupboard. Choosing a Brewing Method There are many options for brewing coffee. It all comes down to what method works best for you and the type of coffee you like. Here are a few examples. Aeropress. If you’re into gadgets and only planning to brew a cup or two at a time, the Aerporess could be the tool for you. It’s relatively inexpensive and easy to use. The trick is nailing the water temperature. French Press. It’s an easy and inexpensive way to brew a few cups of coffee. Don’t forget to transfer the coffee to a carafe after, or you run the risk of the coffee becoming bitter. Cold Brew. The better alternative to dropping ice cubes in a glass of hot coffee. These grounds are steeped overnight in cold water for an easy coffee fix. Latte. You actually don’t need a fancy espresso machine to enjoy a latte at home. All you need is an extra-strong cup of espresso blend and frothed milk made in a microwave. Upgrading Your Coffee Don’t stop after your coffee is brewed. There are many ways to upgrade your coffee further such as milk, cream or sweetener. Frothed milk is a fast and fancy way to take your coffee to the next level. All you need is milk, a clean jam jar and a microwave. You can also add some flavor with pantry staples like spices, a pat of butter, coconut milk or even ice cream. Don’t stop with just the ordinary cream and sugar! Source: the Kitchn

What Not to Do With Soap

Dish soap is great for many purposes beyond cleaning dishes. It cuts through grease and leaves things squeaky-clean. However, there are a few things you should never do with dish soap. Here are a few. Mix with Bleach. Cleansers are powerful on their own, but can be toxic when combined. Never mix your dish soap with bleach, ammonia or any cleanser. Wash Cast Iron. While you can technically wash your cast iron with soap, you generally shouldn’t. If you are going to do it, you shouldn’t be doing it too often. Instead opt for oil and salt. Put it in the Dishwasher. It may be tempting to put dish soap in a dishwasher when you run out of dishwasher detergent, but don’t! They both clean dishes, but the formulas are completely different. The dish soap can harm your dishwasher or leave you with a bubbly mess. Put it in the Washing Machine. The same rule applies, dish soap is not formulated to work in a washing machine. It can lead to more suds than your machine can handle. Wash Your Car. Your car’s paint is strong, but dish soap can actually weaken it. A harsh cleaner can strip away the finish leaving it vulnerable to chips and dullness. Use a specialized car clean instead. Wash Your Face. Generally you should cut down on the contact with dish soap. Gloves are a great choice for washing dishes. Dish soap should definitely not go on your face. Source: the Kitchn

Choosing Glass Tile for Backsplashes

If you’re looking to update your kitchen backsplash, glass tile installs just like ceramic tiles but with a more luminous and colorful aesthetic. It’s widely available at many retailers, making it an easy DIY project. Glass vs. Ceramic Ceramic tile is the traditional material for backsplashes. If it’s a glazed ceramic, the tile has a glass-like surface and is just as washable, durable and stain-resistant as glass tile would be. The grout in a ceramic tile backsplash has to be sealed and regularly maintained for stain-resistance. As for aesthetics, a ceramic tile will be more opaque with all of it’s color on the surface. Glass on the other hand is translucent and light penetrates the entire tile. This light will reflect off the tile and the wall behind it. It will give it more visual depth and overall a water shine or glow. Types of Glass You can obtain glass tiles in just about any color you can think of. They’re also created in many interesting shapes beyond the popular subway tile pattern. You can achieve a more luxurious feel with long, slender tiles, or a vintage look with round and octagonal mosaic tiles. Glass tiles can feature intricate surface designs and be either sheen or matte. Pair these with other tiles made of stone, porcelain or other materials for endless visual possibilities. Tips for Glass Backsplashes Choose the backsplash color after you’ve selected the other room finishes. You can then incorporate shades that complement your wall color or countertop. Lighter tiles work better in smaller areas. The reflected light will make the space feel larger. Mosaic glass tiles are mounted on mesh backing, making them easier to install. Buy extra tiles in case you need to fix any broken ones later on. Source: the Spruce

Installing Cosmo Recirculating Filters for Ductless Range Hoods

Select Cosmo Range Hoods can be used in one of two ways, ducted or ductless. A ducted range hood will carry the ventilated air through ductwork and ultimately outdoors. On the other hand, a ductless range hood will filter the air and recirculate it back into the kitchen. In order for a Cosmo ductless range hood to operate, it will need a charcoal carbon filter to effectively clean the air. Before beginning, check your range hood model and serial number to correctly match the appropriate charcoal filter kit. Installation will slightly differ depending on the model. Here is how to install the CFK1-TM filter kit to convert to ductless operation. How to Install CFK1-TM Filters: Remove the ARC-FLOW Baffle Filters Locate the motor and align one of the filters with the right side of the motor Twist and lock the filter into place Repeat Steps 2-3 on the left side of the motor Reinstall the ARC-FLOW Baffle Filters back into place NOTE: For wall mounted hoods, chimney vent holes must be open and visible for the filtered air to recirculate. Download Quick Start Guide PDF

How to Clean Granite Counters

Cleaning granite counters may seem like a simple task, but there’s a lot of different advice out there on the best method. The most important note, you don’t need a special granite cleaner to get those countertops shiny and streak-free. Here’s what you should know about cleaning granite and what you’ll need. Sealed Counters. Granite is a hard surface but porous, meaning an unsealed granite will soak up oils, spills and stains. Check that your granite is sealed by leaving a few drops of water on the surface. If it beads up, the granite is sealed. However, if it soaks into the granite it’s time to reseal it. Avoid Harsh Cleaners. Ammonia or bleach based products should be avoided. Windex, vinegar, lemon and lime will dull and weaken the sealant over time. The harsher the cleaner the quicker the sealant will break down. Gentle Cloth. For daily cleaning, use warm water and a gentle dish soap with a microfiber cloth or nubby washcloth. What You’ll Need: Warm water Mild or gentle dish soap Dish cloth Clean microfiber cloth or terrycloth towel Isopropyl alcohol Spray bottle Directions: Wet your dish cloth with warm, soapy water: Fill a clean sink with warm water and a mild dish soap, then thoroughly wet a clean dish cloth. Wipe down the granite countertops: You don’t need us to tell you how to do this part. Just use your wet dish cloth to wipe away any spills or crumbs on your countertop! Dry with a microfiber cloth to avoid streaking: Dry and buff your granite countertop thoroughly with a microfiber cloth or soft terry cloth towel to avoid streaking. Disinfect: To periodically disinfect your granite countertops, remove soap residue, and restore shine, spray 70% isopropyl alcohol onto your counters. Allow it to sit for three to five minutes, then rinse with water and dry with a clean microfiber cloth. Enjoy!: Your nice, shiny, clean granite countertops are ready to go. Source: the Kitchn