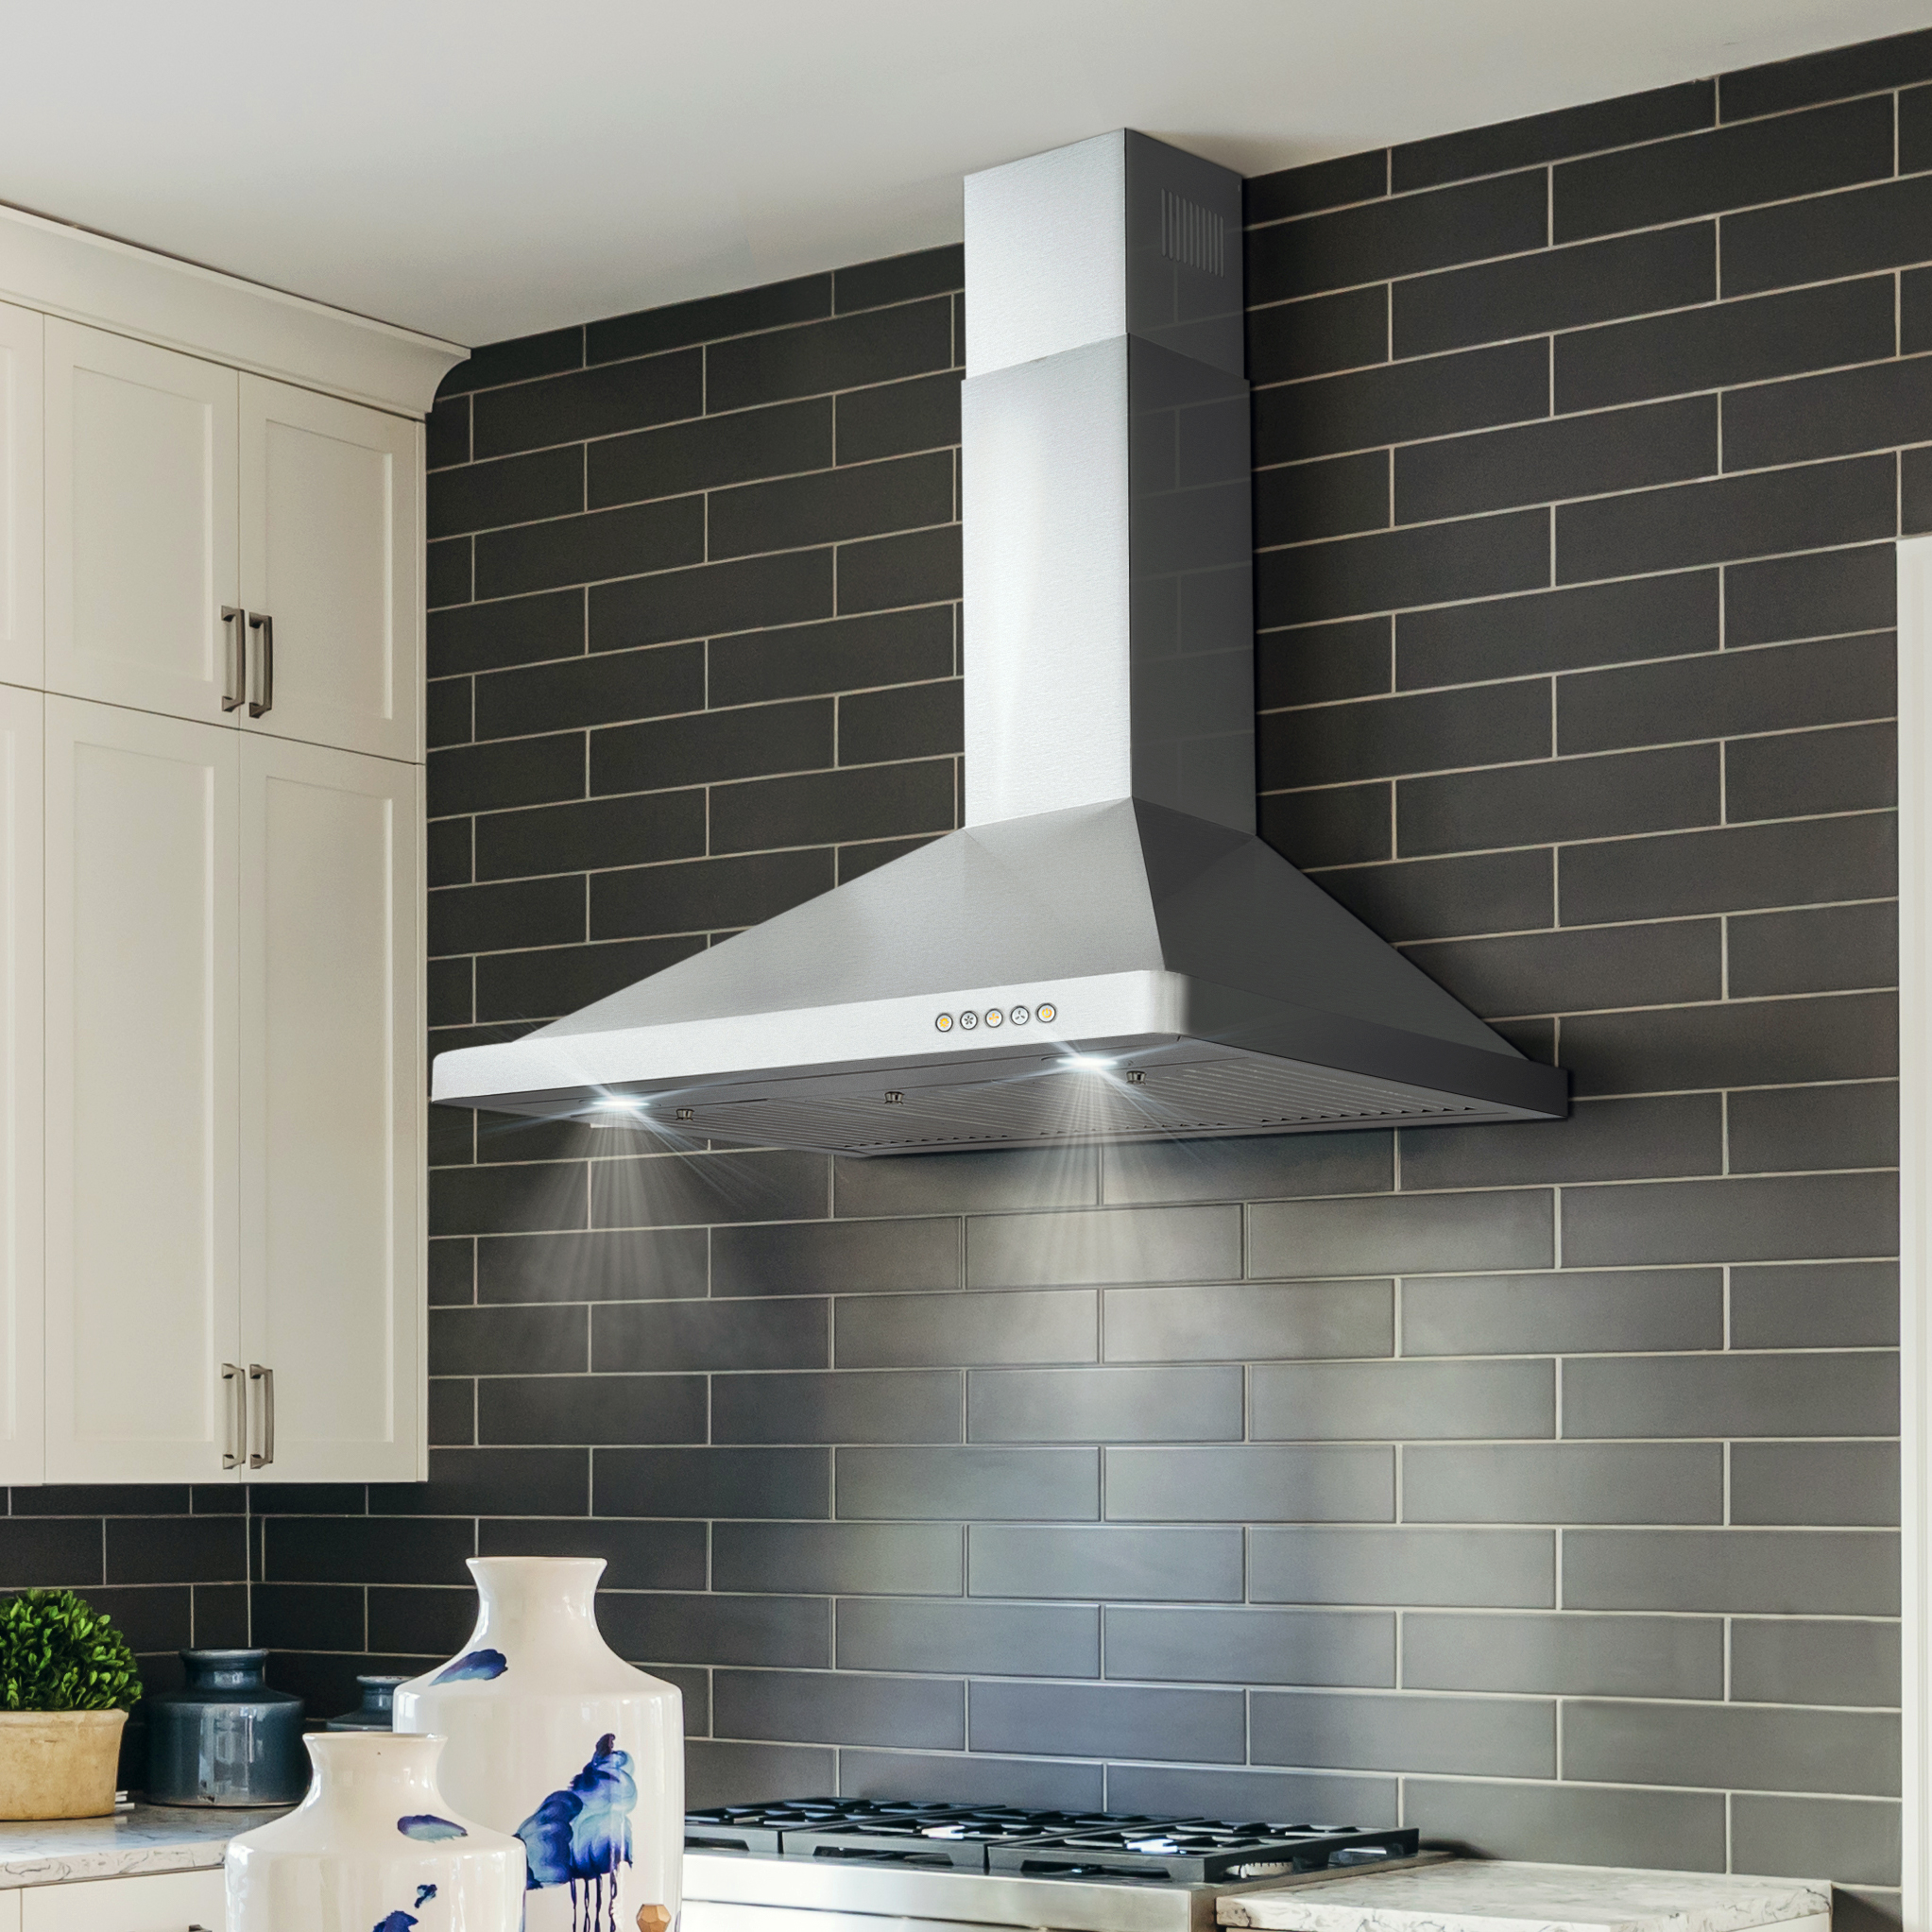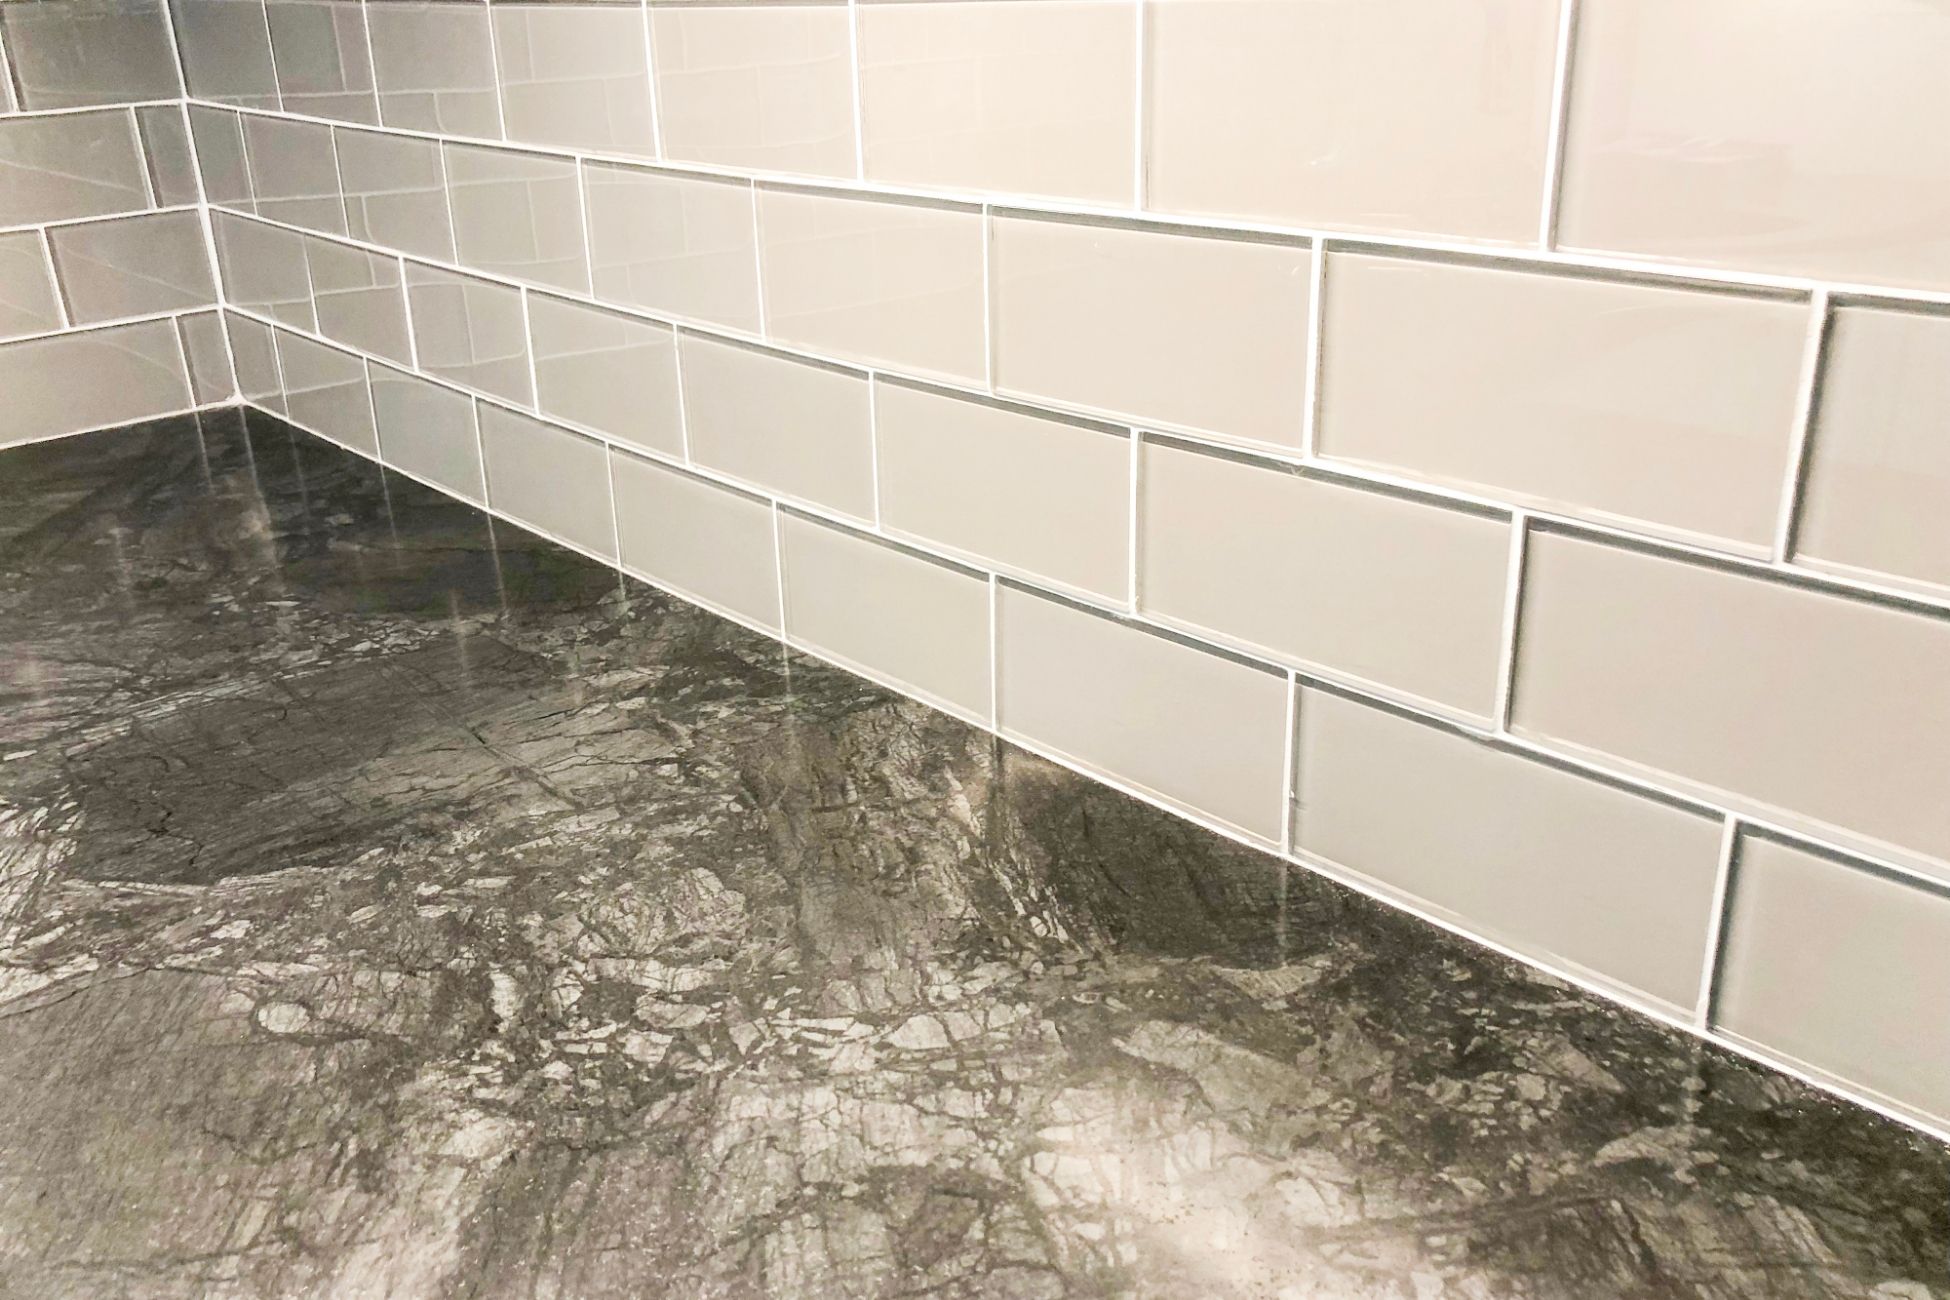
Choosing Glass Tile for Backsplashes
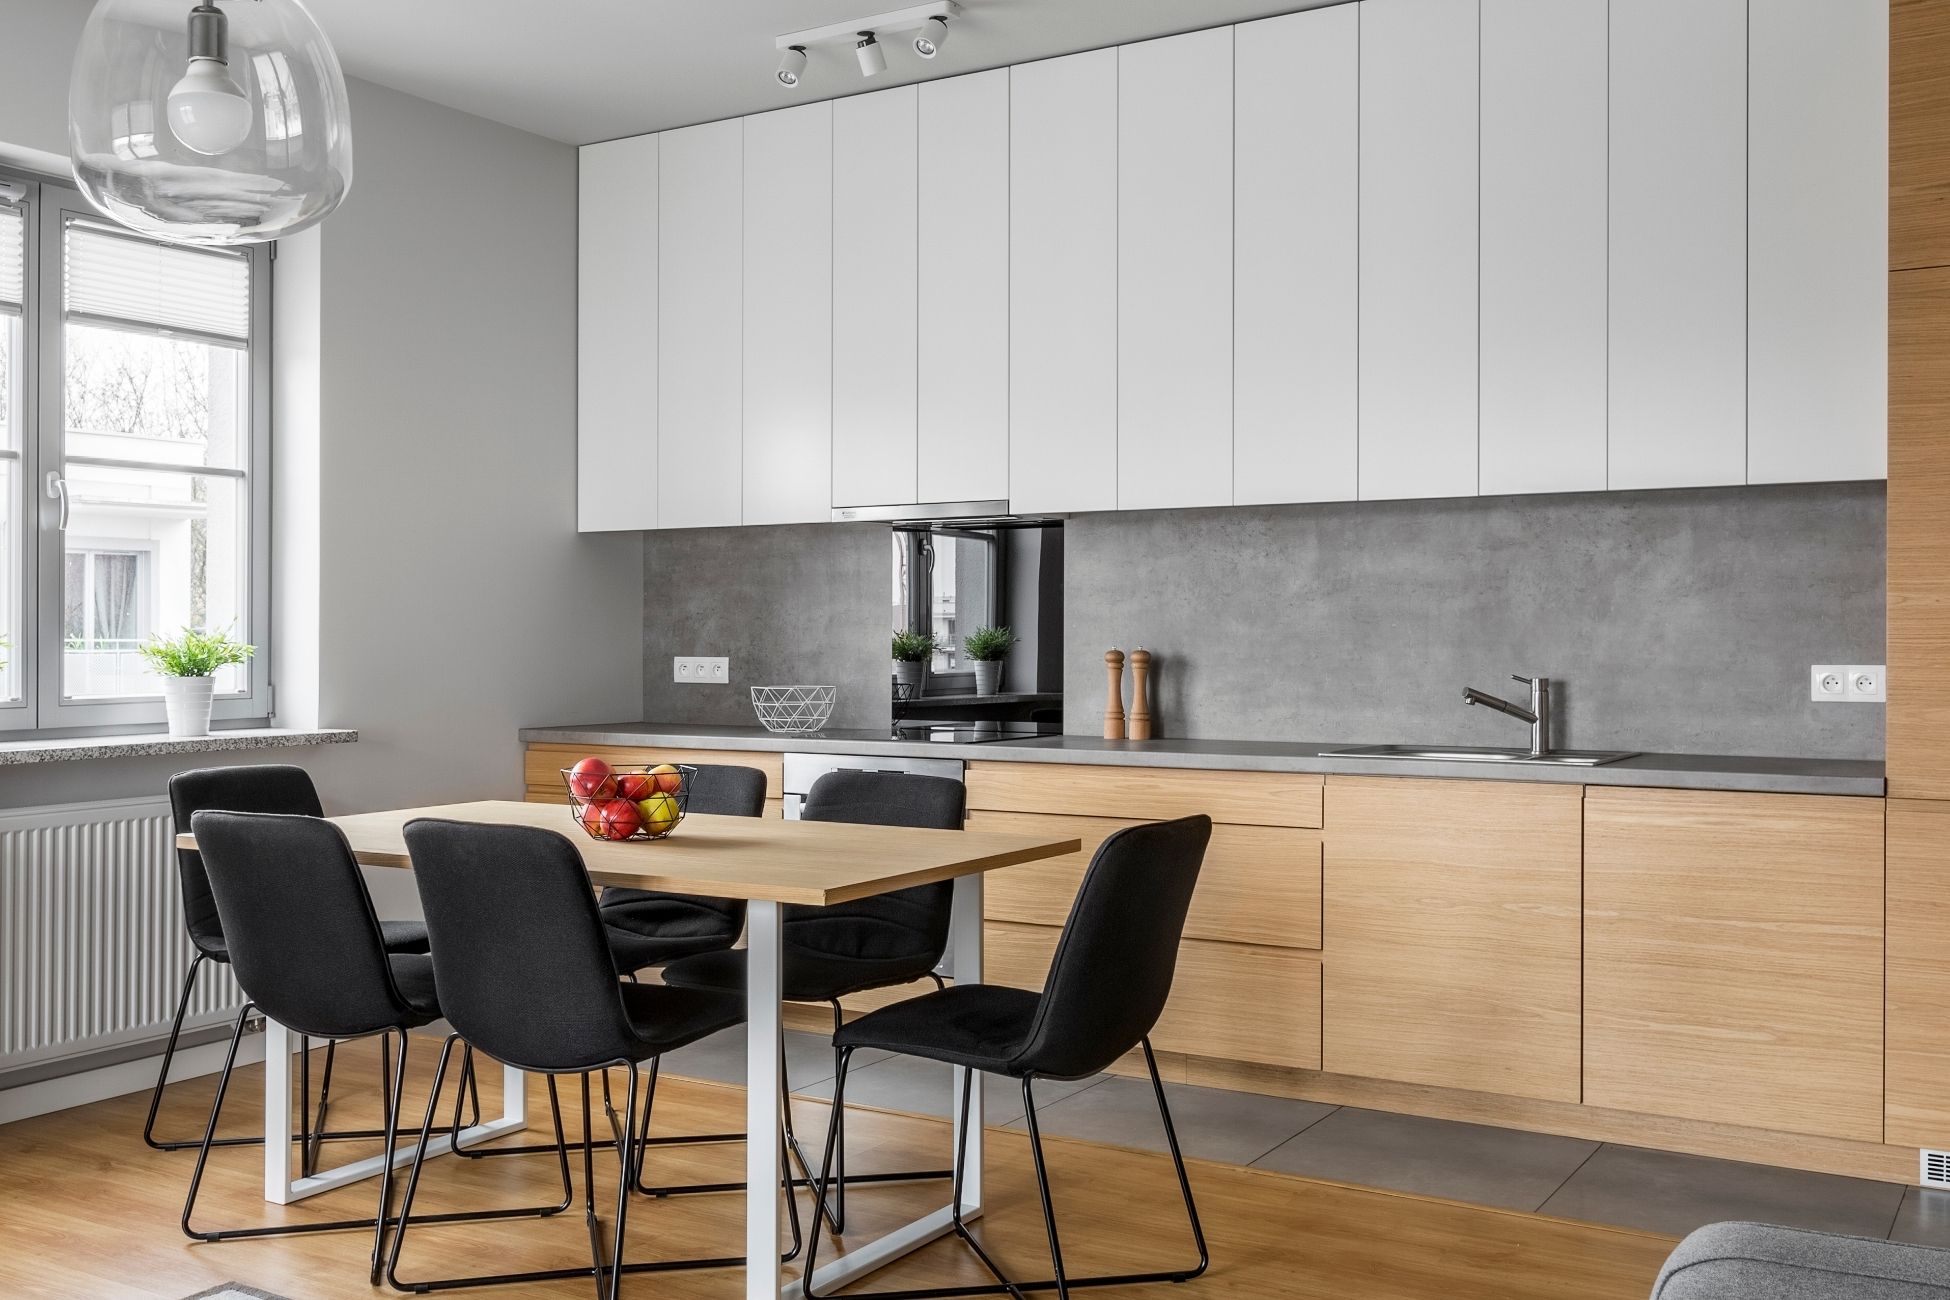
If you’re looking to update your kitchen backsplash, glass tile installs just like ceramic tiles but with a more luminous and colorful aesthetic. It’s widely available at many retailers, making it an easy DIY project. Glass vs. Ceramic Ceramic tile is the traditional material for backsplashes. If it’s a glazed ceramic, the tile has a glass-like surface and is just as washable, durable and stain-resistant as glass tile would be. The grout in a ceramic tile backsplash has to be sealed and regularly maintained for stain-resistance. As for aesthetics, a ceramic tile will be more opaque with all of it’s color on the surface. Glass on the other hand is translucent and light penetrates the entire tile. This light will reflect off the tile and the wall behind it. It will give it more visual depth and overall a water shine or glow. Types of Glass You can obtain glass tiles in just about any color you can think of. They’re also created in many interesting shapes beyond the popular subway tile pattern. You can achieve a more luxurious feel with long, slender tiles, or a vintage look with round and octagonal mosaic tiles. Glass tiles can feature intricate surface designs and be either sheen or matte. Pair these with other tiles made of stone, porcelain or other materials for endless visual possibilities. Tips for Glass Backsplashes Choose the backsplash color after you’ve selected the other room finishes. You can then incorporate shades that complement your wall color or countertop. Lighter tiles work better in smaller areas. The reflected light will make the space feel larger. Mosaic glass tiles are mounted on mesh backing, making them easier to install. Buy extra tiles in case you need to fix any broken ones later on. Source: the Spruce