Kitchen

Reseason Your Cast Iron Skillet in 5 Easy Steps

If you’ve had a cast iron skillet for a while, you may need to re-season it. Reseasoning means to recoat and create a stick resistant surface that also helps guard against rust. Use these 5 steps to reseason your favorite iron skillets and preserve them longer. Step 1 Start off with washing your cookware with warm, soap water. You can use a stiff nylon brush or if the cookware is rusty, scrub with some steel wool. Rinse and dry thoroughly. Step 2 Next, take vegetable oil and apply a thin even coating to the entire surface using a paper towel. This includes the inside and the outside. Set the cookware aside. Step 3 Take aluminum foil and place it on the bottom rack of your oven to protect it from any drips. Set your oven to 350 degrees F. Step 4 Place the pan upside down on the top rack of your oven. This will allow the oil to drip from the pan and coat the entire pan. The aluminum foil on the bottom rack will catch the oil and protect your oven. Leave the pan in your oven for an hour to “bake”. Step 5 After the hour has passed, turn off your oven and let the cookware cool. If you prefer, you can remove the pan with some mitts and place it on a cooling rack. Let everything cool for an hour. Your pan is now reseasoned. Place it in a dry location. Do you want to stay up-to-date with Cosmo? Be sure to follow us on our Facebook and Instagram. Sources: House Beautiful

Cleaning a Gas Stovetop

Your range is bound to get messy with the meals you prepare on it. No matter how far gone you think your cooktop might be, here’s some steps you can take to get it looking as good as new. Tools You’ll Need: Non-toxic degreaser Medium-stiffness scrub brush Toothbrush Soft scouring pad Paper towels Glass cleaner Razor blade Magic eraser Before cleaning, make sure your cooktop is properly cool and safe to touch. Check that all knobs are switched to the off position. Remove knobs if possible to prevent bumping into them as you clean. Take all the necessary precautions to ensure the gas does not come one while you’re working on it. Check in with your product manual. Your product manufacturer may recommend specific cleaning procedures best fit for your cooktop. This guide does not apply to cooktops with stainless steel surfaces. Step 1: Disassembly Start by removing the grates on your stove and take some time to clean any food particles that may have been left behind. Pull off the small caps protecting your burners, then remove the burners themselves if possible. Set these aside as we will get back to them later. Step 2: Degrease Grates Place the grates you removed into your sink and give them a thorough soaking with some non-toxic degreaser. You can also use a dish detergent if you prefer, this just may take more time to scrub. Leave everything to soak for about 15-20 minutes. Step 3: Degrease Cooktop Use the same degreaser and spray down the exposed cooktop. Let this soak in for a few minutes to penetrate any buildup. Take a soft scouring pad to break any bits that have been burned or stuck to the surface. As you work through cleaning, take a paper towel and wipe down the cooktop to clean the grease and grime. Depending how much buildup there is on your stove, you may have to repeat this process. Step 4: Persistent Buildup There may be bits that have burned on to the cooktop that may seem impossible to get rid of with a sponge, or some that are trapped in corners you can’t easily get to. Take a medium-stiff nylon scrub brush or an old toothbrush with some degreaser for these areas. It’s a good idea to test the brushes on a part of the surface before, to make sure you won’t accidentally scratch it. For bits that seem stuck no matter what you try, take a razor blade to peel off the grime. Be extremely careful with this as you don’t want to scratch or peel off the paint. You just want to break the surface so the degreaser can get through and break up the grime. Give everything a final polish with paper towels and wipe away any excess degreaser. You can also take a Magic Eraser and Glass Cleaner to lift any residue remaining. Step 5: Clean Removed Parts By now, everything else that has been soaking in degreaser should be ready for a cleaning. Rinse off the grates with hot water, then take a nylon brush with some soap or degreaser to clean further if necessary. Repeat the process for your burner caps. Then, take the burners themselves and rinse with hot water and scrub gently with the brush again. Don’t use any aggressive cleaners or solvents as this may clog the burners and cause ignition problems. Let everything dry completely. Step 6: Reassembly Put everything back together and you’re done! If you’re looking for the best ways to clean your Cosmo product, check into our Customer Support Hub for specific cleaning instructions. Sources: HGTV 

How to Clean Brass

Before starting, check if your brass is solid or brass-plated. You can test this by using a magnet. If your magnet sticks, your item is brass-plated. It’s important to note this since scrubbing brass-plated items can remove the plating. Clean these items with hot, soapy water instead and dry properly. Cleaning Brass First, check how tarnished your brass is. If it’s only lightly tarnished you can use hot water with soap for sufficient results. Use a toothbrush to get in small crevices. If the brass is heavily tarnished you can use commercial cleaners but use these sparingly as they are abrasive and can scratch the surface with frequent use. Natural Cleaners You can clean brass naturally and more gently with common ingredients. Check out these ingredients below. Ketchup and Tomato Juice. The mild acid in tomatoes removes tarnish and dirt from brass. Use a soft cloth and rub the ketchup into your brass item. Rinse with warm water after and dry properly. You can also soak items in tomato juice if they are small enough. Place them in the juice for 5 minutes or longer depending how dirty they are, then rinse and dry thoroughly. Lemon Juice. Another mild acid is found in lemon juice which can effectively clean brass. If your items are lightly tarnished, cut a lemon in half and sprinkle with table salt. Rub the lemon over the brass surface then wipe with a soft cloth and buff until it shines. If your item has a heavier tarnish, create a paste with two parts cream of tartar to one part lemon juice. Apply the paste and let sit for at least 30 minutes. Be sure to rinse with warm water, and buff with a dry cloth after. You can prevent your brass from tarnishing by applying a thin coat of mineral oil. Avoid touching it as much as possible as your hands’ natural oils will increase tarnishing. Sources: HGTV

How to Personalize Your Kitchen

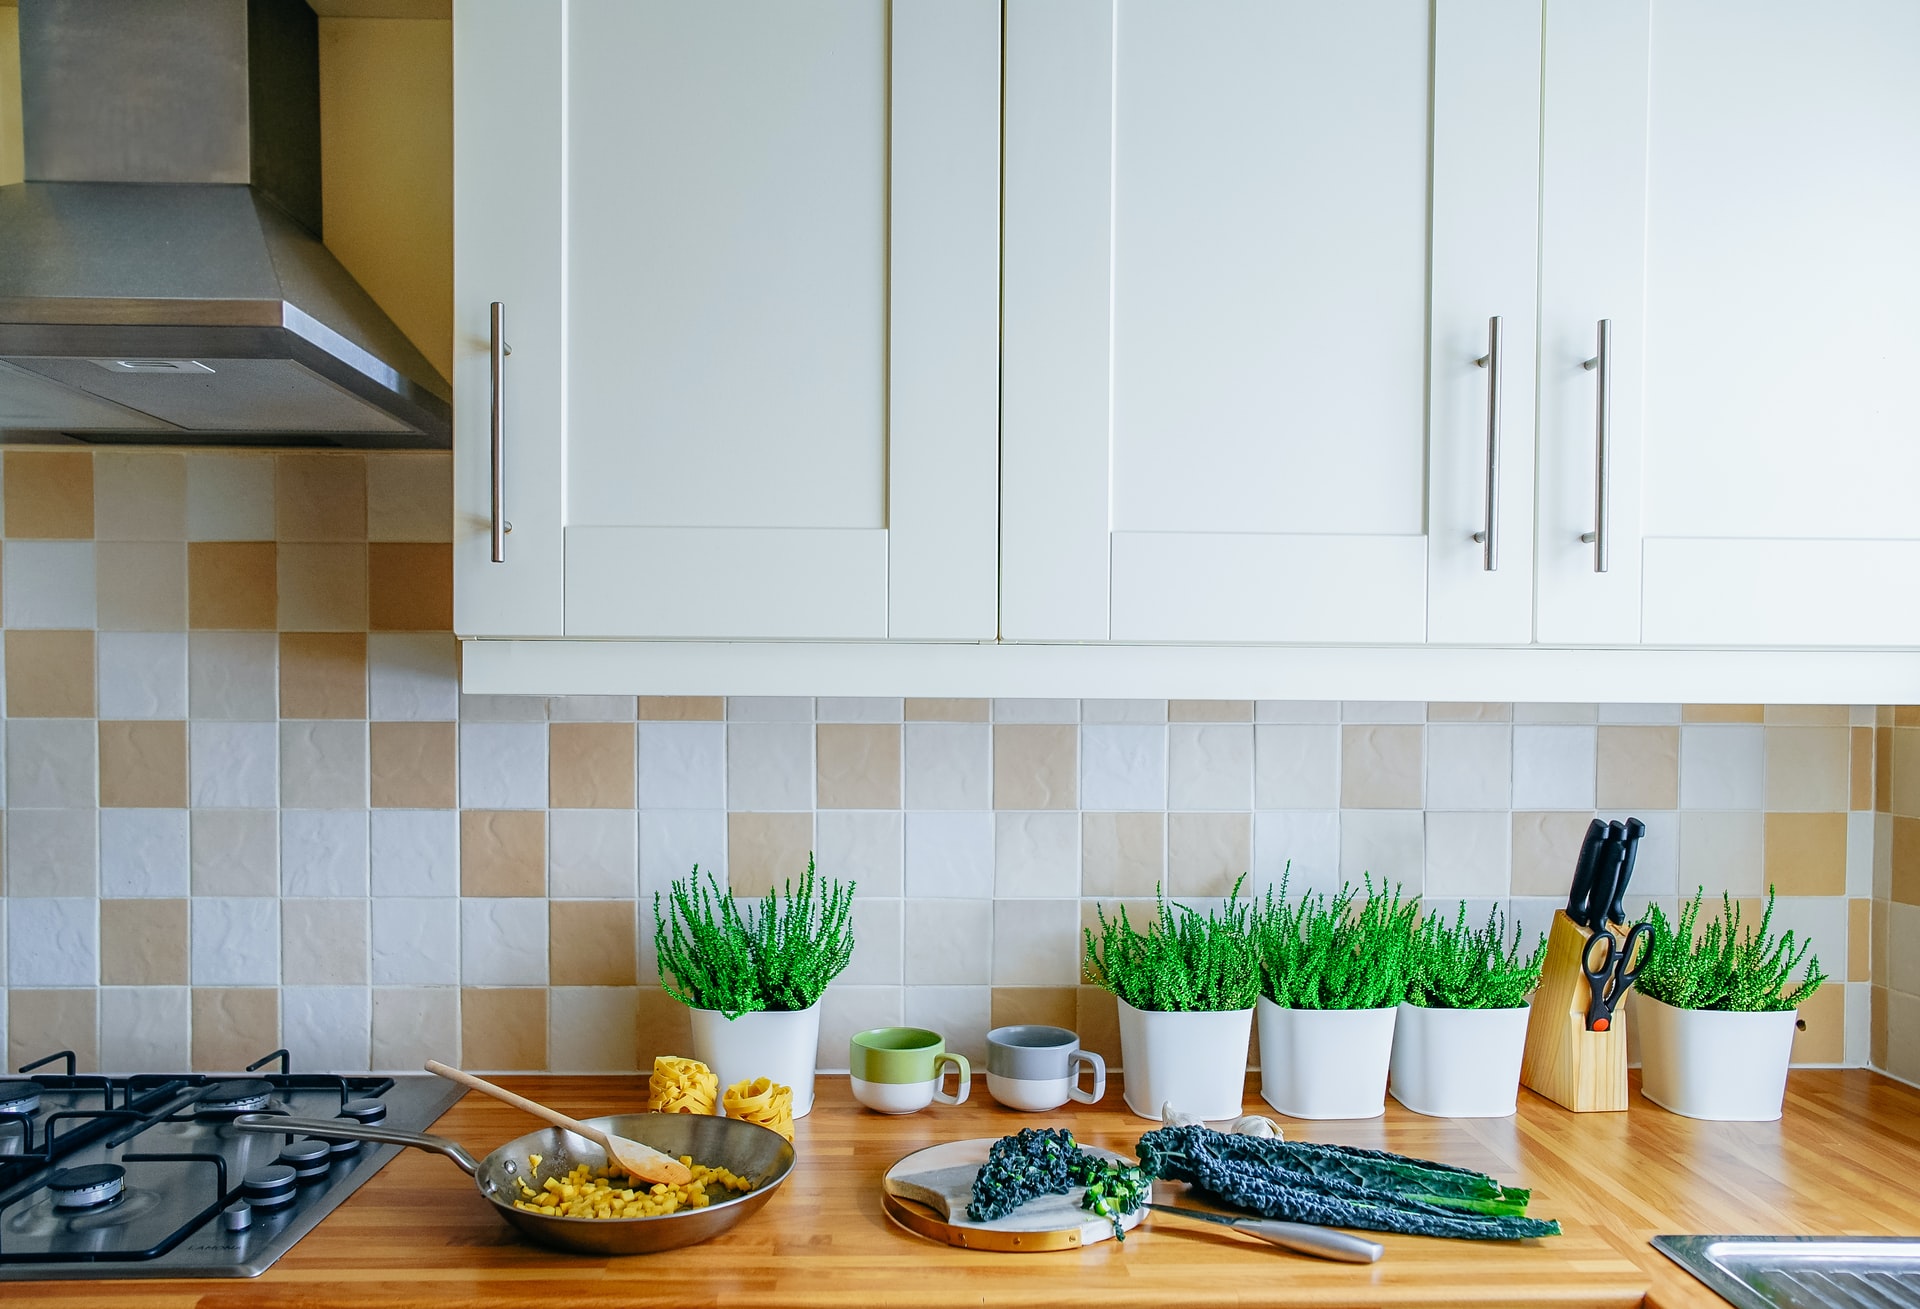
Plants may seem like just a decorative piece in a kitchen, but if growing the right ones, they can offer tastier meals and fresher cocktails. Consider adding low maintenance herbs to brighten up your kitchen space. Here’s some tips on how to start your plant collection. Pots. Plant pots can add the most character to a plant and speak to your style. Choose pots with interesting colors and shapes. Combine earthy clay pots and soothing natural sandstone for a dynamic look to your kitchen. You can also add a modern flair with classic black and white ceramic. Variety. Add a few different herbs to your kitchen that vary shape and texture. This can also make cooking easier with less runs to the grocery store. Try rosemary for an even more delicious roast chicken, or oregano for your favorite tomato sauce recipes. If you have cocktails in mind, consider easy growing mint for the most refreshing drinks. Space. If you’re short on counter space try out some hanging garden options. There are many pots on the market that will easily match your taste. It’s important to have your plants in a sunny spot in your kitchen, make sure you have a window spot that offers lots of natural light. Did you learn something new? Sound off in the comments. If you’re looking for more from Cosmo be sure to follow us on Facebook and Instagram. Sources: Apartment Therapy

What You Shouldn’t Clean with Baking Soda

Baking soda is a staple for cleaning when it comes to your kitchen. While it may be tempting to use it everywhere, there’s some places you should absolutely steer clear from. Baking soda is abrasive which means it can damage lightly sealed surfaces or discolor some metals. Here’s a list of some places you should avoid using it. Aluminum cookware. Baking soda can usually be used on many metal surfaces but take caution with aluminum. You may be able to get away with using it if you quickly apply it and rinse it off. Leaving it on can cause it to oxidize which would change the aluminum’s surface color. Gold-plated service pieces. While 24k plated gold may be uncommon in a kitchen, some decorative wedding china may have some true gold accents. Baking soda can easily scratch gold since it’s a soft metal. Marble surfaces. Stone manufacturers advise against cleaning marble with baking soda. The repeat abrasive cleaning from baking soda can deteriorate the sealant. It’s best to use proper marble cleaners to avoid damage. Antique silver. While baking soda can be used to remove tarnish from silverware, be careful with antique silver. It may be too abrasive and ruin the finish, especially if you are unsure of the provenance and may not actually be sterling silver. Avoid pieces that contain decorative insets all together. It’s best to take these pieces to a professional who knows how to properly clean them. Did you learn something new? Follow our Facebook and Instagram for more from Cosmo. Source: Kitchn

Oatmeal Cream Cookie Sandwich Recipe

Try out this delicious oatmeal cream cookie recipe, courtesy of Culinary.net . These are easy to make and use practical ingredients you may already have in your pantry. Learn below how you can bring a new experience to your holiday season. Servings: 10-12 Oatmeal Cookies: 1 cup unsalted butter, softened 1 cup dark brown sugar ½ cup light brown sugar 2 large eggs 2 teaspoons vanilla extract 1 ½ cups flour 1 teaspoon baking soda ½ teaspoon salt 1 teaspoon cinnamon ¼ teaspoon ground cloves 3 cups rolled old-fashioned oats Vanilla Bean Cream Filling: ¾ cup unsalted butter, softened 2 ½ cups powdered sugar 1 teaspoon vanilla extract 1 tablespoon heavy cream Heat oven to 350 F. Line baking sheet with parchment paper and set aside. To make oatmeal cookies: with a mixer, cream butter, dark brown sugar and light brown sugar on medium-high speed until creamy. Add eggs and vanilla extract; mix until combined. In medium bowl, whisk flour, baking soda, salt, cinnamon, cloves and oats. Gradually add oat mixture to wet ingredients, mixing until just combined. Spoon dough into hands and roll into balls. Flatten balls and place onto prepared baking sheet, leaving about 2 inches between each cookie. Bake 10-12 minutes, or until lightly golden brown around edges. Move cookies to wire rack to cool completely. To make vanilla bean cream filling: with a mixer, cream butter on medium-high speed until light and fluffy. Gradually add powdered sugar, vanilla extract and heavy cream; mix until combined. Pipe or spoon a large dollop of filling on half the cookies; top each with second cookie. Source: Culinary.net

How to Pick the Best Kitchen Sink and Faucet

Sinks and faucets are essential to any kitchen. Recent trends may influence your decision for your next upgrade, but it’s important to choose a sink that will work well for your needs and withstand years of use. Material Options. Sinks come in many different materials such as stainless steel, enamel-coated cast iron, and solid surfaces. If you tend to throw dishes into your sink, then stainless steel may be better for you, due to its tougher construction. Stainless steel is also an attractive choice when paired with solid surface counters like granite or engineered stone because of its undermount capability. Solid surface sinks are easier to clean due to their smoother area but can be chipped or damaged with hot pots and pans. Number of Sinks. Double-bowl sinks are the most common kitchen feature, but may not be necessary if you don’t wash as many dishes. Dishes may not always be hand washed when dishwashers are available, so the extra space isn’t always needed. Larger pots and pans may fit better in one large oversized sink bowl. The need for space differs from household to household, so recognize your needs when deciding on a sink construction. Faucets. There are many faucets to choose from on the market. Most use cartridge, ball or ceramic disc valves. These valves prevent water from leaking and control the water pressure.  A ceramic disk valve and solid brass base materials will be the most durable. A faucet with a spray arm is useful for filling pots with water or cleaning the sink afterwards. Other features to consider are garbage disposals or hot water dispensers. It’s best to avoid brass finishes as these faucets aren’t as suitable for high use areas like a kitchen. Instead opt for materials like chrome, polished nickel, brushed nickel or pewter. Sources: HGTV

Tea or Coffee in the Morning?

Coffee and tea are the most common drinks in the world. The debate of the health benefits between the two is ever evolving. It’s hard to distinguish which drink may be best to start your day with all the cluttered information. Here’s the key differences that can help you decide which one to sip on the next time you need a boost of energy. Caffeine Coffee and tea both contain the same stimulant: caffeine. But they differ in the way that they’re metabolized in our body. On average, a cup of coffee contains 80 to 100mg of caffeine. Tea on the other hand has 30 to 50mg per cup. This can vary across types of teas and brewing methods. Caffeine affects everyone differently and personal tolerance also plays a role. An excess of caffeine can lead to negative side effects such as insomnia, anxiety or elevated heart rate. It’s recommended to not consume more than four or five cups of coffee a day. Energy Tea differs from coffee in that it contains the chemical, L-theanine. This chemical metabolizes caffeine over a longer period of time which can lead to sustained energy. Coffee can provide a quicker buzz, but tea enhances cognitive performance and attention. Antioxidants Antioxidants are chemical compounds that may reduce the risk of health conditions such as cancer or diabetes. Both coffee and tea contain antioxidants, but coffee has more. Some common antioxidants found in coffee are chlorogenic, ferulic, caffeic and n-coumaric acids. The major antioxidant in tea is catechin which has anti-inflammatory properties. These antioxidants can help prevent degenerative diseases such as heart disease or stroke. It’s important to note that although coffee contains more antioxidants, exceeding recommended daily caffeine amounts can lead to health risks like insomnia and nausea. Sources: Insider 

3 Ways to Cook the Perfect Turkey

Cooking turkeys can be a daunting task. Instead of resorting to an old recipe, try something new this year if you’re up for the challenge, here are three different ways you can cook that perfect turkey. Smoke It Smoking turkey takes about the same amount of time as cooking it traditionally in an oven, however it requires more attention. You’ll need to truss your turkey to make it easier to flip in the smoker for an even cook. Cotton butcher’s twine is a must. You’ll need to have a slow and mellow fire. Be sure to keep your coals glowing and add some hardwood chunks for a unique flavor. Keep an eye on the turkey throughout the day and measure its temperature. Avoid a dry, hot smoker as this will make the turkey’s skin crack. Have a silicone brush on hand to keep the turkey basted. Grill It A gas grill can be ideal for cooking turkey with the right tools. You’ll need a roast rack to hold up your turkey upside down and away from the grill as it starts to cook. The breast will take the longest so start with the breast side facing the burners. After an hour or two you can flip it over directly on to the grate. Add some smokey flavor with a smoke box as gas doesn’t naturally do this. Keep track of the temperature of your turkey. Use a dual probe thermometer as the breast will take longer to cook. Fry It One of the quickest ways to cook a turkey is frying it. You can cook an average sized turkey in about an hour, making it a much more attractive method. It’s best to brine your turkey beforehand to maintain moisture in the turkey as frying can dry it out. Safety is key when it comes to frying a turkey. Be sure you have a thermometer to keep track of the oil’s temperature. Use proper equipment when lowering and lifting the turkey in the oil, such as heat resistant gloves. Turn off your fryer prior to lifting it out of the fryer and check the turkey’s temperature once it’s out. It’s only safe to fry a turkey outdoors and with the proper fryer. Keep flammable items away from the area. How are you going to cook your turkey this year? Let us know over on our Facebook and Instagram, or in the comments below. Have a happy and safe Thanksgiving this year! Sources: HGTV

Upcoming Product Release: Electric Ceramic Glass Cooktops!

Here at Cosmo we’re proud to see the way our products bring alive the heart and soul to kitchens across the country. Our cooktop line has always delivered seamless performance with modern design at its core. We’re happy to introduce our newest products, the COS-365ECC and COS-304ECC, electric ceramic glass cooktops! These beautiful cooktops come with a smooth glass ceramic surface that easily wipes clean, giving you freedom to cook whatever you please and a clean, shiny cooktop after every meal. Powered with either 4 or 5 electric surface burners, you can rest assured you can cook like a professional chef in your own home. These burners are also equipped with dual zone elements for added flexibility when cooking with different sized cookware. Previous Next Features Knob controls provide easy access to temperature settings 5 Heat levels for a variety in cooking Hot Surface Indicator Light will glow to alert any surface area is too hot to touch Built with SCHOTT CERAN ® cooktop panels –made of a material that combines the aesthetics of glass with enormous heat resistance and stability. The ceramization process is then what turns glass into a glass-ceramic Dual Zone Elements offer flexibility for a variety of cookware sizes Easy clean-up with the cooktop’s smooth glass surface 5 Year Limited Warranty Like what you see? Keep an eye out for the cooktops here. CLICK HERE