5 Options for Kitchen Flooring
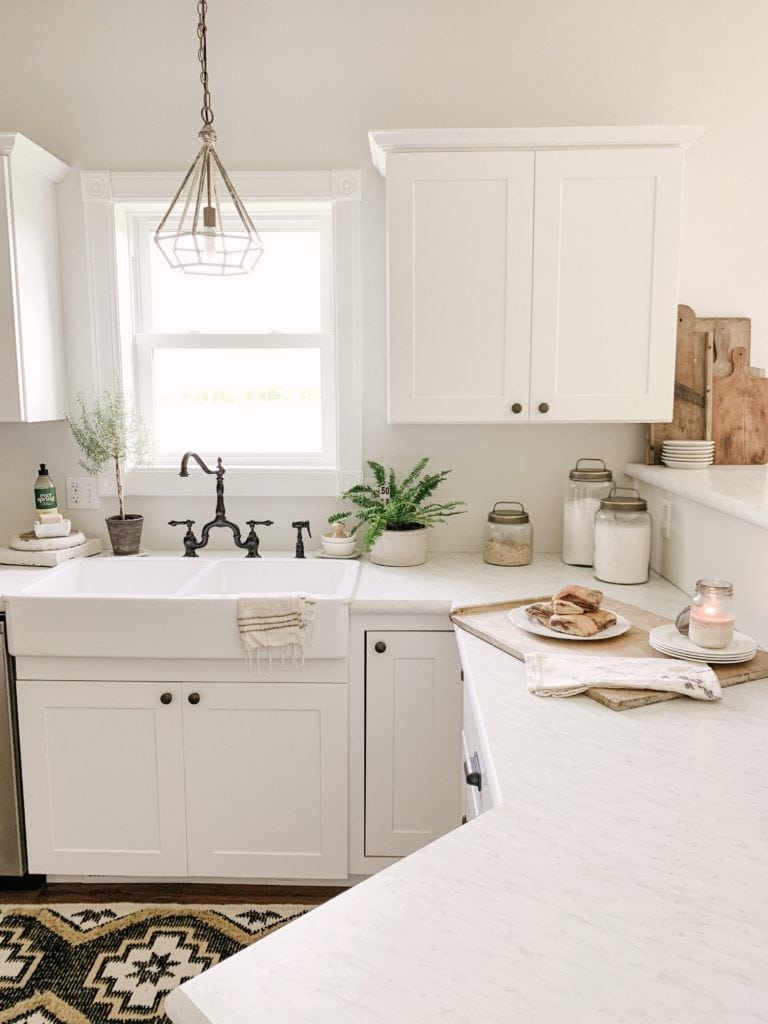
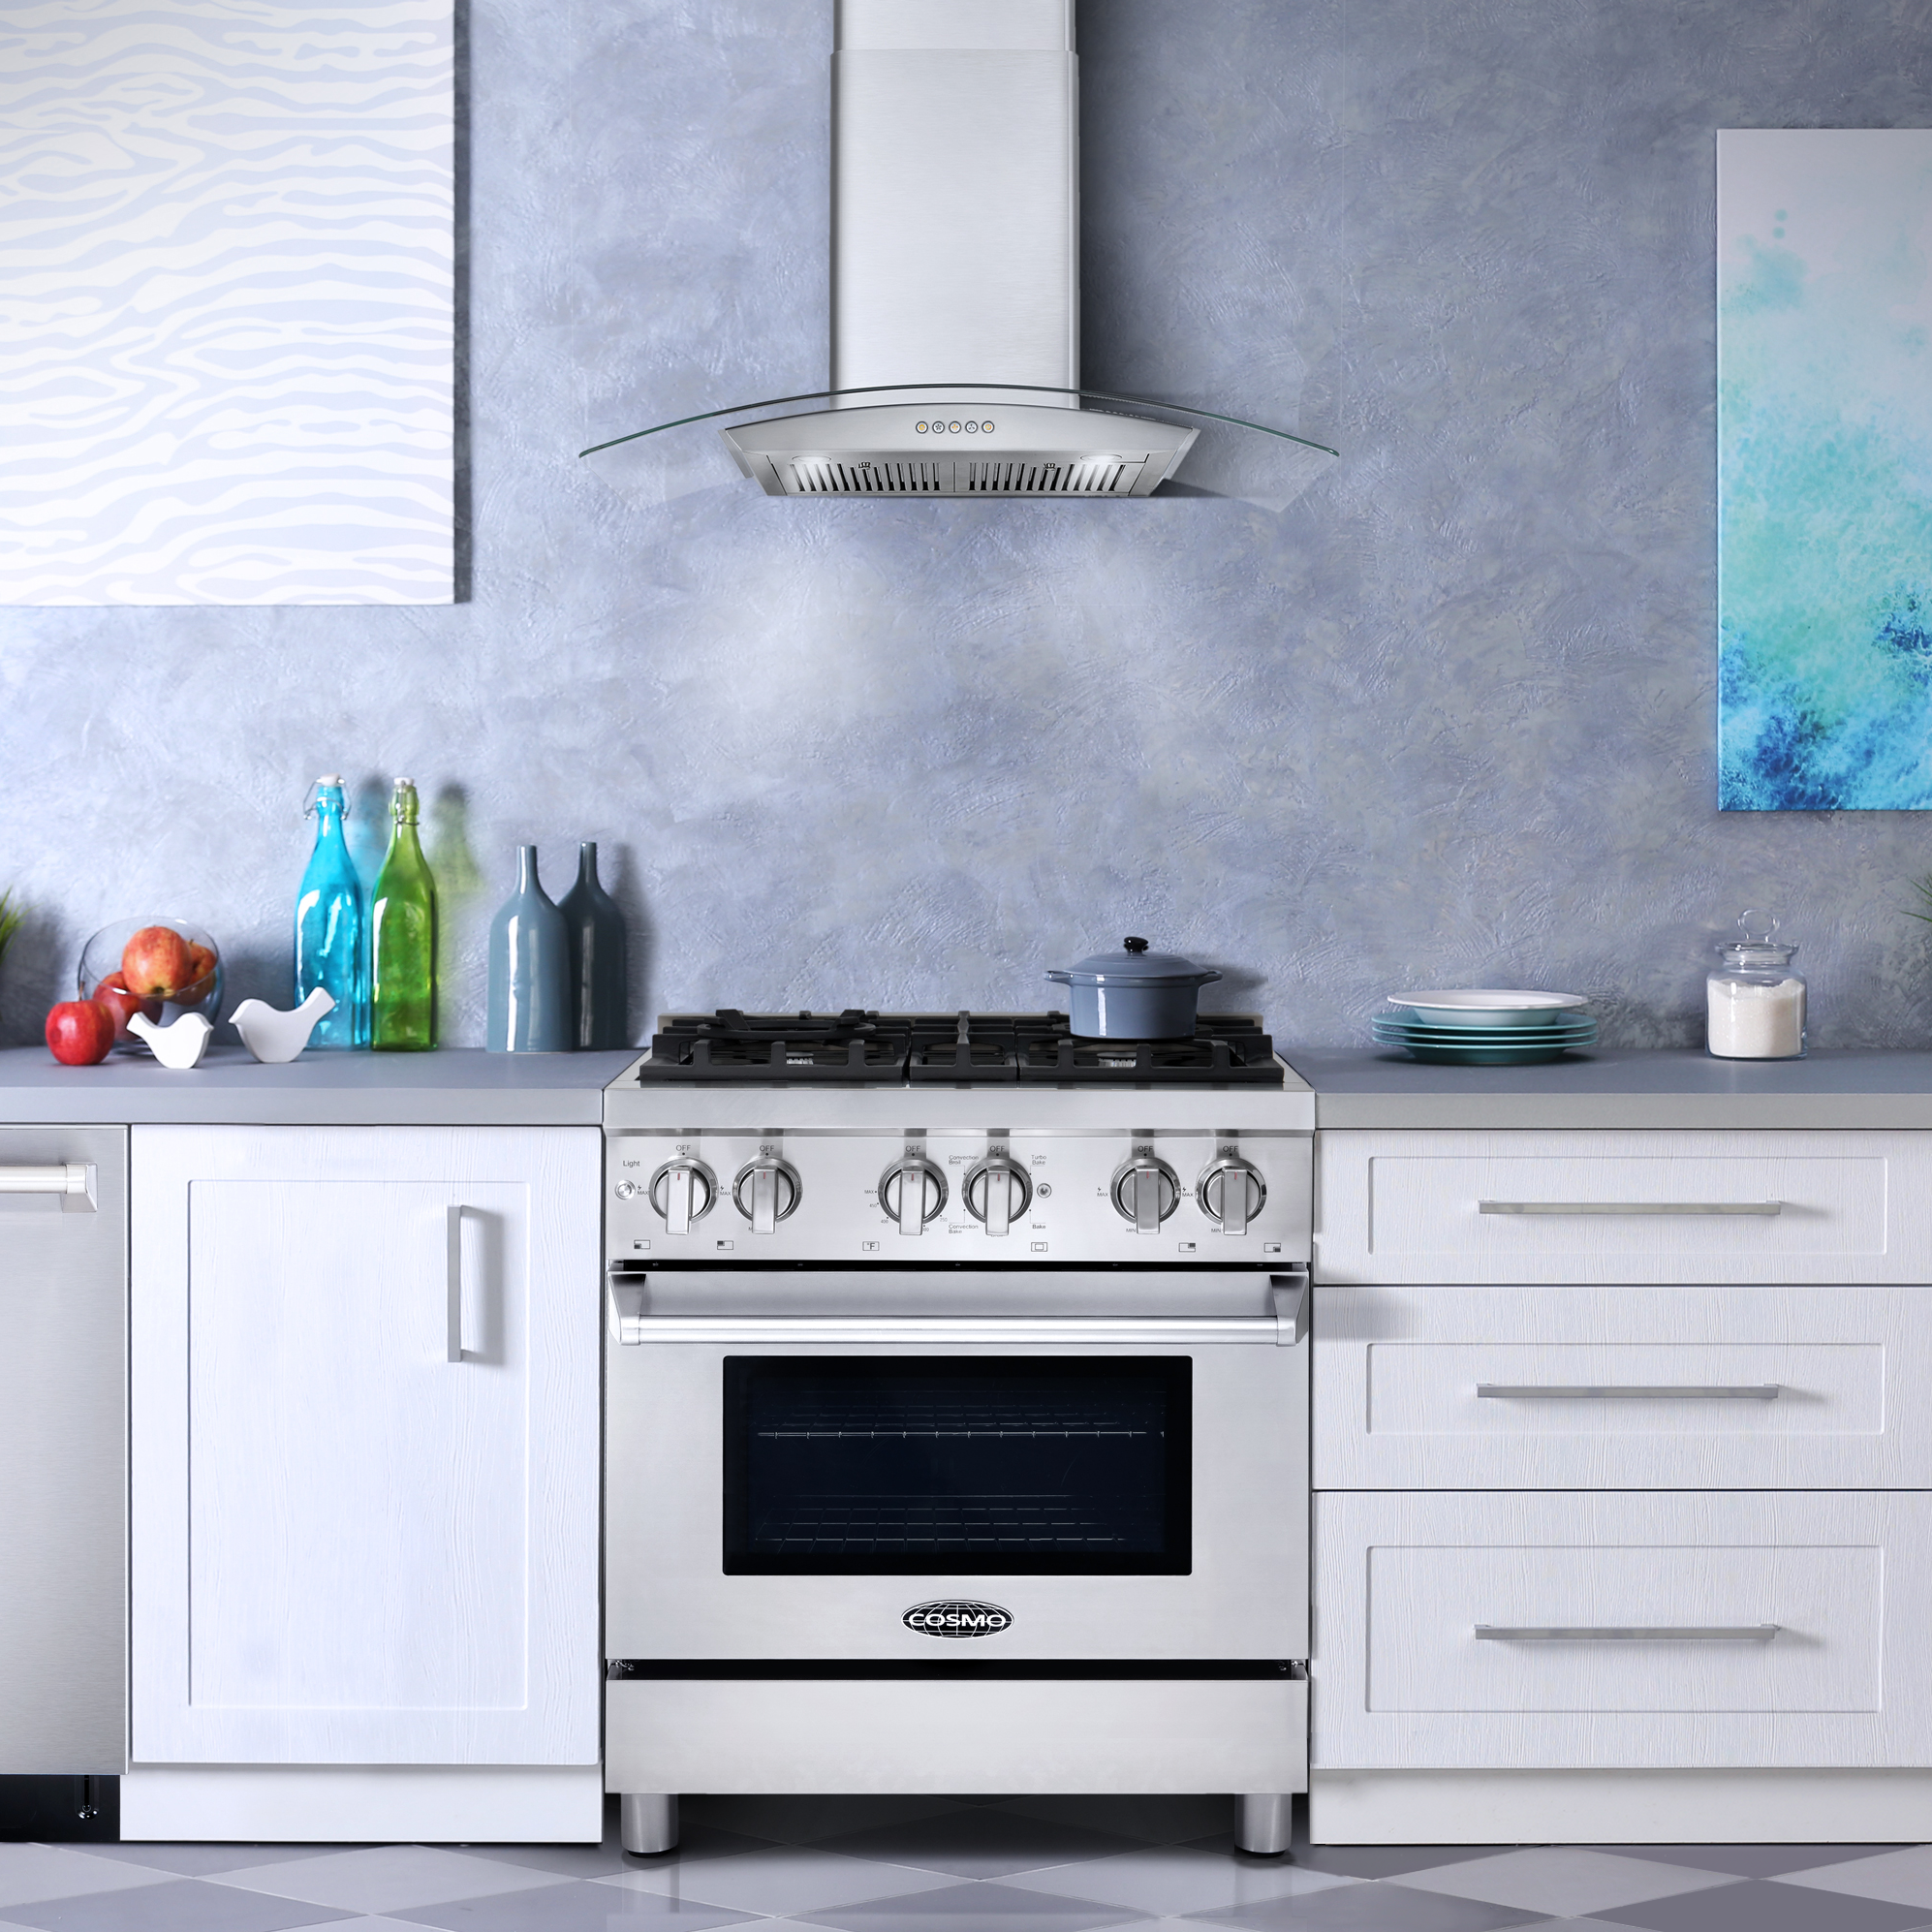
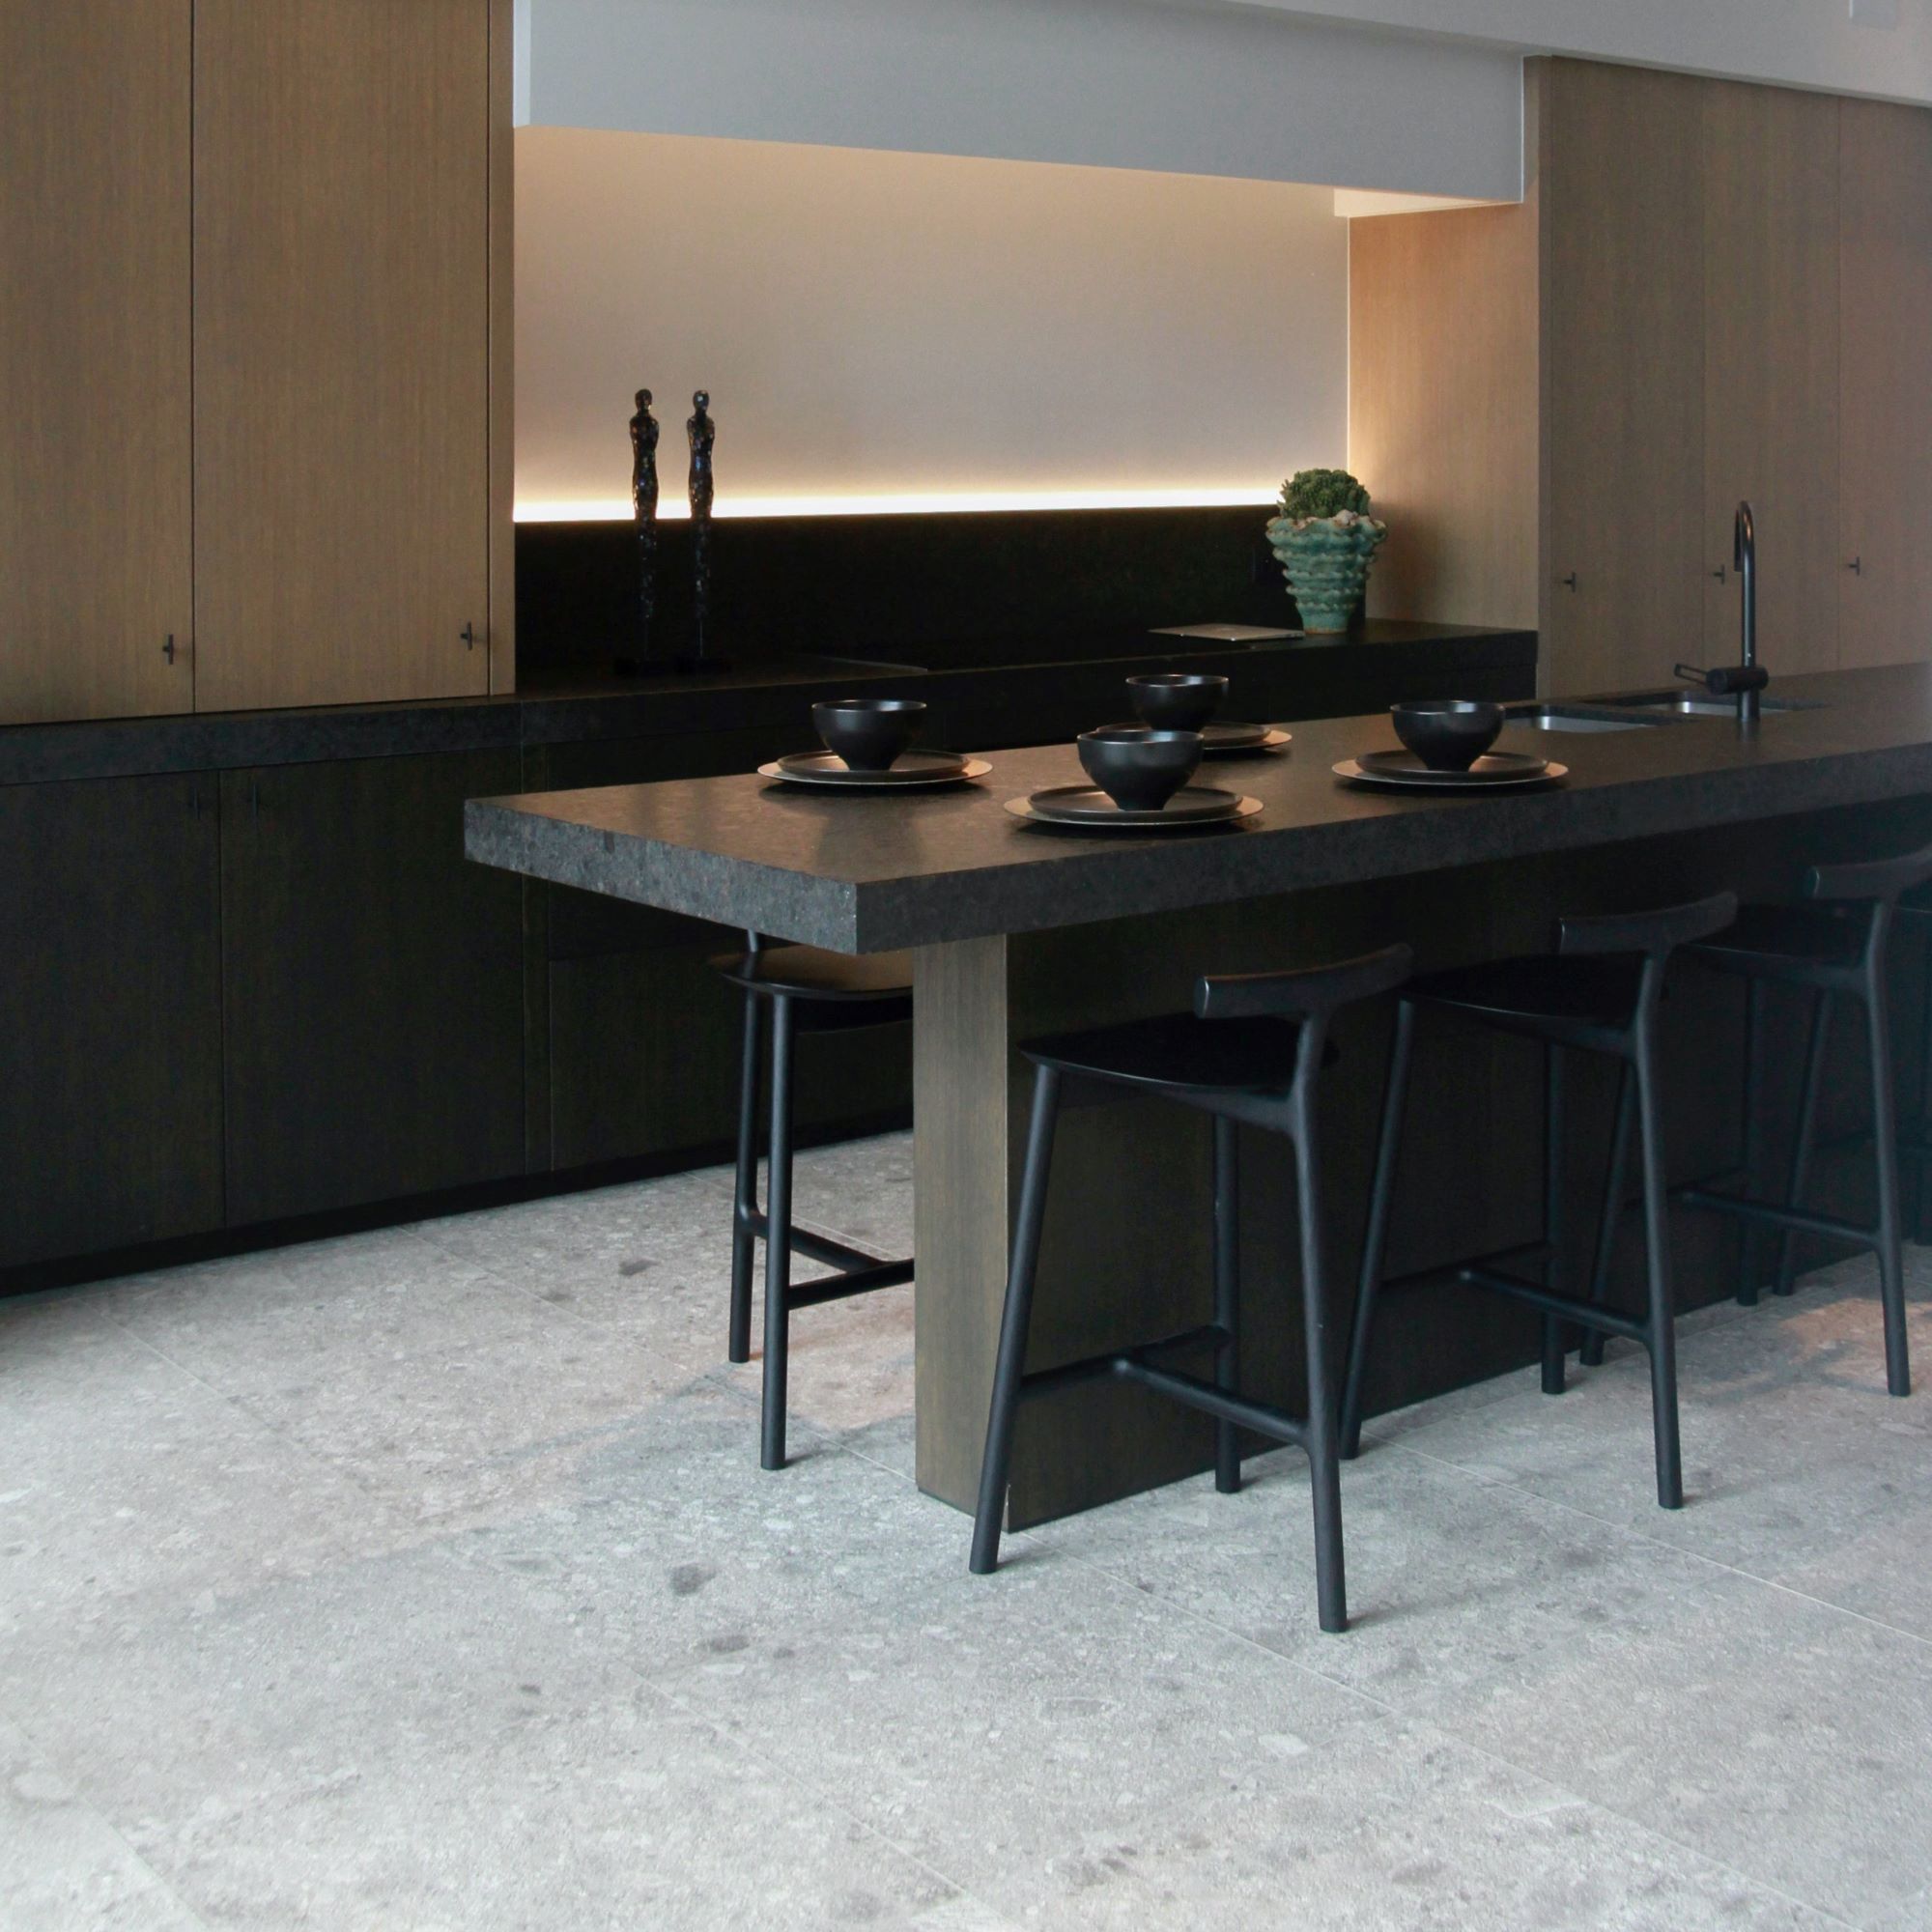
Kitchen floors go through a lot. A flooring space must endure spills, drips, heat and dropped utensils. When deciding on a kitchen floor material, you’ll need to consider style, function and comfort. Here’s five materials you should look into. Hardwood While hardwood flooring by nature is very durable, it has its limitations in areas susceptible to moisture. Modern sealers and polyurethane finishes can aid in preserving hardwood floors longer however. The material will change over time and naturally degrade, but this can add more personality to a kitchen. You’ll always have the option of sanding and refinishing the floor to make it feel brand new. Bamboo Bamboo is actually harder than hardwood and is more resistant to moisture and water damage. It’s increasing in popularity for kitchens and is considered more durable than wood. It’s important to note bamboo is more expensive than wood and it’s harder to refinish due to the natural grain on the material. Ceramic Tile Ceramic tile is a material made from natural clay and is extremely durable for kitchen flooring. It’s also very hard and impervious to water damage. Under normal conditions, ceramic tile will maintain its appearance and function over time with little to no change. They also come in a variety of styles and colors, offering countless options. You should take into consideration that ceramic tile is a more cold material and some people can find it to be too hard. Concrete Another inexpensive option, concrete is usually already in place beneath existing floor coverings. There are many ways it can be polished, stained or treated to fit in any kitchen. This pairs perfectly with a modern-style kitchen. Similar to ceramic tile, concrete is a cold material that can be too hard for some people. Concrete isn’t everyone’s first choice, which can be a drawback when it’s time to sell your home. Natural Stone Tile Probably one of the most luxurious choices for kitchen flooring, natural stone tile is an actual rock with long-lasting durability. A natural stone flooring can be made of marble, granite, slate, limestone or sandstone. The drawback to natural stone is that the material is porous, making it susceptible to water and liquid stain penetration. Quality penetrating stone sealer can be applied annually to create an invisible coat of protection over the stone. Each stone material will have its own properties for hardness, scratch resistance and durability. Source: The Spruce