food expiration

Cooking with a Range – Beginner’s Guide to Cooking like a Pro at Home

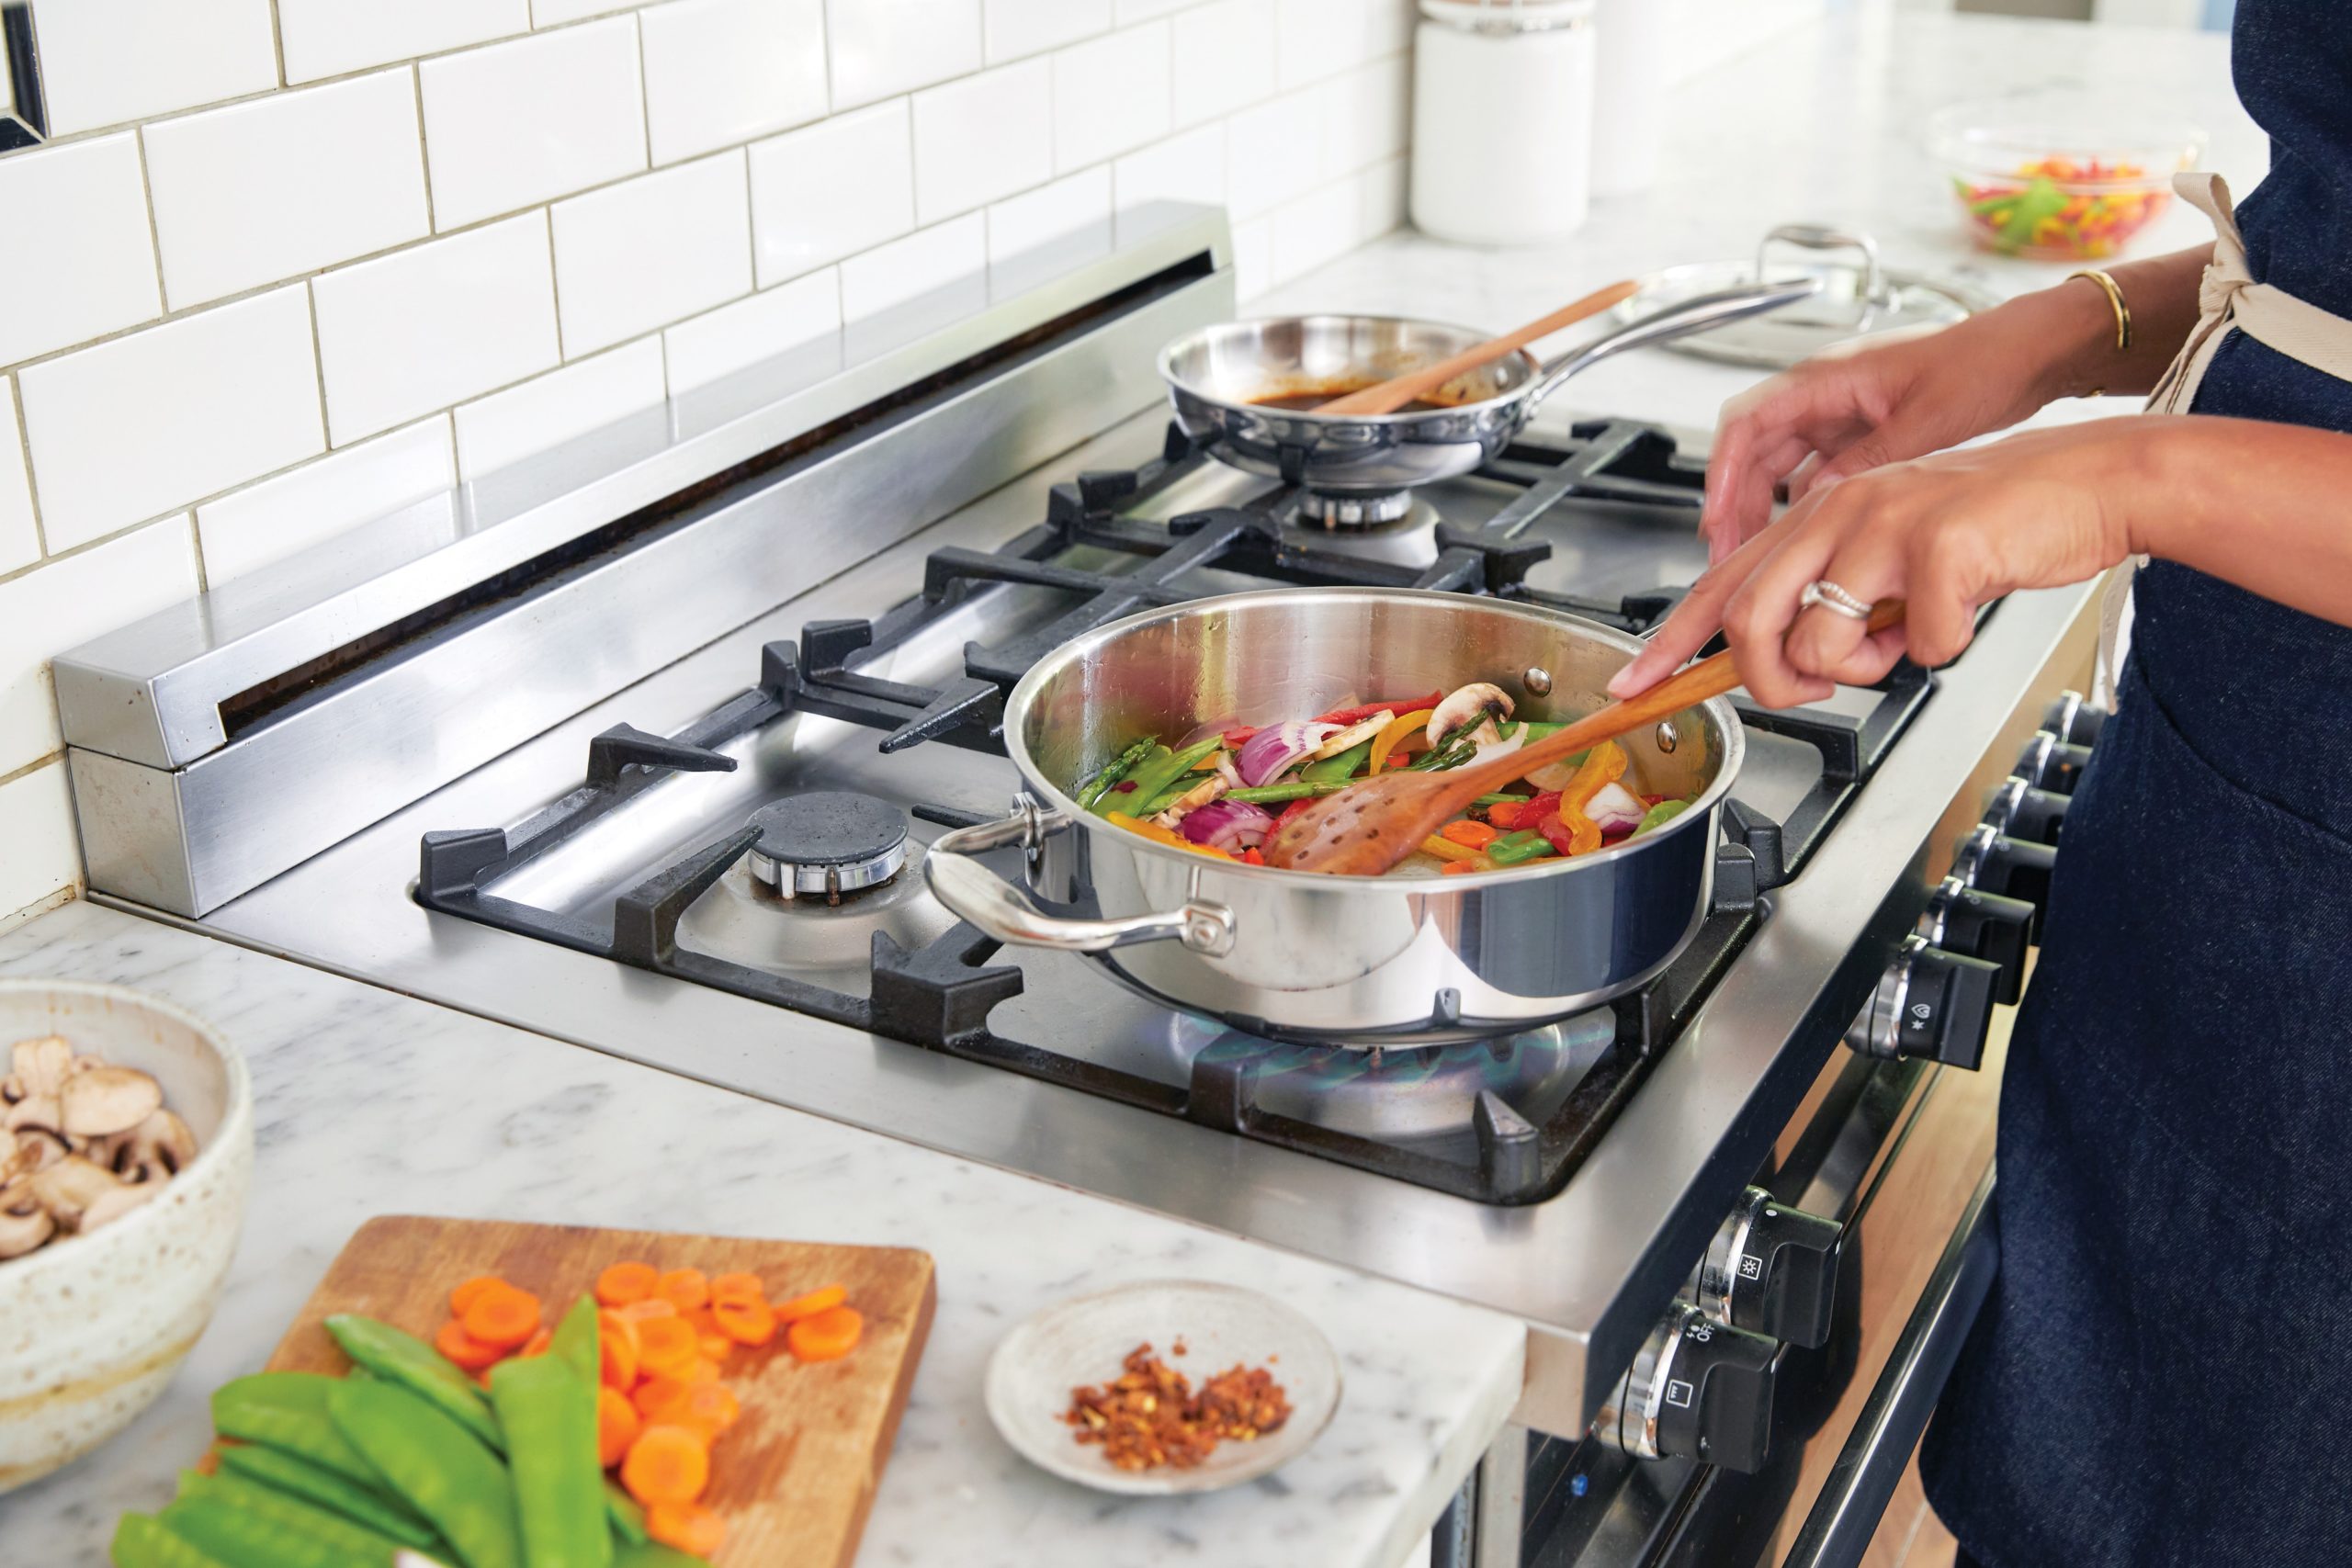
Everyone is entertaining at home these days, and whether it’s for a small group or large gathering, the trend of professional-grade kitchens in the home is here to stay.  A top chef’s kitchen adds lots of value to your home, and the focus is the appliances.  Here are some key factors to consider when choosing pro-style chef-grade Gas Range . Gas Heats up Faster Because the Flame Is the Source of Heat Gas stoves heat much faster than electric,  with gas stoves, the flame itself is the source of heat. This means you don’t need to wait on for the burner to get hot – your pan will instantly begin feeling the heat. When You Turn off the Burner, You Turn off the Heat  When you turn off the burner, you turn off the flame. And, when you turn off the flame, you turn off the heat. Simmering May Take Some Practice  When it comes to cooking on a gas range, there’s  one thing that many people have trouble with, and that’s how to simmer. It may take some practice. With a bit of practice, you will find the perfect setting for the simmer function.  Learn What Gas Smells Like and Know How to Turn the Gas Off  it’s very important to know what natural gas and propane (depending on which you have) smell like. While leaks are very rare, they are possible. For your safety, knowing how to turn off the gas is crucial. Take the time to learn where the valve switch is and how to use it before you even cook. Be Mindful of the Flame Remember that you are cooking with an open flame. With a gas range, the flame is the heat. So, if something comes in contact with it, a fire can start very quickly. Watch out for things such as kitchen towels, oven mitts, long hair, loose clothing, etc. And, get in the habit of turning a burner off the moment you remove a pan from it. Keep It Clean No matter how hard you try, cooking can get messy. Food splatters, drips, spills, and so forth. And while you may want to overlook this mess or believe that it will cook off the next time the oven or stove are turned on, you are leaving yourself with a potentially dangerous situation. The leftover debris from your cooking may actually catch fire the next time you go to light your burner. So make a point to clean after each use. When Baking, Consider Rotating Your Pans One of the biggest complaints from bakers is the uneven heating that occurs in a gas oven. Unless you have a convection fan, you may find that your food may bake faster on one side. To prevent any issue with over- or under-cooked food, consider rotating your pans throughout the baking time. This will help each side to be evenly exposed to the heat.

Healthy Living: Steps to Take for a Healthier Lifestyle

There isn’t a better time than now to start getting fit with health information and products so easily accessible. Simply incorporate the basics into your daily routine – good nutrition, adequate exercise and a daily supplement – and start down the path toward better health. Plan a Nutritious Diet The Dietary Guidelines for Americans describes a healthy diet as one that emphasizes fruits, vegetables, lean meats, poultry, fish, beans, eggs, nuts, whole grains and fat-free or low-fat milk products. It should be low in saturated fat, trans fat, cholesterol, salt and added sugar. Warm weather makes fresh produce more easily accessible. Eat more fruits and vegetables by setting freshly washed and prepared produce on the kitchen counter or at eye level in the fridge. At every meal, make sure half your plate is made up of fruit and vegetable servings. One-fourth of your plate at every meal should be made up of grains, such as wheat, rice, oats, cornmeal or barley. People who eat whole grains as part of a healthy diet have a reduced risk of some chronic diseases. The remaining one-fourth of your plate should be lean or low-fat cuts of meat, plant-based protein or seafood. Get Regular Exercise The Department of Health and Human Services recommends an adequate amount of exercise every day. This guide can point to the right amount of exercise to add to your schedule: Get at least 150 minutes of moderate aerobic activity every week. For best results, spread the time out over several days.   Do strength training exercises at least twice a week. Lifting weights builds muscle, which means the body burns more calories – even at rest. It’s important to keep in mind that when people are active, they produce more free radicals. The antioxidants found in supplements can help buffer the negative effects of the workout. Improving your diet, exercising regularly, taking a daily supplement and getting enough restorative sleep are all important steps to overall wellness. Work to incorporate each step into your daily routine until you reach your goal of good health Source: eLivingToday.com For more great recipes, tips and appliance news, follow us on Facebook or Instagram.

Space Saving Places To Put Your Microwave

If there’s one kitchen appliance every home needs it’s a microwave but it’s one bulky appliance with a large footprint.   The typical location for a microwave oven is on the countertop, where it takes up so much precious counter space.  The second most common location is above the stove which is a popular option for smaller kitchens. The Over the Range microwave (OTR microwave) doubles as a vent hood.  Here are some great  OTR microwave options to choose from. 1. 24″ Over The Range Microwave Oven in Black/Stainless Steel  2. 30″ Stainless Steel Over the Range Microwave Oven  We know you want your microwave and you want your space too!? So here are six smart ways to get it off the countertop and out of the way. Under The Countertop  Stash the microwave on a lower shelf or in a cabinet shelf of an island, or in a specially-built cupboard nook. This has become a popular option in many kitchens lately. Just be aware of placing the microwave too low, which can become a nuisance if you use the microwave a lot. If you have curious small children, you want to make sure that the microwave is out of reach. Cosmo COS-BIM22SSB Built-in Microwave Oven with Smart Sensor, Touch Presets, 1200W & 2.2 cu. ft. Capacity, 24 inch, Stainless Steel 1200 WATTS OF POWER: With 10 power levels, cook meals with precise control and delicious results  CONVENIENT TOUCH PRESETS: Pre-programmed buttons for popcorn, potato, pizza, frozen veggies, beverages, and dinner plates  SMART SENSOR: Smart sensor cooking measures when food is hot  BUILD INTO CABINETRY: Incorporate the microwave into your kitchen cabinets using our Trim Kit (Part # COS-30BIMTK, purchased separately)  DIMENSIONS: Exterior dimensions (WxDxH): 24. 4 x 13. 6 x 19. 6 in; Turntable diameter: 16. 5 in. Over the Wall Oven.  You can also install a microwave in the wall, like an oven. If you have a wall oven, then the ideal microwave placement is above it. Installing your microwave oven in the wall means you’re not giving up any cabinet, island, or counter space. Plus, you’ll be able to install a slightly larger microwave because walls can bear more weight. On an Upper Shelf  If you can make do with a smaller microwave, then you can tuck it onto a shelf as part of your upper cabinets. Depending on the model you choose you may find that you need the shelf the microwave sits on to protrude out a little further than your upper cabinets, and you’ll want to plan ahead so that your electrician puts the required outlet on the wall in the space where the microwave will live. In A Drawer  This is a twist on the under-countertop option, but with a drawer microwave. This is installed under the counter and slides open like a drawer. This is one of the more space-efficient options especially for very small kitchens. Recess into a Wall Depending on the kitchen floor plan, you may be able to recess the microwave into a space taken from a closet or garage. Before cutting into a wall, ask a builder or remodeler to check the structure of the wall and add reinforcement if necessary. For more great recipes, tips and appliance news, follow us on Facebook or Instagram.

How to Chill Wine Quickly

One of the biggest factors that affects way you experience wine is serving temperature; which has an impact on the wine’s flavor, structure, and aroma. That being said, what do you do when company is on the way and you’re in need of some perfectly chilled wine now. Resist the urge to add ice cubes to your glass; this dilutes the wine.  So we decided to take a look at the proper serving temperature, because getting your wines temperature just right is one of the most important factors for enjoying wine.  Submerge the Wine Bottle in Ice Water And Salt This is the method preferred by sommeliers. Make an ice bath for your bottle, you should use a 50/50 ratio of ice and water.  There is a one special ingredient that you need –Salt! It will further drop the freezing temperature of water, which will chill your wine faster! Make sure the bottle is completely submerged, to ensure the contents of the entire bottle evenly chill. Drop Frozen Grapes into Your Wine Glass More than just a delicious healthy snack frozen grapes are also a great way to chill wine. Drop your frozen grapes into your glass—they’ll function just like ice cubes, except you won’t end up with watered-down wine. Use Wine Pearls in Your Wine Glass Unlike ice cubes which dilute your wine, Wine Pearls are hand-polished stainless steel “pearls” that have a freezing gel inside, which works to quickly cool your glass of wine, without affecting the taste in the process. Wine Pearls will keep your wine cold for up to an hour. Use your Freezer If you choose to use the freezer, be very careful (don’t want the bottle to explode). The right way to do it is to wrap the bottle in a wet tea towel before you put it in. The damp towel will freeze quickly, and thanks to the frozen towel, the wine will chill in half the time it usually would (Note: The tea towel might be stuck to the bottle when you remove it from the freezer—to fix this, simply run it under warm water and the towel will slide off.) Chill Your Wine by the Serving  Since glass bottles can be thick and insulated, the wine will chill faster once it’s out of the bottle. Keep a bag of frozen grapes in the fridge, you can just use them as needed. It is a great way to chill wine, since it will cool down the wine without watering it down too. Right now, you need to chill your wine quickly but if you want to avoid this problem in the future there is a solution that will make sure your wine is always at optimal temperature. Consider buying a wine cooler by Cosmo, designed for chilling wine and other beverages by eliminating harmful light, fluctuating temperatures, humidity, and vibration. Read about it here LEARN MORE HERE For more great recipes, tips and appliance news, follow us on Facebook or Instagram.

Use By, Best By, Sell By: Understanding Food Expiration Dates

When you’ve been going through the deep recesses of your pantry in the past weeks, you might have come across something that had a questionable expiration date. Whether you remember buying that box of oatmeal packets or not, how do you know if it’s safe to eat?  Food manufacturers use three general food expiration date markings, each corresponding to a different guideline. The important thing to remember is that expiration dates are the manufacturer making a guess at when its products won’t be at their peak quality any longer.  Use by:  This is the most direct estimation of a date by which a product should be consumed. Again, this guideline is mainly about quality, not about making you sick, but it’s still a good idea to finish the product as close to the Use-By date as you can. Sell-By:  This label is mainly for retailers. Sell-By dates indicate the last day a product should be stocked on store shelves to ensure consumers have enough of a window to use it once they bring it home. Generally, about 1/3 of a product’s lifespan remains after a Sell-By date. Best-By:  This is a more gentle suggestion for consumers. It simply means by the manufacturer’s estimation, the product will be at peak quality when it’s used by this date. Of course, there are always exceptions and warnings when it comes to food safety, regardless of date. If whatever you’re about to eat doesn’t smell right, or has a damaged or bloated can or lid, has discolored, or is just plain growing things, it’s probably time to toss it. If you’re at all in doubt, it’s probably safer not to eat it.  We hope these tips help you maintain your pantry and refrigerator food stores more easily. For more kitchen advice, inspiration and recipes, like the Cosmo Appliances Facebook page or follow us on Instagram! For more great recipes, tips and appliance news, follow us on Facebook or Instagram.