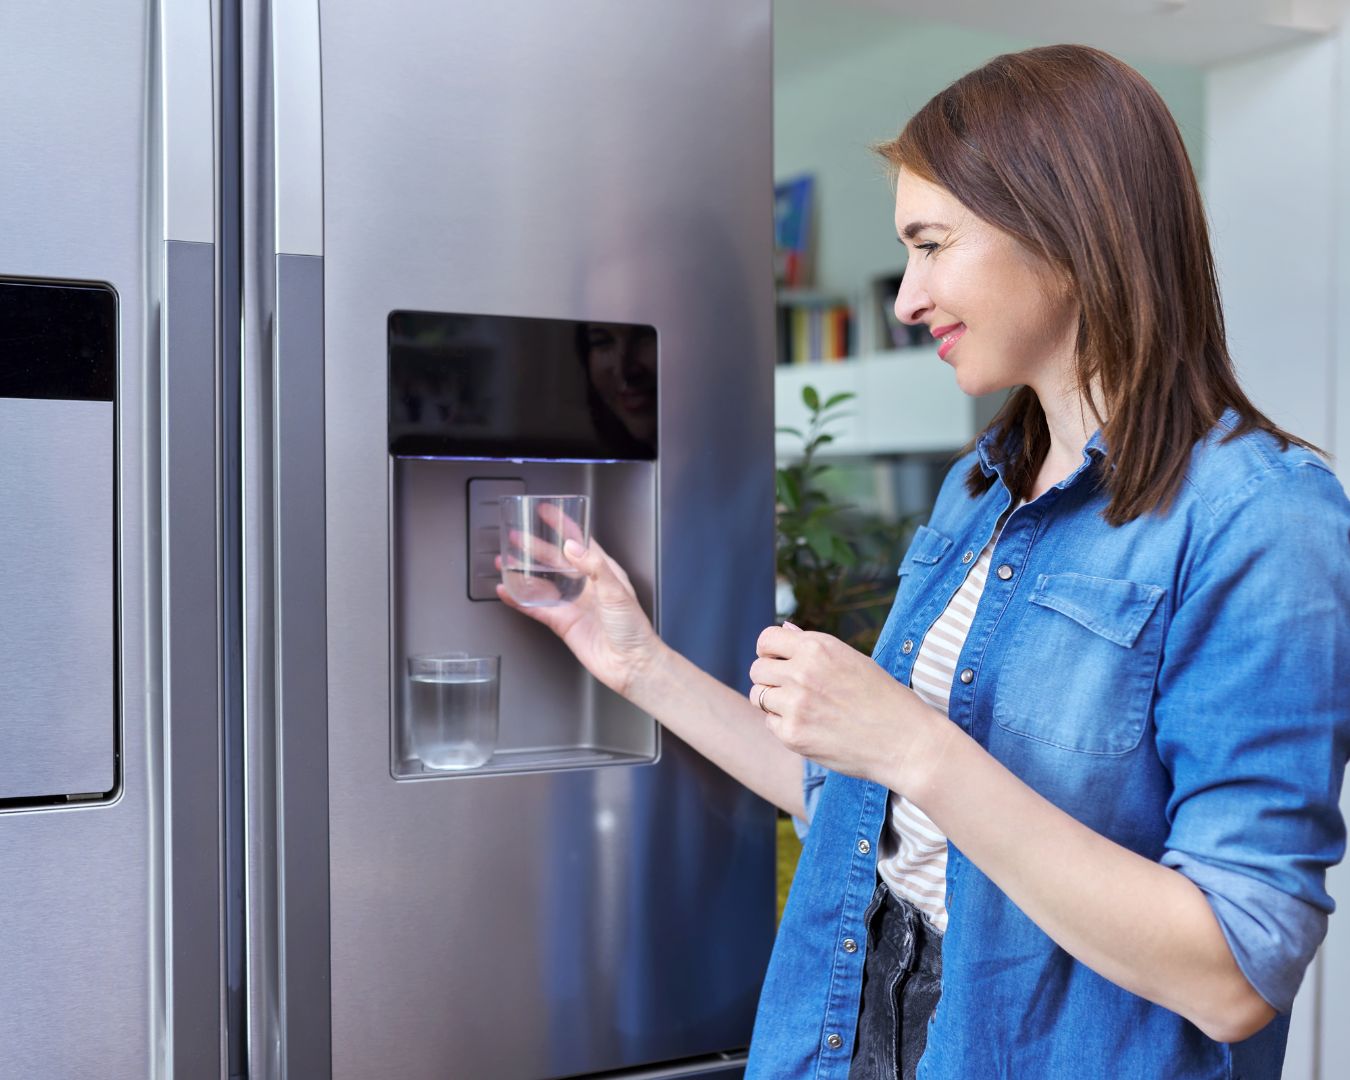
When it comes to maintaining a healthy home, clean drinking water is essential. Many modern refrigerators come equipped with built-in water filters, offering a convenient and effective way to ensure your drinking water is safe and fresh. Understanding the benefits of these water filters and learning how to maintain them properly can help you make the most out of this feature in your refrigerator. Benefits of Water Filters in Refrigerators 1. Cleaner and Safer Water Refrigerator water filters are designed to remove harmful contaminants such as chlorine, lead, mercury, and pesticides from your tap water. This ensures that the water you and your family drink is free from dangerous substances that could impact your health. 2. Improved Taste and Odor Tap water can sometimes have an unpleasant taste or odor due to the presence of chlorine and other chemicals. Water filters help to eliminate these, giving you fresh-tasting, clean-smelling water for drinking and ice-making. 3. Convenient Access to Filtered Water Instead of buying bottled water or using a separate filtering system, refrigerator water filters offer immediate access to filtered water at the push of a button. This can save both time and money while reducing plastic waste from bottled water. 4. Filtered Ice Not only does a refrigerator water filter improve the quality of your drinking water, but it also enhances the quality of the ice cubes. Since the same filtered water is used for the ice maker, you can enjoy cleaner, better-tasting ice in your drinks. Maintenance Tips for Refrigerator Water Filters To keep your refrigerator’s water filter performing at its best, regular maintenance is key. Here are some tips to help you maintain your filter: 1. Follow Manufacturer’s Recommendations Each refrigerator model will have specific guidelines for maintaining and replacing the water filter. Always consult your refrigerator’s manual to understand how often the filter needs to be changed and the type of filter required. 2. Replace Filters Every 6 Months On average, refrigerator water filters should be replaced every six months. However, this may vary depending on how much water your household uses and the quality of the water in your area. Some refrigerators have indicators to let you know when it’s time to replace the filter. 3. Flush the Filter After Installation After installing a new filter, it’s important to flush it by dispensing water for a few minutes. This helps remove any air and loose carbon particles that may have accumulated during shipping. 4. Keep the Water Dispenser and Ice Maker Clean Even with a water filter, the water dispenser and ice maker can still harbor bacteria if not cleaned regularly. Wipe down the water dispenser nozzle and ice bin to prevent any buildup of residue or mold. 5. Monitor Water Quality If you notice a decline in the taste or quality of the water or ice, this may be a sign that the filter needs replacing sooner than expected. Be sure to stay vigilant and address any changes in water quality immediately. Water filters in refrigerators are a valuable feature that ensures clean, safe, and great-tasting water and ice are always within reach. By following simple maintenance tips like regular filter replacement and proper cleaning, you can enjoy the benefits of filtered water while extending the life of your refrigerator. Staying on top of your refrigerator’s water filter maintenance helps protect your family’s health and saves you money in the long run!


