protein breakfast

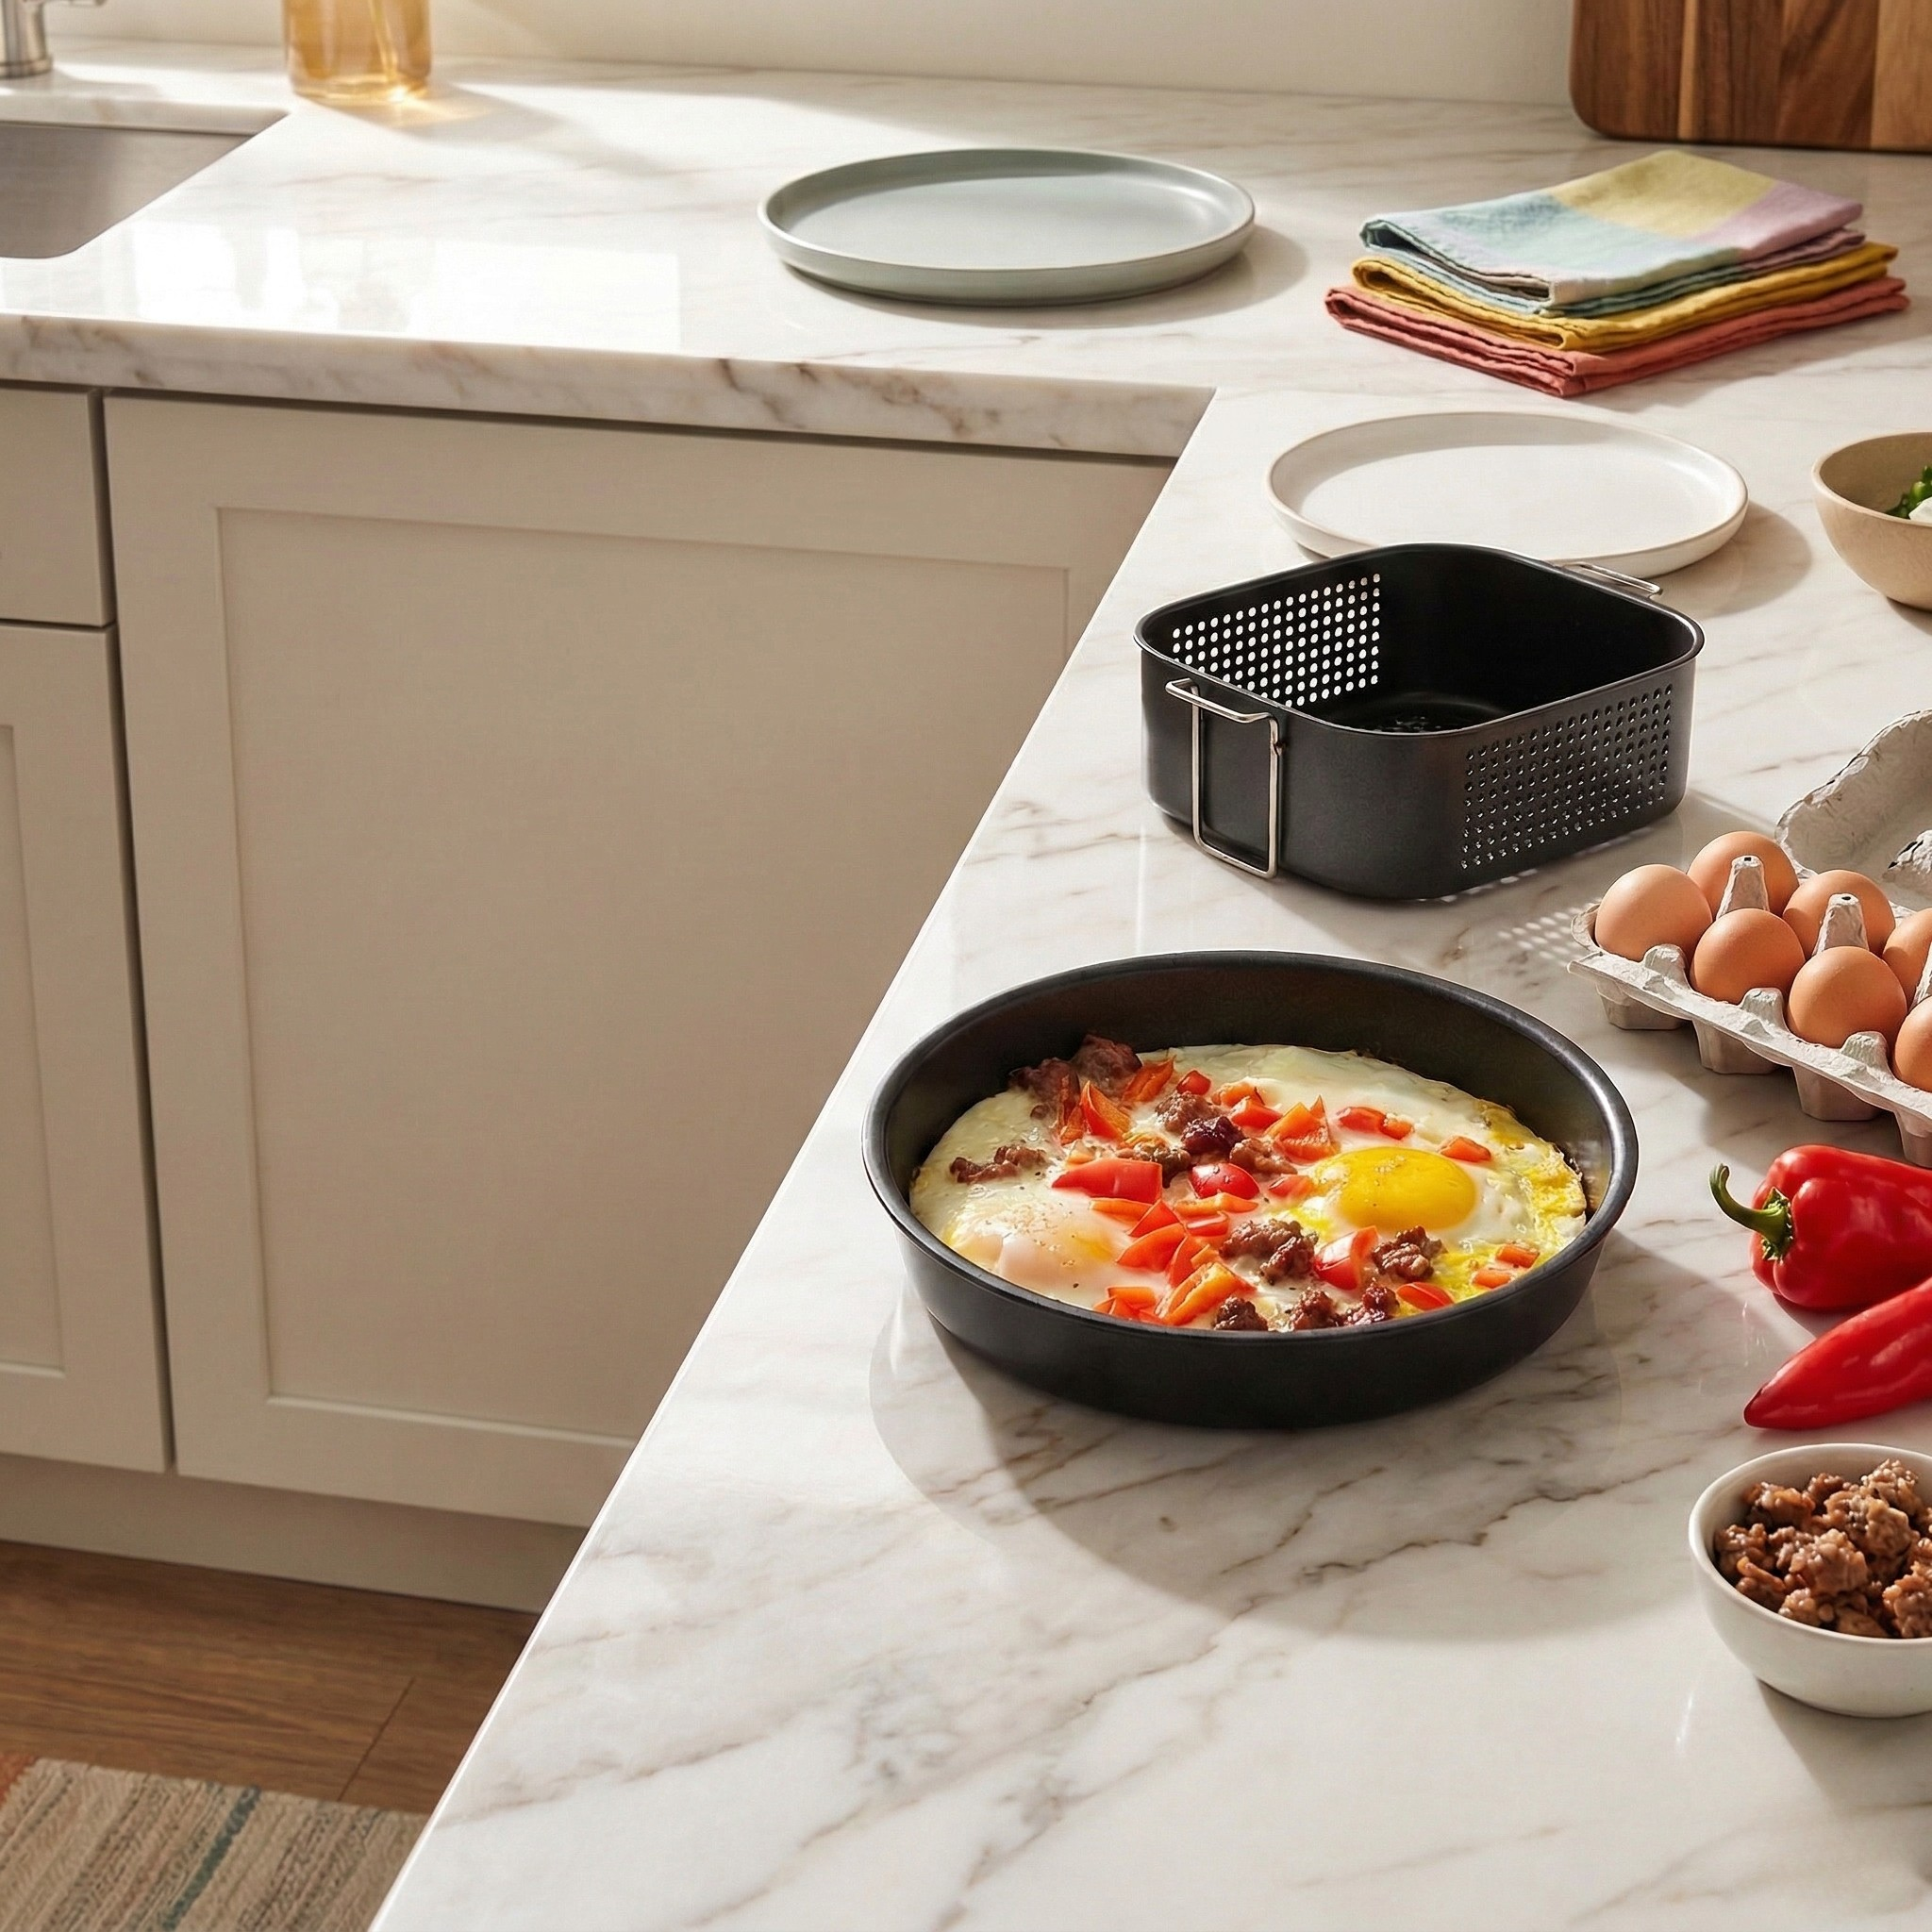
One Pan Air Fryer Omelette: The Hands-Off Breakfast Hack

Stovetop omelettes demand attention. You’re standing there, watching heat, tilting the pan, timing the flip perfectly. Miss any step and you’ve got scrambled eggs instead. Air fryer omelettes solve this. Load your ingredients, set the temperature, walk away. The circulating heat cooks everything evenly without flipping, stirring, or hovering over a hot stove. Here’s how to make a fluffy, golden-edged omelette in your air fryer with minimal effort and zero flipping skills required. What You’ll Need Ingredients: Equipment: Step-by-Step Instructions Step 1: Prep Your Pan Grease your small air fryer-safe pan thoroughly with butter or oil. This step matters—properly greased pan means your omelette slides right out when done. Skipping this creates stuck eggs and frustration. Step 2: Layer Your Ingredients Add diced bell pepper, onions (or sprinkle onion powder if using), and chopped sausage directly into the greased pan. Spread ingredients evenly across the bottom creating foundation for your omelette. Step 3: Add the Eggs Crack 3 eggs directly into the pan over your ingredients. The eggs will settle around the vegetables and sausage creating cohesive omelette rather than separated layers. Step 4: Season and Top Season with garlic salt to taste. Top generously with shredded cheese. The cheese melts during cooking creating gooey center. Step 5: Air Fry Place the pan in your air fryer basket. Set temperature to 300°F and cook for 8-12 minutes. Start checking at 8 minutes—cooking time varies based on your specific air fryer model and pan size. The omelette is done when eggs are fully set (no liquid egg visible) and cheese is melted and slightly golden on top. Step 6: Remove and Serve Carefully remove the hot pan from the air fryer. Let cool for one minute, then slide the omelette onto a plate. The well-greased pan should release the omelette easily. Serve immediately while hot. Why Air Fryer Method Works Air fryers circulate hot air around food creating even cooking on all surfaces simultaneously. Unlike stovetop where heat comes only from bottom, air fryer cooks top and bottom at once. This eliminates the flip. Traditional omelettes require careful flipping to cook the top without overcooking the bottom. Air fryer handles both sides automatically. The enclosed cooking environment traps moisture creating fluffy texture. Open stovetop cooking allows moisture to escape. Air fryer keeps it in. Set-it-and-forget-it convenience means you can prep other breakfast items while omelette cooks. Make coffee, toast bread, set the table—no standing guard required. Customization Options This base recipe adapts to whatever ingredients you have available. Protein variations: Swap sausage for bacon, ham, chorizo, or skip meat entirely for vegetarian version. Cooked chicken or turkey works too. Vegetable options: Add mushrooms, spinach, tomatoes, jalapeños, or whatever vegetables need using. Pre-cook dense vegetables like broccoli or potatoes before adding. Cheese choices: Any melting cheese works. Try cheddar, mozzarella, pepper jack, feta, or goat cheese depending on your preference. Seasoning adjustments: Beyond garlic salt, try black pepper, paprika, Italian seasoning, or hot sauce mixed into eggs before cooking. Dairy additions: Whisk one tablespoon milk or cream into eggs before pouring for extra fluffy texture. Common Mistakes to Avoid Overfilling the pan causes spillover. Keep ingredients and eggs within three-quarters of pan depth. Omelette expands slightly during cooking. Skipping the greasing step creates stuck eggs. Even non-stick pans benefit from light butter or oil coating ensuring easy release. Opening air fryer repeatedly during cooking releases heat extending cook time. Check once at 8-minute mark, then again at 10 or 12 if needed. Setting temperature too high cooks eggs too fast creating rubbery texture. The 300°F temperature cooks gently creating tender results. Forgetting pan is hot causes burns. Use oven mitts removing pan from air fryer. Handle stays hot several minutes after cooking. Timing Adjustments Your specific air fryer model affects cooking time. Some run hotter than others requiring less time. Check at 8 minutes for first attempt. If eggs still look wet or liquid, continue cooking checking every 2 minutes until set. Thicker omelettes (more ingredients, larger pan) need closer to 12 minutes. Thinner omelettes (fewer ingredients, shallow pan) finish around 8-9 minutes. Room temperature eggs cook faster than cold eggs straight from refrigerator. Add minute or two if using cold eggs. Watch the Video Tutorial Serving Suggestions Serve this omelette with toast, fresh fruit, or breakfast potatoes for complete meal. Add salsa, sour cream, or hot sauce on top for extra flavor. Pair with coffee or orange juice for classic breakfast combination. Pack leftovers for grab-and-go breakfast. Omelette reheats well in microwave for 30-45 seconds. Air fryer omelettes deliver restaurant-quality results without the technique requirement of stovetop versions. Load ingredients, set timer, walk away. Perfect fluffy omelette every time with zero flipping stress and minimal cleanup. Your air fryer handles the hard part while you handle everything else on your breakfast to-do list.

Chorizo Burrito Recipe: Protein-Packed Satisfaction for Any Time of Day

Sometimes you need a meal that delivers serious flavor and lasting satisfaction without complicated ingredients or lengthy preparation. This chorizo burrito recipe does exactly that, combining the rich, spicy flavors of chorizo with fluffy scrambled eggs wrapped in a warm tortilla. With just four simple ingredients and about 10 minutes of cooking time, you can create a hearty meal that works equally well for breakfast, lunch, or dinner. The beauty of this recipe lies in its simplicity and versatility. Chorizo provides bold flavor and protein that makes this burrito incredibly satisfying, while eggs add creaminess and additional protein that keeps you full for hours. Whether you’re fueling up for a busy day or need a quick dinner solution, this chorizo burrito delivers the comfort and nutrition you’re craving. Why This Chorizo Burrito Recipe Works So Well The combination of chorizo and eggs creates a perfect balance of flavors and textures that make this burrito both satisfying and delicious. Understanding why these ingredients work together helps you achieve the best results while building confidence to customize the recipe to your preferences. Chorizo releases flavorful oils as it cooks, creating a natural base for scrambling eggs that infuses them with rich, spicy flavor. This integration means every bite contains the bold chorizo taste rather than having separate components that don’t complement each other. High-protein content from both chorizo and eggs provides lasting satiation that keeps you satisfied much longer than carbohydrate-heavy meals. This protein combination makes the burrito an excellent choice for active days or when you need sustained energy. Quick cooking time makes this recipe perfect for busy schedules or when hunger strikes and you need something satisfying immediately. The entire cooking process takes less than 10 minutes from start to finish. Simple ingredients mean you can keep the components on hand for whenever the craving hits. Chorizo keeps well refrigerated, eggs are a staple, and tortillas store easily, making this a reliable go-to meal. Versatile timing allows you to enjoy this burrito any time of day. The combination works as well for breakfast as it does for lunch or dinner, providing flexibility for various meal needs. One-pan cooking minimizes cleanup while maximizing flavor development. Cooking everything together allows the ingredients to meld perfectly while reducing the number of dishes you need to wash. Choosing the Right Chorizo for Best Results The type and quality of chorizo you choose significantly affects both flavor and cooking results. Understanding your options helps you select the best chorizo for your taste preferences and cooking style. Mexican chorizo typically comes raw and needs full cooking, providing bold, spicy flavor with a crumbly texture that works perfectly for this recipe. The raw chorizo breaks apart easily during cooking while releasing flavorful oils. Spanish chorizo comes pre-cooked and has a firmer texture with different spicing. While it can work in this recipe, it requires different handling and provides a different flavor profile than traditional Mexican chorizo. Fresh chorizo from butcher shops or Mexican markets often provides superior flavor compared to mass-produced versions. The higher quality ingredients and traditional spicing create more complex, satisfying taste. Spice level varies significantly between different chorizo brands and types. Start with milder varieties if you’re sensitive to heat, or choose spicier versions if you enjoy bold flavors. Fat content affects both flavor and cooking characteristics. Higher-fat chorizo releases more oils for cooking eggs, while leaner versions may require additional cooking fat for optimal results. Storage considerations include keeping chorizo refrigerated and using within recommended timeframes. Fresh chorizo typically keeps for several days refrigerated, while some varieties can be frozen for longer storage. Step-by-Step Technique for Perfect Results Success with this chorizo burrito depends on proper cooking technique and timing. Following these detailed steps ensures the chorizo cooks properly while the eggs achieve the perfect creamy texture. Egg Preparation: Crack four eggs into a bowl and whisk thoroughly until whites and yolks are completely combined. Proper whisking creates the smooth texture that makes scrambled eggs creamy rather than lumpy. Pan Setup: Heat your pan on the Cosmo GRP486G range using medium heat. Add a small amount of oil or butter to prevent sticking and provide additional richness to the final dish. Chorizo Preparation: Cut the chorizo roll in half using a sharp knife, then place the pieces in the heated pan. The chorizo will begin releasing oils immediately as it heats. Breaking Apart Chorizo: Use a spatula to break the chorizo into smaller pieces as it cooks. Continue breaking it apart until you achieve a crumbly texture with no large chunks remaining. Cooking Chorizo Completely: Cook the chorizo until it’s fully broken apart and no pink color remains. This typically takes 3-4 minutes, depending on the size of the pieces and heat level. Adding Eggs: Pour the whisked eggs directly into the pan with the cooked chorizo. The eggs will begin cooking immediately upon contact with the hot pan and chorizo oils. Mixing Thoroughly: Stir the eggs and chorizo together constantly to ensure even cooking and flavor distribution. The eggs should cook quickly while absorbing the chorizo flavors and oils. Recognizing Doneness: The mixture is ready when the eggs look solid and set rather than liquid or runny. They should be creamy but not wet, with the chorizo evenly distributed throughout. Tortilla Warming: Heat your tortilla using your preferred method – directly over a gas flame, in a dry pan, or wrapped in damp paper towels in the microwave for a few seconds. Assembly: Place the warm tortilla on a plate, add your desired amount of the chorizo and egg mixture, then roll or fold according to your preference. Recipe Variations and Customizations This basic chorizo burrito recipe provides an excellent foundation for numerous variations that can accommodate different tastes, dietary needs, and available ingredients. Cheese Additions: Shredded cheese added to the eggs during the last minute of cooking creates extra richness and helps bind the ingredients together. Cheddar, Monterey Jack, or Mexican cheese blends work particularly well. Vegetable Enhancements: Diced onions,