Month: December 2020

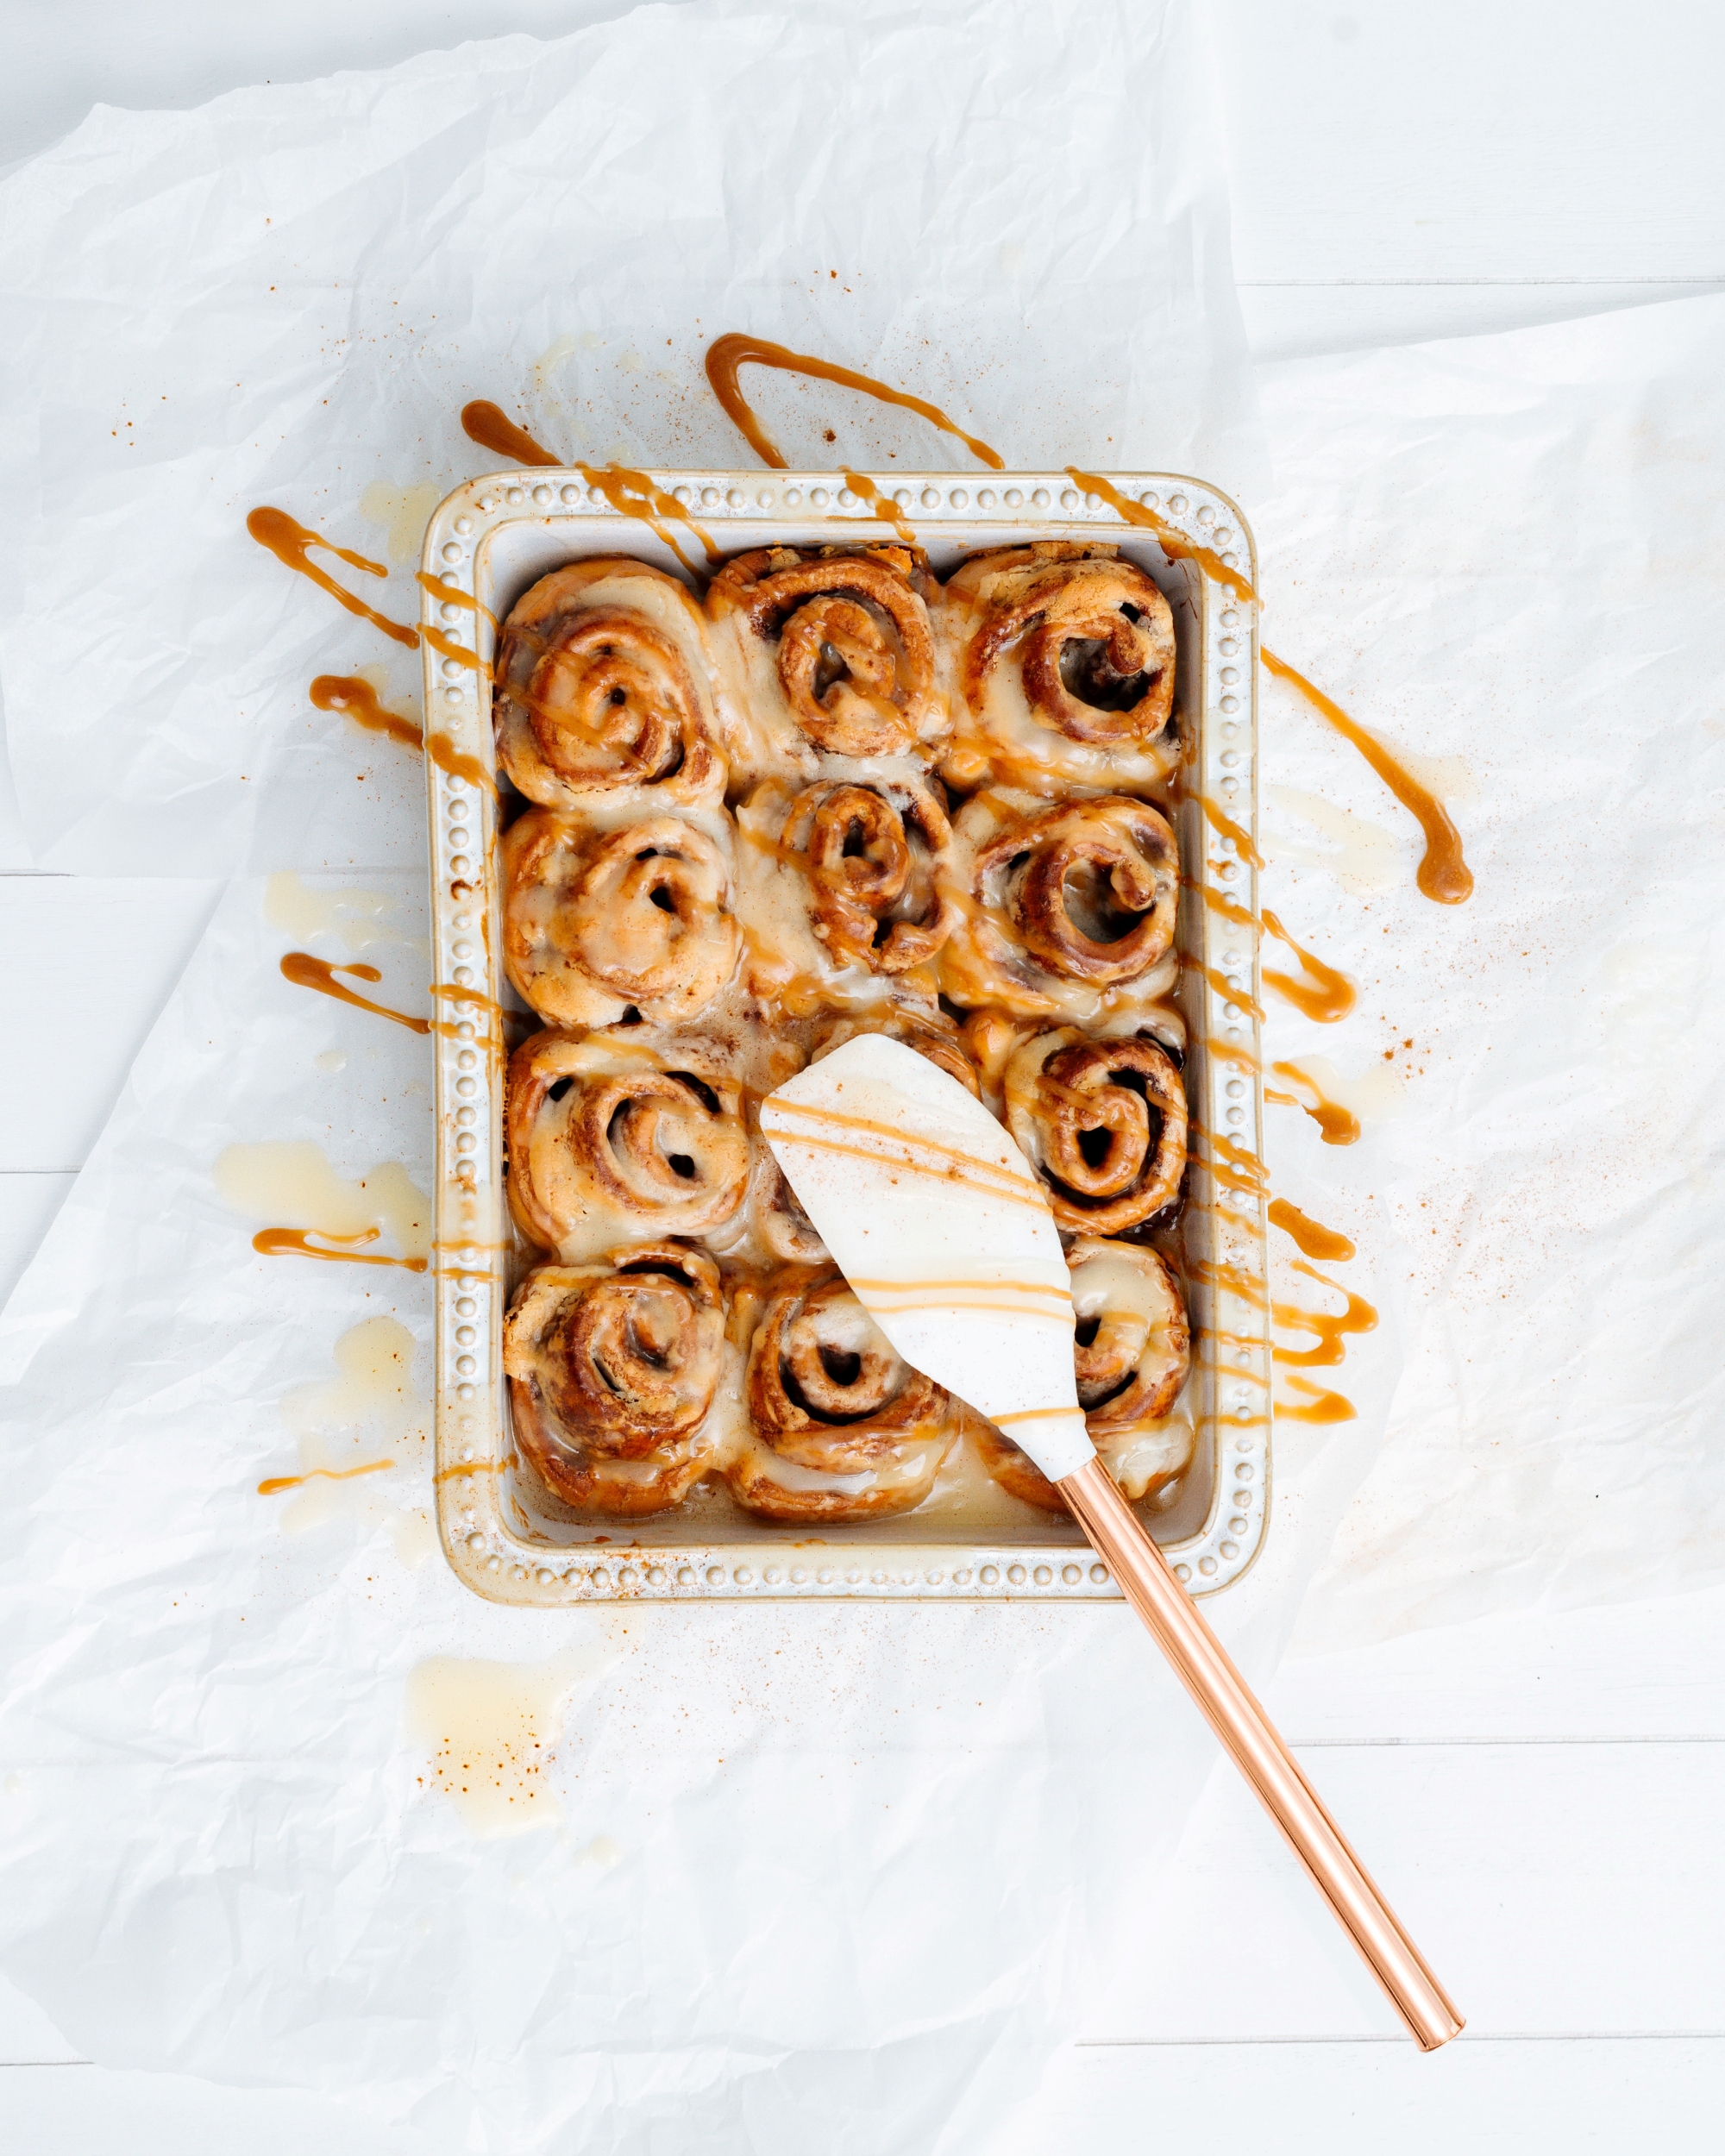
Bake the Perfect Cinnamon Rolls

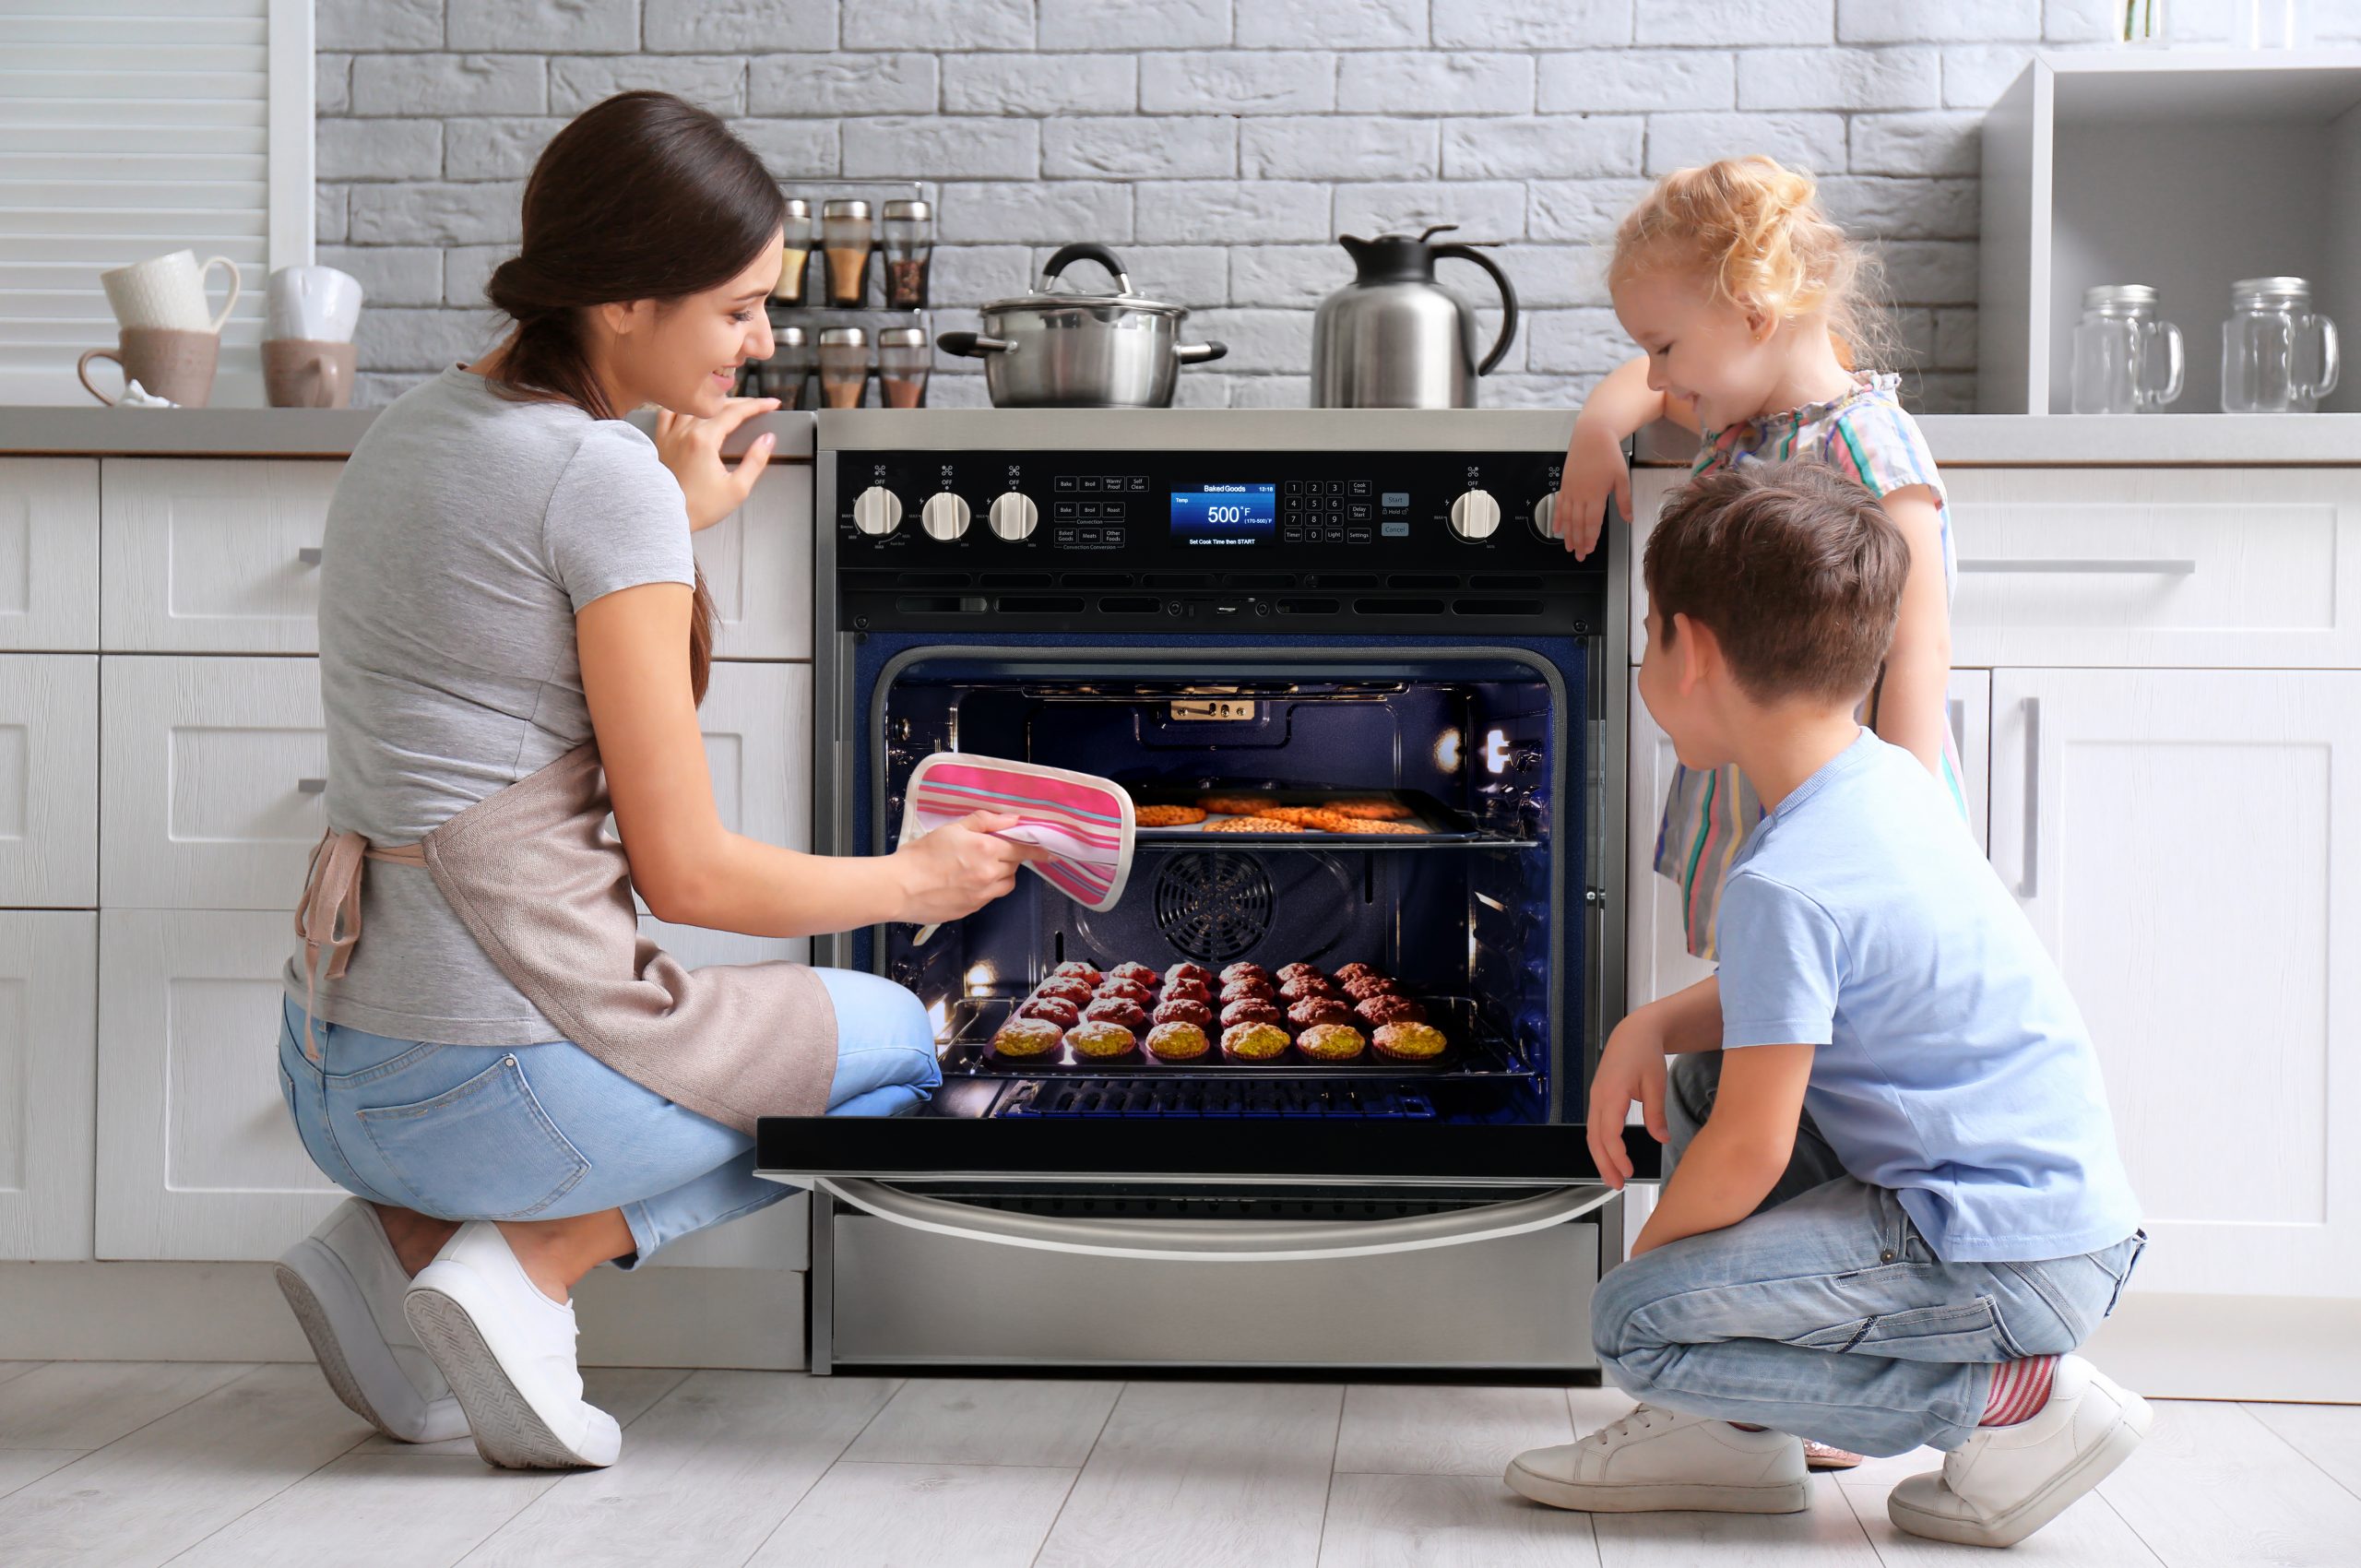
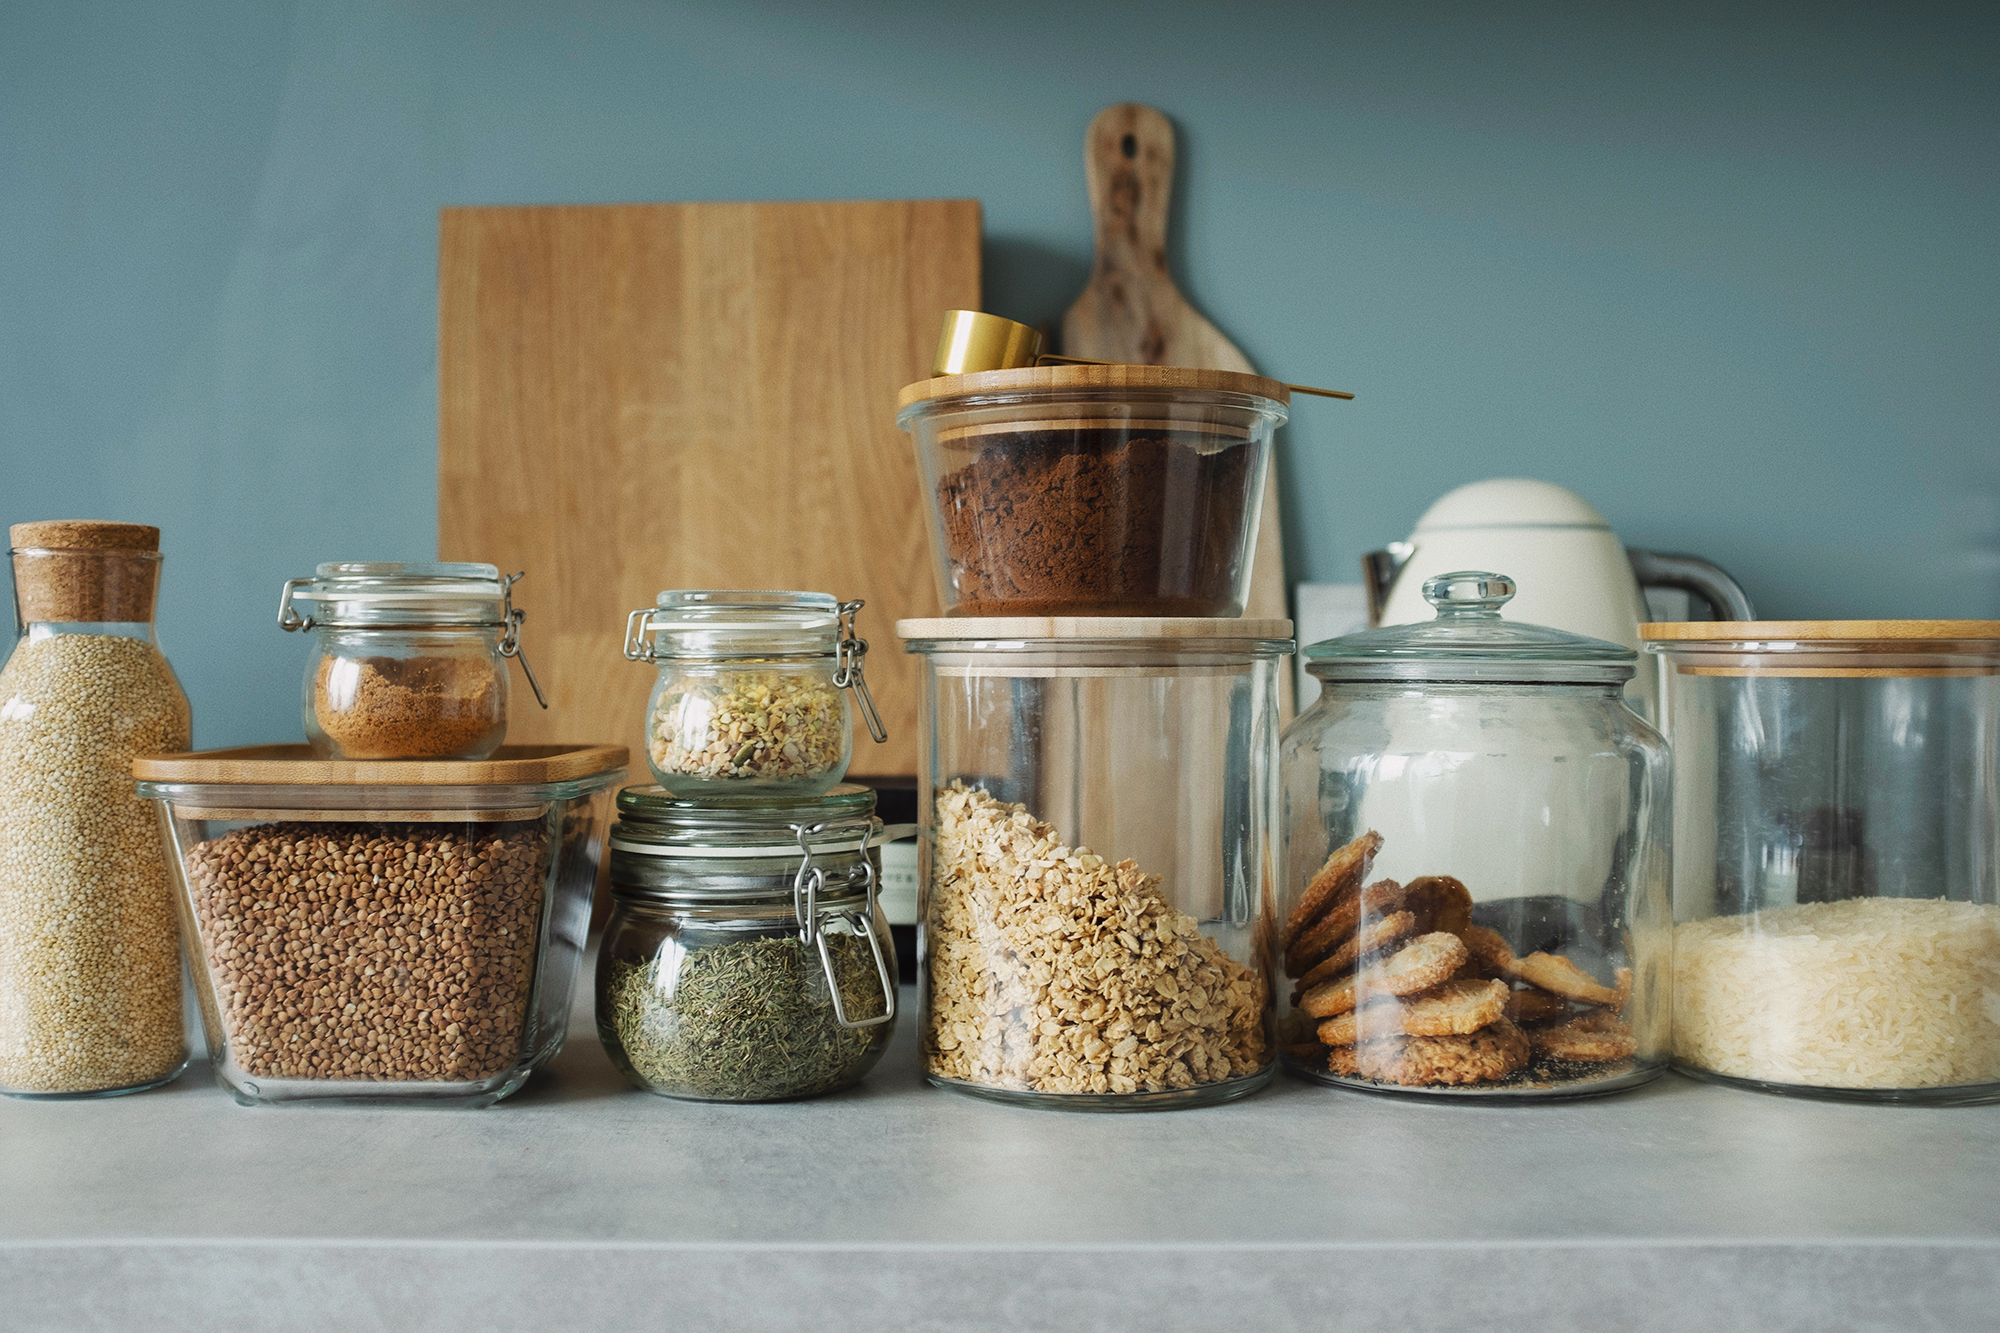
Bake this delicious cinnamon roll recipe with a caramel glaze for a traditional dessert the whole family will love. Be sure to add this to your holiday to-do list. Recipe courtesy of Wilton. Servings: 1 dozen rolls Rolls: 1 1/3 cups warm milk (105°F) 2 packages (1/4-ounce each) active dry yeast 1/4 cup granulated sugar, divided 1/2 cup (1 stick) butter, softened 2 egg yolks 1 teaspoon Vanilla Extract 3/4 teaspoon salt 4 cups bread flour, plus more for dusting Filling: 1/2 cup (1 stick) butter, softened 1/3 cup granulated sugar 2 tablespoons bread flour 2 tablespoons ground cinnamon Glaze: 1/4 cup (1/2 stick) butter 1/2 cup lightly-packed light brown sugar 1/2 cup heavy whipping cream 1 teaspoon vanilla extract 1/4 teaspoon salt 1 cup confectioners’ sugar (about 1/4 pound) Instructions For rolls, stir together warm milk, yeast and 1 tablespoon sugar in large bowl. Let stand 5-10 minutes or until foamy. Add butter, remaining 3 tablespoons sugar, egg yolks, vanilla and salt. Mix with electric mixer using dough hook on medium speed until combined. Gradually add flour, 1 cup at a time, and mix on medium speed until smooth, elastic dough forms, about 5 minutes. Spray large bowl with vegetable pan spray. Form dough into ball, place into bowl and cover with plastic wrap. Let stand in warm place for 45 minutes or until doubled in size. For filling, stir together butter, sugar, flour and cinnamon in medium bowl until well-combined. Prepare 13-by-9-inch pan with vegetable pan spray. Punch dough down and roll out to 18-by-14-inch rectangle on floured surface. Spread filling onto dough and roll up from long end, like a jelly roll. Pinch seam to seal, trim ends and cut into 12 equally-sized pieces. Place rolls into prepared pan; cover with plastic wrap and let rise 25-30 minutes or until doubled in size. Meanwhile, heat oven to 350°F. Remove plastic wrap from rolls and bake 25-29 minutes or until golden brown. Cool in pan on wire rack while preparing glaze. For glaze, melt butter in saucepan over medium heat. Add brown sugar and cream. Cook over medium-high heat until mixture reaches a simmer; cook for 1 minute, stirring constantly. Remove from heat and stir in vanilla and salt. Whisk in confectioners’ sugar until smooth. Pour glaze over warm rolls. Serve warm. Source: Wilton

How to Get the Most Out of Your Broiler

Broilers are like upside-down grills inside your oven. You can expose your foods to very high heat to effectively cook, like on a grill. Broilers are best used for thin cuts of meat, vegetables or foods that are fairly tender. Here’s everything you need to know for the best results from your broiler. First, it’s important to understand where the broiler is located inside your oven. Usually it’s the same element inside that is used for baking and roasting. Often the broiler is located at the top, meaning you’ll have to place your oven rack at the highest position possible, typically three to four inches away from the broiler. The broiler can also be located at the bottom of the oven or in another compartment underneath. You would need to place your food closer to this side, but there may be more limitations on how you broil with it. Preheat. You’ll need to test your broiler a few times to see what settings would be ideal. Treat it similar to a grill in that you should turn it on for about five minutes before cooking to give it time to heat up. Take a look to see how the broiler behaves, your broiler may have a rod with flames coming out either side. In this scenario placing food directly underneath the line would cook food evenly. Time. Broiling is meant to be done fairly quickly, usually in five or ten minutes. Anything longer can take your nice sear to a burn. You’ll only be really cooking the outer surfaces, so pick foods that are quick to cook like vegetables or thin cuts of meat. If your food isn’t cooked enough at the end, you can put it in the oven to finish. On the other hand, you can cook with the oven first and then broil at the end to give a nice crust or sear to the surface. Pans. Grated broiling pans may allow greater airflow, but aren’t always necessary when using a broiler. You can achieve a similar effect by periodically flipping your food as it cooks. Try using a preheated cast iron skillet or even heavy duty sheet pans as an alternative. Sources: The Kitchnn

Tips on Organizing Your Pantry

You may have already heard the common pantry organizing tricks such as placing similar ingredients together or using clear containers for dry goods. Here are some more tips you may be missing when it comes to building that well-ordered pantry you’ve always dreamed of. New Methods for Organizing A common way of organizing your pantry is the “like with like” approach. While placing similar ingredients together may be a good starting point, there may be better solutions for your kitchen. First, consider the frequency of use. Are there some spices you use more than others? Place those in an easily accessible spot. Do you have a morning routine that always revolves around coffee? Consider a coffee station with all your essentials. Another organization method you should consider is the “first in, first out” system. This method is similar to most grocery stores. If you have multiples of one item such as beverages or boxes of cereal, place them in a way that the older items will be used first. You will ultimately prevent wasting any food. Storing Foods in Jars A recent trend that is visually pleasing to look as is placing dry goods in matching glass storage jars. This process is known as decanting. Decanting typically involves moving liquid ingredients from one jar to another, but decanting for your pantry involves moving dry foods into another storage container. The process helps reduce clutter in your pantry while also providing a visual on what you have available. When doing this, be sure you are using jars appropriate to the ingredient. Is this something you will have to pour or scoop later on? If so, be sure you have a wide enough mouth on the jar that you can scoop out of if necessary. Take some time to label these ingredients with not only the name of the ingredient but with their expiration date. You will be losing the original container after all. You can use some washi tape and a permanent marker, no need for all the fancy labels. Achieving the perfect pantry takes time and is an ongoing process. A pantry will always differ depending on the needs of the kitchen. Check up with your pantry a few times a year to see what can be improved or thrown out. Sources: Organized Home

Country Caramel Apples Recipe

This quick recipe is a must for a delicious and sweet snack. A simple take on a classic treat. Surprise your family with just three ingredients. Recipe courtesy of Envy Apples. 3 apples Crushed pecans Caramel dip Using melon ball scoop, carve out round apple pieces by starting at skin and rotating inward. Insert one toothpick into each apple piece. Place crushed pecans in a small bowl. Roll round apple pieces in caramel dip then crushed pecans. Place coated apple bites on a serving tray and refrigerate until ready to serve. Source: Envy Apples

The Best Colors to Paint Your Kitchen

The color of your kitchen can be a stressful decision as there’s so many options to choose from. However, there’s some colors that rise above the rest. White gray, blue, red, yellow and green work the best in a kitchen space to create a warm and welcoming space. Red. Warmer colors are believed to stimulate appetite and work great for kitchens. Red is versatile in that there are many shades to pick from and works well on a variety of locations like cabinets or walls. White. Beginning a day in a white kitchen can help energize and stimulate the mind. It feels clean and wakes you up quickly. An all white kitchen also offers a lot of options as you can pair with more decorative countertops and backsplashes. Gray. Gray is a neutral color and has been very popular in recent trends. Although gray can be categorized as being a “cold” color, there are many warmer shades to choose from. It works with a variety of different colors and is the perfect base in a kitchen space. Blue. Lighter shades of blue can create a crisp and clean look for walls, cabinets, or even the ceiling. Blue is a very demanding color and works best when used sparingly, otherwise it can overpower a room. While darker blues also work in a kitchen, it’s better to pair with lighter white or gray accents as you want to prevent the room from feeling dark. Yellow. Yellow has a soothing quality and can instantly bring a feeling of calmness. It’s also associated with bringing a feeling of hunger. It tends to open up spaces to feel bigger and brighter. Pair it with white and gray accents. Green. Associated with bringing a jolt of energy to a kitchen, green has many shades to choose from. This color works great for white and wood accents. Try this color for an added level of character to your kitchen. Stay up-to-date with Cosmo and follow us on our Facebook and Instagram. Sources: HGTV

The Quick and Easy Way to Clean Your Microwave

Your microwave goes through a lot, and we usually toss food in it hoping for a quick meal above all else. Naturally, over time your microwave will need to be cleaned. Luckily you can follow some easy steps to get rid of any mess. A general rule to follow when cleaning is if it’s toxic to consume it’s probably not a good idea to use on the inside. Cleaning the Inside Take a microwave-safe bowl and fill it up with about 1 cup of water and add a few squirts of citrus, this can be lemon, lime or even orange. Add a few tablespoons of vinegar, either white or apple cider, and heat it on high inside the microwave for a few minutes. It should come to a boil. You really want the steam to build up inside the microwave, so leave it inside after it’s come to a boil for another three to five minutes. Once that’s done, remove the bowl and scrub away. If your tray is dirty take it out and wash by hand or in your dishwasher. Cleaning the Door Take some water and baking soda and apply to the door with a sponge. Be sure to use a damp cloth or paper towel afterwards to remove any remaining residue. You can also use vinegar and water to clean the door if it’s extra greasy. Cleaning the Outside Use water and soap on a sponge to tackle the exterior of your microwave. Although you may want to use something stronger like an astringent cleaner, your microwave shouldn’t need this. There’s some chance this cleaner can get inside your microwave, which is dangerous the next time you heat up some food. Wipe everything down with a damp sponge or towel and dry. You’re done! Are you looking to upgrade your microwave with Cosmo? Check out our complete line here.  Sources: Country Living

Reseason Your Cast Iron Skillet in 5 Easy Steps

If you’ve had a cast iron skillet for a while, you may need to re-season it. Reseasoning means to recoat and create a stick resistant surface that also helps guard against rust. Use these 5 steps to reseason your favorite iron skillets and preserve them longer. Step 1 Start off with washing your cookware with warm, soap water. You can use a stiff nylon brush or if the cookware is rusty, scrub with some steel wool. Rinse and dry thoroughly. Step 2 Next, take vegetable oil and apply a thin even coating to the entire surface using a paper towel. This includes the inside and the outside. Set the cookware aside. Step 3 Take aluminum foil and place it on the bottom rack of your oven to protect it from any drips. Set your oven to 350 degrees F. Step 4 Place the pan upside down on the top rack of your oven. This will allow the oil to drip from the pan and coat the entire pan. The aluminum foil on the bottom rack will catch the oil and protect your oven. Leave the pan in your oven for an hour to “bake”. Step 5 After the hour has passed, turn off your oven and let the cookware cool. If you prefer, you can remove the pan with some mitts and place it on a cooling rack. Let everything cool for an hour. Your pan is now reseasoned. Place it in a dry location. Do you want to stay up-to-date with Cosmo? Be sure to follow us on our Facebook and Instagram. Sources: House Beautiful

The Different Types of Cooktops

Cooktops are the key to delicious meals. There are three main types of cooktops–gas, electric and induction. Each of these cooktops have their own strengths and weaknesses. Just like any other product, it’s best to establish what you need and what would work best for you in the kitchen when deciding on your next purchase. COS-DIC304 Drop-In Gas Cooktop Gas Cooktops The closest to traditional cooking methods, gas powered cooktops heat food with a flame. They offer rapid heat and precise control. When you adjust the knob on a gas cooktop, the level of heat changes immediately with no wait time for an element to heat up. This gives you the most versatility for recipes that call for quick changes in temperature. Gas cooktops also cut heat off instantly, with none being left behind as soon as you turn it off. Some also can include sealed burners which prevent food from getting trapped underneath. These cooktops also offer visual cues as you can visibly see the strength of a flame. COS-304ECC Electric Ceramic Glass Cooktop Electric Cooktops Probably the most common among the cooktops models, electric cooktops heat without the need for a flame. There are two types of electric cooktops, coil or smooth. Coil cooktops have coils that sit on the surface or in a cavity. They typically have the lowest price point. Smooth electric cooktops have radiant elements built underneath the surface which offers a smooth surface, making for an easy clean up afterwards. Radiant elements are similar to coil burners that are housed underneath and radiate heat upwards. They heat more evenly and quickly. Electric cooktops can have dual zone elements which accommodate for different sized cookware. COS-YLIC1 Portable Induction Cooktop Induction Cooktops These cooktops are a type of electric cooktop that use electromagnetic coils to heat a ceramic glass surface. They transfer the heat directly to metal objects. Since the heat goes directly to the metal, it requires less time to heat up and makes the cooktop cooler to the touch. However, only specific induction ready cookware can be used for these cooktops because of the magnetic nature of the coils beneath the cooktop surface. This may be a more attractive choice for an added level of safety to busy kitchens. At Cosmo we have a large variety of cooktops including all three options! Check out our available models here. Sources: The Home Depot

Ways You’re Ruining Your Nonstick Pans

Nonstick pans are great for every day cooking and the nonstick feature makes for an easy clean up. However, when used incorrectly these pans can be damaged and ruined completely. Here are some of the ways you may be ruining yours. Cooking Spray. Using cooking spray on nonstick pans is a big problem. The spray will build up on the pans over time and it’s near impossible to remove. Stick to using oils or butter to coat the pan. Heating Before Oil. Although cooks may advise to heat your pan before using oil, doing so on nonstick pans is a hazard. This technique is best for anything but nonstick pans. If you heat up a nonstick pan alone you risk releasing harmful toxins. Add your oil or cooking fats as soon as you start heating the pan. The Dishwasher. Nonstick pans are not meant to be washed in the dishwasher, even if the label says dishwasher-safe. It may be safe to do so, but the hot water and harsh detergents will wear them down over time. It’s best to wash these pans by hand. Try using baking soda and water instead to scrub away any residue. High Heat. Exposing your nonstick pans to extreme heats will damage the coating. It also can release harmful toxins found in the pan. If you’re looking to cook some foods with high heat, such as searing meat, use a cast-iron skillet instead. Avoid putting nonstick pans in an oven at all costs. Metal Utensils. These utensils can scratch your pan. Stick to silicone or wooden utensils to make your cookware last longer. Sources: House Beautiful

Cleaning a Gas Stovetop

Your range is bound to get messy with the meals you prepare on it. No matter how far gone you think your cooktop might be, here’s some steps you can take to get it looking as good as new. Tools You’ll Need: Non-toxic degreaser Medium-stiffness scrub brush Toothbrush Soft scouring pad Paper towels Glass cleaner Razor blade Magic eraser Before cleaning, make sure your cooktop is properly cool and safe to touch. Check that all knobs are switched to the off position. Remove knobs if possible to prevent bumping into them as you clean. Take all the necessary precautions to ensure the gas does not come one while you’re working on it. Check in with your product manual. Your product manufacturer may recommend specific cleaning procedures best fit for your cooktop. This guide does not apply to cooktops with stainless steel surfaces. Step 1: Disassembly Start by removing the grates on your stove and take some time to clean any food particles that may have been left behind. Pull off the small caps protecting your burners, then remove the burners themselves if possible. Set these aside as we will get back to them later. Step 2: Degrease Grates Place the grates you removed into your sink and give them a thorough soaking with some non-toxic degreaser. You can also use a dish detergent if you prefer, this just may take more time to scrub. Leave everything to soak for about 15-20 minutes. Step 3: Degrease Cooktop Use the same degreaser and spray down the exposed cooktop. Let this soak in for a few minutes to penetrate any buildup. Take a soft scouring pad to break any bits that have been burned or stuck to the surface. As you work through cleaning, take a paper towel and wipe down the cooktop to clean the grease and grime. Depending how much buildup there is on your stove, you may have to repeat this process. Step 4: Persistent Buildup There may be bits that have burned on to the cooktop that may seem impossible to get rid of with a sponge, or some that are trapped in corners you can’t easily get to. Take a medium-stiff nylon scrub brush or an old toothbrush with some degreaser for these areas. It’s a good idea to test the brushes on a part of the surface before, to make sure you won’t accidentally scratch it. For bits that seem stuck no matter what you try, take a razor blade to peel off the grime. Be extremely careful with this as you don’t want to scratch or peel off the paint. You just want to break the surface so the degreaser can get through and break up the grime. Give everything a final polish with paper towels and wipe away any excess degreaser. You can also take a Magic Eraser and Glass Cleaner to lift any residue remaining. Step 5: Clean Removed Parts By now, everything else that has been soaking in degreaser should be ready for a cleaning. Rinse off the grates with hot water, then take a nylon brush with some soap or degreaser to clean further if necessary. Repeat the process for your burner caps. Then, take the burners themselves and rinse with hot water and scrub gently with the brush again. Don’t use any aggressive cleaners or solvents as this may clog the burners and cause ignition problems. Let everything dry completely. Step 6: Reassembly Put everything back together and you’re done! If you’re looking for the best ways to clean your Cosmo product, check into our Customer Support Hub for specific cleaning instructions. Sources: HGTV