Author : Cosmo

Kitchen Knives 101

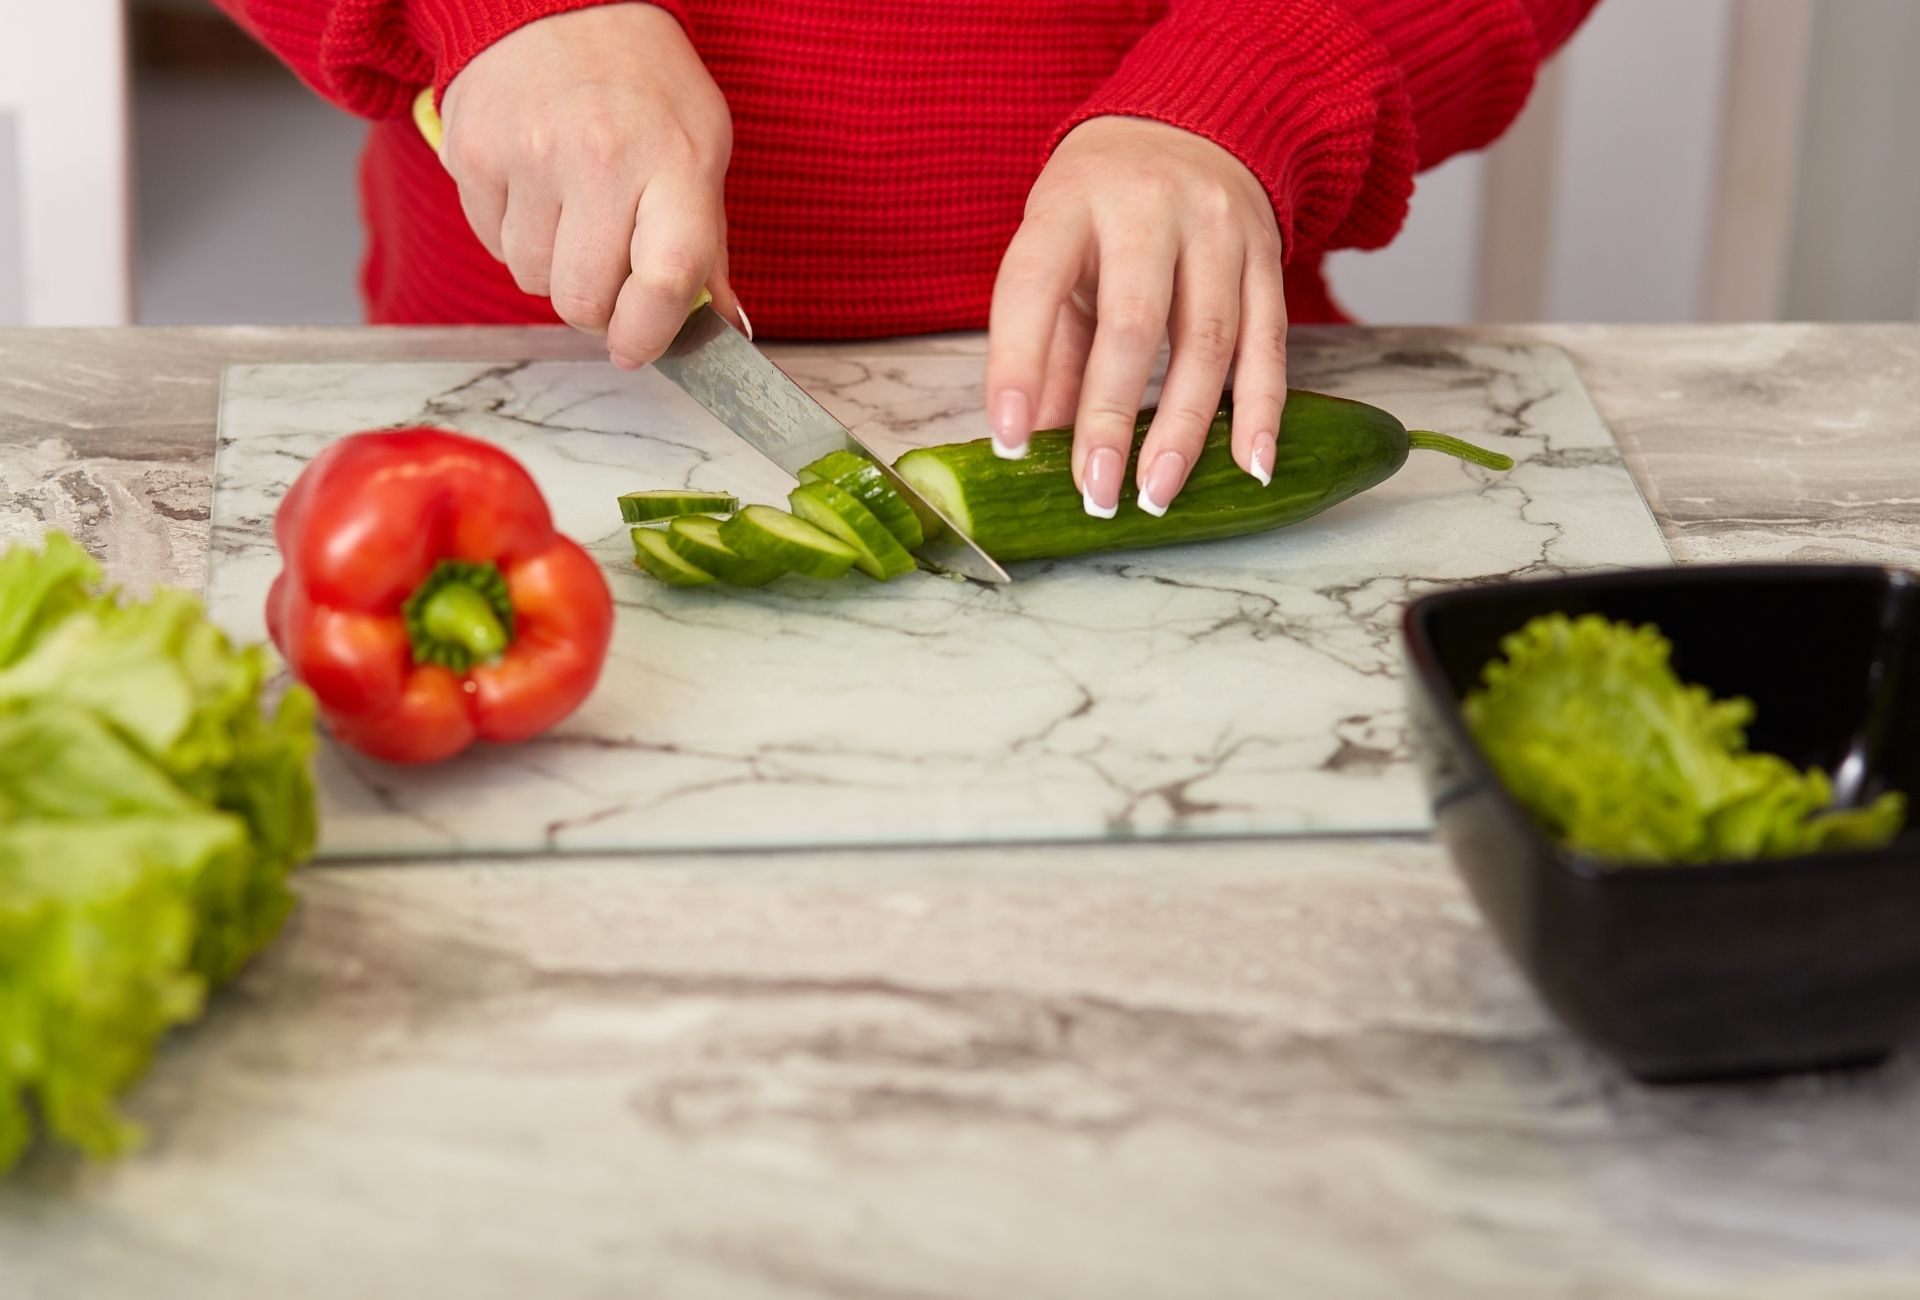
When shopping for knives there’s a few key tips to keep in mind in order to find the perfect fit. Not all knives will work with your style of cutting and should influence the brand or type you plan on investing in. Here are seven tips to making sure your kitchen purchase is the correct one. Test Runs. There’s nothing quite like completely understanding the feel of a knife. If you’ve just purchased a knife the first thing you should do is wash it off and slice a tomato on a cutting board. It’ll help you get more comfortable with it. The more times you use it the better. Shop In-Person. We live in a time of online shopping, but try to go in-person when selecting a knife. Take a few of the knives for a test feel, holding it in your hand and feeling the weight and grip. A good store will also have something to cut such as carrots or celery. Try them out and see what’s best for you. You can find the one you like the best, and then see where it’s available online for the best deal. Dishwashing is Safe. You shouldn’t make a habit of it, but dishwashing a knife should be fine. Always check the label instructions if the knife has any materials that can cause issues. Blocks Can Be Useful. Most of the time, knife blocks provide way too many knives than someone can use. The block also can dull the blades when returning and removing the knives. There are self sharpening blocks on the market which help to keep the factory edge. Magnetic knife bars are also a great option to leave knives in an easy place to reach and free up counter space. Sharpening. You probably aren’t sharpening your knives as often as you should be. How often the knives are used and the surface they’re used on will determine when it’s a good time to sharpen. If you are using them daily on a wood or plastic board, try sharpening them once a month. You can test the knife by trying to slice a tomato. If it doesn’t slide through easily, it’s time to sharpen. Source: the Kitchn

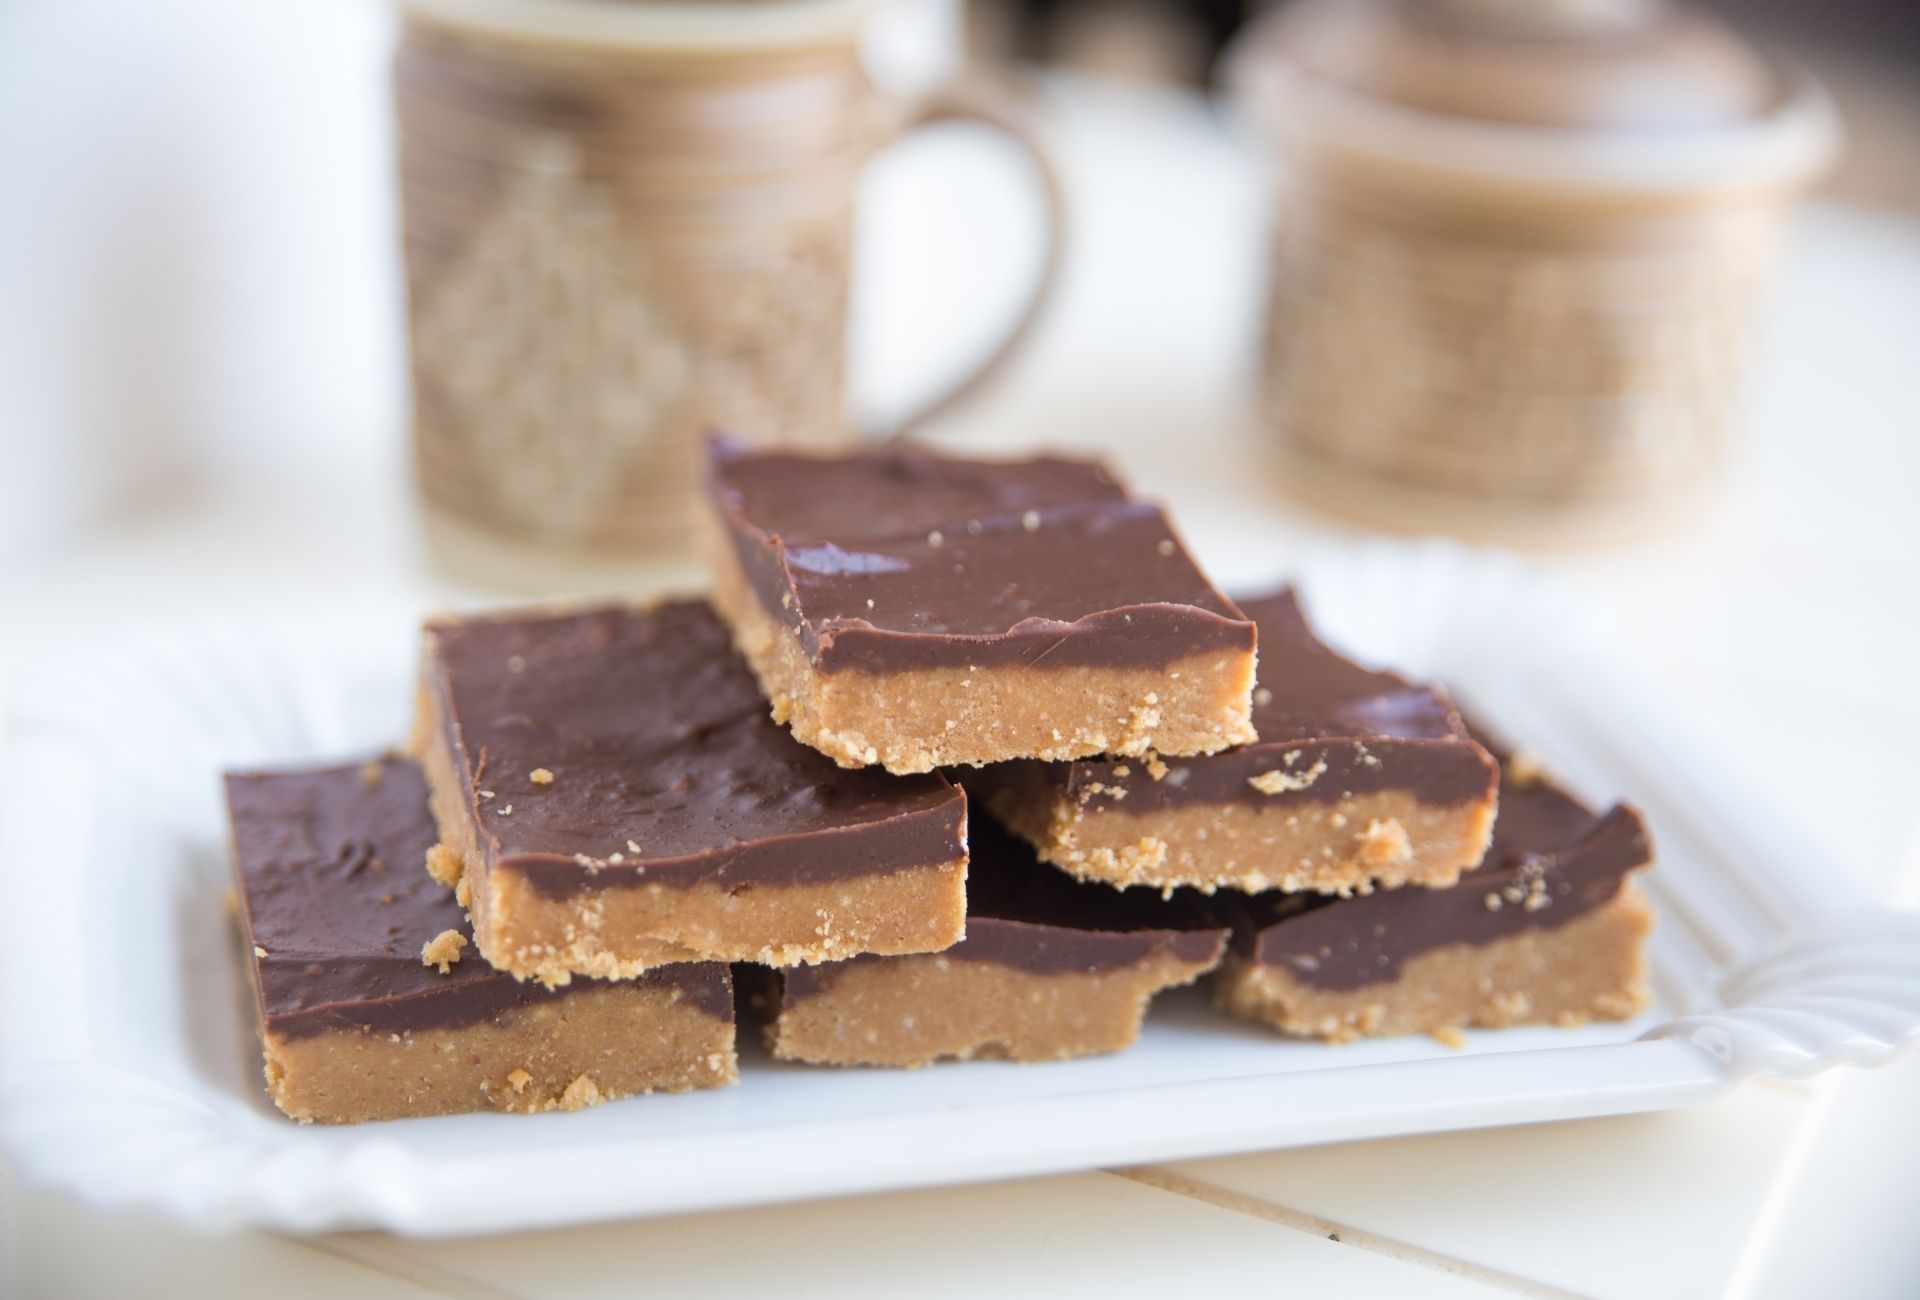
Chocolate Peanut Butter Bars Recipe

These chocolate peanut butter bars are a breeze to make, and no baking is required! Add in the graham cracker crumbs to the peanut butter to help them hold shape. They make for a perfect snack or dessert after a meal. Prep time: 30 mins Cook time: 5 mins Total time: 35 mins Servings: 36 servings Ingredients: Peanut butter layer: 1 1/4 cup of graham cracker crumbs 1 1/4 cup of confectioner’s sugar 3/4 cup plus 2 Tbsp of crunchy, natural peanut butter (no added preservatives or corn syrup) 8 Tbsp (4-ounces) unsalted butter, melted 2 Tbsp honey Chocolate topping: 9-ounces semi-sweet chocolate chips (1 1/2 cups) (use Kosher chocolate chips if making for Passover) 1 Tbsp butter Equipment needed: A 9×9-inch square baking pan with straight sides (can also use an 8×10 or 8×11 baking pan) Food processor Parchment paper or non-stick aluminum foil Directions: Line the baking pan with parchment paper or non-stick aluminum foil. Line the pan in a way so that you have an overhang on at least 2 opposite sides of the pan to make it easy to lift up the bars once they have set. In the bowl of a food processor place the crumbs and the powdered sugar. Pulse until well mixed. Add the peanut butter, melted butter, and honey. Process until well blended. The mixture should hold together, almost like a dough. If it’s too dry, add a little more melted butter. If it’s too wet, after you press it into the bottom of the pan in the next step, you can chill it in the fridge for 10 minutes to firm up a bit. Press the peanut butter mixture into the bottom of your lined pan in an even layer. You can use the flat bottom of a measuring cup, small saucepan, or smaller baking pan to press on the mixture to help make the surface more even. Place a metal bowl over a saucepan with simmering water (not boiling, but gently simmering). Place the chocolate chips and butter into the bowl. Melt the chocolate chips, stirring occasionally, until smooth. Spread the melted chocolate evenly over the peanut butter layer in the pan. (An offset spatula is a good tool for this.) Refrigerate for at least an hour. Lift the contents from the pan onto a cutting board. Cut into 36 bars, 1-inch by 2 1/4 inches. Source: Simply Recipes

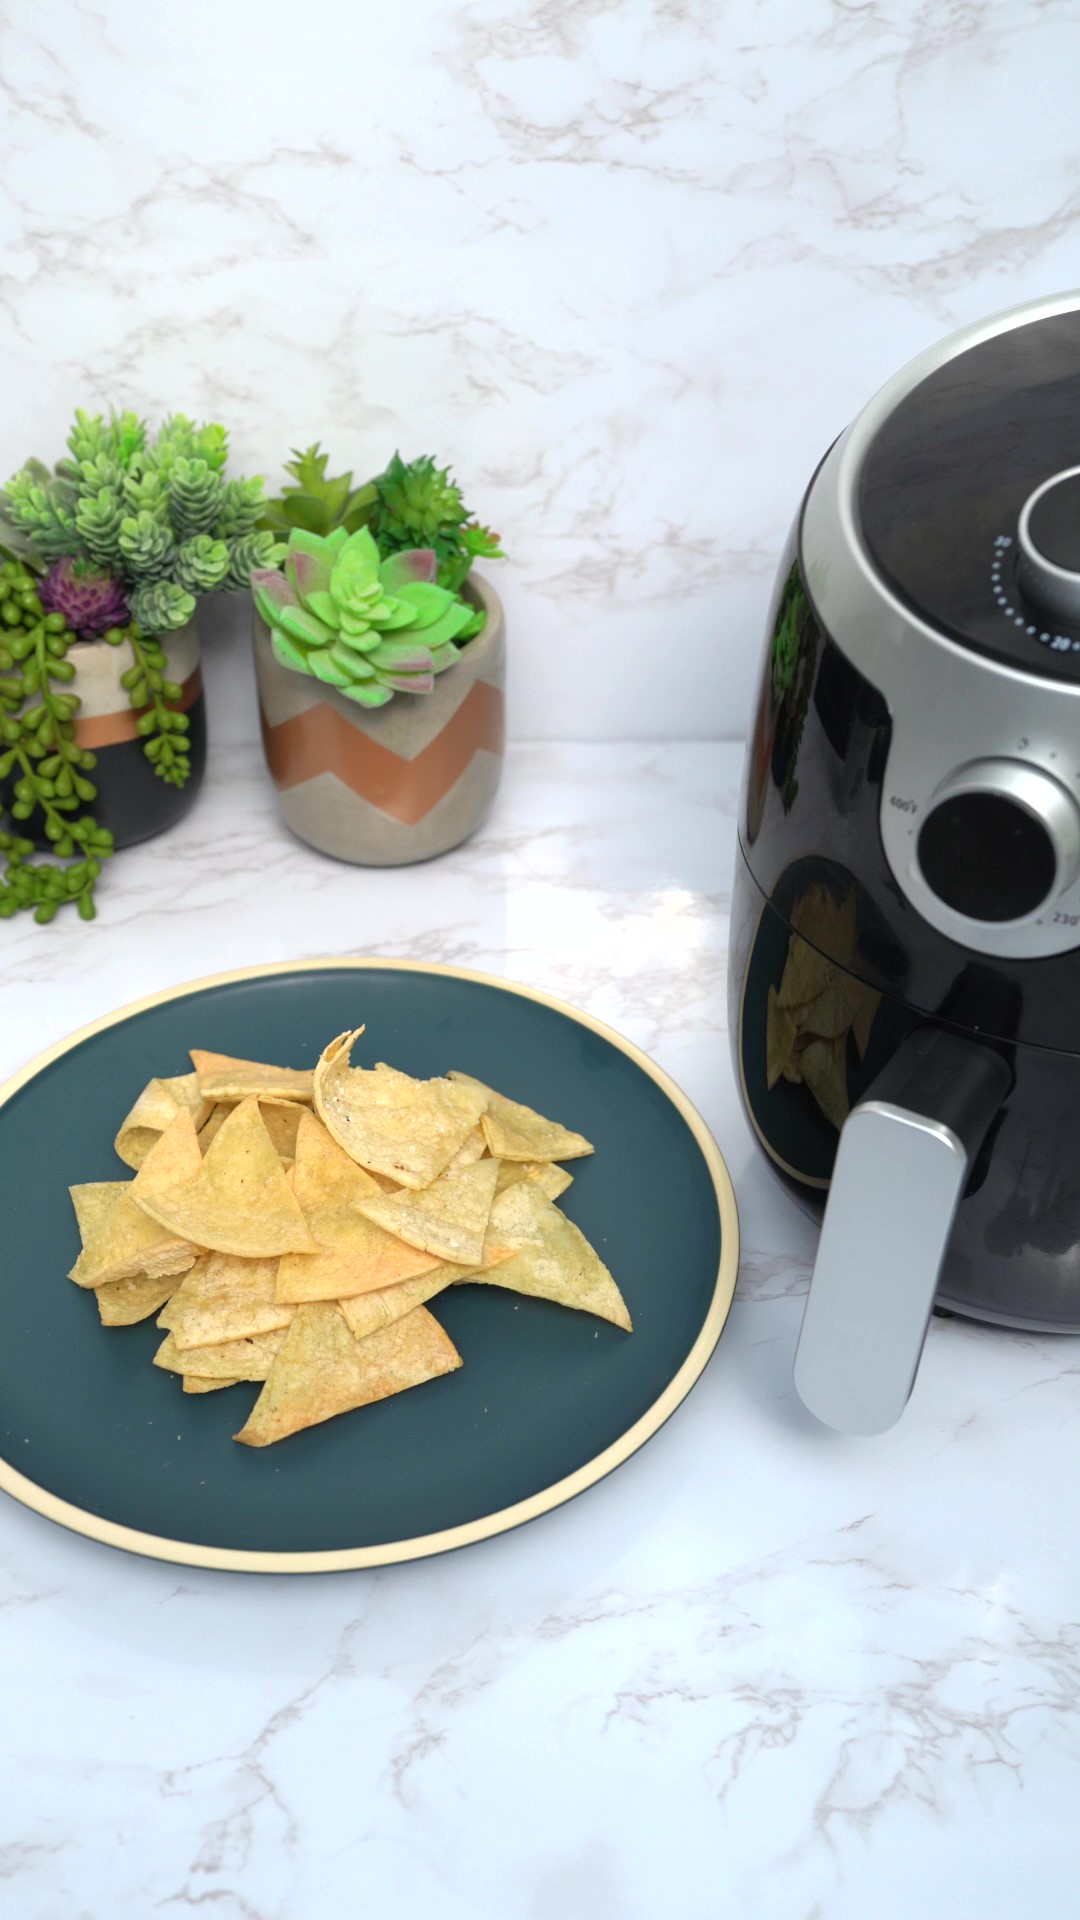
Air Fried Fresh Tortilla Chips

Fresh out of chips? Prepare a batch right in your air fryer with just three ingredients! These chips are fresher and can be as healthy as you want with the amount of salt. Periodically check on them for the desired crunch. Ingredients: Tortillas Salt Non-stick cooking spray Directions: Cut a stack of tortillas in 1/8th pieces Evenly spray with cooking oil Sprinkle with salt Load into bin without overlapping the chips Bake at 350 degrees F for 5 to 7 minutes. Check at the 3 minute mark

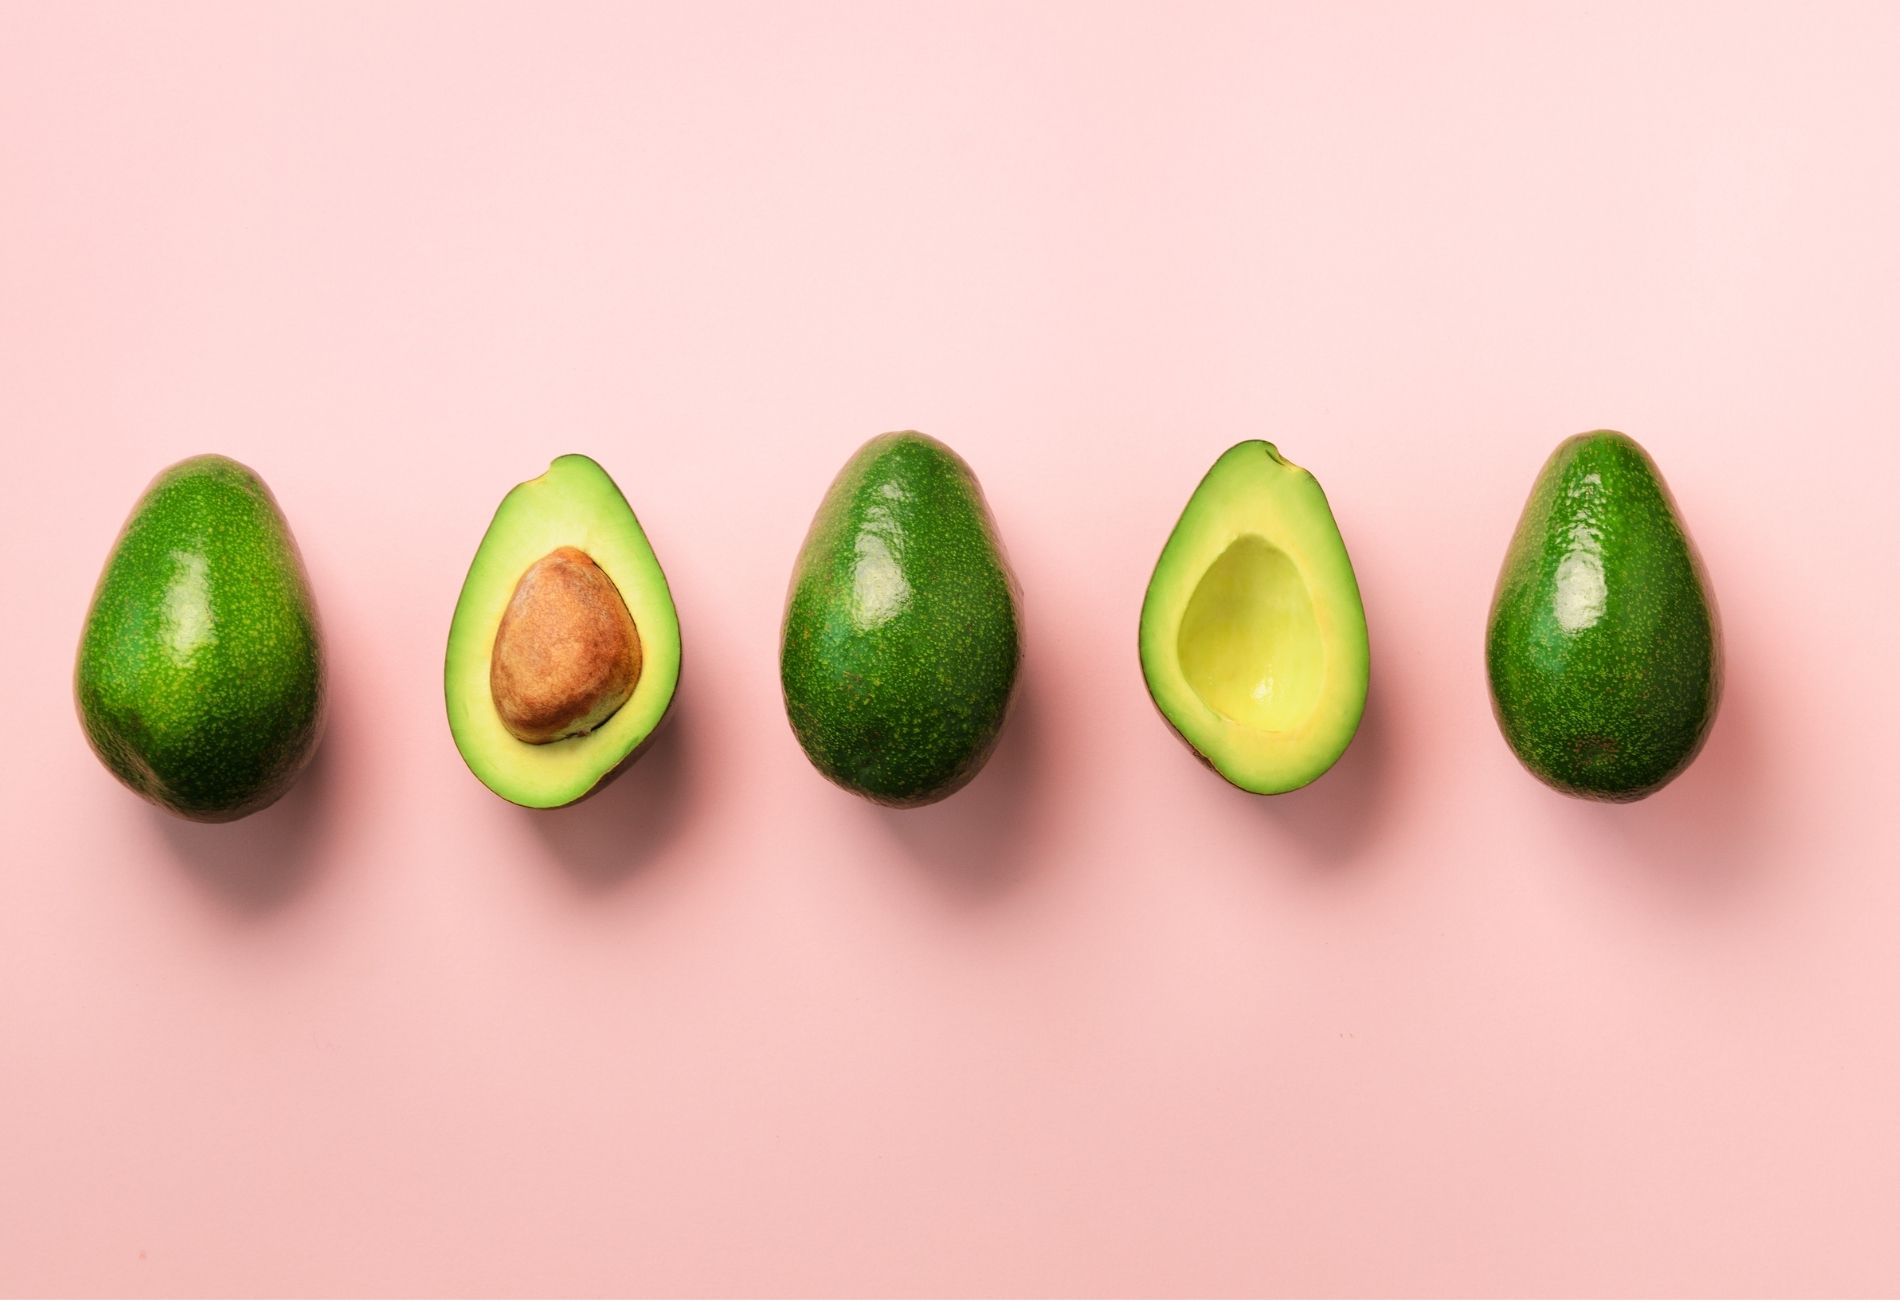
The Ultimate Avocado Guide

If you’re looking to master how to pick avocados, keep them fresh and add them to your favorite recipes, you’ve come to the right place. Avocados are a fruit with creamy, buttery innards that can elevate any dish. Although usually used for savory foods, avocados can still be used in sweeter things such as salads or even chocolate puddings. Picking Avocados When shopping for avocados, gently press them to check their firmness. You’ll want the avocado to be firm but still yield slightly. Avoid avocados with large brown spots or squishy sections. You can also pull back the stem cap as this will be a clear indicator of what’s expected inside. If the avocado is green under the stem cap, you have a ripe avocado. On the other hand, if you find brown then it’s overripe and you can expect to find more brown inside the avocado. Storing Avocados An unripe avocado can be stored on the countertop to move along the process. However, once ripe they should be moved to the fridge to keep them at their ripeness as long as possible. If the avocados are already cut the browning process will happen very quickly. You can spray vegetable oil on the cut half or put an onion in the container to preserve them longer. Avocado Seasons You can usually find avocados year-long in a grocery store. Avocados are in season basically all year in Mexico, which are then imported. California’s avocados are only in season from February to September. Have leftover avocados? Throw them in a smoothie or integrate them in a plain yogurt. You can also add them to scrambled eggs. If you’re looking for the best tools to get your avocado recipes the best they can be, check out Cosmo Ranges, Ovens and Cooktops here! Source: the Kitchn

Lemon Meringue Pie

The three elements for the best lemon meringue are the filling, the meringue topping and the crust. A perfect filling consists of egg yolks, sugar, lemon juice and zest, fortified with cornstarch to hold its shape. The meringue demands attention as the egg whites add extra hold to the shape of the meringue. A gelled cornstarch and water mixture in the meringue allows for “mile-high” lemon meringue pies. Here’s how to achieve it. Prep time: 25 minsCook time: 90 minsTotal time: 115 minsServings: 8 servings Ingredients: 1 (9-inch) frozen pie crust (use a deep-dish pie crust if store-bought) For the lemon filling: 5 large egg yolks 6 tablespoons cornstarch 1 1/3 cup (266 g) sugar 1/4 teaspoon salt 1 1/2 cups water 1/2 cup lemon juice 2 teaspoons lemon zest 2 tablespoons unsalted butter For the meringue: 1 tablespoon cornstarch 1/3 cup cold water 1/4 teaspoon cream of tartar or 1 teaspoon white vinegar 1/2 cup plus 2 tablespoons (128 g) sugar 5 large egg whites, at room temperature 1/2 teaspoon vanilla extract Directions: Pre-bake the pie shell: If you are using a packaged frozen pie crust, follow the directions on the package to pre-bake. If you are using a homemade crust, follow these instructions:Preheat the oven to 375°F. Line your frozen pie shell with aluminum foil so that the foil extends over the edges (will make convenient handles). Fill two-thirds of the way with pie weights or dry beans.Bake for 20 minutes. Then remove the foil and the pie weights. Poke the bottom of the crust in several places with the tines of a fork. This will help prevent the bottom from bubbling up.Put the crust back in the oven and bake for 15 minutes more, or until the crust is lightly browned. Remove from oven and set aside. Make the lemon filling: Whisk the egg yolks in a medium bowl and set aside.In a medium saucepan, add 6 tablespoons cornstarch, 1 1/3 cup sugar, 1/4 teaspoon salt, and 1 1/2 cups water, and whisk to combine. Bring to a boil on medium heat, whisking constantly. Let simmer for a minute or two until the mixture begins to thicken.Once the cornstarch mixture has thickened up well (consistency of Cream of Wheat) remove from heat. Take a spoonful of the cornstarch mixture and whisk it into the beaten egg yolks to temper the yolks. Continue to whisk in spoonfuls of the cornstarch mixture until you’ve used about half of the cornstarch mixture.Then add the egg yolk mixture back to the pot with the cornstarch. Return to a boil, on medium to medium high heat, stirring constantly. Cook 3 to 4 minutes. (The starch will keep the eggs from curdling.)Remove from heat and stir in the lemon juice, lemon zest, and butter. Reduce the oven: Turn the oven temperature down to 325°F. Prepare the cornstarch mixture for the meringue: In a small saucepan, whisk together 1 tablespoon cornstarch and 1/3 cup of cold water until the cornstarch dissolves. Heat on medium heat and whisk until the mixture bubbles and thickens. Remove from heat and set aside. Whisk together the sugar and cream of tartar: Whisk together 1/2 cup plus 2 tablespoons of sugar and 1/4 teaspoon of cream of tartar, set aside. (If you do not have cream of tartar, instead add a teaspoon of white vinegar to the egg whites with the vanilla in the next step.) Make the meringue: Place egg whites and 1/2 teaspoon vanilla extract in the bowl of your mixer. Start beating the egg whites on low speed and gradually increase the speed to medium.Once the egg whites are frothy, slowly add in the sugar and cream of tartar, a spoonful at a time. Beat until the egg whites form soft peaks.Add the cornstarch water mixture (it should look like a gel) a spoonful at a time, as you continue to beat the egg whites. Increase the speed to high and continue to beat until the egg whites have formed stiff peaks. Do not over-beat, or your meringue will be grainy. Fill the pie shell: Heat the lemon filling again, until it is bubbling hot. It’s important that the filling is very hot in order for the meringue to properly adhere.Scoop the steaming hot filling into the pre-baked pie shell, spreading it evenly.Top the filling with meringue: Working quickly, use a rubber spatula to spread the meringue mixture evenly around the edge of the pie.Make sure the mixture attaches to the crust with no gaps. The crust will help anchor the meringue and help keep it from shrinking and weeping.Fill in the center with more meringue mixture. Use the back of a spoon to create peaks all over the meringue. Bake the pie, then cool completely: Bake the pie for 20 minutes at 325°F, until the meringue is golden brown.Transfer to a wire rack and let cool completely to room temperature. If the pie is even remotely warm when you cut into it, the lemon base may be runny. To help firm up the base, after the pie has cooled down, you can place the pie on top of a cooling pack covered with a tea towel.This pie is best eaten the same day you make it. Source: Simply Recipes

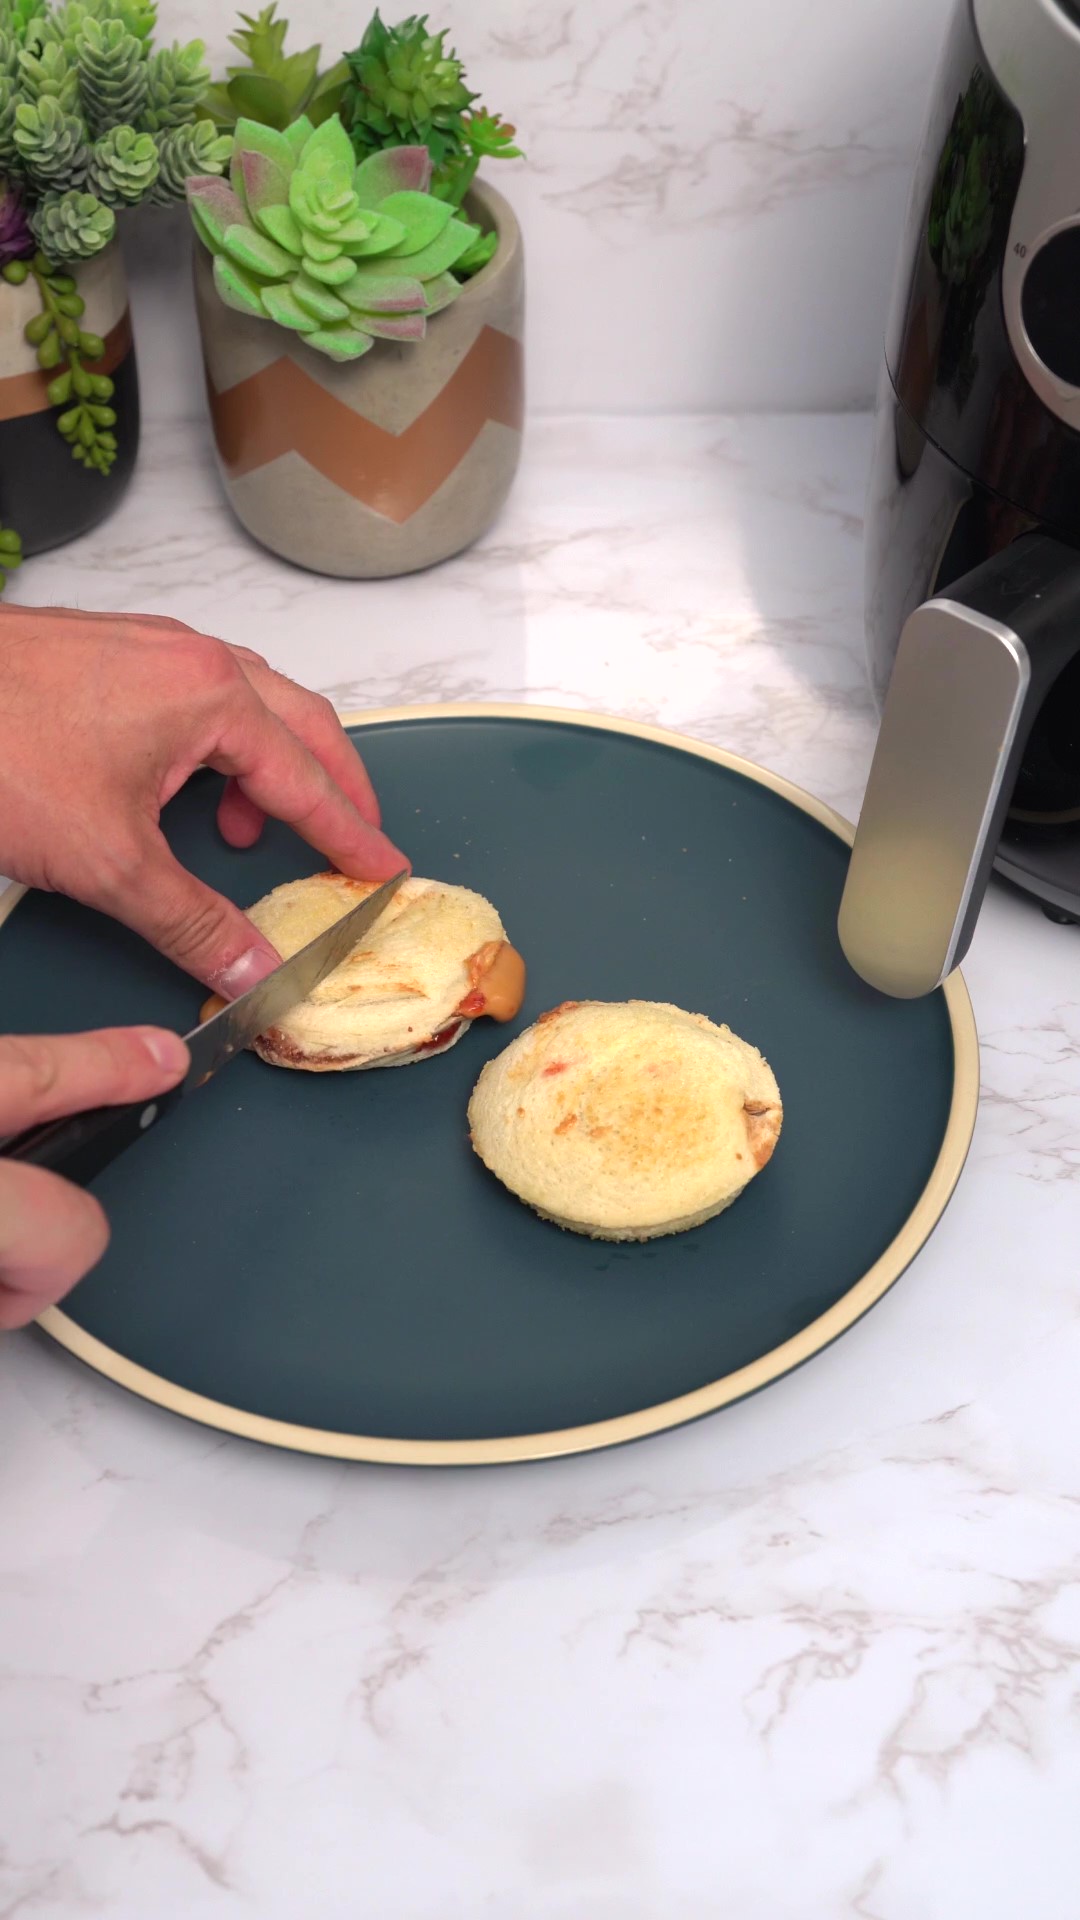
Gourmet Air Fried Uncrustables Recipe

No need to run to the store to make this quick and easy snack! These air fried uncrustables can be prepared in about 10 minutes. Use a small cup to cut out the center of the bread for the perfect shape. Ingredients: 2 slices of Brioche bread 1 tbsp of peanut butter 1 tbsp of jelly Non-stick cooking spray Directions: Add the peanut butter and jelly in the middle of each bread. Leave room on the edges. Combine slices and use a small cup to press on one side of the sandwich Flip and repeat to cut out the center until the crust comes off Spray each side with cooking oil Cook at 340 degrees F for 5 minutes. Flip and cook for 5 more minutes.

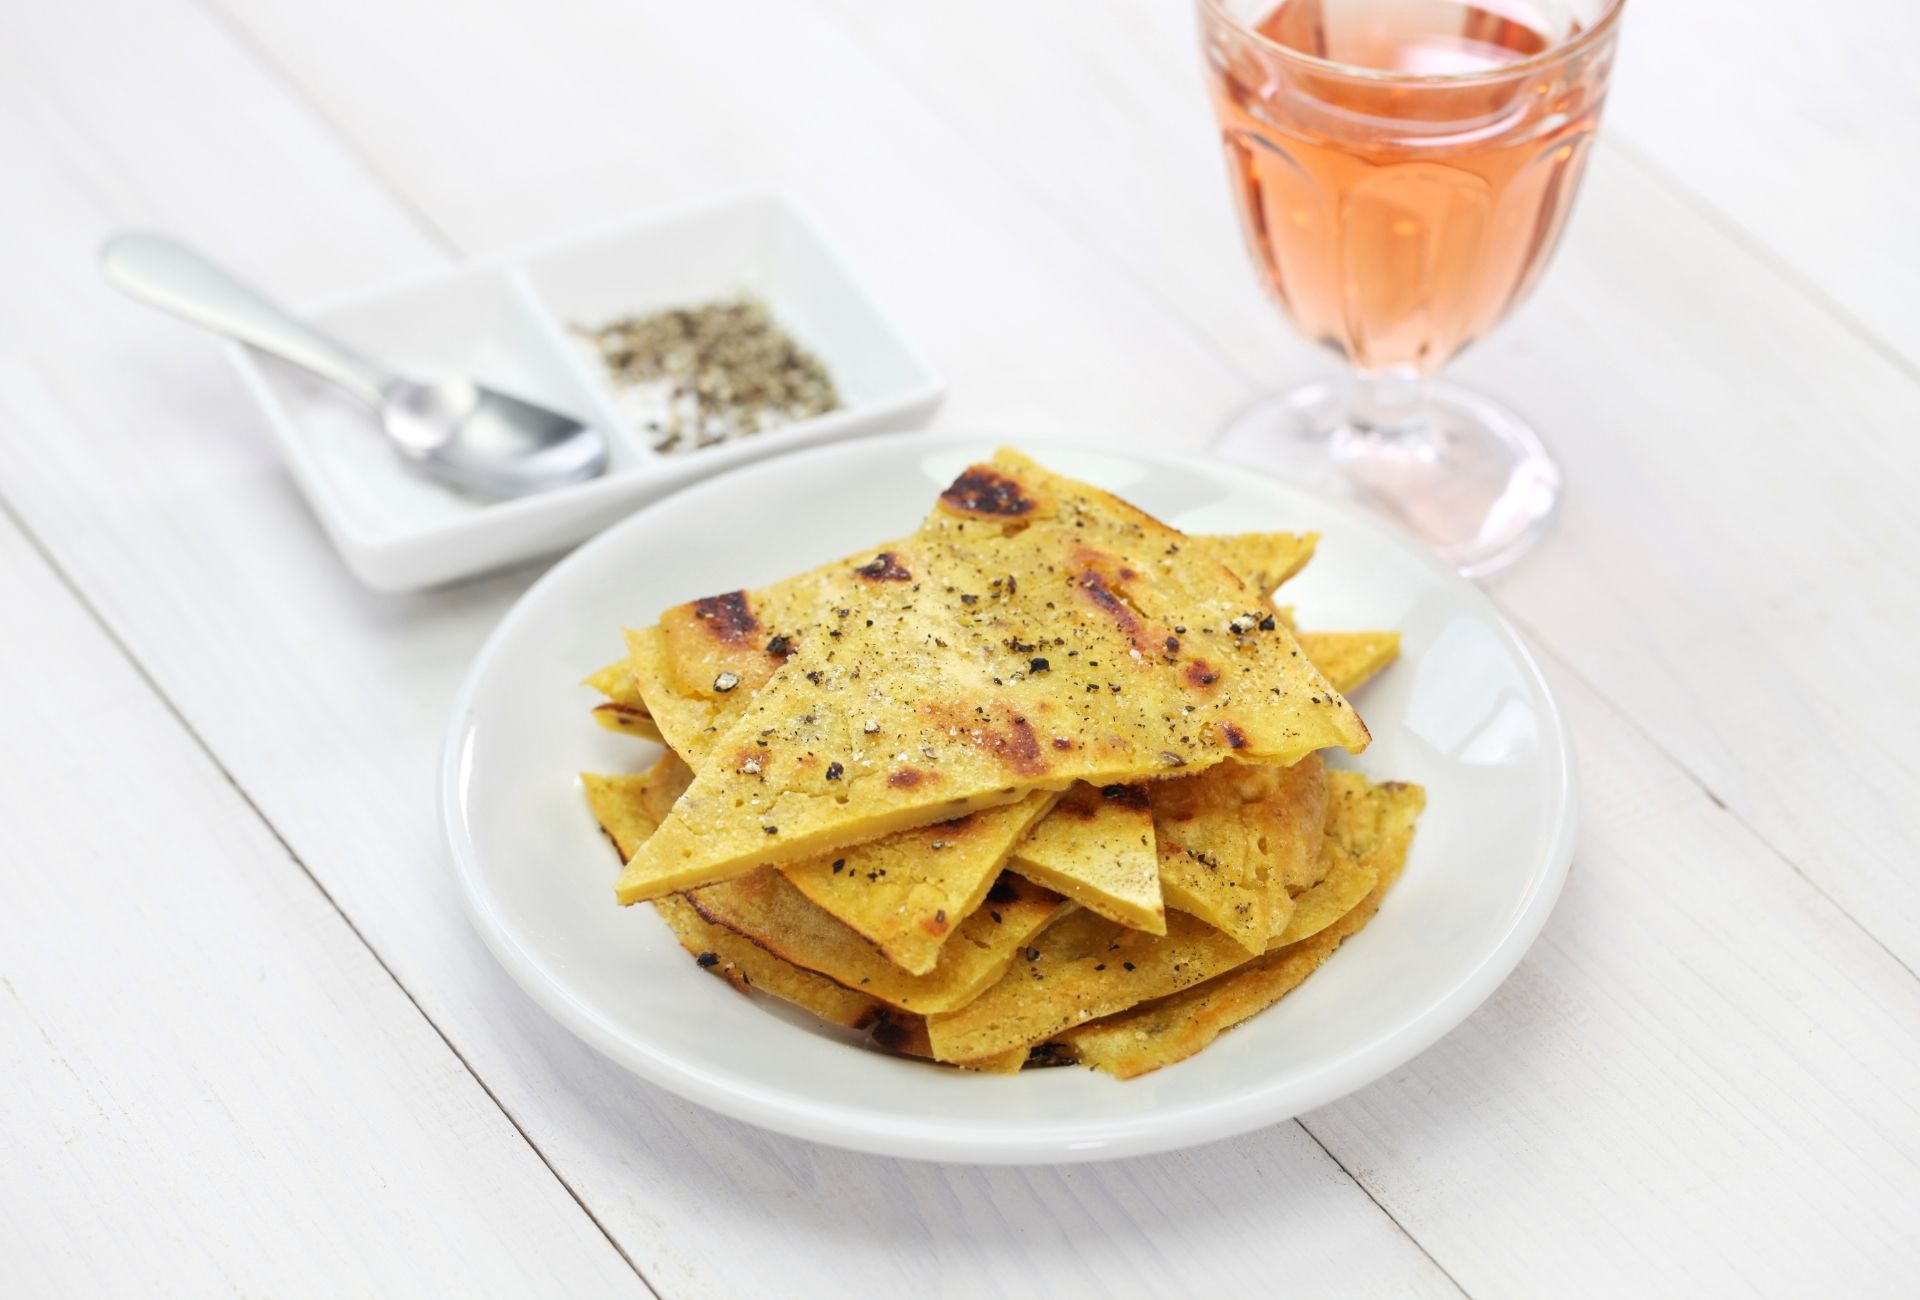
Socca Recipe

The gluten-free flatbread Socca, also known as farinata and panisse, is easy to make as it only has three ingredients. You won’t need any special equipment, just a bowl and a whisk. It’s a convenient option for weeknight dinners and can be elegantly presented with dips. Use this recipe for the next time you need a hassle-free homemade bread. Prep time: 5 minsCook time: 8 minsRest time: 30 minsTotal time: 43 minsServings: 4 servingsYield: 2 socca flatbreads Ingredients: 1 1/2 cups chickpea flour 3 tablespoons olive oil, divided 1 teaspoon salt 1 cup water Directions: Combine socca ingredients: In a medium mixing bowl, combine the chickpea flour, 2 tablespoons of olive oil, salt, and water. Whisk thoroughly until a smooth batter is formed.If it is thicker than pancake batter, add more water one tablespoon at a time, until pancake batter consistency is reached. When you pull the whisk out of the batter, it should leave a thick ribbon. Let the batter rest: Let the batter rest for 30 minutes before cooking. Heat nonstick skillet or cast iron: Heat a large nonstick or well-seasoned cast iron pan over medium-high heat. Drizzle pan with 1/2 tablespoon of olive oil. Cook the socca: Once hot, using a measuring cup or ladle pour half of the socca batter into the pan, while simultaneously turning the pan in a circular motion to help the batter spread evenly.Cook socca, until the top appears nearly set, about 2 minutes. Similar to pancakes, any bubbles that appeared should have set. There will be a visible firming on top at the edges, but no char spots on top.Flip socca with a large metal spatula and continue to cook, about another minute. It should have some brown spots on both sides. Remove from the pan.Add the remaining 1/2 tablespoon of olive oil to the pan and cook the rest of the socca batter. Serve: Socca is ready to serve as soon as it comes out of the pan. Keep it whole and top with pizza toppings, slice into triangles and serve with dip, or cut in half and fill with sandwich fixings. Source: Simply Recipes  

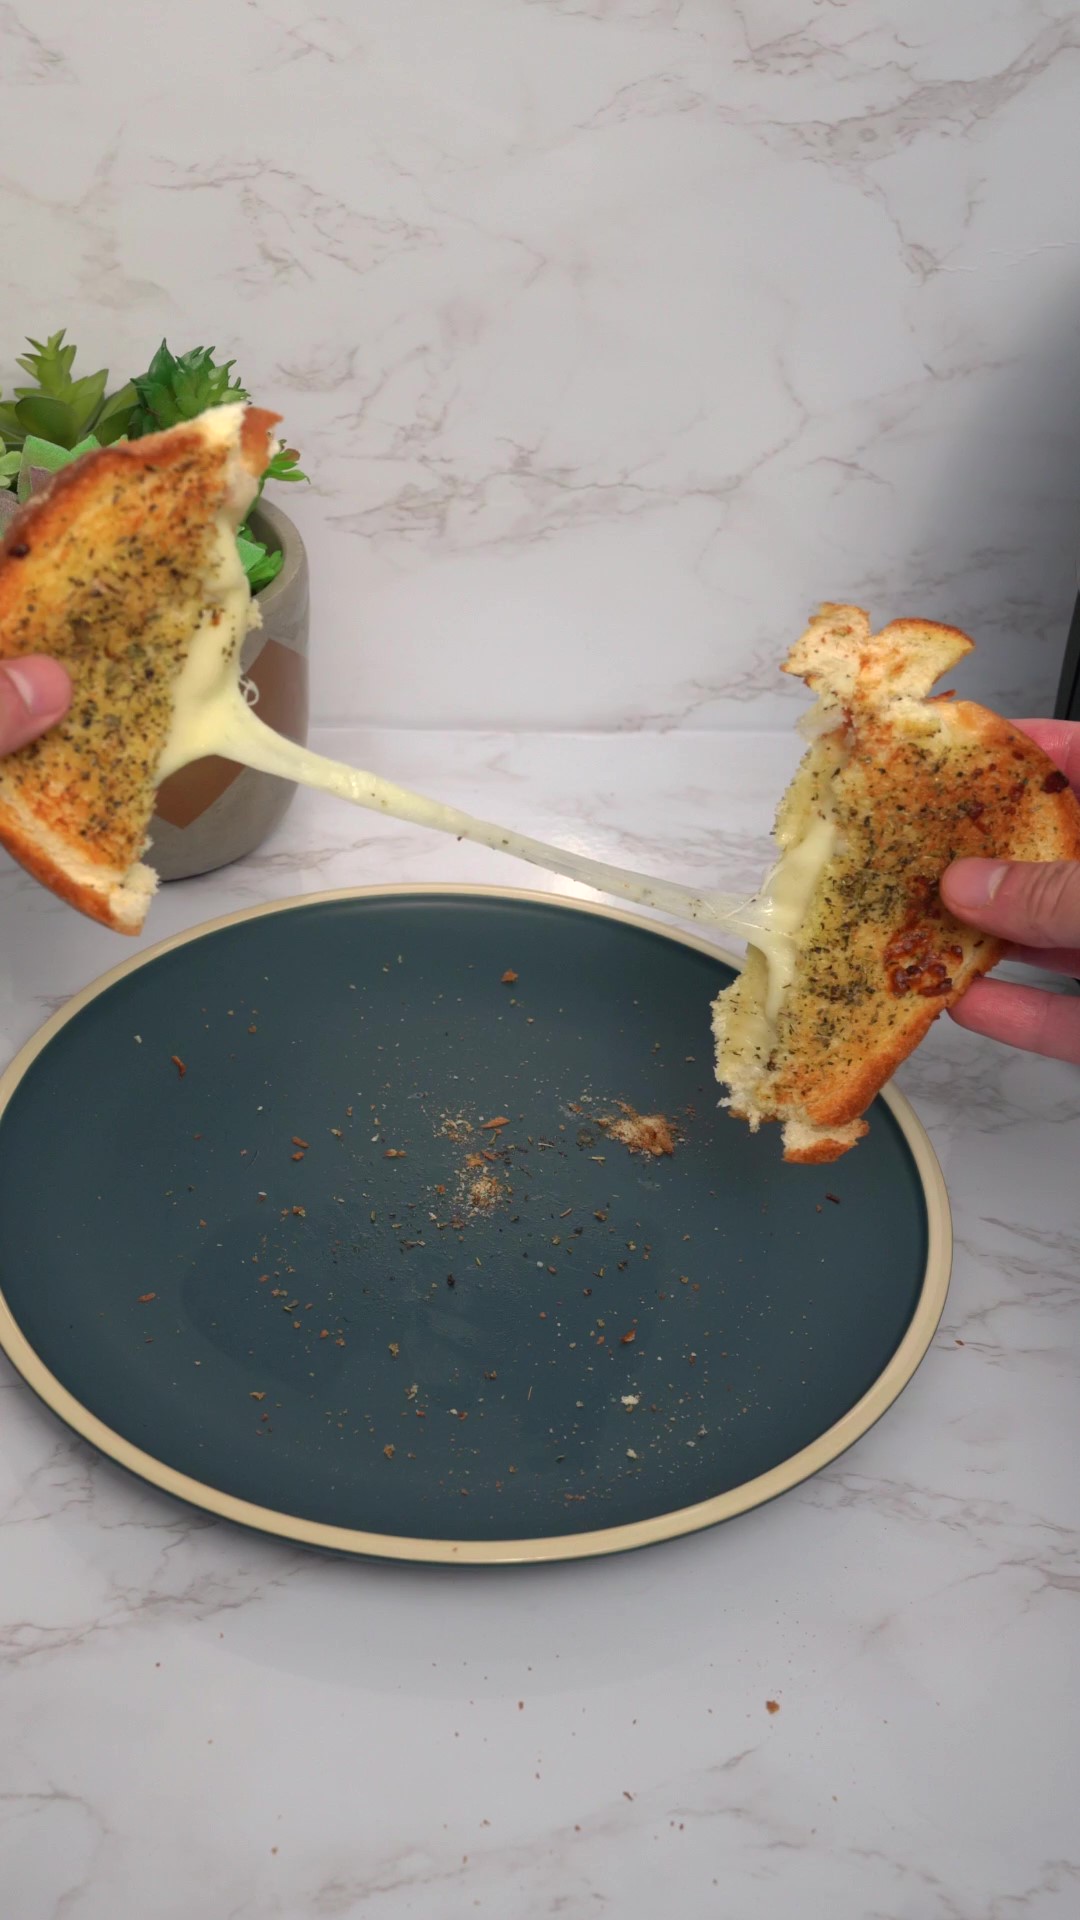
Air Fried Grilled Cheese Recipe

An already simple snack made easier with the help of an air fryer. Use your cheese of choice on a Brioche or French bread for a delicious treat. The mix of seasoning with butter adds the finishing touch. Ingredients: Brioche or French bread Butter Italian seasoning Garlic salt Cheese Non-stick cooking spray Directions: Butter one side of each slice of bread In a bowl mix 3/4th Italian seasoning and 1/4th garlic salt Coat each buttered side of bread with mixed seasonings and then spray with cooking spray Add cheese of choice on the plain side of the bread Spray air fryer pan with cooking spray Load and bake at 370 degrees F for 4 minutes. Flip and cook for 4 more minutes.

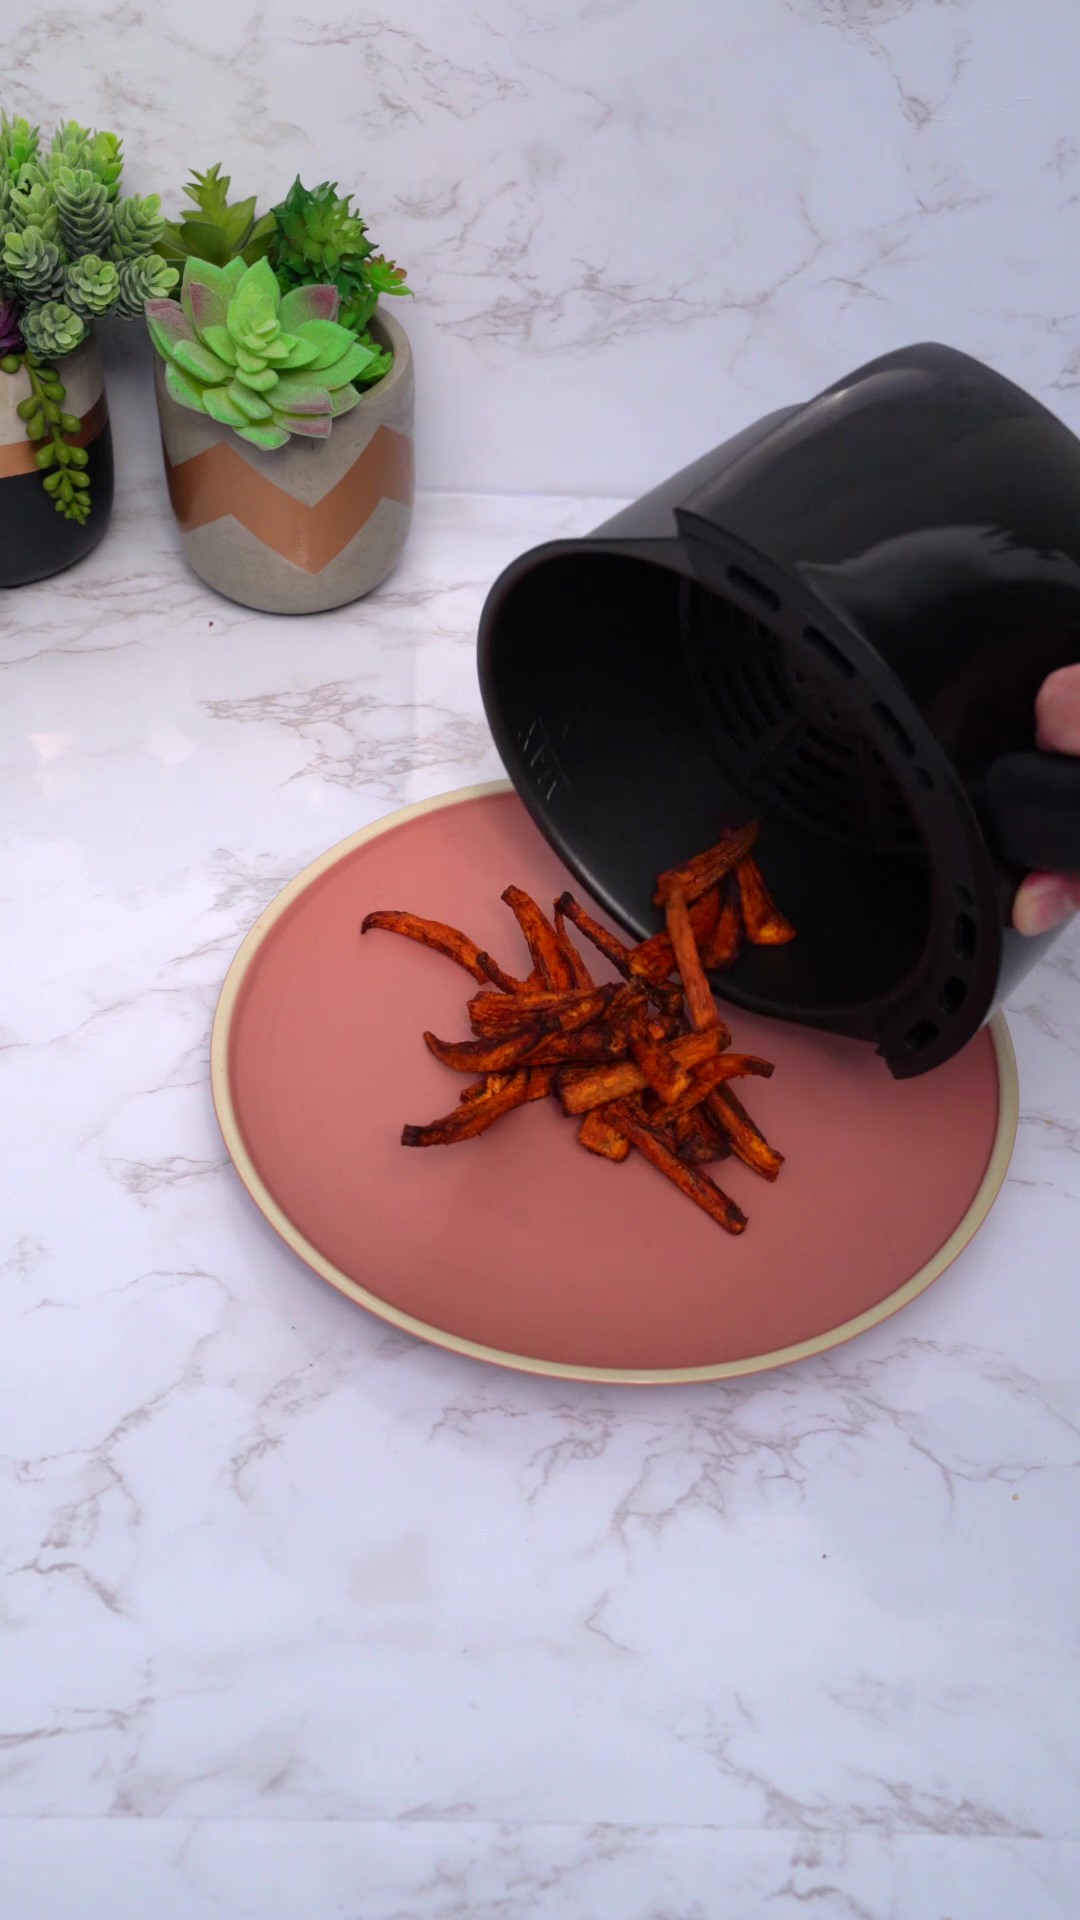
Air Fried Sweet Potato French Fries

Looking for a quick and easy snack for your air fryer? Try these delicious sweet potato french fries. Be sure to mix in cinnamon and brown sugar for an extra level of sweetness. Ingredients: Large sweet potato Brown sugar Cinnamon Non-stick cooking spray Frosting (optional) Directions: Peel and chop up a large sweet potato Place in a bowl and add cooking spray Add brown sugar and mix well. Add cinnamon and repeat. Place fries in air fryer basket in a single layer for even cooking. Bake at 350 degrees F for 20 minutes. Shake every 5 minutes. Optional: drizzle frosting of your choice

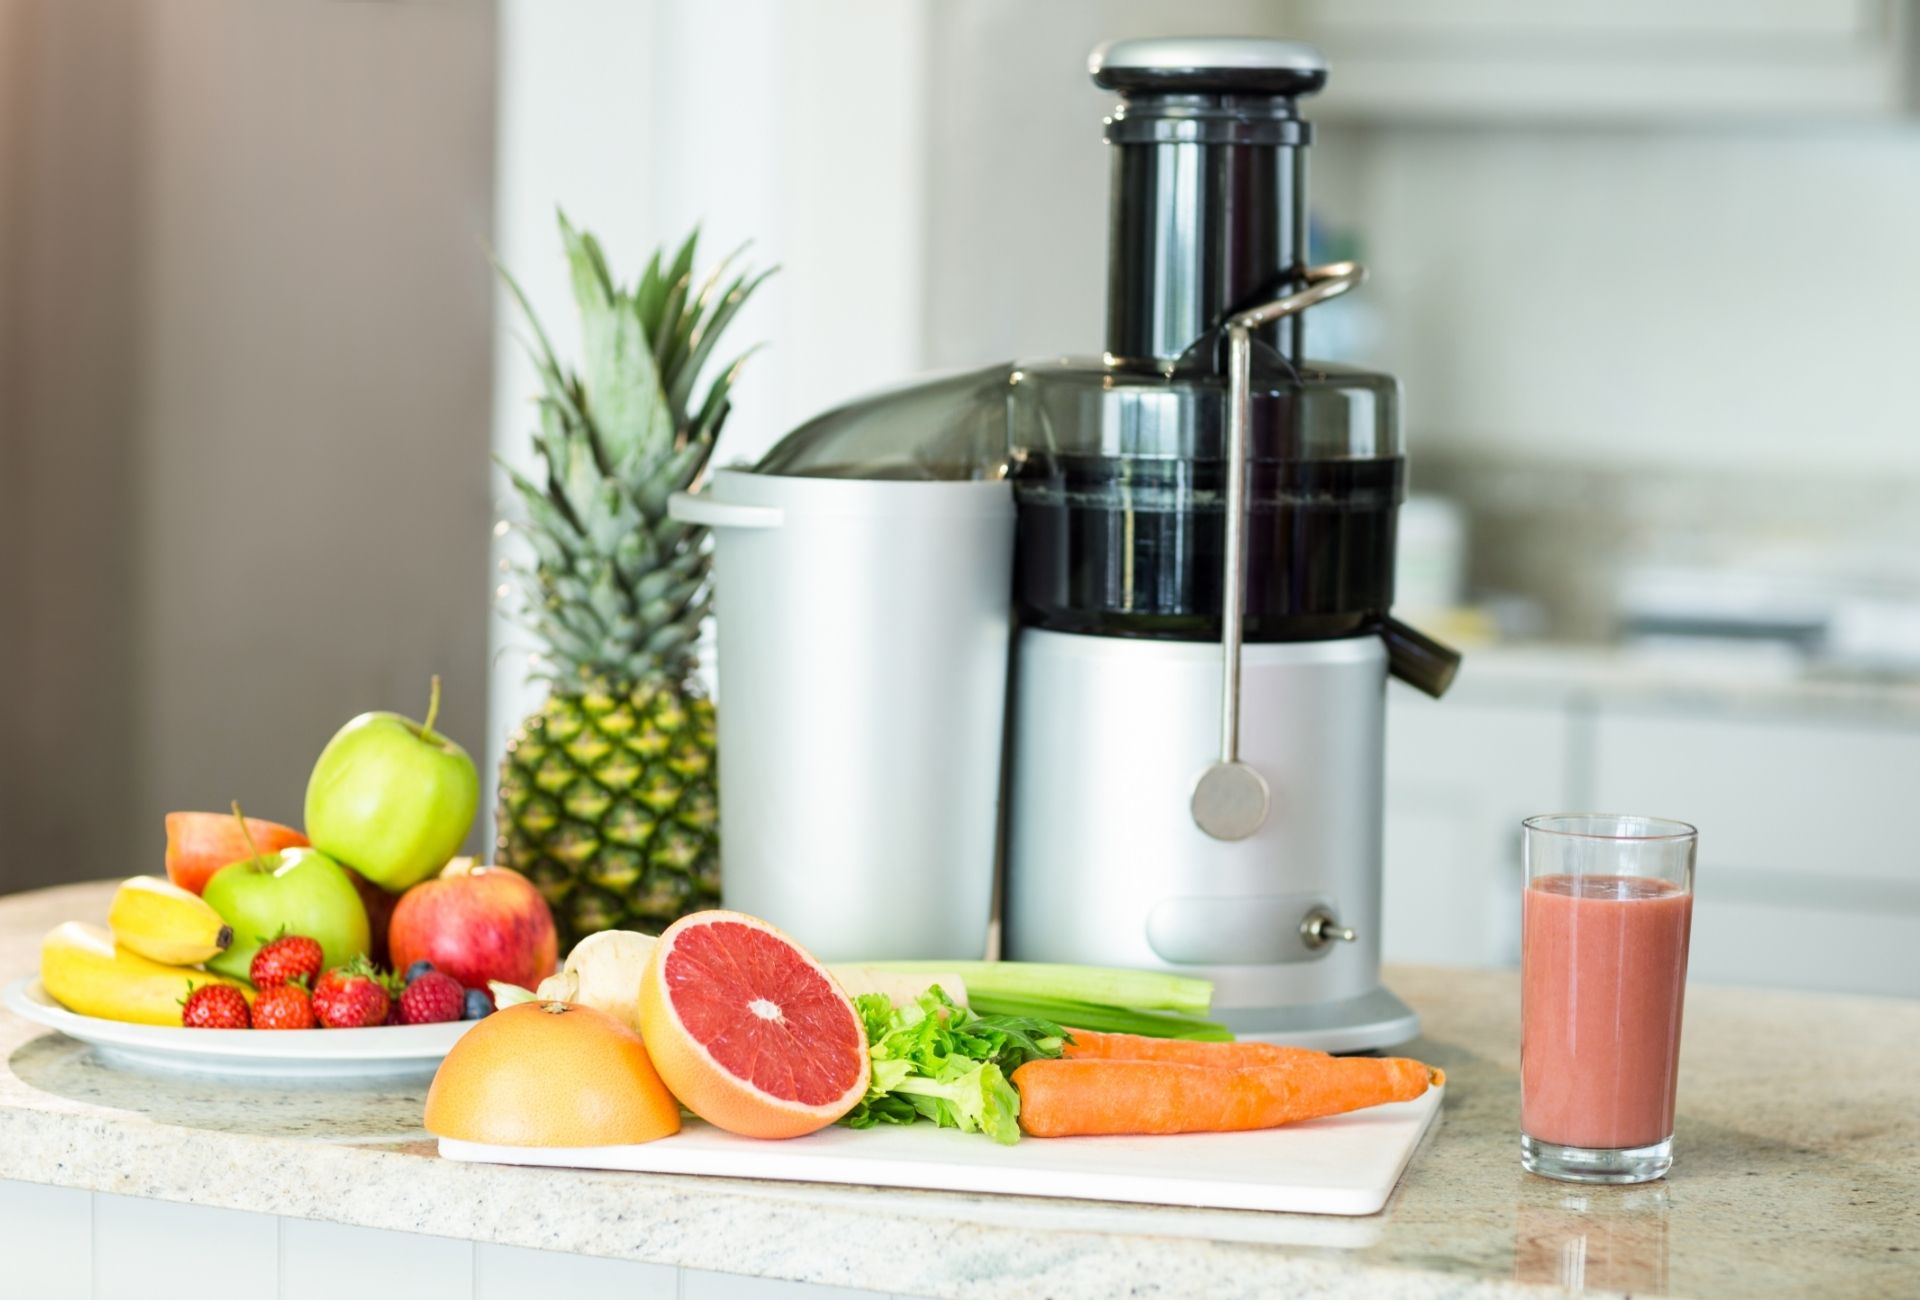
How to Clean a Juicer

Juicers have come a long way, and are best to extract juice from firmer fruits and vegetables. There are three basic types of modern juicers– centrifugal force, masticating or cold press, and triturating. A centrifugal force juicer contains blades in a spinning container. These are the fastest, loudest and least expensive types. A masticating or cold press uses a single spiral auger to masticate the produce. It will mimic the action of chewing. It’s much slower but extracts more juice. The triturating is a professional type that uses two augers to grind the fruit and vegetables into small particles. Cleaning is essential for any kind of juicer, regardless of the type. Without regular upkeep, small bits of pulp can get trapped in the components and decay leading to bacterial and mold growth. Many of these components are dishwasher-safe and can be kept clean with just a few items. Every juicer should be cleaned after every use. Bits that are trapped can harden quickly, making them more difficult to remove later. If the juicer is being used daily, make sure to give it a deeper cleaning weekly. What You’ll Need: 1 Non-abrasive sponge 1 Soft-bristled bottle brush 1 Toothbrush 1 Spatula 1 Microfiber cloth 1 Dishwasher 1 Dishwashing liquid 1 Dishwasher detergent 1 Baking soda 1 Distilled white vinegar Directions: Before you begin the cleaning process, turn off and unplug the juicer from the wall outlet. Remove the juice and pulp collection containers. Disassemble the juicer to access the grinding mechanism, strainer, lid, and plunger. Use a spatula to scrape out the pulp container. The pulp can be used in some recipes, composted, or placed in a trashcan. Fill a sink with hot water and add a few drops of dishwashing liquid. Place the components in the sink and let them soak for two or three minutes. Use a non-abrasive sponge to wash the plastic containers. Use a soft-bristled bottle brush or toothbrush to clean the strainer and around the grinding components. Rinse the clean pieces well with hot water and allow to air-dry or dry with a microfiber cloth to help prevent water spots.Even if you plan to place the parts in the dishwasher, give them a quick rinse to flush out the pulp particles. This is particularly important for the fine mesh of the strainer. Dampen a non-abrasive sponge with water and wipe down the base of the juicer. Never submerge the base that contains the motors in water! Dry with a microfiber towel. Once every component is clean and dry, reassemble the juicer and you’re ready for the next use. Weekly Deep Cleaning: If pulp has been allowed to dry and harden in the juicer components, fill a sink with hot water and a few drops of dishwashing liquid, add the components and allow them to soak for 15 minutes.Dip a toothbrush or bottle brush in dry baking soda and gently scrub the components. The baking soda will act as a gentle abrasive. Rinse the components often and continue scrubbing until they are clean. If the containers have streaks and water spots, fill them with distilled white vinegar and allow them to soak for 15 minutes. Pour out the vinegar and wipe them down with a non-abrasive sponge. Rinse well and dry with a microfiber cloth. Source: the Spruce