Author : Cosmo

Quick Udon Noodle Soup Recipe

This udon noodle recipe is great for a last minute meal. The starch from the noodles thicken the broth and give it a silky texture. It’s the perfect way to use up any leftover halves of peppers or cabbage from previous recipes. Learn how to prepare this dish below. Yield: Serves 2 Ingredients: 1 cup vegetable broth (or other broth) 2 cups water 1 bay leaf 1 star anise 1 teaspoon salt Handful of udon noodles 1 to 2 cups Swiss chard, torn into pieces (or other hearty green) 1/2 block tofu, cubed 2 to 4 spring onions, sliced Soy sauce, to taste Directions: Bring liquids, bay leaf, and anise to a boil. Add the udon noodles. When the udon is almost cooked but still slightly crunchy, add the chard. Cook until the udon and chard are both tender. Stir in the tofu and spring onions. Remove the pot from the heat. Remove the bay leaf and star anise, and season with soy sauce as needed. Divide between bowls and enjoy! Source: the Kitchn

Managing Wood Utensils in a Kitchen

Wood utensils have been used for centuries and are still one of the most common tools found in kitchens today. Wood is great to prevent scratching pots or pans, and won’t react chemically with hot food. Here are the few do’s and don’ts when it comes to handling your wood utensils. DON’T put the wood utensils in a dishwasher. The intense heat and steam will make the wood crack. DON’T let utensils sit in water for prolonged periods of time. DO wash the utensils in hot soapy water fairly quickly after use. DO pat the utensils dry with a cloth and let them air dry. DO rub with a slice of lemon and let air dry for any strong flavors that have seeped into the wood. DO apply a mineral oil every once in a while to the wood to prevent it from drying out and cracking. Source: Apartment Therapy

Classic Cheese Fondue Recipe

It’s delicious, decadent, and infinitely customizable, what’s not to love? If you’re new to fondue, it’s all about pomp and circumstance. Learn how to make this originally Swiss dish below. Yield: 6 to 8, makes 3 cups Prep time: 12 minutes Cook time: 15 minutes Ingredients: 10 ounces Emmental cheese 10 ounces Gruyère cheese 1 clove garlic 1 1/2 cups dry white wine, such as Chablis or dry Riesling 1 teaspoon freshly squeezed lemon juice 3 tablespoons kirsch 1 tablespoon cornstarch Freshly ground white pepper Freshly grated nutmeg Sweet paprika For dipping: 1-inch cubes of day-old French bread or country loaf, apple slices For serving: cornichon pickles, pickled onions Equipment: Fondue set with burner, or a 6-cup enamelled cast-iron saucepan/saucier pan to use stovetop Measuring cups and spoons Box grater Chef’s knife and cutting board Wooden spoon or heatproof rubber spatula Whisk (optional) Directions: Grate the cheese. Grate 10 ounces Emmental cheese and 10 ounces Gruyère cheese (about 2 1/2 cups each). Rub the pot with garlic. Rub the inside of a fondue pot or medium saucepan (preferably nonstick or enameled cast iron) with 1 garlic clove. Heat the wine and lemon juice. Add 1 1/2 cups dry white wine and 1 teaspoon lemon juice and heat over medium heat until steaming, about 4 minutes. Whisk the kirsch and cornstarch. Meanwhile, place 3 tablespoons kirsch and 1 tablespoon cornstarch in a small bowl and whisk with a fork until smooth. Slowly stir in the cheeses. While stirring constantly in a figure-eight motion, gradually add both cheeses a handful at a time, waiting until each handful is completely melted and incorporated before adding the next. Stir in the paste. When the mixture begins to bubble, stir in the kirsch-cornstarch paste. Season the fondue. Continue to cook for another 3 to 5 minutes, and season with a little white pepper, nutmeg, and paprika. Should your melted cheese begin to separate, increase the heat and whisk or stir the mixture quickly to bring it together again. Light the flame. Carefully light the flame on your fondue set, following the manufacturer’s instructions. Transfer the pot to the fondue set. Carefully transfer the pot to your fondue set. If you’re going without a fondue set, simply place the pan on a wooden board or other heat-resistant material. Serve the fondue. Serve the fondue with bread cubes or sliced apples, cornichon pickles, and pickled onions. Source: the Kitchn

An Intro to Gas Ovens

A gas oven can be a bit tricky if you’ve only used electric ones. All gas ovens have a main burner at the bottom of the oven compartment which is usually shielded by a sheet of metal with vents on the sides. This provides intense radiant heat upwards into the main oven compartment. However, the temperature can fluctuate more widely and the overall heating can be less even. If you’re wondering why some muffins aren’t browning on top or a cake is baking unevenly, try these helpful tips. Rotate trays. It’s important to rotate trays once or twice during cooking to ensure that everything bakes as evenly as possible. If you’re baking multiple trays of pastries, try swapping the top and bottom trays as well as rotating them. If you’re baking cakes, breads or muffins try rotating them 90 degrees midway through. Move trays upwards to brown. Gas ovens can retain more ambient moisture which can result in foods taking longer to brown on top. Place the tray at the top of the oven or place a second tray directly above it so the heat will bounce off and help brown your foods more quickly. If a broiler is built into your oven you can also run it under that for a minute or two. Increase the temperature to crisp. If you’re looking to achieve a crispy crust, try turning up the oven heat by 25 degrees F. This will affect the cooking time slightly so be attentive to visual and aromatic cues that your food is done. Avoid dark metal cookware. Since heat in a gas oven is radiating from the main burner, the bottoms of your bakeware absorb more heat and speeds up cooking. This can result in the bottom of your food burning while the top isn’t done. Light colored metals, glass and silicone are great choices for baking in gas ovens to reduce the risk that bottoms burn. Cosmo Appliances are built with a variety of fuel types to match whichever needs you may have. Our line of Electric Ovens can be built into cabinetry for a seamless look. If you prefer a Cosmo Gas Range or Dual Fuel Range, check out our available models here. A better home starts with Cosmo. Source: the Kitchn

Italian Meatballs Recipe

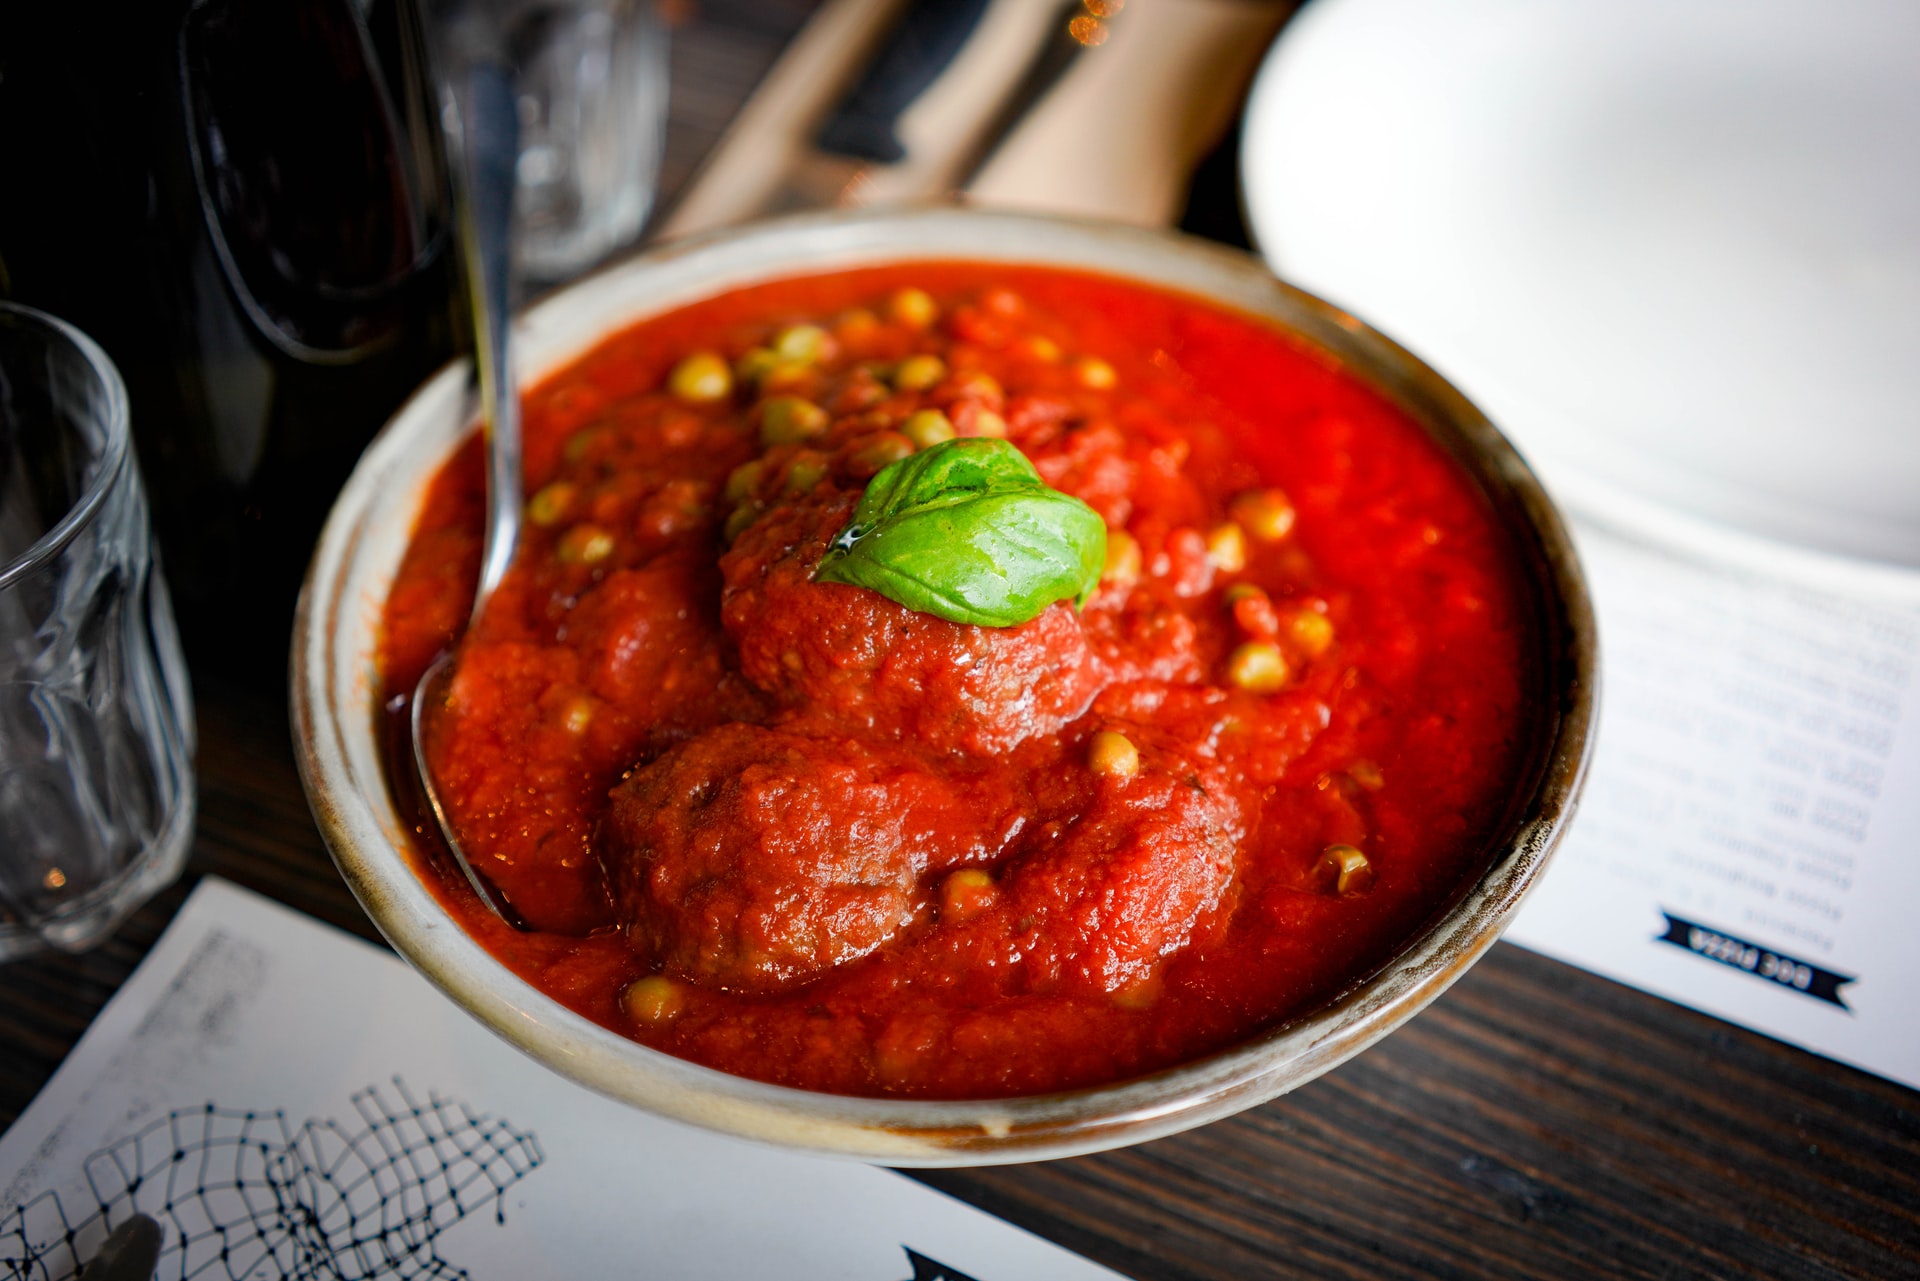
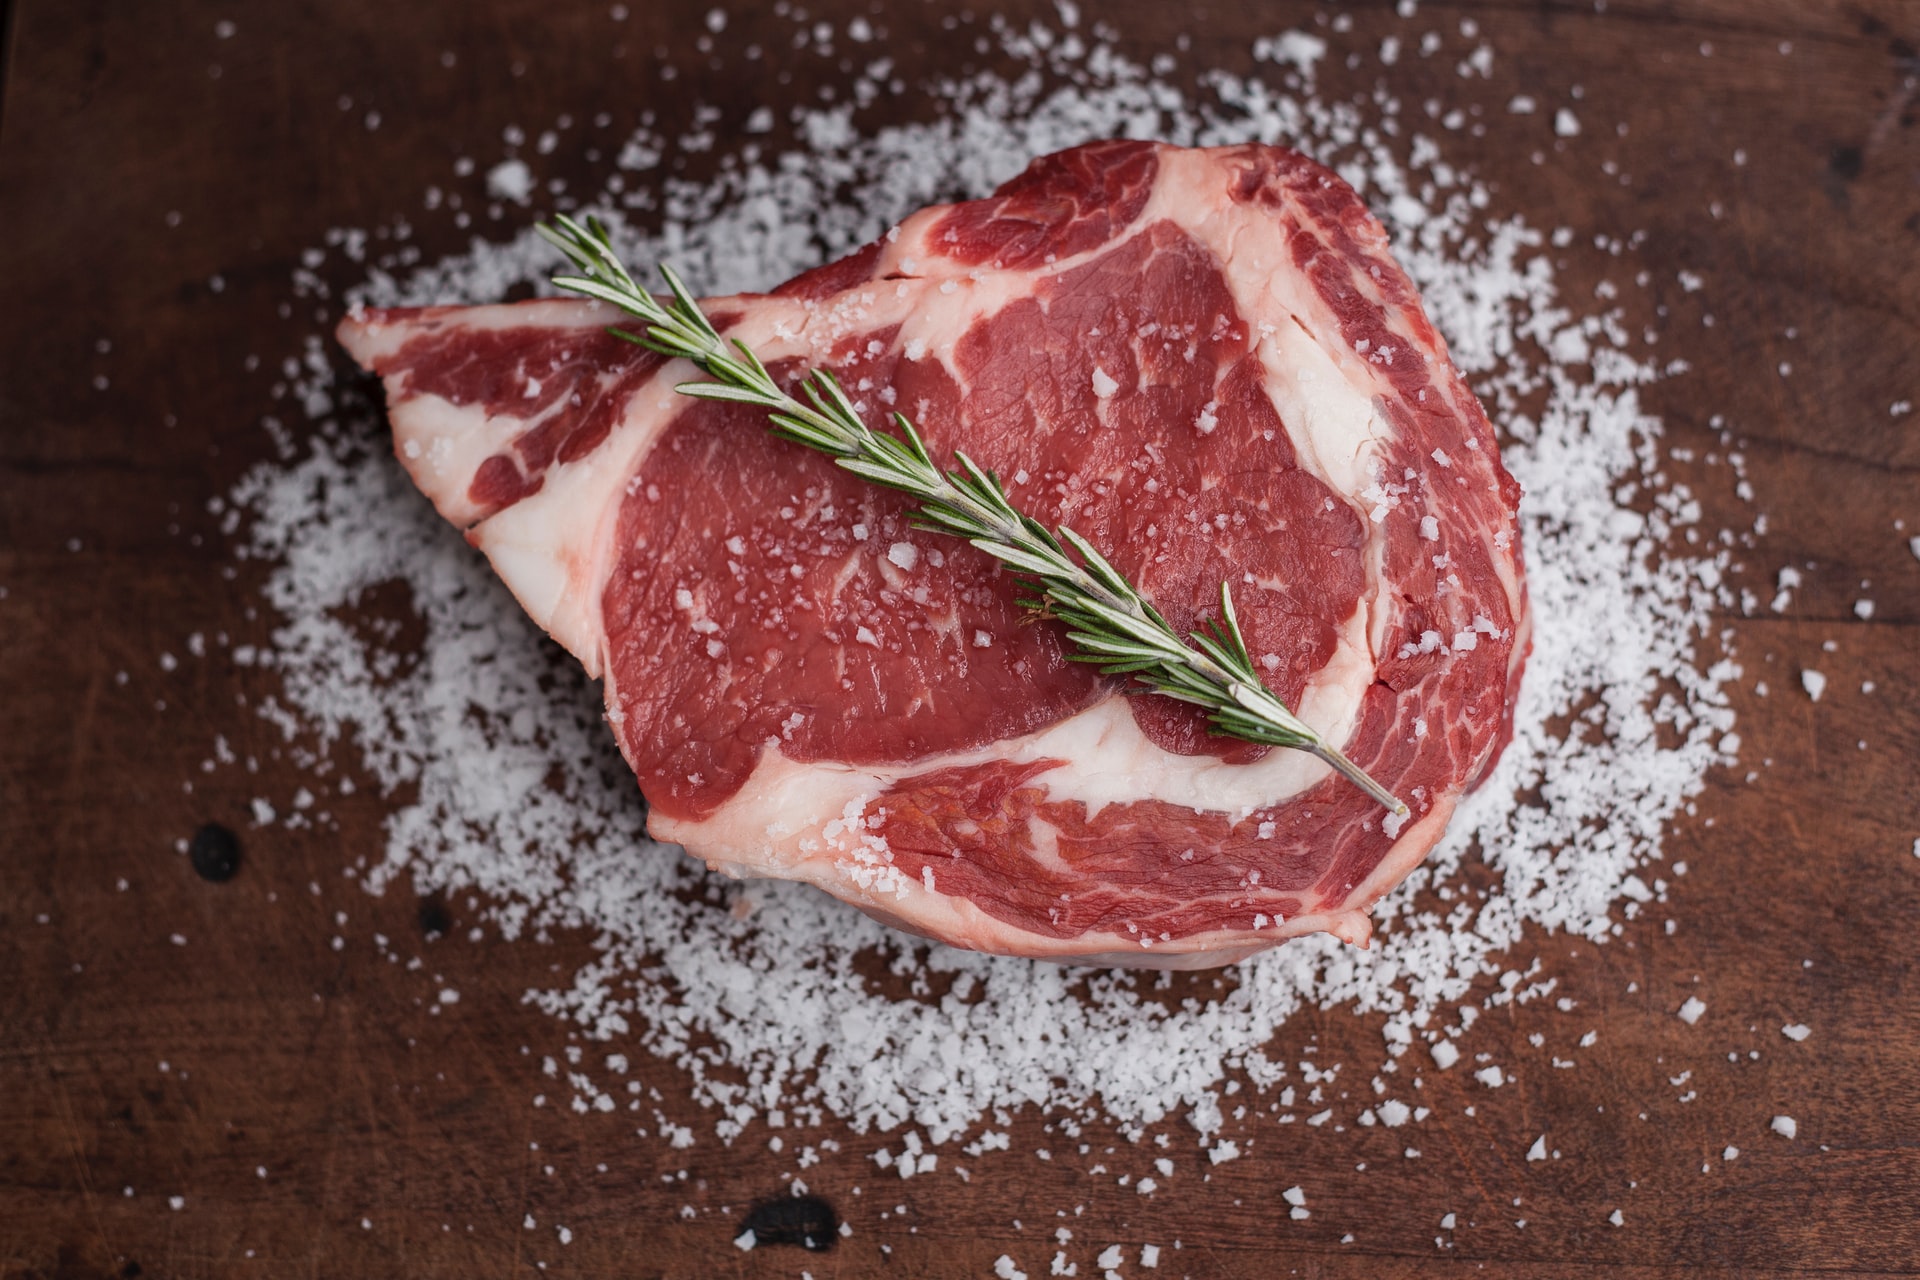
The classic Italian-American style meatballs are perfect as a dinner entree or as an appetizer. These tender meatballs are loaded with herbs and cheese, and covered with a classic tomato sauce. You can store these in the refrigerator for about 5 days. Learn how to prepare it below. Prep time: 25 minutes Cook time: 60 minutes Total time: 85 minutes Servings: 8 servings Ingredients: For the meatballs: 1 pound ground beef (at least 16 percent fat) 1 pound ground pork 2/3 cup milk (whole or 2 percent) 3 slices of white bread, crusts removed (about 3 ounces) 1/4 cup ricotta cheese 1/4 cup grated Parmesan or Romano cheese 2 large eggs 1 teaspoon salt (or 2 teaspoons of kosher salt) 1 tablespoon chopped fresh parsley 2 teaspoons black pepper 1 teaspoon dried oregano or marjoram 2-3 garlic cloves, minced About 1 cup flour, for dusting 1/3 cup extra virgin olive oil 2 1/2 cups (24 ounces) tomato sauce (recipe follows, or use already prepared) Tomato Sauce: 2 tablespoons extra virgin olive oil 3/4 cup finely chopped onions 3/4 cup finely chopped carrots 3/4 cup finely chopped celery 2 tablespoons chopped fresh parsley 1 clove garlic, minced 1 28-oz can crushed or whole tomatoes, including the juice, or 1 3/4 pound of fresh tomatoes, peeled, seeded, and chopped 1/2 teaspoon dried basil or 2 Tbsp chopped fresh basil 1 teaspoon tomato paste Salt and freshly ground black pepper to taste Directions: Heat olive oil in a large skillet on medium heat. Add the onions, carrots, celery, and parsley. Stir to coat with the oil, reduce the heat to low and cover the pan. Cook for 15 to 20 minutes until the vegetables are soft and cooked through. Remove the cover, add the garlic, and increase the heat to medium high. Cook the garlic for half a minute, then add the tomatoes (if using whole canned tomatoes, break up with your fingers as you add them to the pan). Add the tomato paste and basil. Season with salt and pepper. Bring to a low simmer, reduce the heat to low and let cook uncovered until thickened while you prepare the meatballs, 15 to 30 minutes. Purée in a blender, or push through a food mill for a smooth consistency. Return to pan. Adjust seasonings. Heat the milk in a small pot until steamy. Turn off the heat, tear the bread into little pieces and soak it in the milk until it partially dissolves. Mash it until you get something that resembles a paste. Turn it out onto a plate to let it cool. In a large bowl, combine the beef, pork, ricotta cheese, grated Parmesan, eggs, salt, parsley, oregano, black pepper, garlic cloves and the bread-milk mixture. Mix it well with your hands until it barely combines. Don’t overwork the mixture or it will become tough. It is OK to have some discernible bits of bread or meat in the mix; better that than overworked meatballs. Wet your hands and form the meatballs. A traditional size for this sort of meatball is 2-3 inches across, but you can make them any size you want. Once you roll the meatball in your hands, roll it in the flour to give it a good coating. Set each one on a baking sheet as you work. You might need to rinse your hands a few times as you make the meatballs. When all the meatballs are formed, heat olive oil in a large skillet over medium-high heat. Brown the meatballs on at least two sides. Don’t worry about the center getting cooked through, as you will finish these in the sauce. Once all the meatballs are browned, arrange them in the sauce, turning each one over in the sauce to coat. Cover the pot and simmer gently for 15-20 minutes. Serve with the sauce and pasta or crusty bread. Sprinkle with a little chopped parsley for garnish if you want. Source: Simply Recipes

The One Trick to Cook the Perfect Steak

Cooking steak can either be a success or a failure with just one crucial step. After you have transferred steak from a grill to a cutting board, it should rest on the board at room temperature for five to seven minutes. These crucial moments ensure the perfect distribution of the juices inside. If you cut into steak too quickly off a barbecue you’ll get a bullseye pattern. On the other hand, if you let the steak sit without touching it, you’ll get a gentle gradation from red to various pinks. For these moments after, don’t wrap it in foil, cover it or poke it. Leave it alone and you’ll be rewarded with the perfect steak. Cosmo Appliances can set you on the right path for all your cooking needs–including a perfect juicy steak. Find a full collection of Cosmo stoves, gas ranges or dual fuel ranges here. Looking for other ways to connect? Follow our Facebook and Instagram! Source: House Beautiful

3 Cabinet Design Trends That Make Reselling Harder

Since a kitchen gets so much use day in and day out, it’s no surprise that it’s usually the biggest selling point in a home. A kitchen remodel gets expensive fast, so it’s even more incentive for a potential buyer to love the kitchen right away. Those looking to sell their home should be conscious of the design elements that may ultimately affect the sell price. Here’s three to avoid. Open shelving. An open shelf is a great concept in theory, but can be a lot more hassle for homeowners. While it does open up a space, the dishware placed on it can easily gather dust. If a potential buyer doesn’t have the means to close off the shelves, it could have them feeling overwhelmed to constantly maintain the look. Dark cabinets. These are very big commitments to homes. A white kitchen will usually sell faster than a dark blue one. A darker kitchen with dated hardware can feel old, and especially unattractive to millennials. The cost to repaint kitchen cabinets will hit a lot harder than a simple wall recolor. Intricate millwork. A younger buyer prefers transitional looks, where lines are clean and geometric. Simplicity is the key here. A neutral kitchen with light countertops and brass hardware is typically a good option. Source: the Kitchn

How to Clean a Cloudy Blender

If you’ve been hard at work cleaning your blender, the last thing you want to see is a cloudy surface that just doesn’t go away. The minerals from fruits, produce and leafy greens can cause a film on your container which may leave you feeling like your blender is still dirty. Here’s how to get that blender back to crystal clear. What You’ll Need: Baking soda Water Bowl for mixing Scrub pad Distilled White Vinegar Instructions: Create a paste of baking soda and water. You want it to be thin enough to be spreadable, but not so thick that it will stick to the interior without dripping. Spread the paste all around the inside in an even coat. Let it sit for about 20 minutes, then take a scrub pad and scrub the container. Take your time with this and work in small sections. Rinse out the paste a few times to flush out all the baking soda. If the cloudiness remains, fill the container with a cup of white vinegar and water. Pour the cup of white vinegar and fill the rest with warm water. Let this sit for several hours or overnight. Rinse clean and enjoy your crystal clear blender again. Source: the Kitchn

The Difference Between All-Purpose Flour and Bread Flour

There are plenty of flour varieties out there–whole wheat, rye, spelt, and more. An all-purpose flour may sound like it’s good enough for every making project, but some recipes may call for a bread flour instead. These two are closely related and can mostly be used interchangeably. However, the small differences in protein and gluten content variations can make a difference in the final product. Here’s what you need to know about the differences between all-purpose and bread flour. All Purpose Flour This flour is the perfect balance of protein and gluten for most recipes. It’s made by removing the wheat’s germ and grinding the starch-rich endosperm into a flour with 9% to 11% protein content. This protein will determine how strong, stretchy and tender a baked good will be. All-purpose flour is ideal for cookies, muffins and quick breads. It can also work for most cake recipes and some breads. Bread Flour A bread flour will have more protein content than all-purpose flour, about 11% to 13%. This will ultimately aid gluten development, resulting in chewy baked goods. It’s most commonly used for breads (hence the name) but can also be great for cookies, pizza crusts and more. You’ll notice crumb and texture differences between the flours but they generally can substitute one another. Avoid over-mixing bread flour if you are using it in place of an all-purpose flour or you can end up with chewy, dense baked goods. Source: the Kitchn

The 2021 COS-23AFAKB Air Fryer

Our compact Air Fryer has become a favorite among our smaller appliances for its high-speed air circulation and heat technology to perfectly fry foods in a short amount of time. The COS-23AFAKB is getting a new design soon with a more streamlined appearance and shape, perfect for any kitchen. Check out the product gallery below! Previous Next Features: Provides a wide temperature range of 180°F up to 400°F Easy-to-use knob controls with separate timer and temperature adjustments Includes a convenient auto shut-off feature with an adjustable time range from 0 to 30 minutes Fast cooking with little-to-no preheating required Non-stick coated parts are dishwasher safe making clean-up quick and easy Versatile with frying, baking, grilling, and roasting capabilities Hassle-free frying with no splatters, mess or smells from oil No assembly required making it easy and safe to use Includes non-stick food basket and power cable A better home starts with Cosmo Appliances. See our entire collection of range hoods, ovens, ranges and much more here.