Author : Cosmo

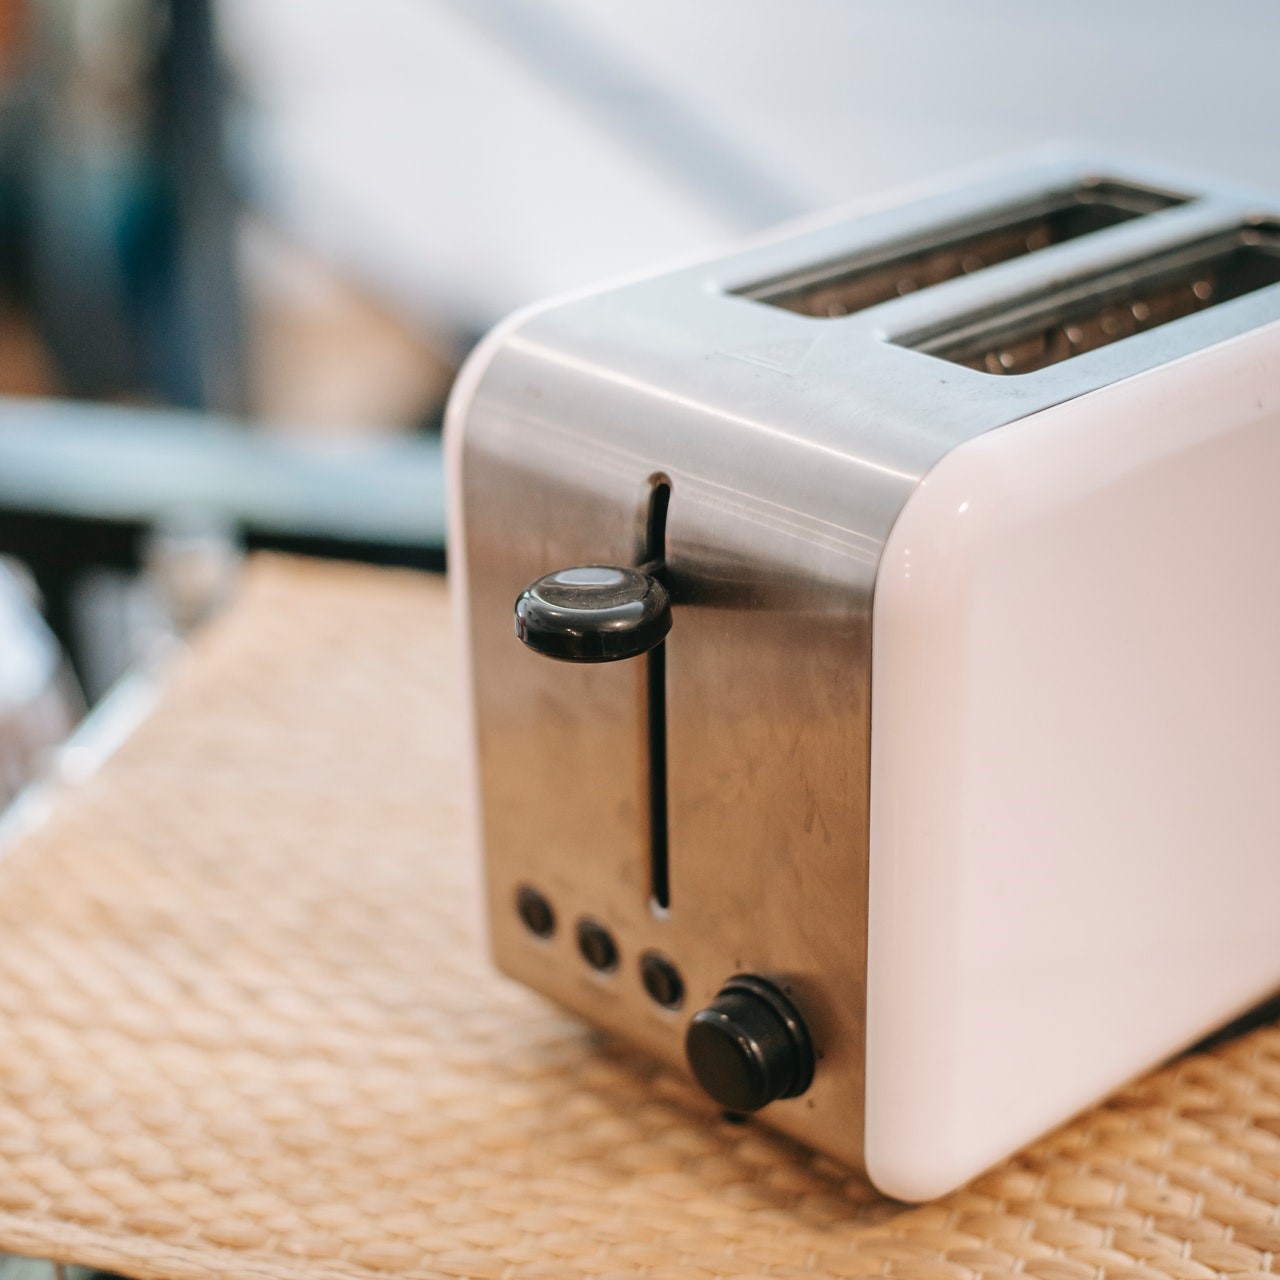
How to Clean a Toaster

Often the perfect appliance for a quick breakfast snack, the toaster is no exception to collecting dirt and food bits over time. Maintaining your toaster will ensure tasty and safer toast. Cleaning a toaster weekly is your best bet to remove crumbs and any leftover residue that can cause a burnt taste or even a fire. If you’re placing other foods into the toaster you may need to clean it after every use. Here’s how. What You’ll Need: Pastry brush Sponge Microfiber cloth Dishwashing liquid with a degreaser Melamine sponge Start by unplugging your toaster. Move it over a trash can or sink and use a pastry brush to remove crumbs. Turn it upside down and shake out the crumbs from the slots. In a sink or dishpan, mix a solution of warm water and dishwashing liquid. If your toaster has a removable crumb tray, remove and submerge it in the soapy water and wash it with a sponge or dishcloth. Rinse and dry with an absorbent cloth. Now that the tray is removed, use a pastry brush to reach any crumbs left inside the toaster. Don’t place your fingers inside the components. Then clean the exterior with a sponge or dishcloth that has been dipped in the soapy water. Make sure it is only damp, wring out the majority of the water before wiping the toaster down. Wipe with another sponge that has only clean water to remove any soapy residue. Dry with a microfiber cloth. Replace the crumb tray and reset dials to your desired settings. Plug in the toaster. Source: the Spruce Are you looking to check out other Cosmo Appliances? Follow our Instagram and Facebook!

Air Fryer Fried Chicken Recipe

Cut down on cooking time with this air fryer fried chicken recipe. A healthier alternative to deep frying, this recipe leaves chicken crispy and delicious with far less work. The best part? It’s a breeze to clean up afterwards. Prep time: 15 minsCook time: 45 minsMarinating: 60 minsTotal: 2 hrsServings: 4 to 6 Ingredients: 1 4-pound fryer chicken, cut into 10 pieces (2 breasts cut in half, 2 wings, 2 legs, 2 thighs) 1 teaspoon kosher salt 1 teaspoon ground black pepper 2 cups buttermilk For the coating: 2 cups all-purpose flour 1 tablespoon seasoned salt 1 teaspoon kosher salt 1 teaspoon ground black pepper 1 tablespoon garlic powder 1 tablespoon paprika Spray olive oil for cooking Directions: Marinate the chicken. Season the chicken well with salt and pepper and then add it to a bowl with buttermilk. Chicken pieces should be covered with the buttermilk. Let it sit for at least an hour or up to overnight. Bread the chicken. To prepare the breading mixture, stir together flour, seasoned salt, salt, pepper, garlic powder, and paprika.Remove chicken pieces from buttermilk and shake off any excess; then dip in the flour mix and coat well. Transfer breaded chicken pieces to a clean plate or wire rack to rest. Air-fry the chicken. You will need to work in two batches if you are doing a full chicken. Spray the basket of your air fryer with nonstick spray. Place half of the pieces in the basket of your air fryer. Try to ensure the pieces don’t touch. Air needs to circulate around them.Spray the chicken pieces lightly with spray oil. Place the basket in the air fryer and turn the air fryer to 350°F. Cook for 14 minutes, then flip the fried chicken with tongs, spray lightly with oil a second time on the bottom side of the chicken, and cook for another 10 to 12 minutes, until white meat reaches 165°F and dark meat reaches 175°F.(NOTE: A meat thermometer is vital.)During the air frying process, if you pull out the chicken and notice any dry flour spots on the chicken, spray those spots lightly with oil. The breading will never crisp up if it doesn’t have a tiny bit of oil to hydrate it. It will just burn. Serve: When the fried chicken is ready, let it rest on a plate for a few minutes before serving. Serve immediately with salad, coleslaw, mashed potatoes, or your favorite fried chicken sides!Cooked fried chicken can be stored in the fridge for 5 days and reheated in a 300°F oven for 8 to 10 minutes. Source: Simply Recipes

How Much Coffee Is Too Much?

Coffee studies and reports pop up so frequently it’s hard to know what to listen to. The amount of coffee we should be drinking may be difficult to determine, but there are various health benefits from drinking a few cups per day. On average three to five cups per day can be an acceptable amount, but that number may not be so simple given all cups of coffee are not equal. Caffeine is the main thing to consider when consuming coffee. For adults, about 400 milligrams per day is considered safe which is the equivalent of four brewed cups of coffee. The results of caffeine on individuals can vary so everyone’s intake should differ based on the effects. The type of coffee plays an important role here. A black coffee is not the same as a frappuccino at your favorite coffee shop. These drinks can have a ton more cream, sugar or sweeteners leading to undesirable health effects. A cup of coffee can have two calories while a latte of the same size can contain 100. The takeaway here is everything in moderation. If you’re consuming a few cups of black coffee per day, you should be fine. Sugary drinks may need to be occasional treats instead of a daily ritual. Source: the Kitchn

How to Clean a Wooden Cutting Board

A cutting board is one of the key tools to food preparation. However, these boards need to be properly cleaned and maintained to prevent any food-borne illnesses. You should be cleaning your cutting board after every use even if it was used to slice a fruit. Skipping out on the cleaning can leave yeast and mold spores and bacteria that will continue to grow. It should also be disinfected at least monthly and after every use with raw meats, poultry and fish. Here’s how to keep your cutting board clean. Rinse Often. After every use, rinse off the board under warm water. Use a sponge to remove any bits left behind. Try rinsing your board as soon as you can to prevent any staining. Mix a Solution. Add a few drops of dishwashing liquid to warm water and wipe down both sides with a sponge. Don’t allow the wood board to soak in the solution. Never place the board in a dishwasher as the high heat and extended exposure to water will cause the wood to split. Scrub Stains. If you notice any discoloration, sprinkle baking soda and use a dishwashing brush or half a lemon to scrub the area. The acid will boost the cleaning power and lighten any stains. Rinse the board with warm water to remove any residue and dry with a soft cloth or paper towel. Disinfect. After you have rinsed the cutting board, spray it with distilled white vinegar. The acid in the vinegar acts as a disinfectant for daily use. You can also use a 3% solution of hydrogen peroxide. Whenever you work with raw meat, you should disinfect the board with a chlorine bleach and water solution. Mix one teaspoon of bleach in one quart of water and spread the solution on one side of the board. Let it sit for five minutes, then rinse with hot water and repeat on the other side. Dry and Condition. Place the board in a drainer to air-dry completely. Never store a wooden board that is still wet. You can touch up the wood with food-grade, highly refined mineral oil. Apply a generous amount and spread evenly with a paper towel. Let it soak for a few hours or overnight. Repeat on the other side and let dry. Source: the Spruce

What Does Butter Do in Cookies?

If you’re looking to perfect that chocolate chip cookie recipe, you should start with learning the basics to butter. Butter carries all the important factors to a cookie’s flavor and texture. Here’s what the differences in butter can do for your recipe. Butter gives flavor, tenderness and flaky layers to baked goods. It can also bring a bit of structure and rise. For instance, a chocolate chip cookie dough incorporates butter and sugar to incorporate air into the final result. The fat and moisture in butter can enhance or inhibit gluten development which directly impacts the shape, spread and texture in cookies. Softened Butter. At a temperature between 70 and 72 degrees F, butter is soft enough to incorporate air but not soft enough that it will melt immediately in the oven. This will result in super thin cookies and prevent gluten development. Cookies will come out with a finer texture and more cake-like. Melted Butter. In its liquid state, butter will mix with both the sugar and flour for a softer dough that develops more gluten. Cookies baked with melted butter will spread more than those with room-temperature butter. If you chill cookie dough made with melted butter, you’ll end up with a cookie that is soft and chewy but crispy on just the edges. Cold Butter. A cold butter will make baked goods flaky by creating layers in the dough and cutting through the gluten development. A pie crust or croissant would be an example of this method. It makes for a super crispy cookie with a tender center. Source: the Kitchn

Cast Iron and Glass Top Stoves: Do They Work Together?

Using cast iron cookware on a brand new glass cooktop can be scary, the last thing you want is to scratch or crack it. If you heed to certain guides and pay attention to a few reminders, you can actually use that favorite cast iron skillet of yours on an electric stovetop. Don’t Slide Your Cast Iron Always exercise a certain amount of caution with heavy cookware on a glass cooktop. Be careful not to drop it or slide it across the surface. Be extra gentle with cookware that is chipped or has rough edges as this may increase the chance of scratches. Wash Your Cast Iron Oil and other residues can carbonize on the bottom of your cast iron cookware, leaving a black mark on a glass stove top. Always wash your cookware immediately after using it and thoroughly clean the interior and exterior after every use. Cast Iron Heats Slower An electric cooktop differs from gas in that it takes more time to warm up. A cast iron dish may take a bit longer to heat up. Take this into consideration when calculating recipes. If you’re using cast iron, it may take longer to cook the same meal. Try heating the cookware on low and gradually bringing the heat up for a consistent and even heat distribution. Source: the Kitchn

Air Fryer Hacks You’re Missing

Your air fryer is capable of so much more than just frying. It’s faster than an oven and healthier than a deep fryer. Here are a few things you may not be aware your air fryer can do. Bake bread. Your air fryer can make delicious mini loaves. You’ll still need small enough pans and allow time for the dough to rise, but your air fryer can get the job done. Perfect for Cookies. If you’re looking to cut down on the number of cookies your oven usually puts out, try it in an air fryer. You’ll be able to make them quicker and with less mess in no time. Oil Shouldn’t Be Forgotten. While air fryers are usually branded as healthier alternatives, it doesn’t mean you should skip oil altogether. You should use a bit of oil on most food to ensure they crisp perfectly. Apply it either with a spray or mist. Cleanup is Necessary. Food debris can accumulate in your air fryer basket. Don’t let the season of one dish lead to another. Luckily most air fryers have nonstick baskets so soap and warm water can get them back in top shape. Hard-Boiled Eggs. No more waiting around for water to boil, pop your eggs into your air fryer and let it do the work for you. You don’t even need the water with some recipes! Looking to upgrade your kitchen with a new air fryer? Check out our available models here. Source: the Kitchn

Disinfecting Myths Debunked

We’ve talked a lot about cleaning and disinfecting this past year. But it’s valuable to know there may be misinformation floating around. Here are three of the biggest mistakes about disinfecting. Cleaning and Disinfecting Are The Same This myth couldn’t be further from the truth. These two steps are meant to follow one after the other. Cleaning refers to the removal of germs, dirt and impurities from surfaces. This however does not kill germs, but by removing them it lowers their numbers. Disinfecting on the other hand will kill germs on surfaces through the use of chemicals. This doesn’t necessarily clean dirt surfaces but it also reduces the number of germs on a surface. It’s important to disinfect while also cleaning, preferably cleaning first. Leaving dirt or grime behind makes disinfectants less effective. Disinfectants Kill Germs on Contact Immediately wiping down disinfectant with a paper towel is actually doing it a disservice. In order for a disinfectant to be effective it needs a certain amount of time to sit on the surface. Bleach for example requires at least 10 minutes of contact time to kill germs. Clorox wipes need to leave the objects that they’re treating wet for four at least minutes. Be sure to read the label of your disinfectants to find that required “dwell time”. Disinfectants Provide Lasting Protection Any surface you disinfect will only stay that way until someone else comes along and touches it again. Germs will come back, so it’s crucial to maintain a clean and disinfected environment to ensure the least amount of germs. Source: the Kitchn

How to Safely Freeze and Defrost Food

Cooking at home requires a basic understanding of food safety. Ensuring food is safe and fresh can protect you from illness or contamination. Here’s what you can do to make your food safe. At the core of all food safety is the idea of “the danger zone”. This temperature range is where microbes like to grow, especially on food. These microbes such as molds and bacterias will make you sick if ingested. This range is between 40°F and 140°F. Placing food in environments where they are either colder than 40°F or hotter than 140°F is ideal. Always keep your fridge colder than 40°F or cook your meats at least 140°F. If you are unable to keep your food in this range for more than two hours, it’s advised to toss it out. Defrosting Food One easy way to ensure food is safely thawed is by moving it from the freezer to the fridge. However, this takes a while and if you’re short on time there are other methods to thaw food quickly. Put your food in a bowl of cold water. As long as it’s in a leak-proof container, this method will generally thaw meat in about 30 minutes to an hour. Just be sure to swap out the water every half hour. The larger the foods the longer it will take to thaw this way. You can also cook some meat directly from frozen. Chicken breast and frozen fish filets will only need a longer cook time. It’s important to note only some meats work with this method so it’s best to do some research beforehand. Cooking Food As previously mentioned, when cooking you’ll want to surpass the danger zone of meat to ensure bacteria is safely destroyed. While this list doesn’t encompass every type of meat, here are some general guidelines. These are all internal temperatures, so it’s a good idea to invest in an instant-read thermometer. 145°F for fish and whole cuts of beef, pork, veal or lamb. 160°F for ground meat including beef, lamb and park 165°F for any kind of poultry including chicken, turkey and duck 165°F is also the temperature any leftovers should be heated to If you need to cool down hot food quickly, a cold-water bath is your friend. Place your food in sealed, airtight containers and place in cold or ice water. This should cool it in a few minutes. You should never place hot food directly into your fridge as this may warm up everything else around it, thus spoiling other foods. Source: The Kitchn

Organizing Appliances 101

If your kitchen is cluttered and disorganized, there are three steps to manage your kitchen space. This will vary depending on the type of cook you are and what you eat. A pressure cooker front in center may be more optimal for a vegan, while a blender could be more useful for a raw food lover. Group Your Appliances. Sort out your appliances by their frequency of use. Split every appliance into one of the following categories: frequently used, rarely used and never used. Consider appliances that can have multiple purposes. A high-quality blender can double as a food processor, leaving you more kitchen space. Rid the Never-Used Appliances. This may be obvious, but do away with the appliances you aren’t using. Think about those rice cookers, juicers and egg poachers. Your kitchen space is valuable and should be reserved for appliances you’ll be using constantly. If you’re having trouble getting rid of an appliance, allocate 30 days to consistently use it. If it becomes a habit, keep it. Organize Cabinet Spaces. Now that you’ve cut back on appliances, it’s time to organize what you have. Take time to wrap cords around appliances before storing them. This will decrease clutter and look more organized. Cut back on paper clutter by accessing manuals online or saving them to your computer. Gather all the smaller parts in your kitchen, such as appliance attachments, and organize them in bags with the proper labels. Store Less Used Appliances. The appliances you use infrequently like a waffle maker or slow cooker, should be stored in harder to reach places. Reserve optimal cabinet space for the appliances you use the most. You can also swap these around if your needs change over time. For example, an ice cream maker can be moved down from the top shelf when it’s summertime. Source: the Spruce