Tips for Better Brownies
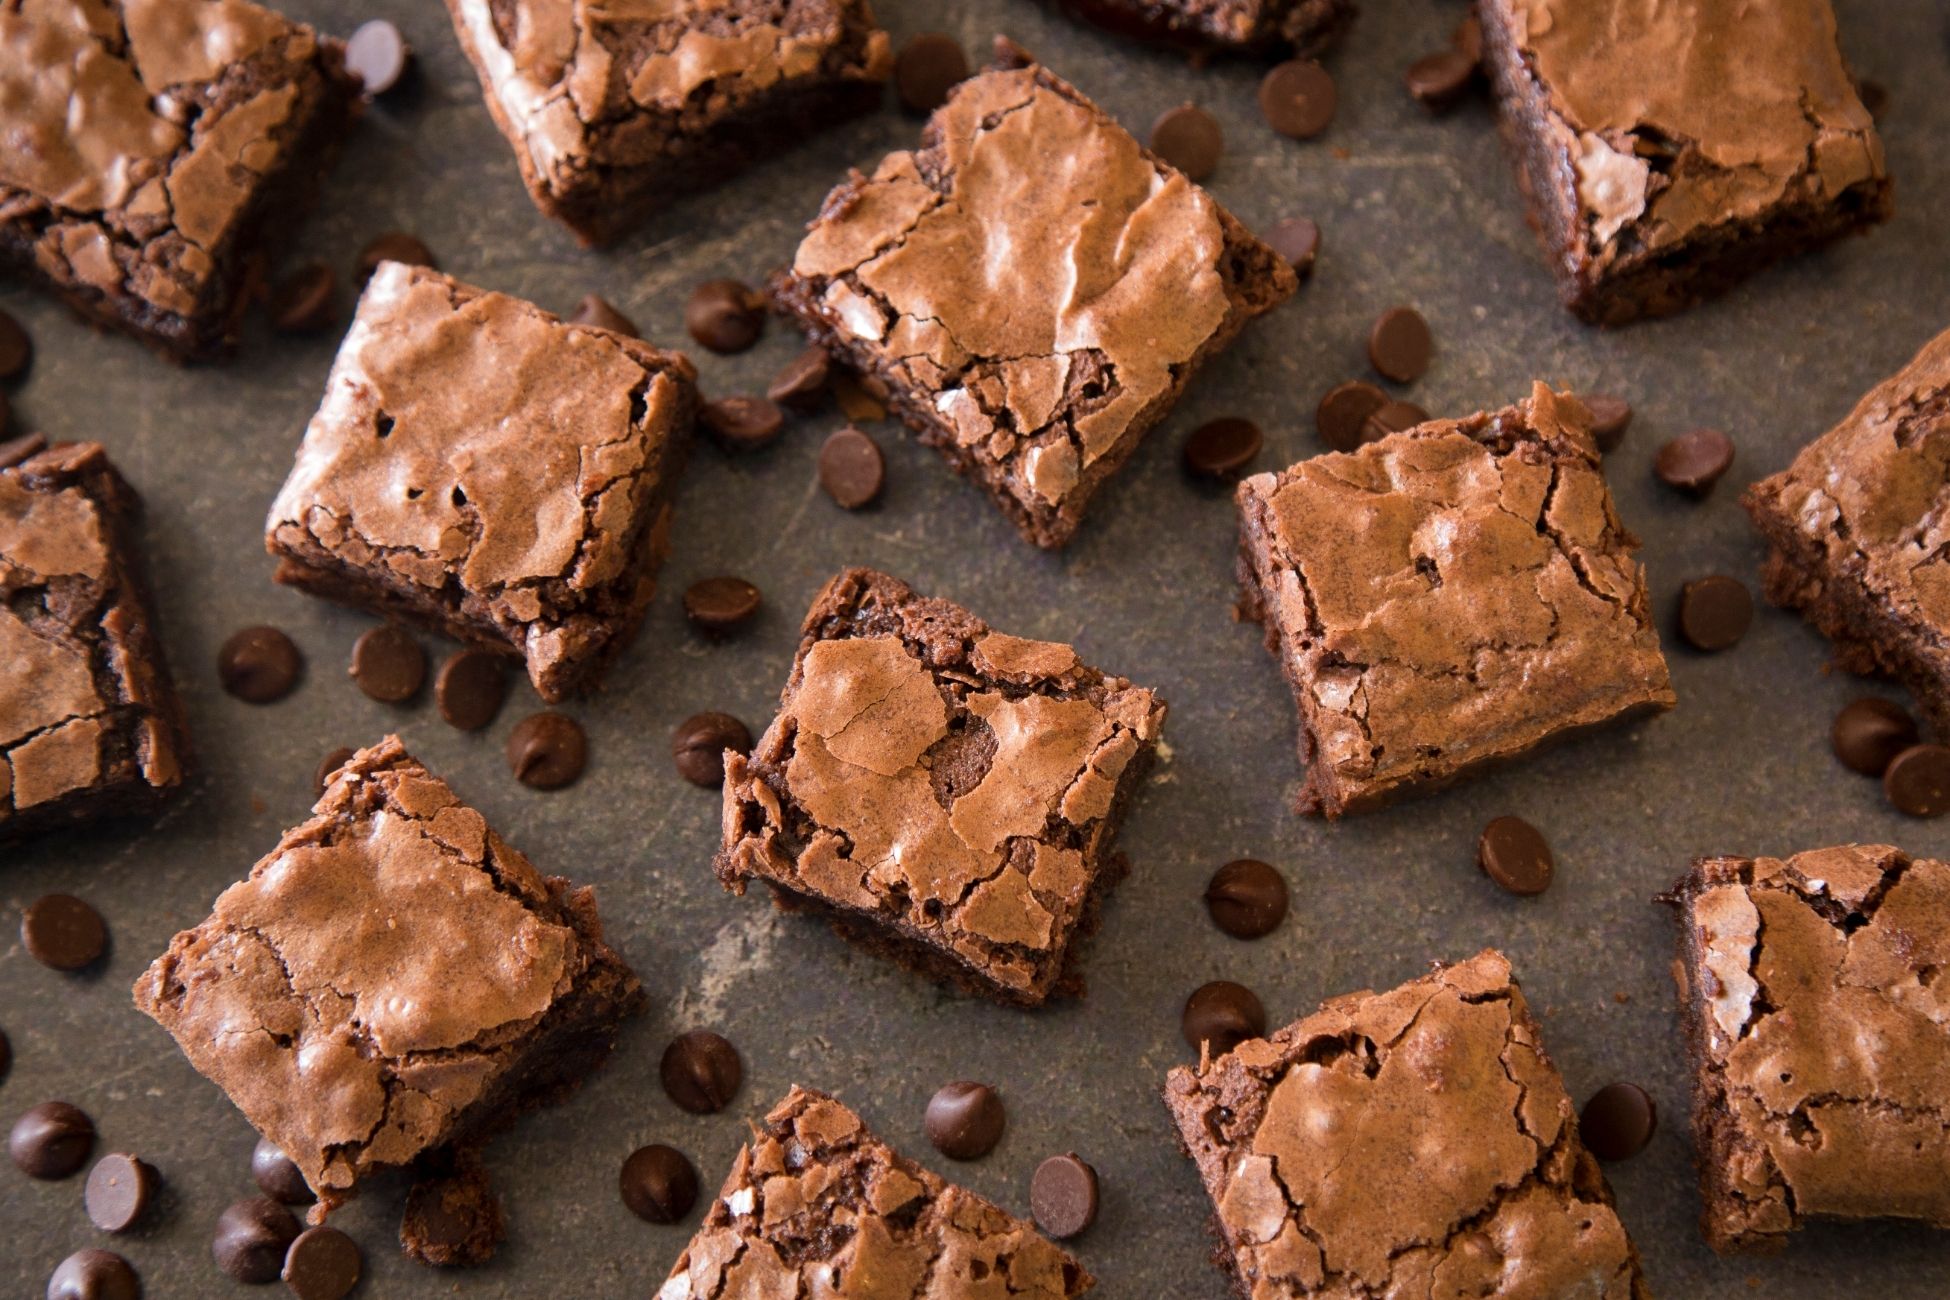
Freshly baked brownies often make for a classic and comforting dessert. A great brownie is bitter and sweet at the same time with textural bites and a crackly top against chewy edges. Here’s how to perfect your next brownie batch to be rich, a little dense, and packed with flavor. Use Good Chocolate. Look for quality chocolate when shopping for ingredients. It may be an obvious tip but the best recipe can’t be executed properly with a sub-par chocolate. Beat the eggs and sugar together first. If you’re looking for a brownie with a glossy, crackling top try whipping the eggs and sugar together first. Usually you’ll mix all the ingredients at once, but with this method you build the brownie’s structure and incorporate just the right amount of air. You’ll end up with a perfect lift. Use dark brown sugar. Even if your recipe calls for granulated sugar, swap out at least half or all with brown sugar. Brown sugar contains molasses which once baked will leave brownies chewier and fudgier. Look for dark brown sugar instead of light brown as it’ll have more flavor. Add extra chocolate. When your brownies are ready for the oven, add a few more chunks of chocolate. These chunks will turn into puddles of melted chocolate when baked. Bang the pan. About halfway through baking, remove the pan and bang it on the counter to help the brownies collapse. The brownies will crack more along the top and end up denser by removing any excess air. Repeat the process once they’re done baking. Under-bake them. Cut the bake time by five minutes or less if you want more fudgy brownies. The edges should be puffed and set, but the toothpick test in the center should leave a little bit of batter on the stick. Brownies will continue to bake for a few minutes once they’re out of the oven. Add a sprinkle of salt. Salt and chocolate work together since they balance the chocolate’s complex flavors. Add a pinch of sea salt on the brownies once they’re out of the oven. If you’ve put extra chunks of chocolate as outlined above, the puddles will help the salt stick. Source: the Kitchn